
Manchester Guitar Tech
Reverse headstock Stratocaster
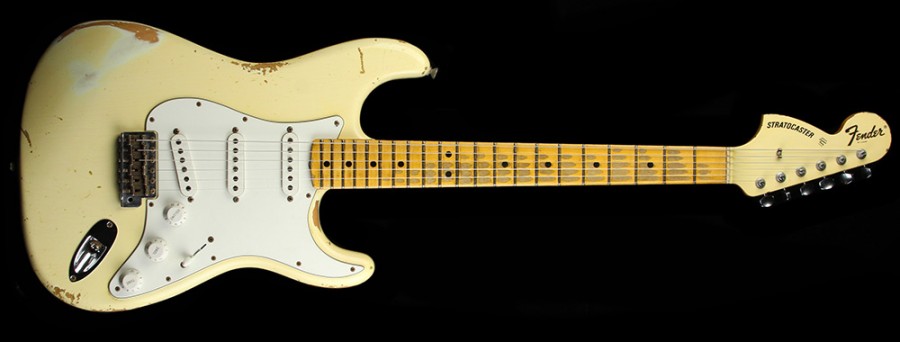
I’m putting together a Stratocaster for a friend. It’s to match a Telecaster he has so will be painted in a creamy colour. This is the look we are going to achieve:
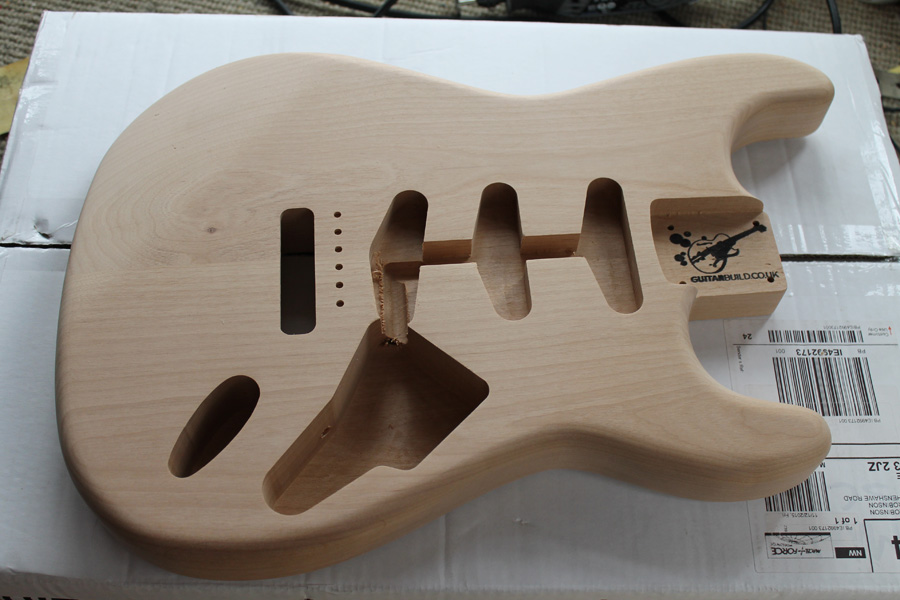
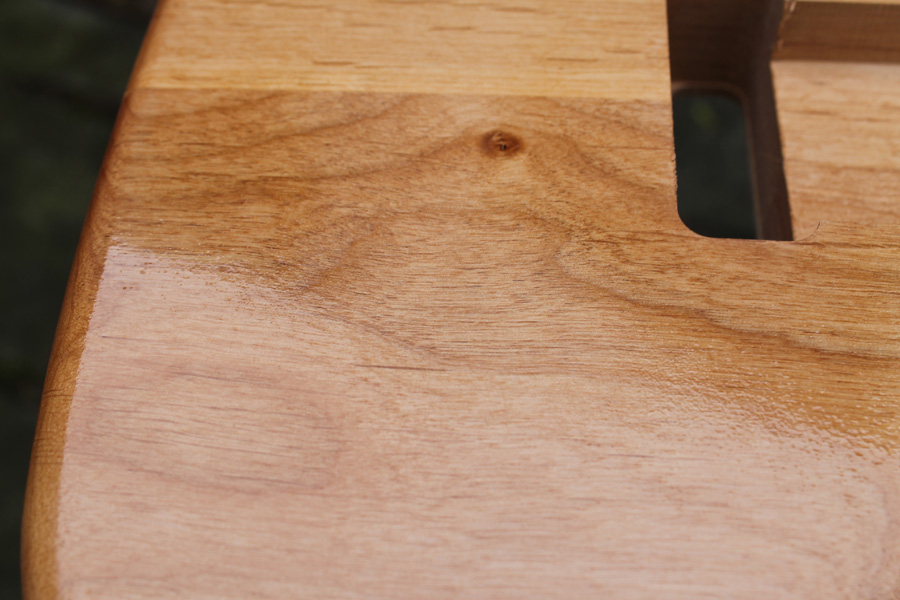
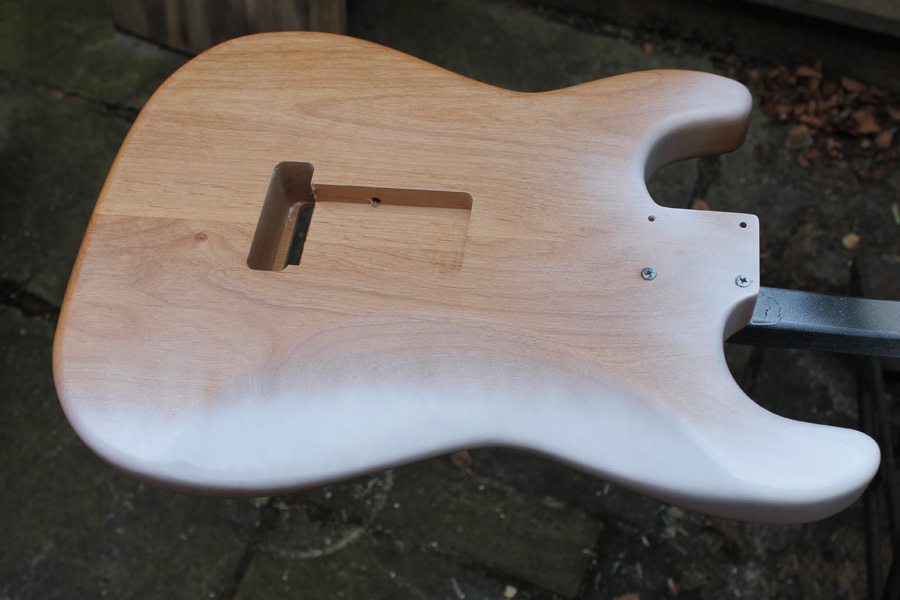
The body, as is usual, is from Guitarbuild and it’s a beauty. Made from alder, it arrived really well sanded so virtually no preparation was required before I could start painting.
Spraying the sanding sealer
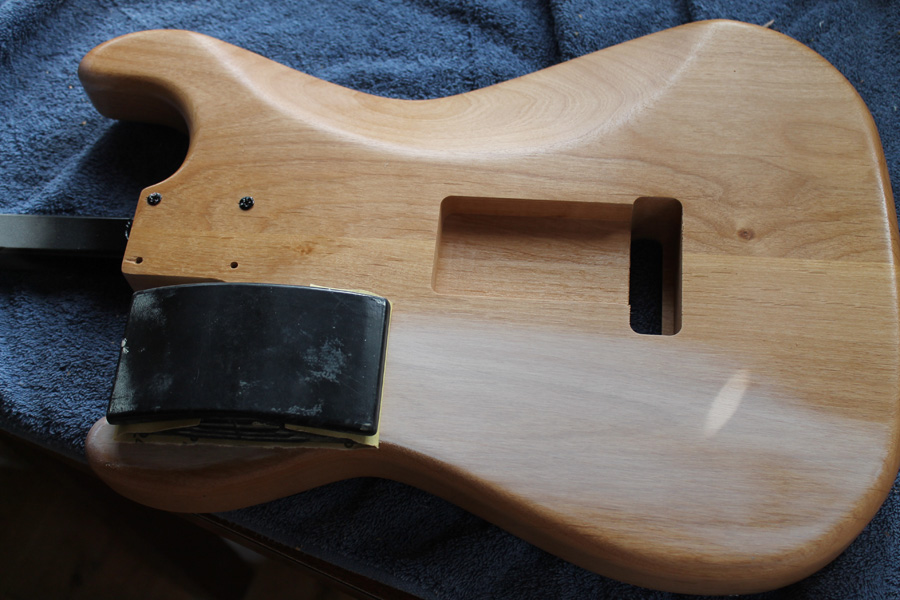
No grain filling is required with alder so the first step is always to seal the wood. This is essential to give a smooth base for following layers. Here is the body attached to my trusty painting stick. This is 1″ square section tube with two tapped holes to accept M4 machine screws.
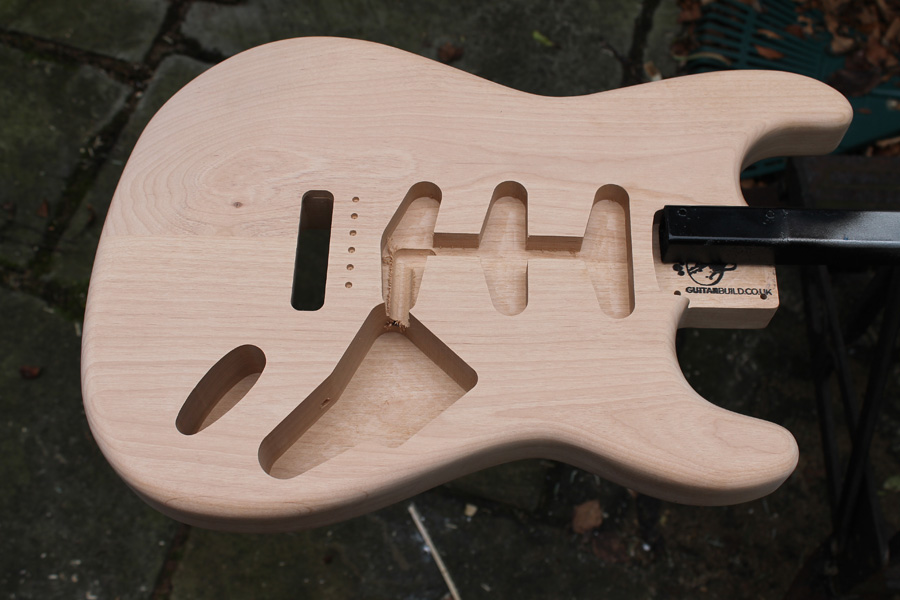
It’s important to get lots of sealer onto the body, especially as alder tends to soak it up.
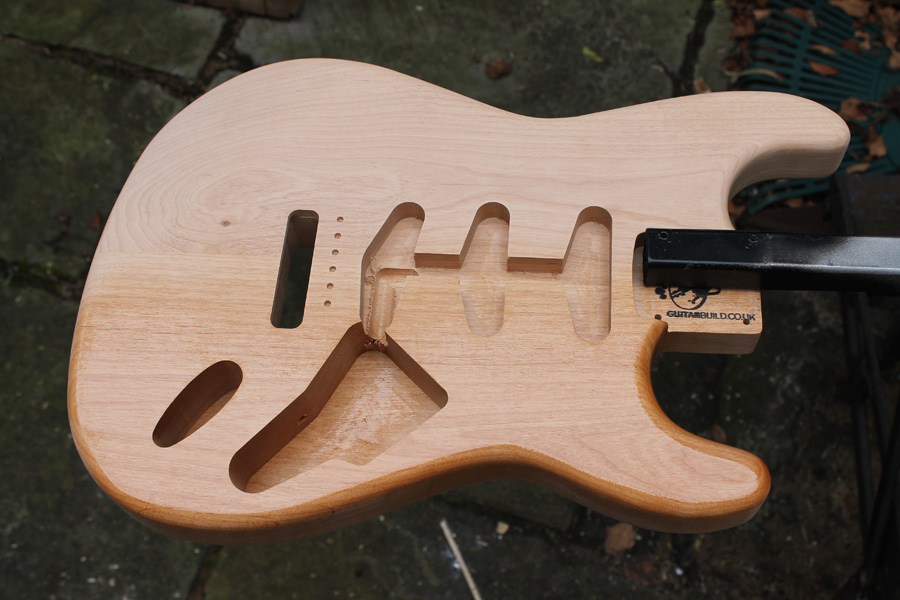
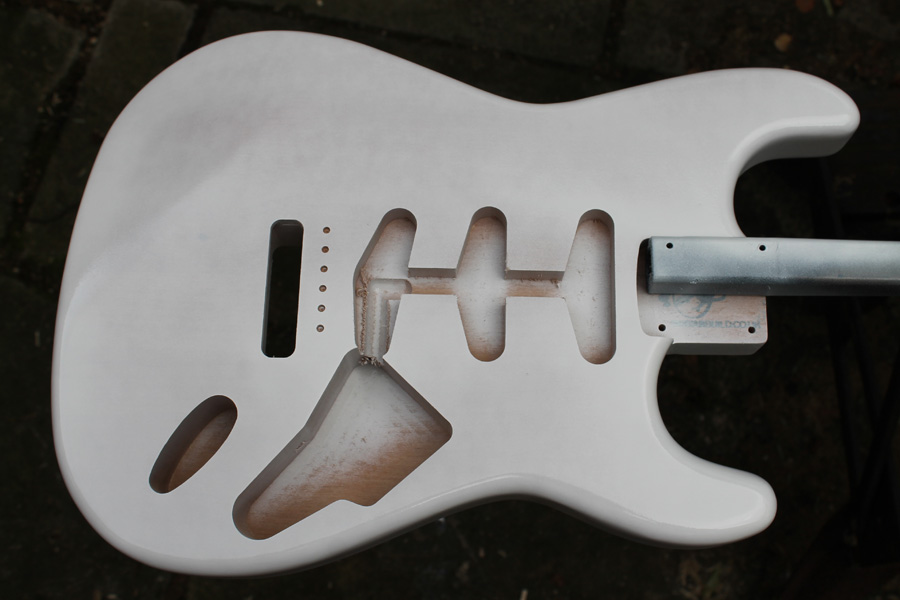
I applied two or three heavy coats, concentrating especially on the end and inside the cutaways as the end grain soaks up more sealer. You can see how wet it is here.
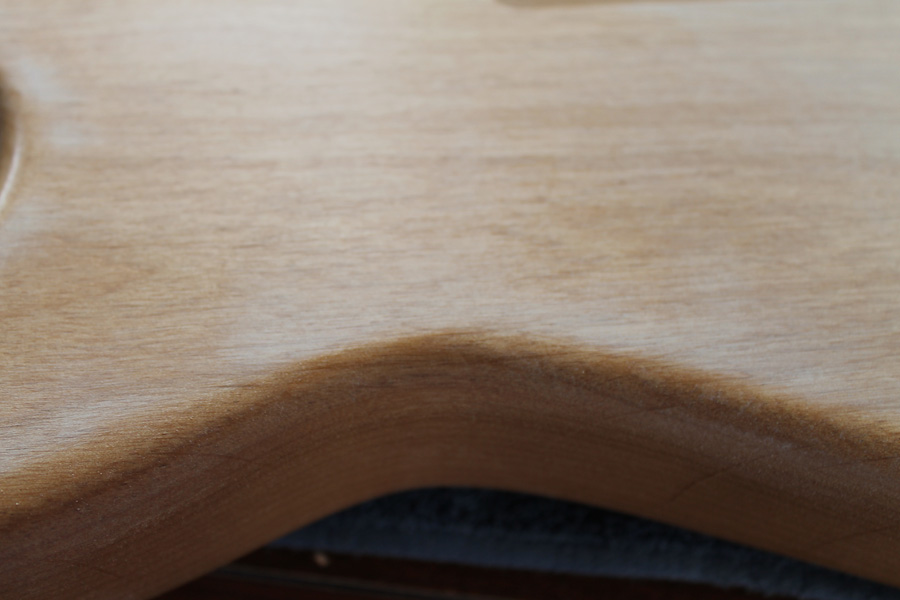
You’ll find that the sanding sealer raises the grain slightly. This isn’t a problem as we are going to sand back.
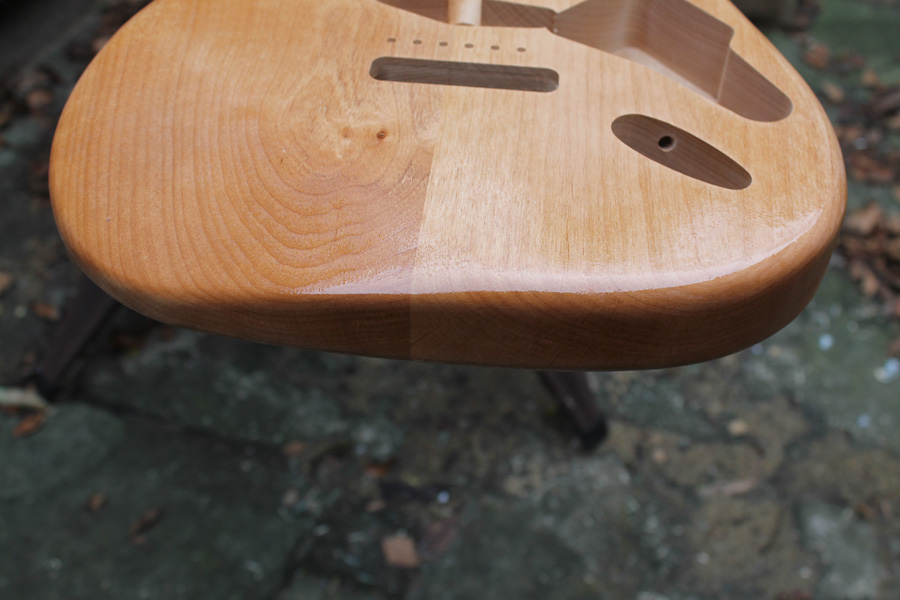
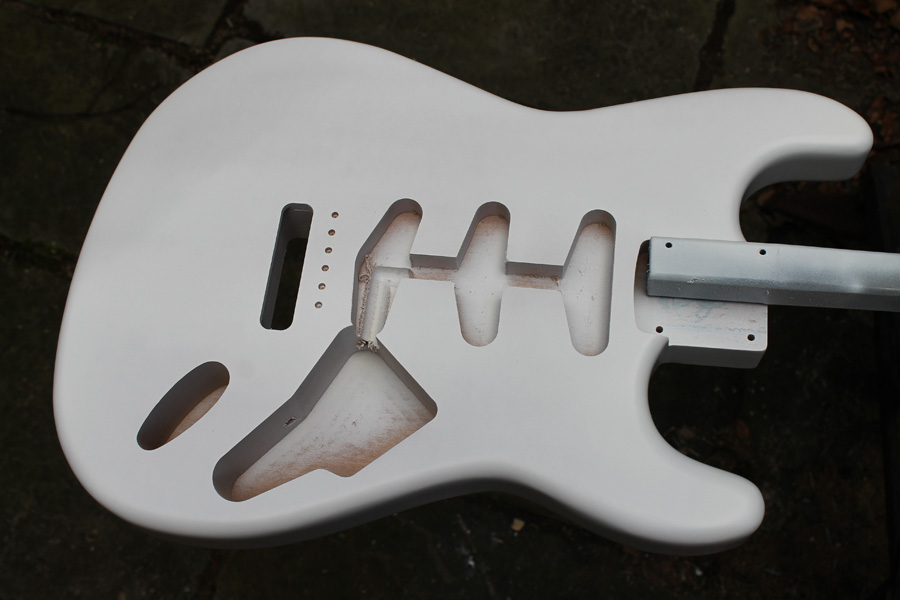
Once the sealer has dried, preferably overnight but a few hours in warm conditions is fine, it can be sanded flat. Use a sandpaper over block on the flat faces and sandpaper held in cupped fingers for the rounded areas such as the sides and corners. You can see how easily the sealer sands, giving a white dusty residue.
Wipe the dust off using a tack cloth or blow it clean with an air line. Any shiny spots are dips (I had none) and any whiter areas are where you’ve sanded through to the wood. Sand again if necessary until no shiny spots remain.
Once everything is flat you can spray another coat of sanding sealer and repeat the process. Spray less heavily now as you just want an even coat for the next step. One more coat is all it took to have this body looking nice and smooth.
Spraying the primer coat
Once the primer is on is when you notice any imperfections masked by the grain. I’m happy to report that there were none.
Here I’m starting to spray the primer, making sure I get good coverage on the edges and in the cutaways.
First coat of primer is on but I can still see a bit of grain though it.
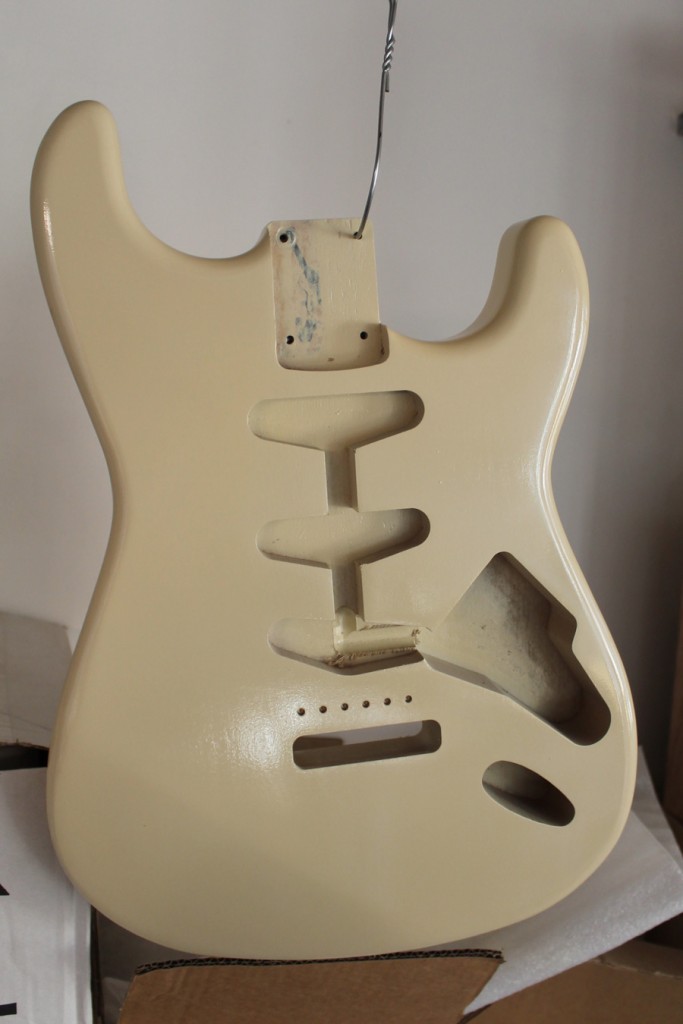
After the second coat it’s looking nice and opaque so time for the colour coats!
Colour and Clear coats
Here’s the body with the colour and clear coats sprayed. Sorry there are no pictures of the process.
You can see from the reflections that the surface is a little uneven and needs to be flat sanded.
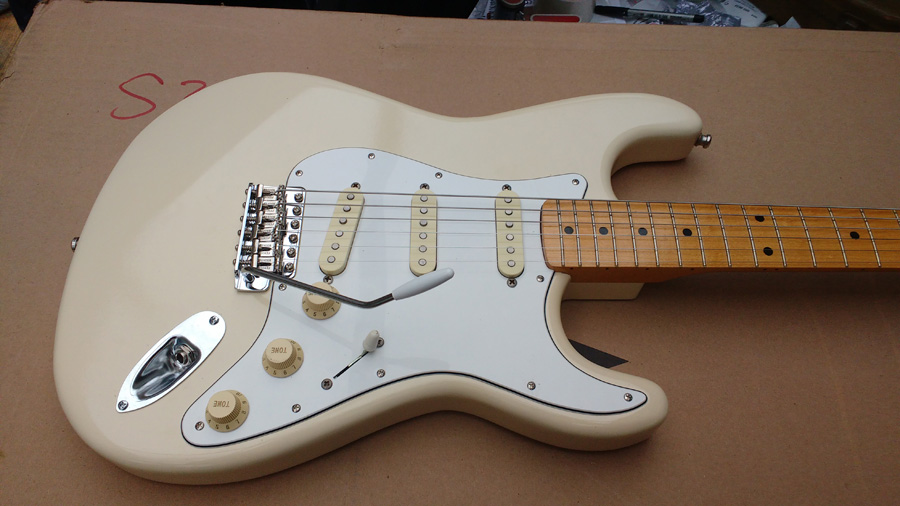
Assembled guitar
Well the guy whose guitar this is wanted it assembled quickly for a video shoot so I didn’t get time to distress it.

Sorry but you didn’t mention about the reverse headstock. Did the kit come with a reverse headstock?
It wasn’t a kit as such, everything was bought separately. I think that the neck probably came from AllParts or WDMusic
Hi Steve. I’m in the process of building a telecaster kit guitar. I think the body is ash. Do I need a grain filler for this?
Many thanks,
Mike
Yes you do if it’s ash. See https://www.manchesterguitartech.co.uk/2011/05/02/grain-filling-an-ash-telecaster-body/
Beautiful guitar. I’m sorry about the story attached to it. What an awful thing to do.
I’m currently on my own partscaster journey and that’s the finish I’m after. What colour is it? Similar to a honey blonde.
Best,
Ollie
Thanks Ollie. The body and headstock face are finished in my Vintage White lacquer.
What a git to steal your labour and bag like that…..hope Powell does the decent thing.
I’m thinking of building a Black Strat myself – may I ask what type/make of paints you use and how you apply them?
Thanks,
Paul
The lacquers are all my own product which you can buy in my shop.
There are demos in my finishing blog.
I’m sorry to hear you weren’t paid. Some people are disgusting aren’t they. You should take him to the small claims court at moneyclaims online. It’s fairly cheap to make a claim. He’ll probably pay up before you get to Court.
On another note – what necks do you use please – are they from guitar build as well?
I think that that neck was from AllParts or maybe WD Music. I have used at least one GuitarBuild neck though.
Thank you for the sympathy too.