
Manchester Guitar Tech
Recreating the Everyday Electronics Delta Electric Guitar (Part 2)
This concludes the article started at Recreating the Everyday Electronics Delta Electric Guitar (Part 1).
Finishing the guitar
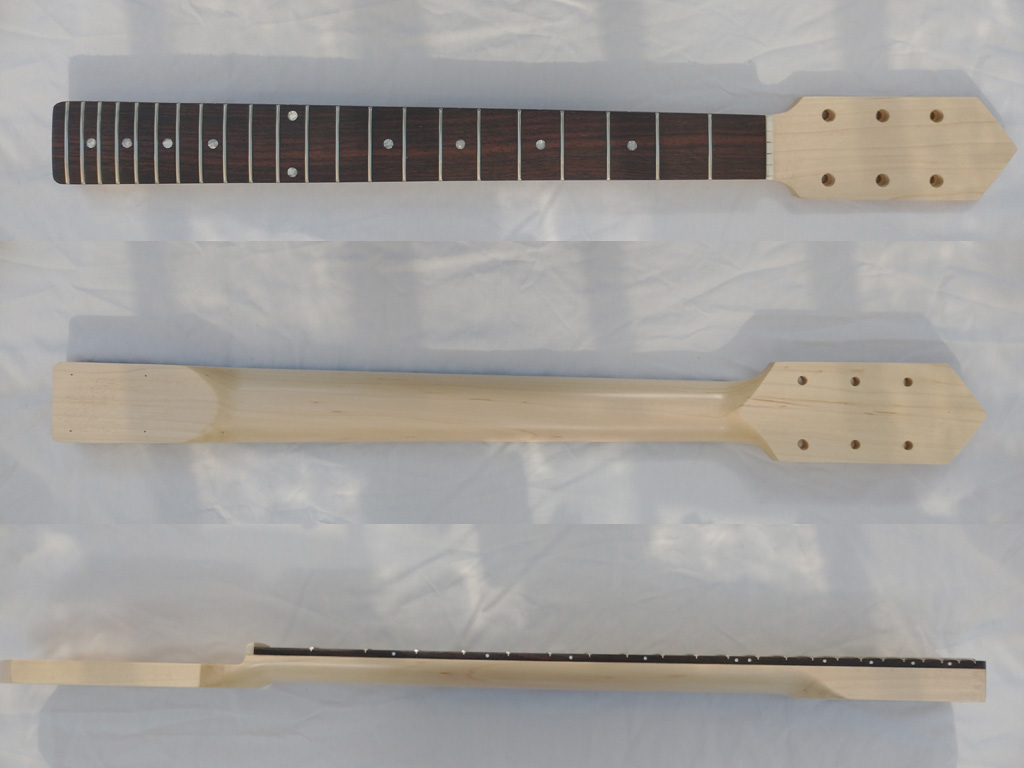
I simply sprayed the neck using my Clear Satin nitrocellulose lacquer. I sprayed a sealer coat then de-nibbed using fine sandpaper before spraying a couple more coats.
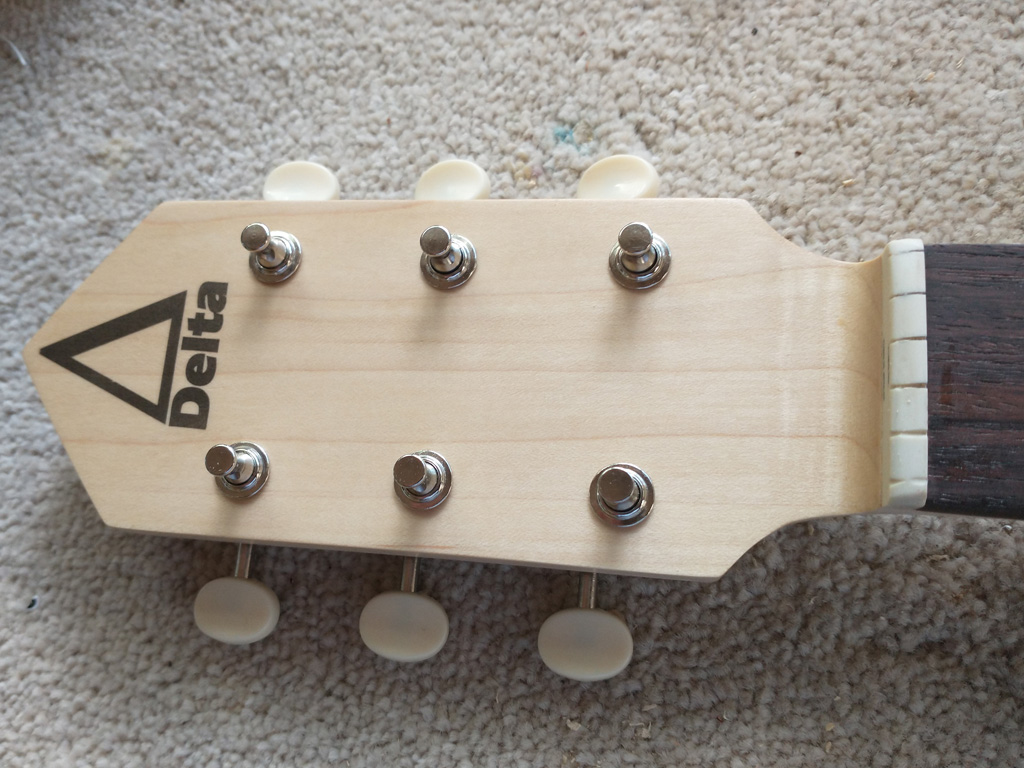
I “designed” a logo for the headstock, laserprinted it on waterslide decal paper, applied to the headstock and gave it a couple of coats of satin to seal it in.
Now on to the body. The first job was to pore fill the mahogany. For this I used Rustins Mahogany grain filler, applied using a plastic card.
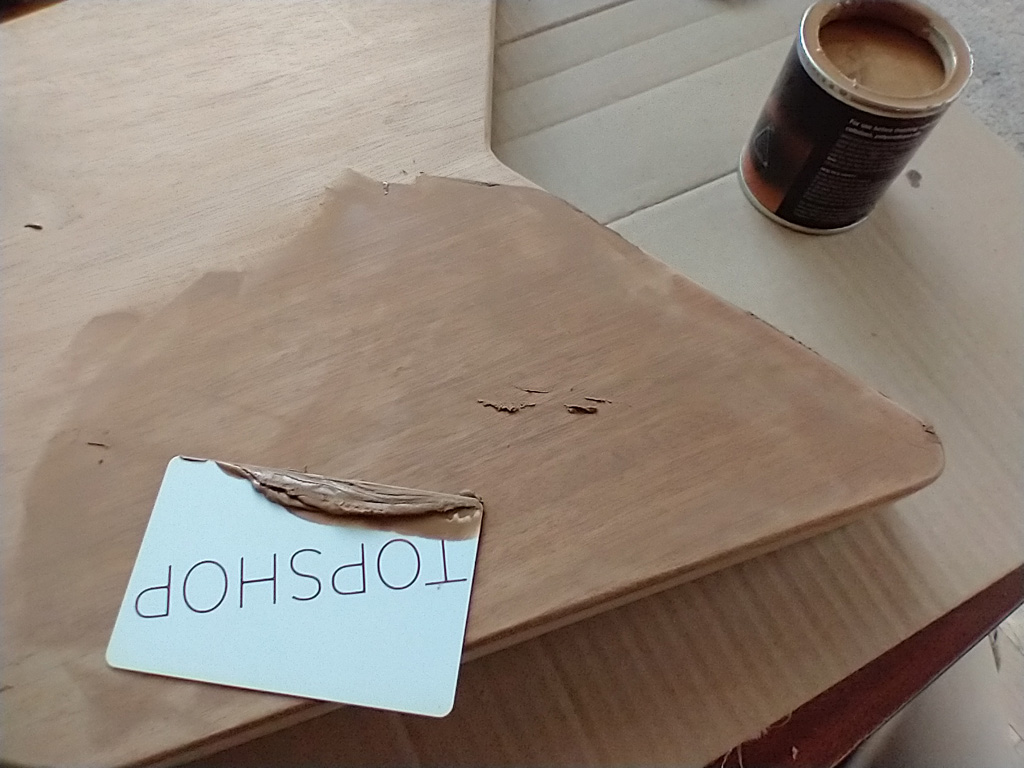
When applying grain filler it’s important not to leave any on the surface as it’s difficult to remove. If you sand too heavily you risk sanding out the filler you’ve just applied. I rubbed over the surface with coarse sacking to clean it of excess filler.
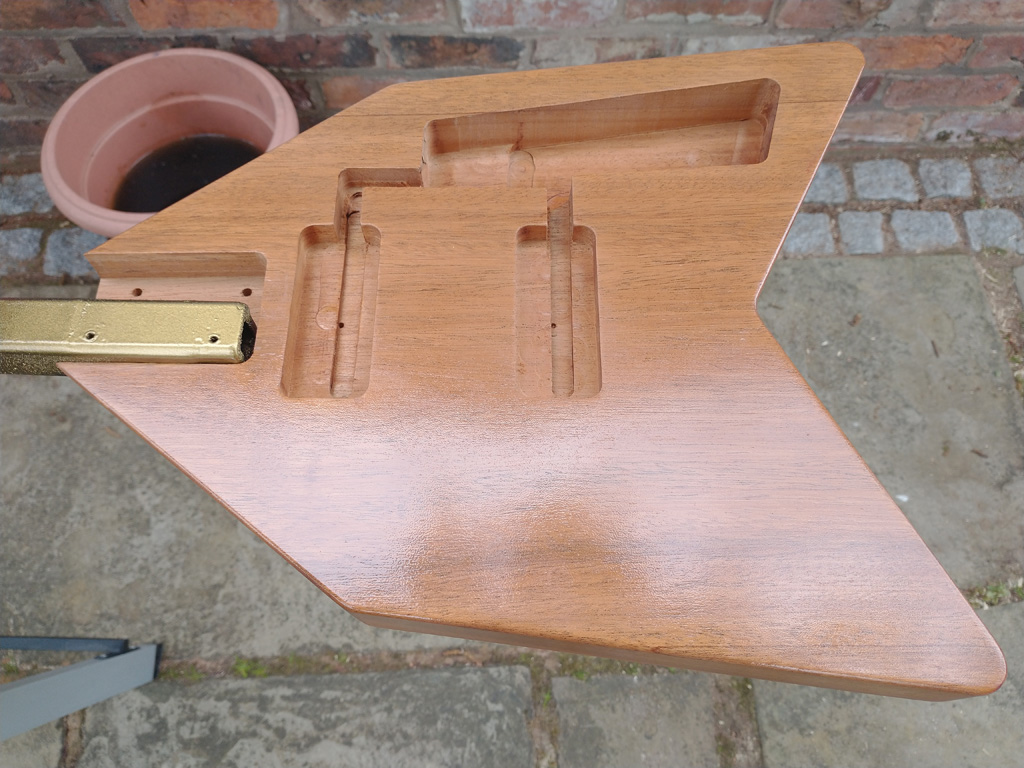
The next important step is sanding sealer. Whilst the grain filler’s job is to fill the pores in the wood, sanding sealer is for levelling the surface. It only needed a couple of coats, with sanding in between to achieve a beautifully smooth surface for the colour.
As with the wood, I opted for a traditional finish. I decided on a classic clear cherry red as who doesn’t love a red guitar?
After sanding the final sealer coat I sprayed my Clear Red lacquer in long passes, working across the body.
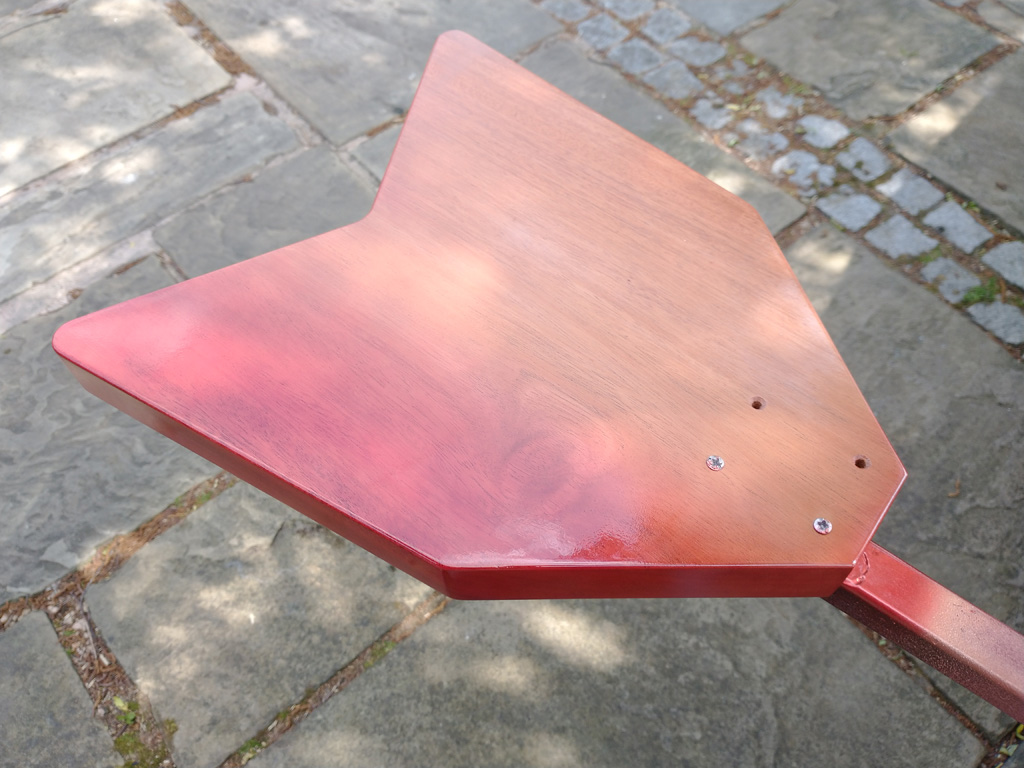
This is after the first coat:
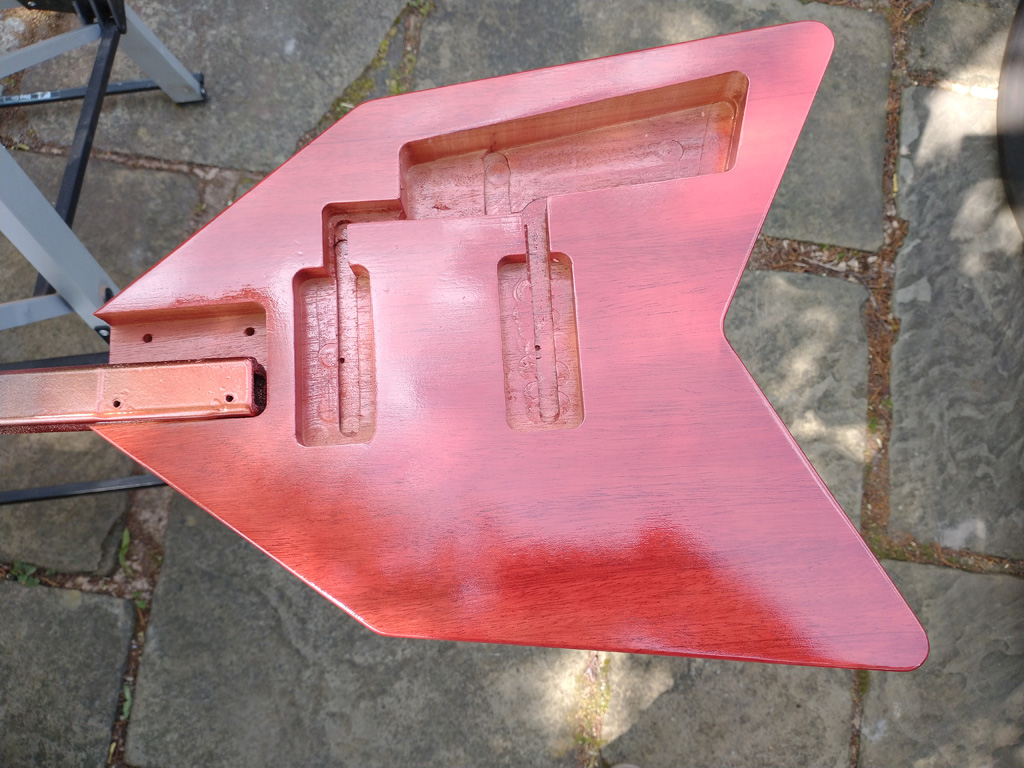
I sprayed three even coats in total, giving a nice bright red. More coats would darken the colour of course towards a wine red. After the red I sprayed a few coats of Clear Gloss lacquer so that I didn’t rub through the red when flat-sanding.
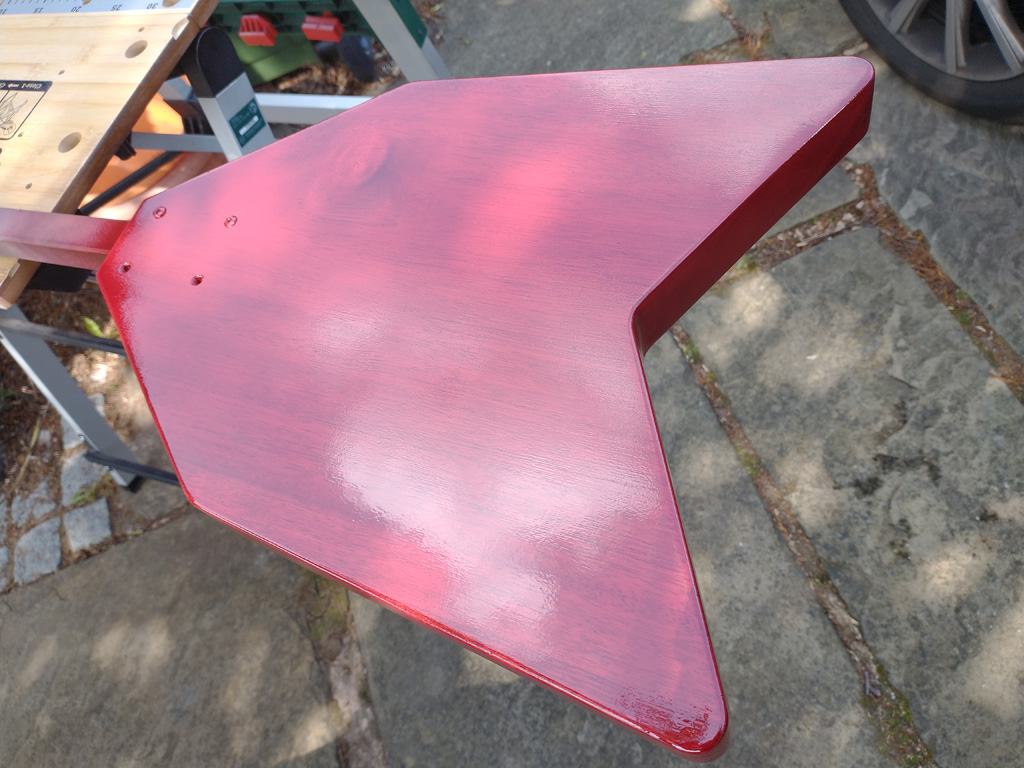

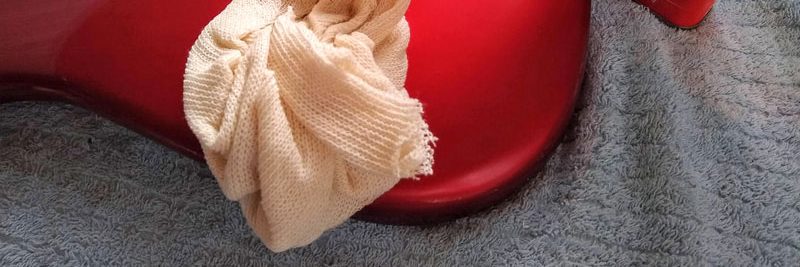
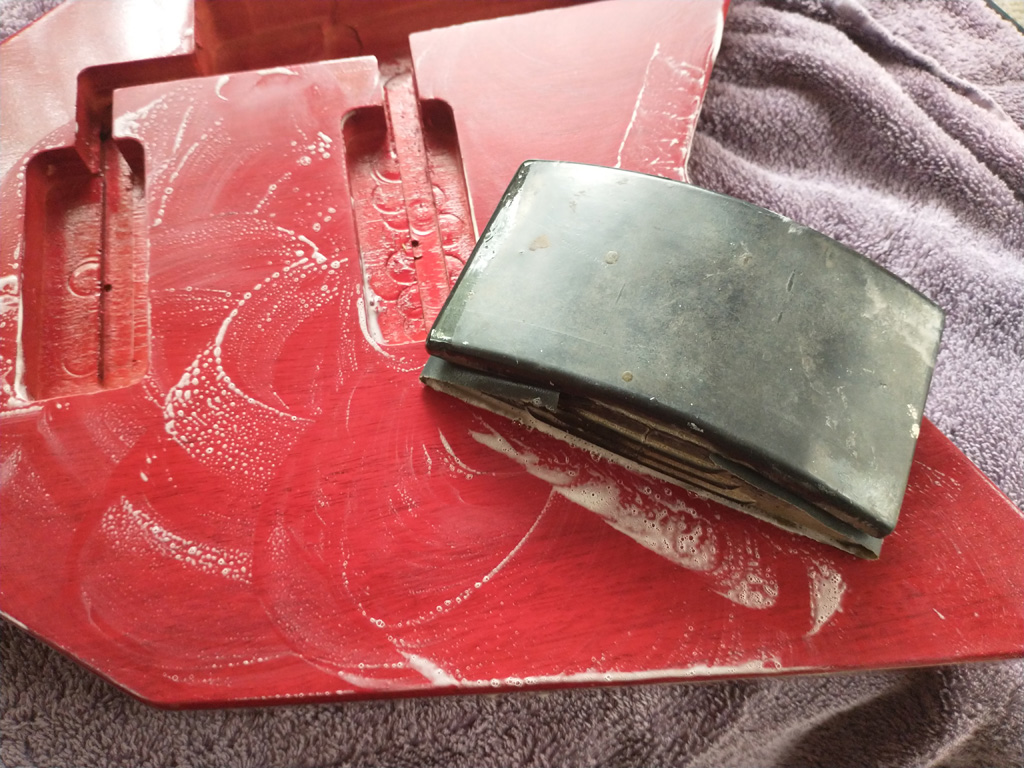
After a few days, once the lacquer had hardened, I flat sanded through 800, 1200, 1500 grit abrasives then buffed using my favourite rubbing compound, good old T-Cut. You can see I used a drop of detergent in the water to both lubricate the abrasive and to stop the paper from clogging.
Because the finish is very thin and I didn’t leave much time between spraying and buffing, the finish has sunken slightly for a very attractive (in my opinion!) appearance.
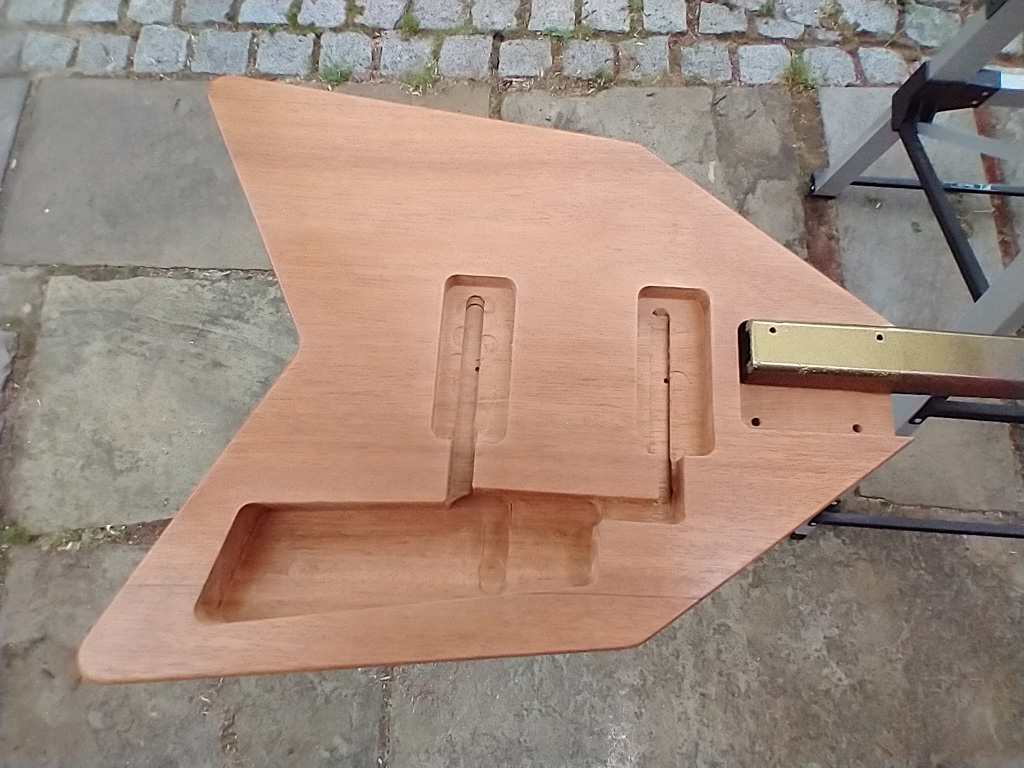
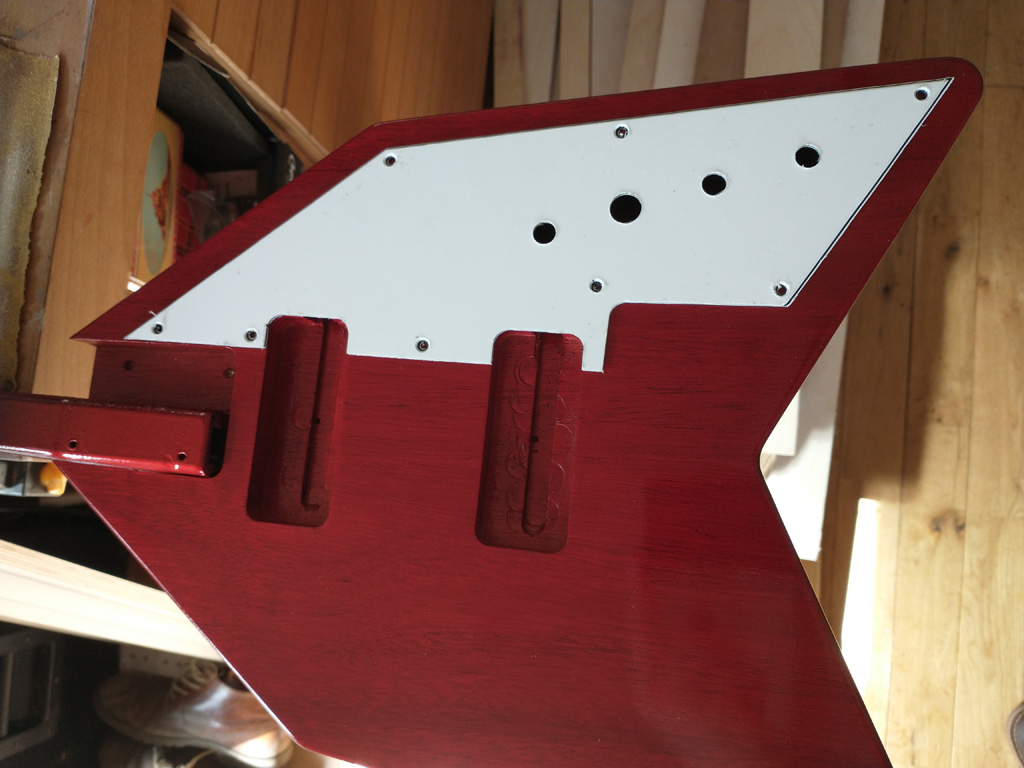
That’s the body complete, on to assembly.
Assembling the guitar
I’m afraid I didn’t take a lot of pictures here but I’ll explain to fill in any gaps.
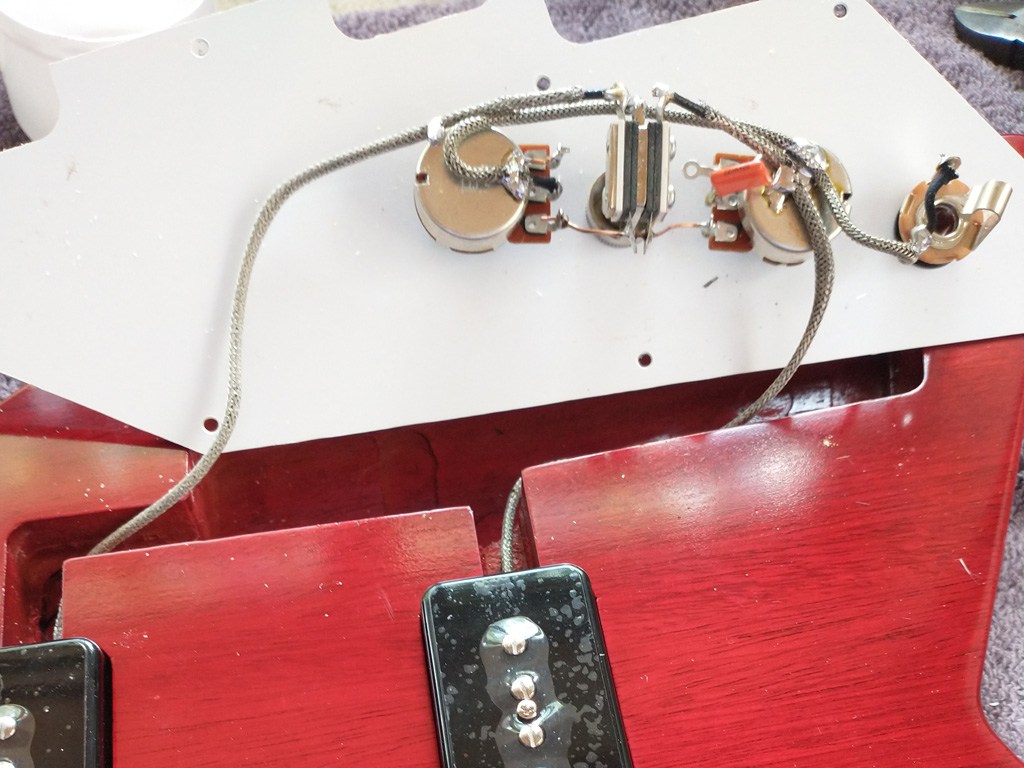
I cut the pickguard from 3-ply material using the template you saw at the top of Part 1. I chamfered the outside edge to 45 degrees on the router table.
I experimented with a few different control layouts before deciding on a simple straight line with single volume and tone, 3-way switch and jack.
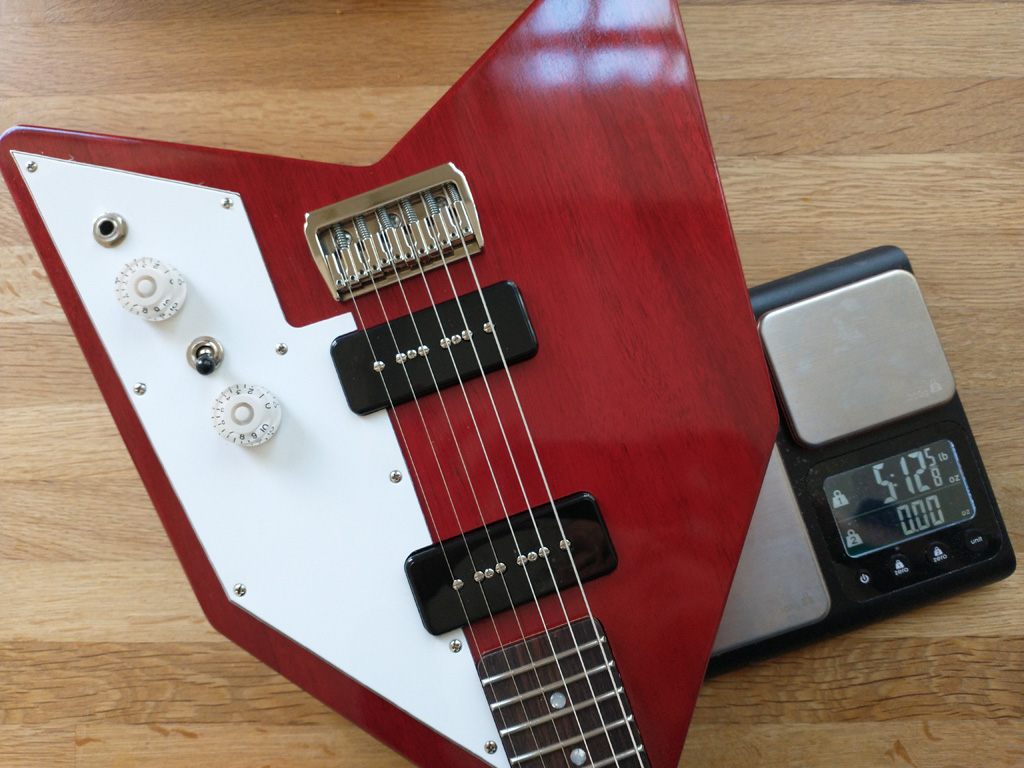
I was pretty happy with the topology of my wiring, the bare minimum of wires and very short unscreened lengths. These are Bourns pots with a Switchcraft short switch and jack. The pickups are Alegree P-90s.
I sourced the bridge from Grainger Guitar Parts and it’s a very well made piece of hardware. Of course a cheaper bridge would do the job but I wanted to support this UK company. To find the correct location I marked the centre of the body then positioned the bridge with the 1st string saddle all the way forward so that the break point was exactly at scale length, i.e. twice the distance from the edge of the nut to the 12th fret, and marked through the three fixing screw holes. This gave me plenty of room to set the compensation for accurate intonation.
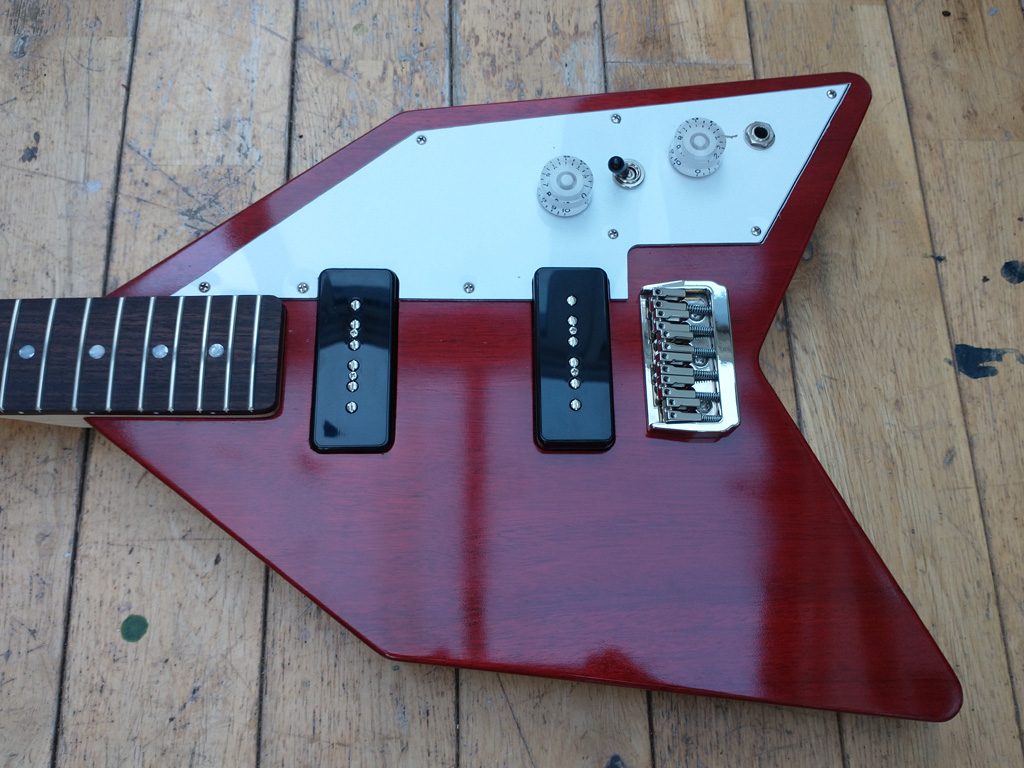
All that was left was to attach the strap buttons, string and set up! Finished weight, 5¾ pounds, or 2.6Kg.
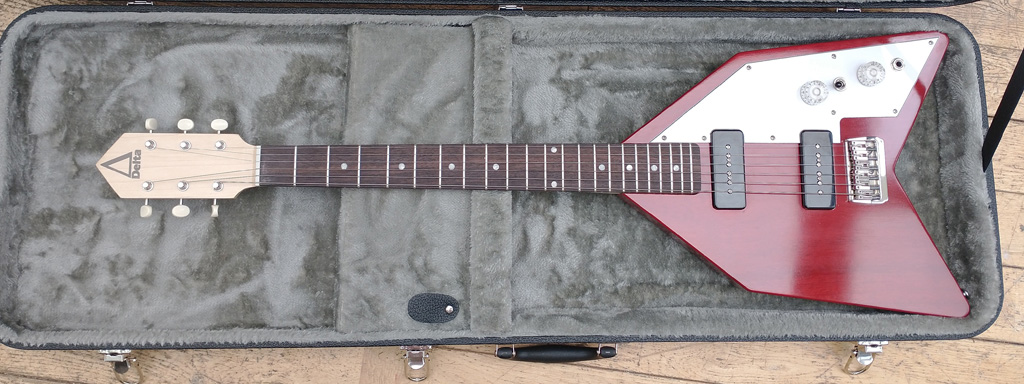
Here it is nice and snug in its Tourtech case from PMT which fits perfectly.
If you’d like to make one of these guitars, please get in touch as I’m thinking of making the drawings, templates and maybe some kits available next year via a Kickstarter.
Great articles thank you Steve! I built three, six-string Strat copies and a four-string Strat bass copy in the late 1960’s. I made a total of eight body shapes out of 1” deal , one with controls and pickup cutouts and one plain one behind. I glued them together and I can’t believe this but I glued Formica on the front faces and didn’t therefore need a scratch plate!
All the body parts and the Formica panels were cut on a treadle fret saw and my right ankle was so swollen I had a job to walk for a few weeks. I bought necks and shaped them with a file (like you did) and measured and cut the frets (mostly in the right places) I too used traditional machine heads as there was nothing else around and I made my own bridges from brass rods about 1/2” square as it was easy to work and drill. The pickups I hand wound using button magnets from the hardware shop and after experimenting a bit they worked well.
Sadly I have no photos of these guitars but I can remember playing them, recording a multi-track of House of the Rising Sun as I owned a lot of tape recorders. I don’t have a copy of that which is a shame.
I built a 250W valve amp from parts and broke several window panes emulating Hendrix!