
Manchester Guitar Tech
Recreating the Everyday Electronics Delta Electric Guitar (Part 1)
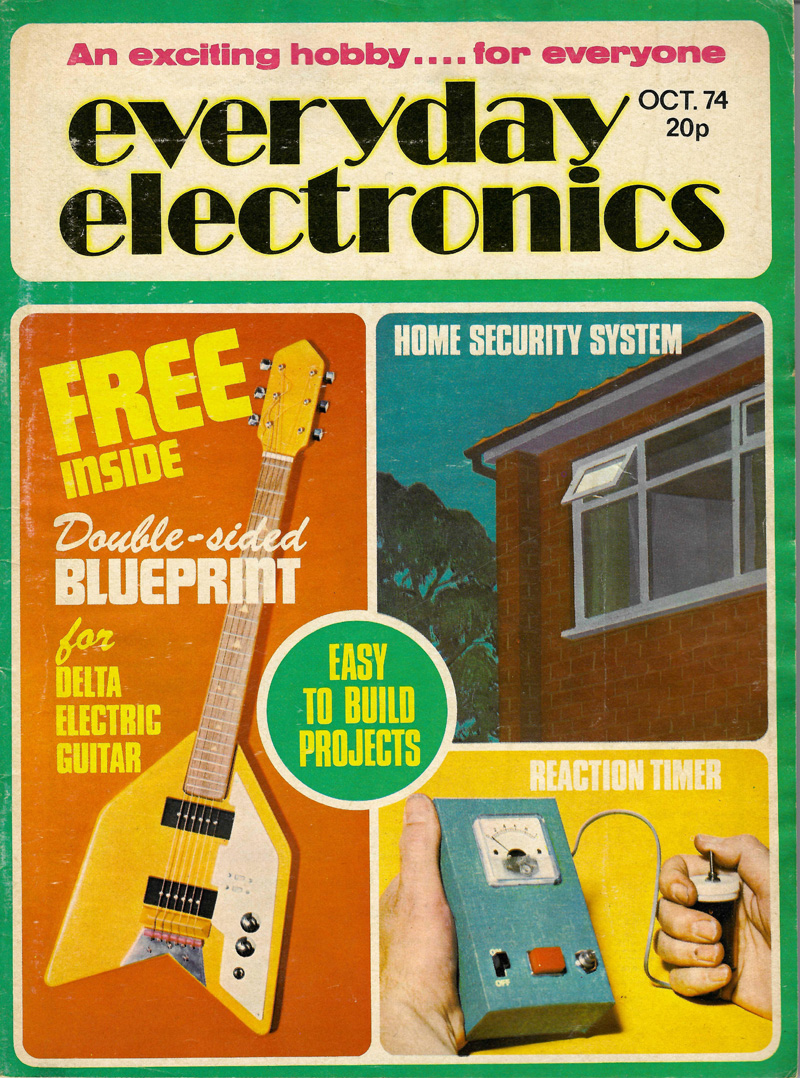
Almost 50 years ago. in 1974, I was a guitar obsessed teenager who loved to make things. A popular hobbyist magazine, “Everyday Electronics” ran an article on making an electric guitar in its October issue. The magazine included plans and instructions on how to make just about everything (PDF available here).
How could I resist?
I made my guitar in the woodwork block at school and still have it to this day. The neck is mahogany with a maple fretboard. Whereas the article called for plywood and chipboard(!) my guitar’s body is made from two layers of Perspex. I intended for it to be transparent but that didn’t go well. The chemistry teacher, Dr Noel Jones suggested welding the layers using glacial acetic acid but it left voids in the join and it looked terrible. My guitar went through a few modifications. It was originally painted in Ford Le Mans Green, with a stainless steel pickguard, home-made pickups and a wooden bridge with stainless steel tailpiece. I originally used classical guitar tuners as they were all I could find in 1974. I soon changed the colour to white and made a laminated black/white/black pickguard from signwriters material which I fitted with a pair of “proper” pickups which I seem to recall came from Radiospares? Eventually about a year later it ended up with the tuners and bridge from my old Avon Les Paul copy when I upgraded that guitar.
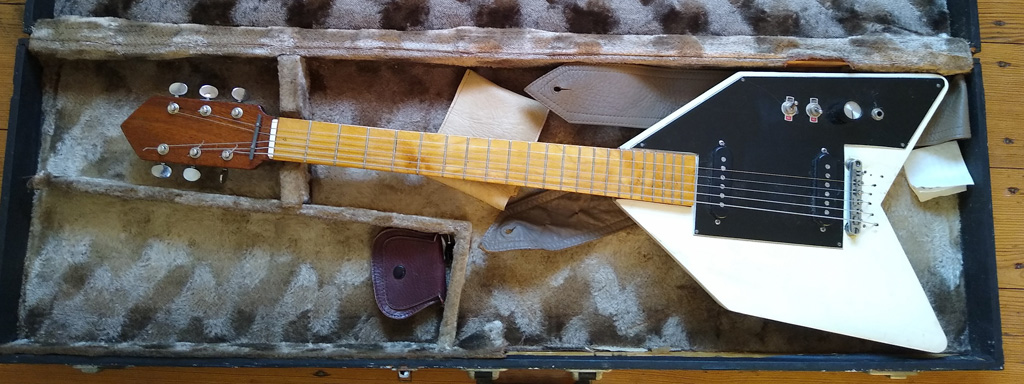
I even played my Everyday Electronics Delta on stage once or twice but to be honest, it really isn’t that great and I’ve learned a lot in the last 50 years and now have access to better tools.
So I decided to recreate it.
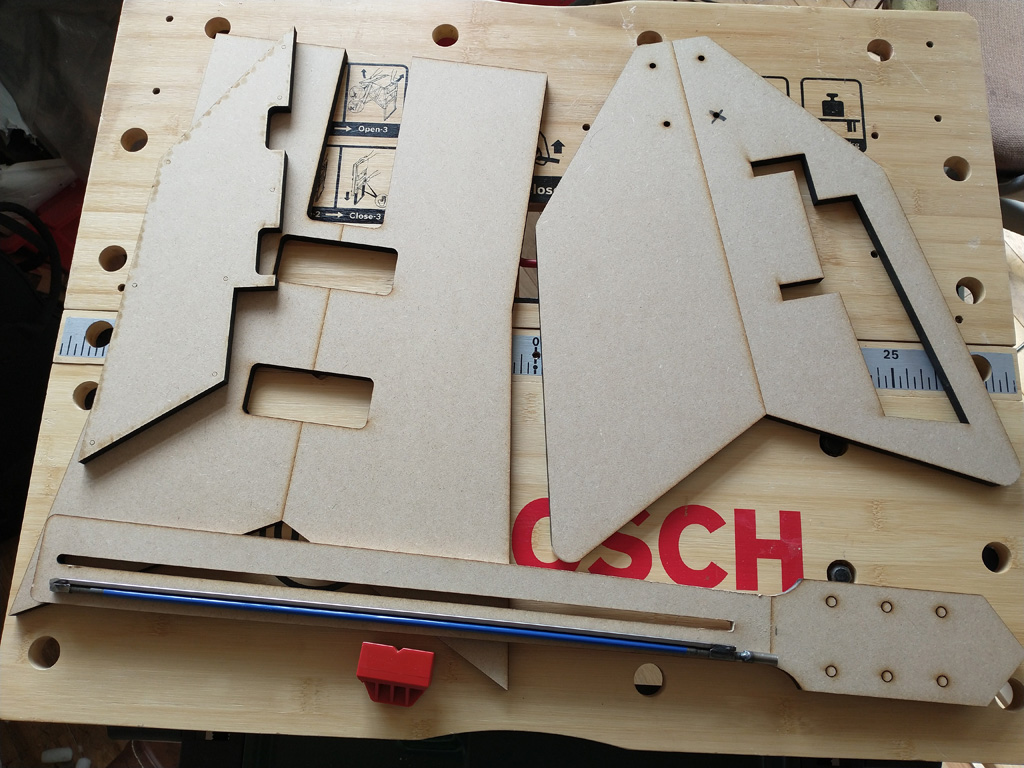
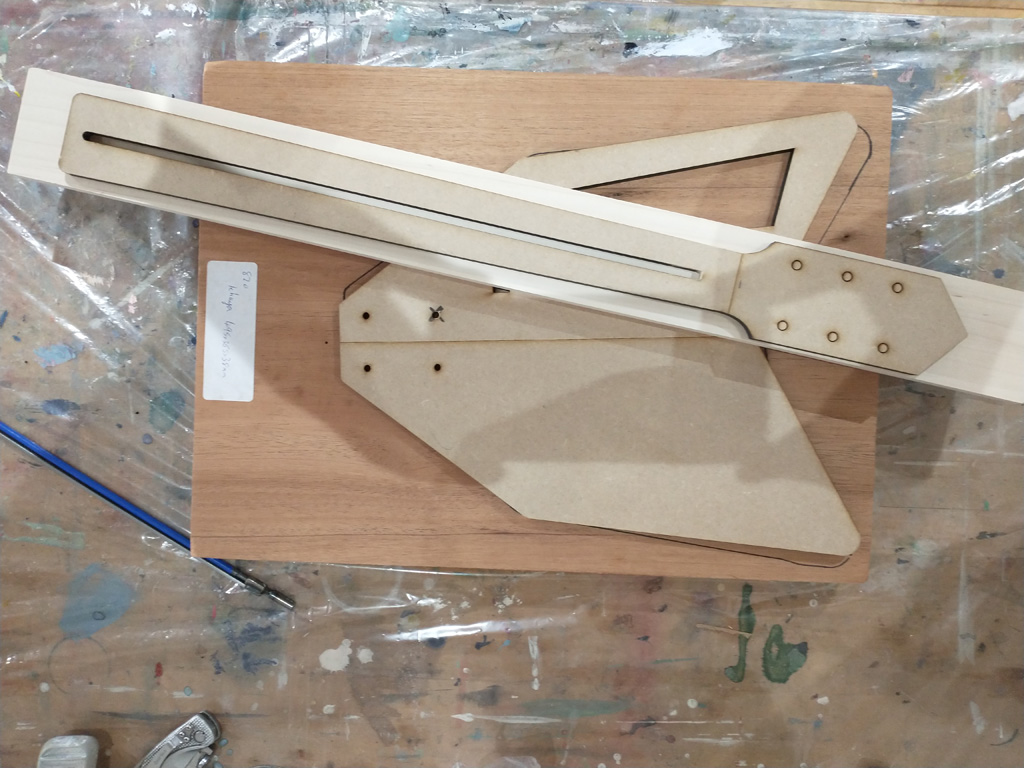
I couldn’t source the original “blueprints” from the magazine so took measurements from the old guitar, drew the components in Inkscape incorporating some upgrades and had a friend laser cut a set of templates. I made two body templates, one for the outline, control cavity and neck screw holes, and the other for the neck pocket and P-90 pickups.
Routing the body
This time the body would be mahogany and the neck maple with a rosewood fretboard, altogether more conventional materials. The wood came from Guitars & Woods in Portugal and I chose a nice 38mm thick one-piece blank for the body. The blank did have a few twig knots but I was easily able to avoid them.
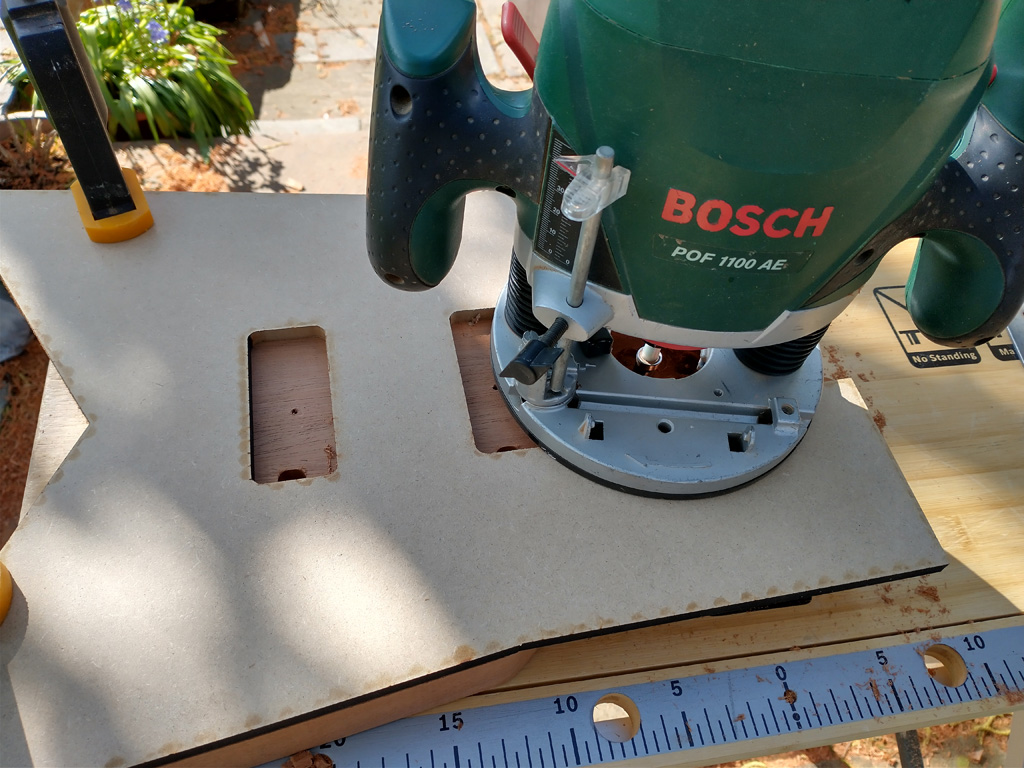
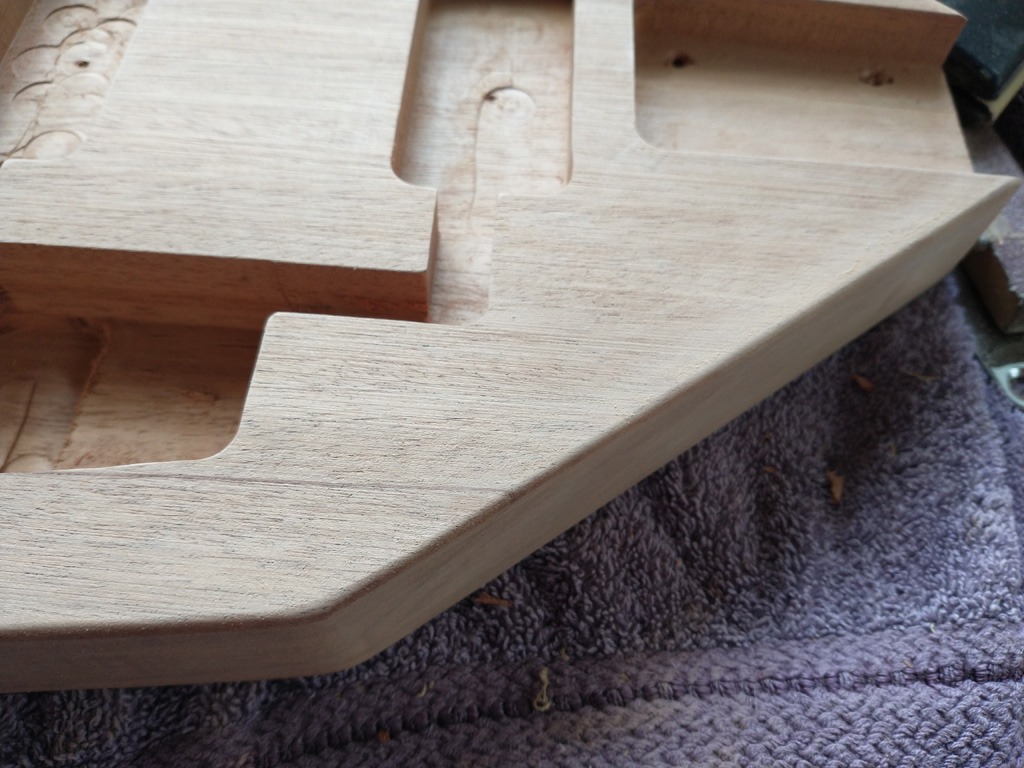
First job was to cut the outline. I drew around the template and used a jig saw to cut the blank outside my line. I then screwed the template firmly to the body blank where the pickup cavities would be cut later and trimmed to the template with a router and flush trim bit.
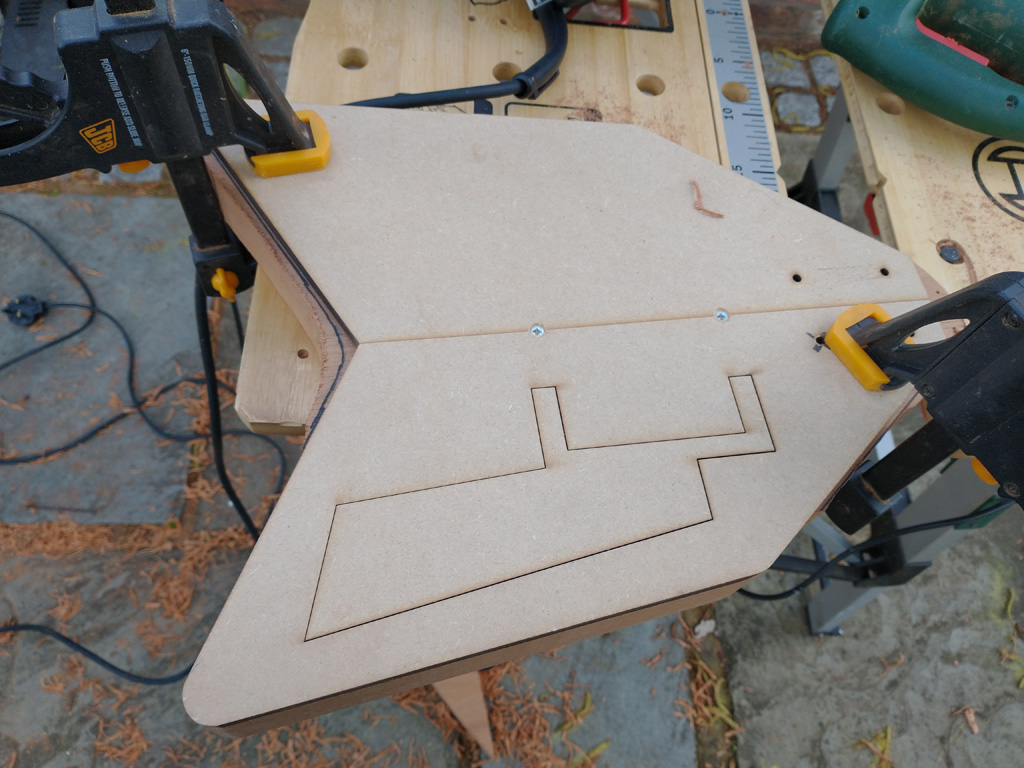
I cut the control cavity at the same time but forgot to drill the neck screw holes! I reattached the template and drilled these on my pillar drill.
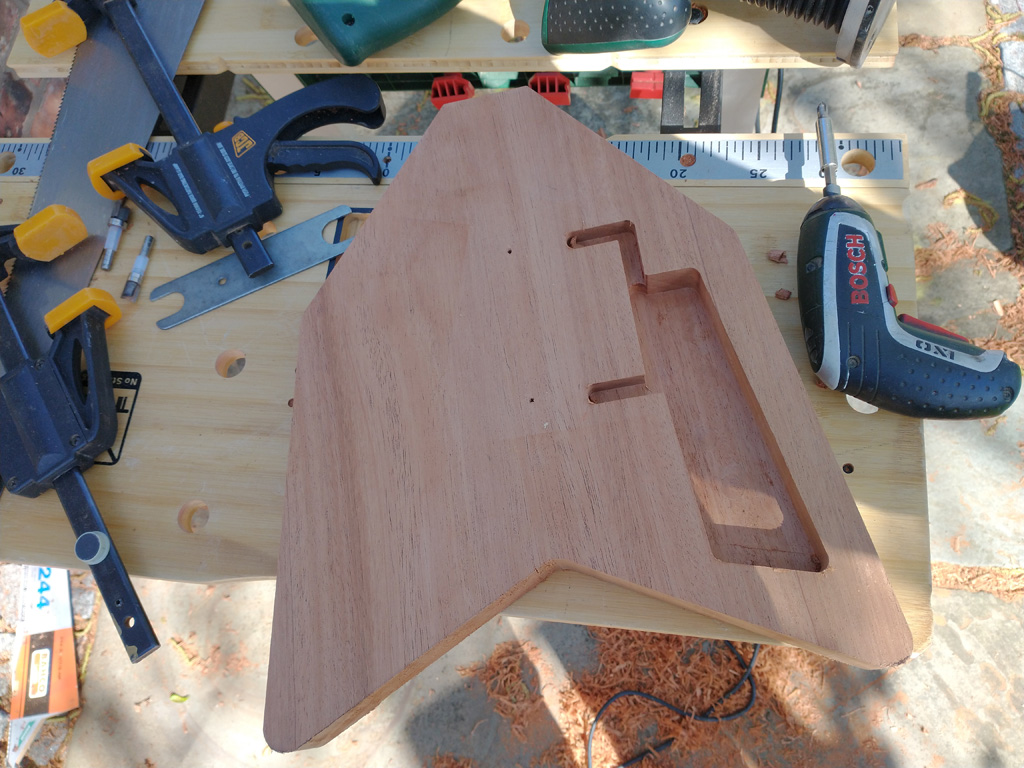
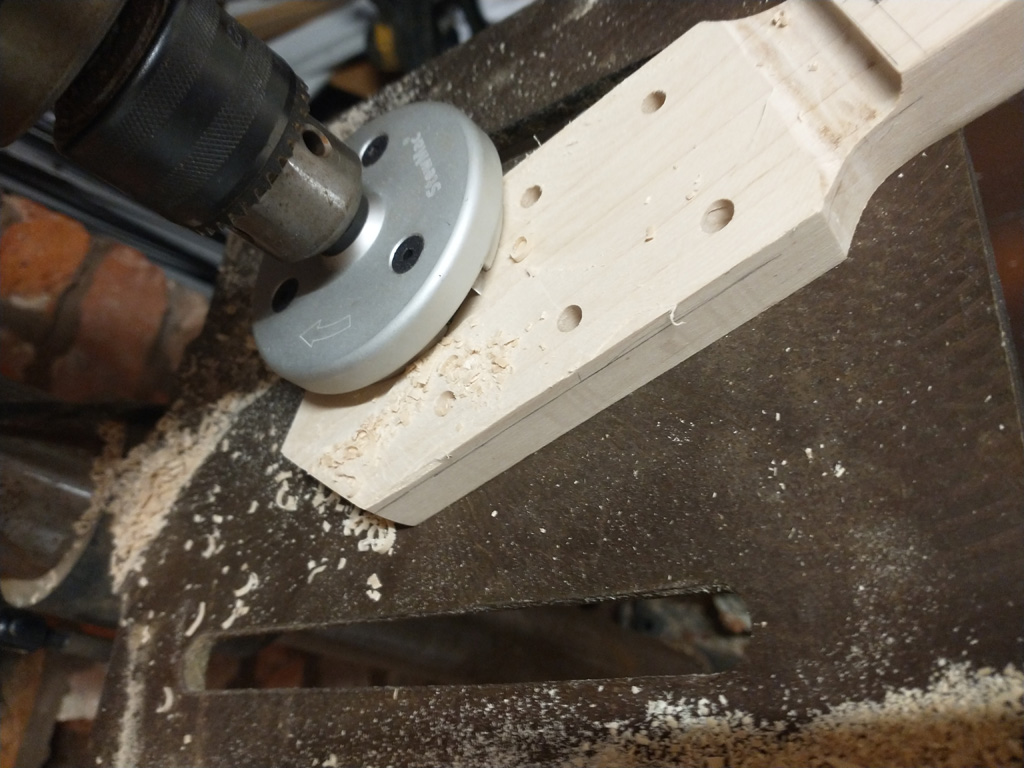
Next step was to rout the neck pocket and pickup cavities using my second body jig, using a plunge router.
The final job on the body for now was to round the edges over slightly. I used a 3.2mm radius bit for this.
The Neck
The neck is cut from a 25mm thick maple blank. As with the body I cut the shape out roughly then attached the template and trimmed to shape.
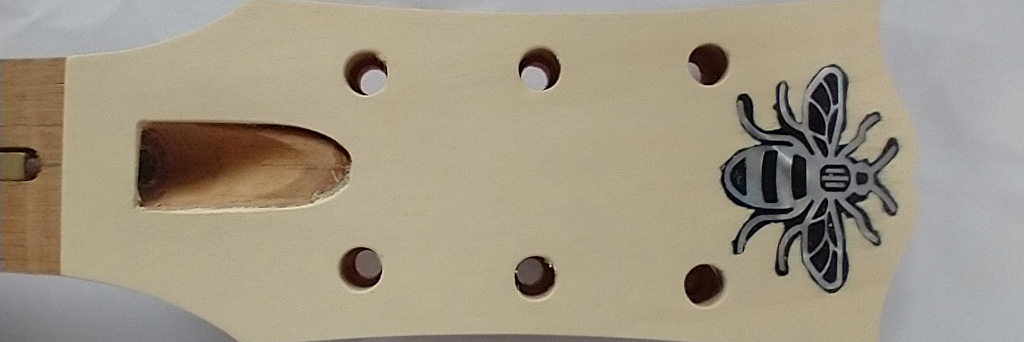
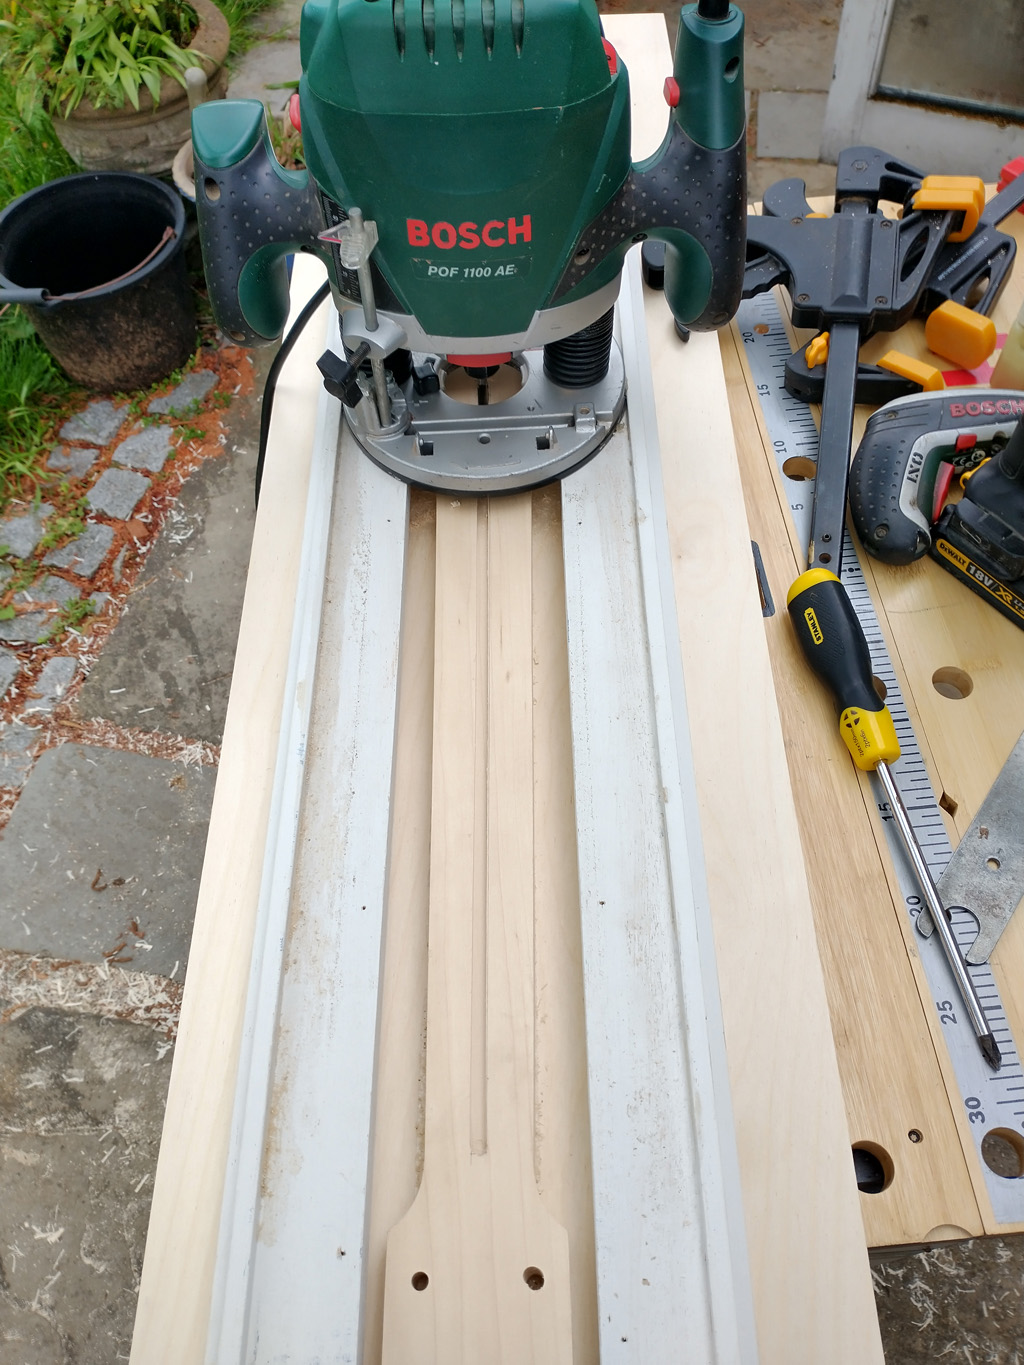
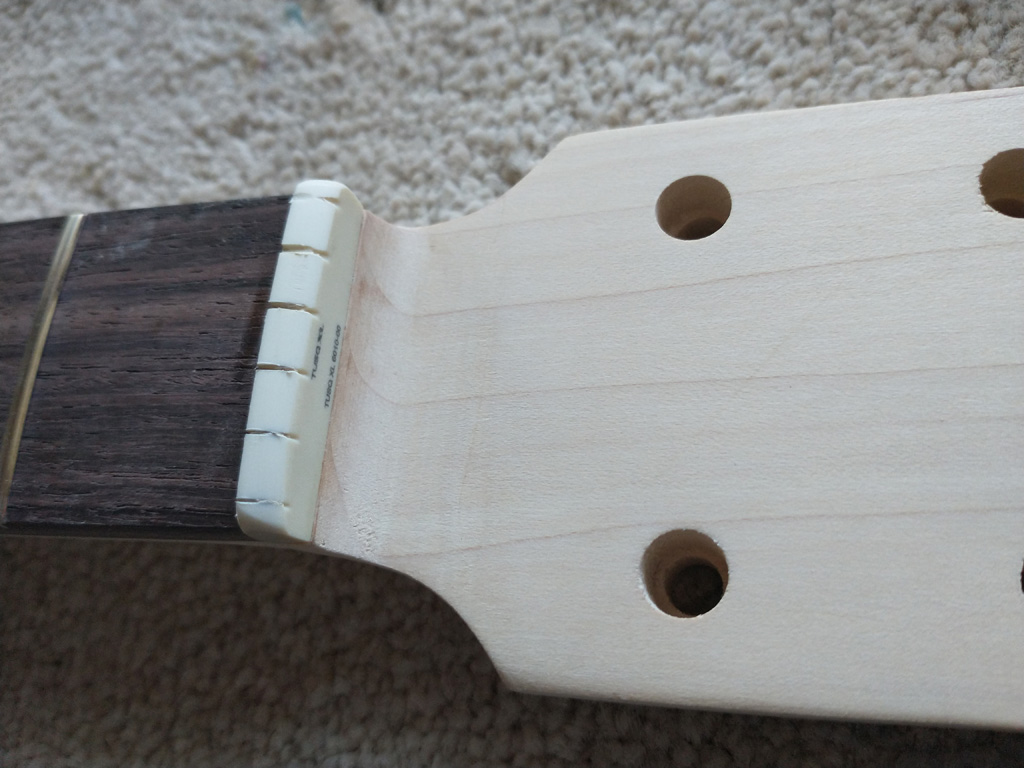
I intended to rout the truss rod cavity with a small trim bit but the job was too much for it and it broke. Plan B was to cut the channel using a sled which I made from old picture frames. The truss rod access is at the heel of the neck as this was easiest to achieve and doen’t compromise the strength of the headstock.
I carved the transition from nut shelf to headstock face using a bullnose router bit, utilising some perspex templates to guide along where the nut will sit.
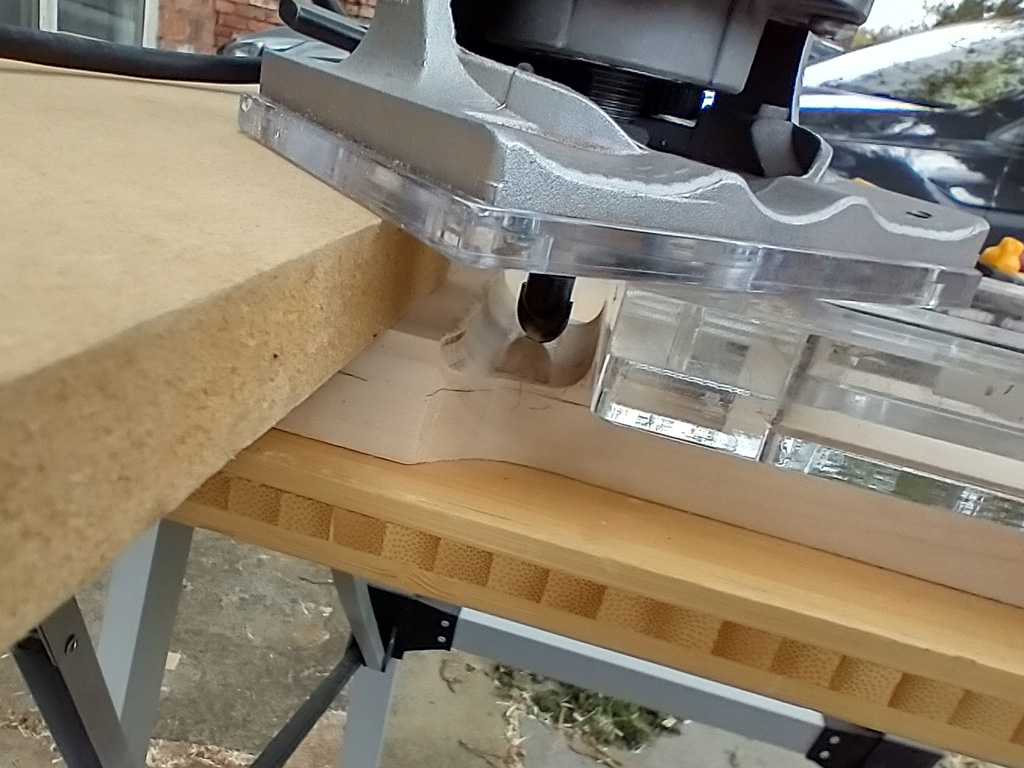
Then I trimmed the face using a Stewmac “Safe-T-Planer” which despite its name was a scary piece of equipment to use. It took quite a few passes to do this as if I tried to go too fast the blades would grab the wood instead of cutting it.
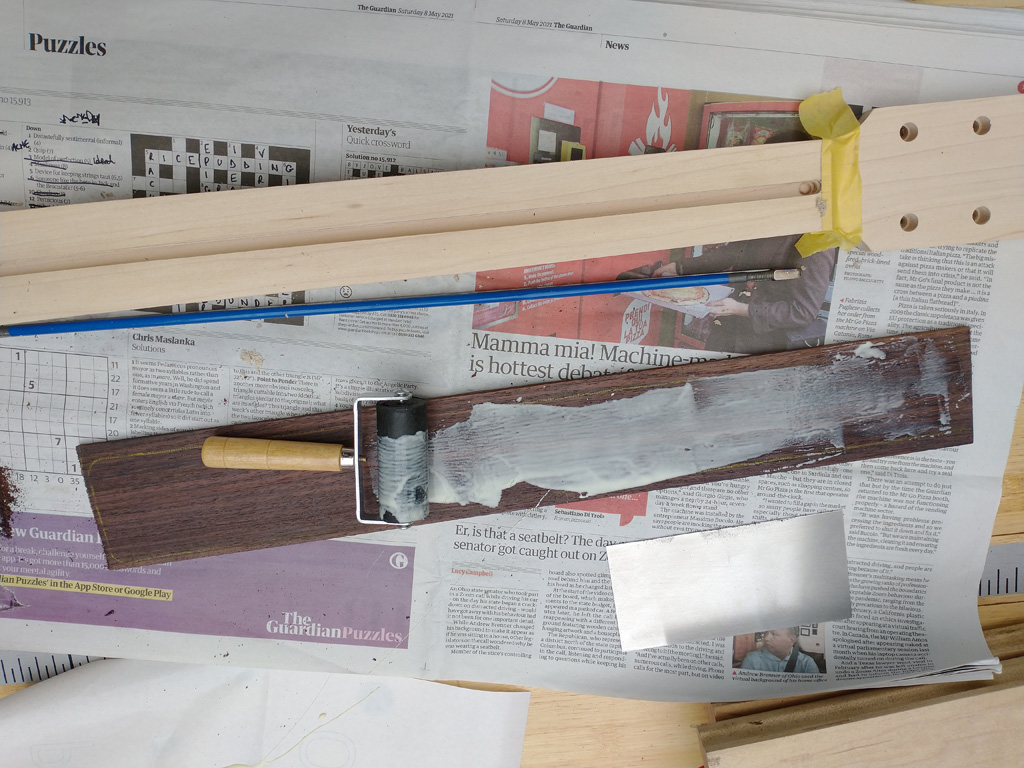
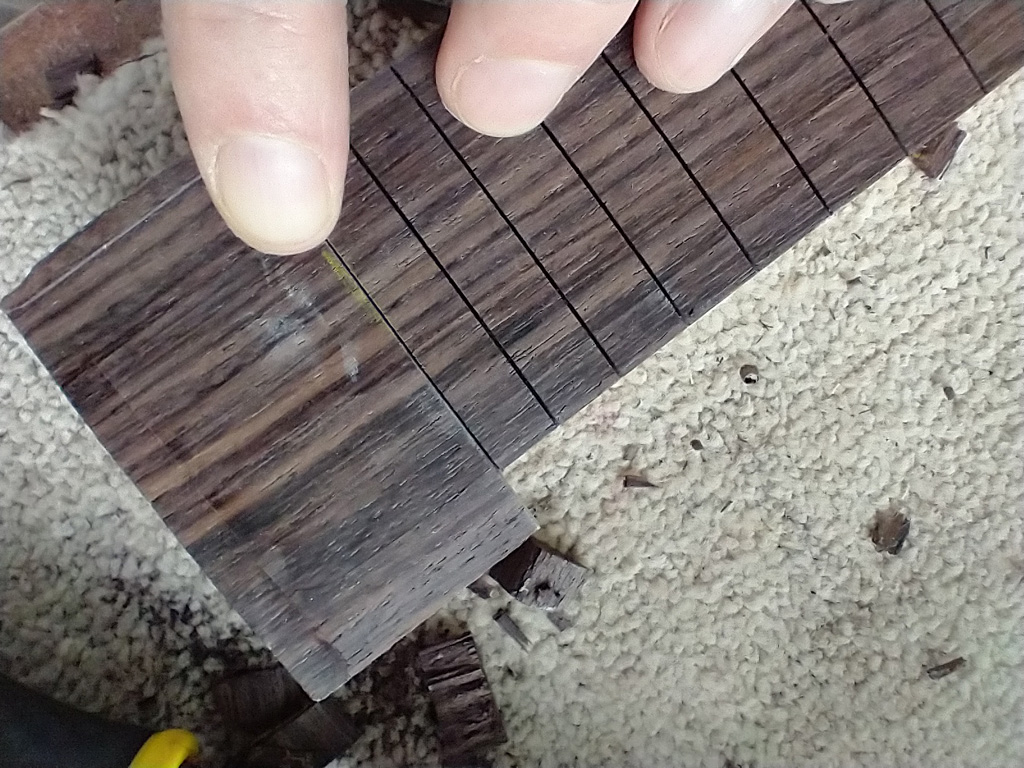
Next step was to prepare the fretboard. I’d bought a ready-slotted but un-radiused board from Guitars & Woods so had to carve a 12″ radius on the face. I used my Guitar & Woods radius jig, making cuts across the fretboard to remove most of the wood then passes down its length to give a fairly decent surface which just needed a touch of sanding using a radius block.
Tip: I raised the nut end of the fretboard blank by about 1.5mm relative to the heel. This meant that the board ended up thicker at the centre at higher frets, but because of the radius, and it being wider at that end, the depth of the fretboard edge was constant along its length.

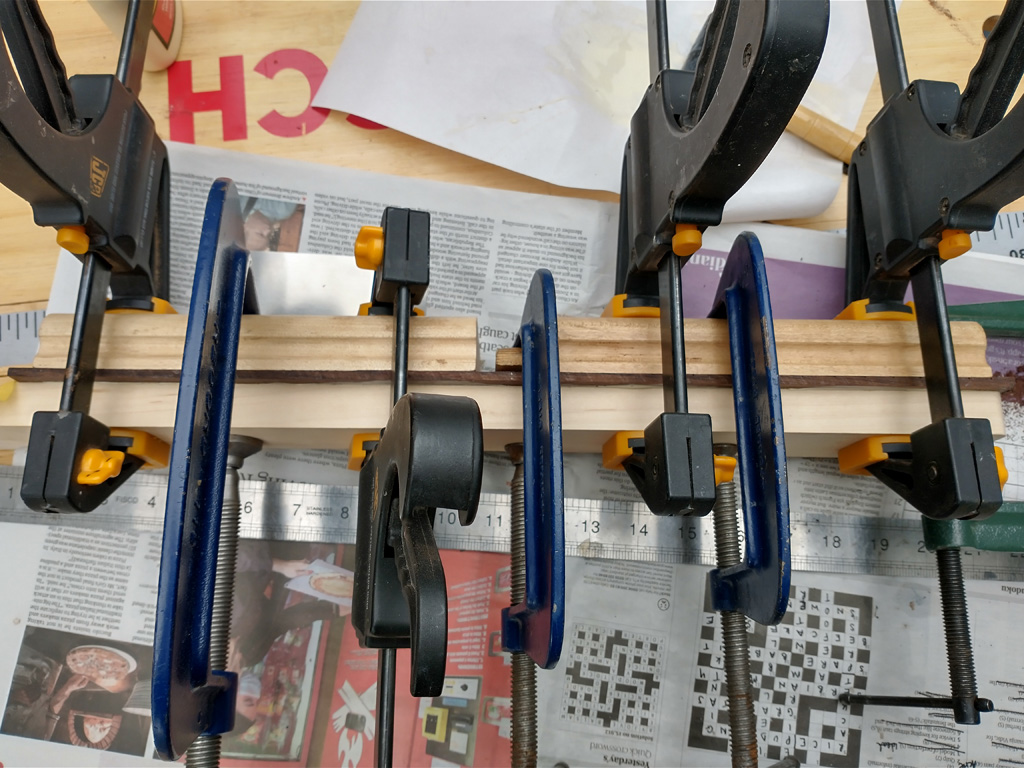
I thought that the easiest way to match the board to the neck was to glue it on then trim to size using a router so popped the truss rod into its channel and set to work with the glue.
Using just about all the clamps I had.
Once the glue had dried I set about trimming the board to the neck. Unfortunately I had a small mishap and a bit of tearout. I think that maybe there wasn’t enough glue at this point.
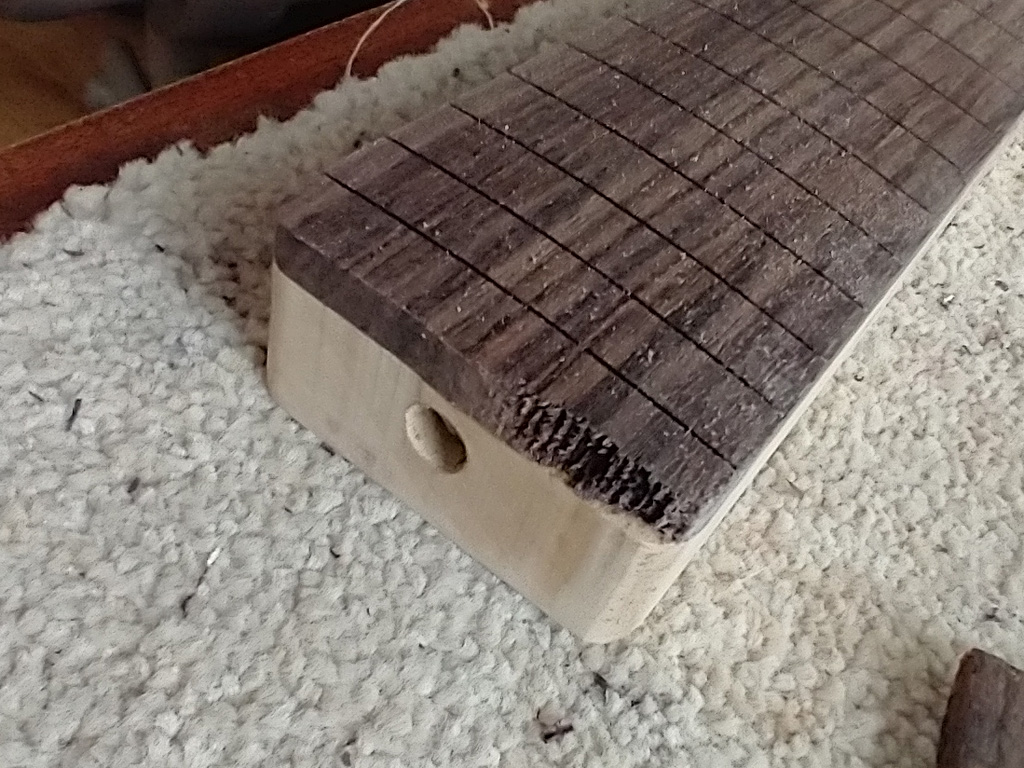
Luckily I had the end cutoff so chiselled off the wood beyond the 22nd fret slot and glued on the cutoff. It was an (almost) perfect match and you’d never know.
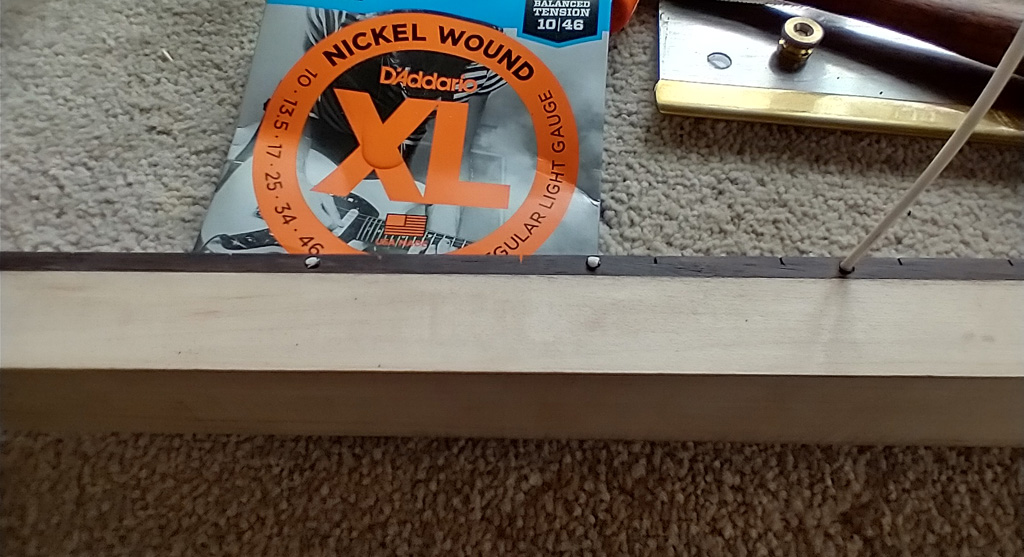
Next step was the position marker inlays, both side and face of the fretboard. Side dots are 2.5mm plastic tube and the face dots are ¼” acrylic, both from AllParts.

Once I’d sanded the inlays flush I started the fretwork. I used a saw with a depth stop to make sure each fret slot was exactly the correct depth then pressed the frets in using a caul and my drill press. This was pretty straightforward as I hadn’t carved the back of the neck at this point.
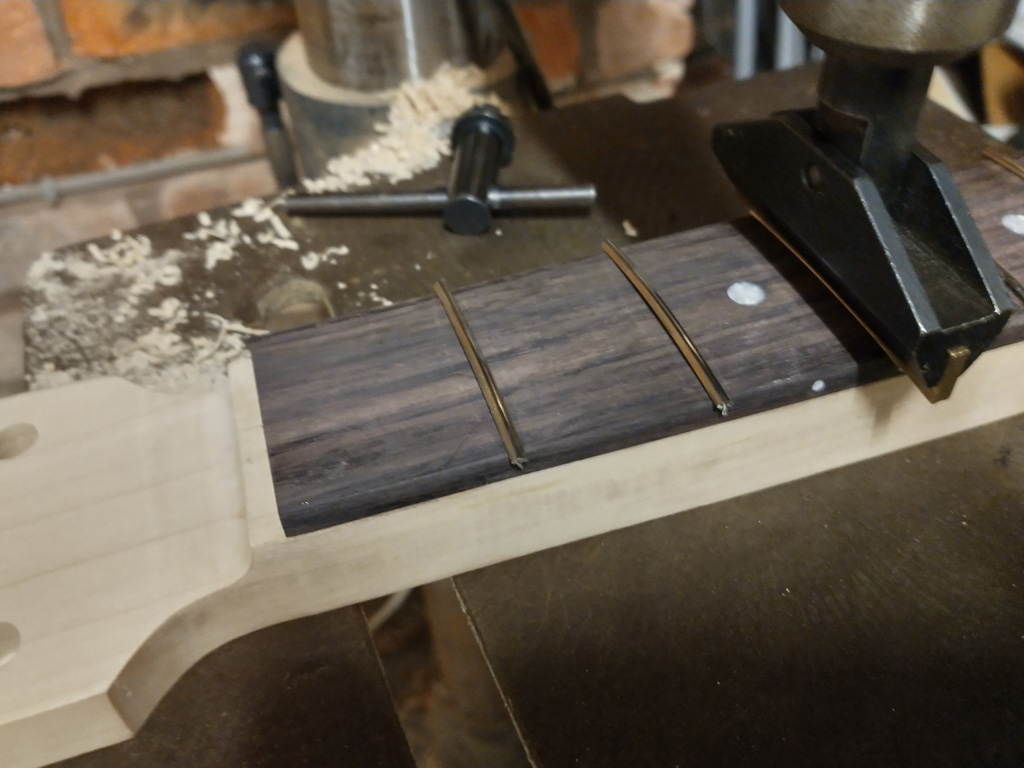
Then chamfered them to 30° with a file. Looking good!
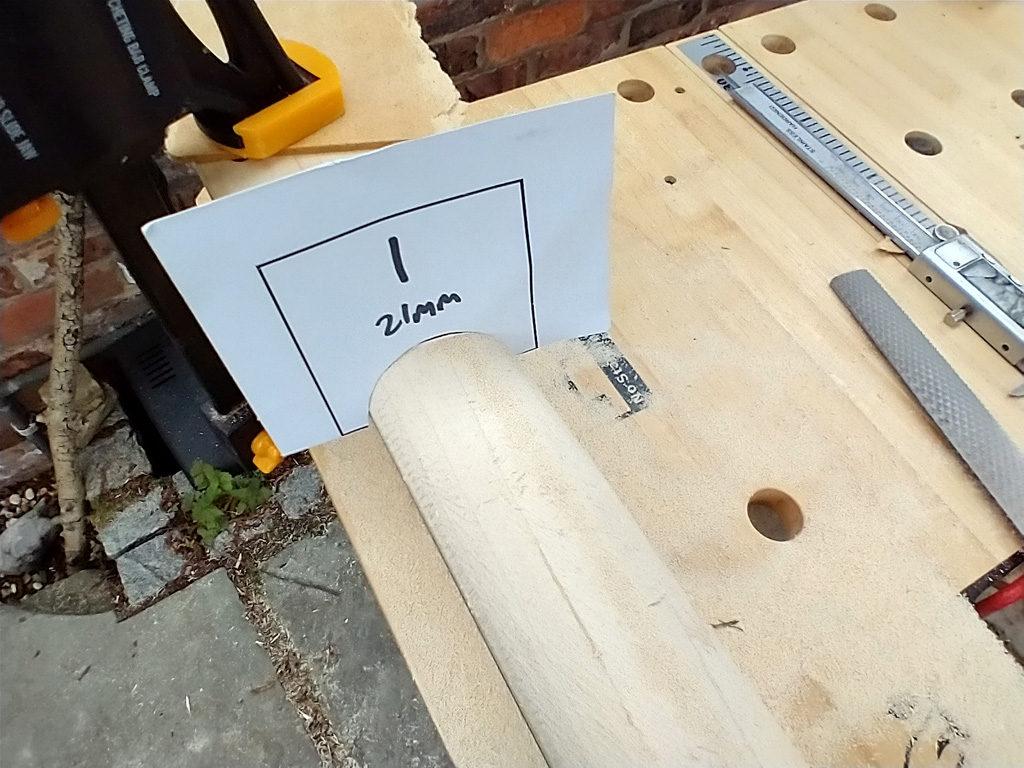
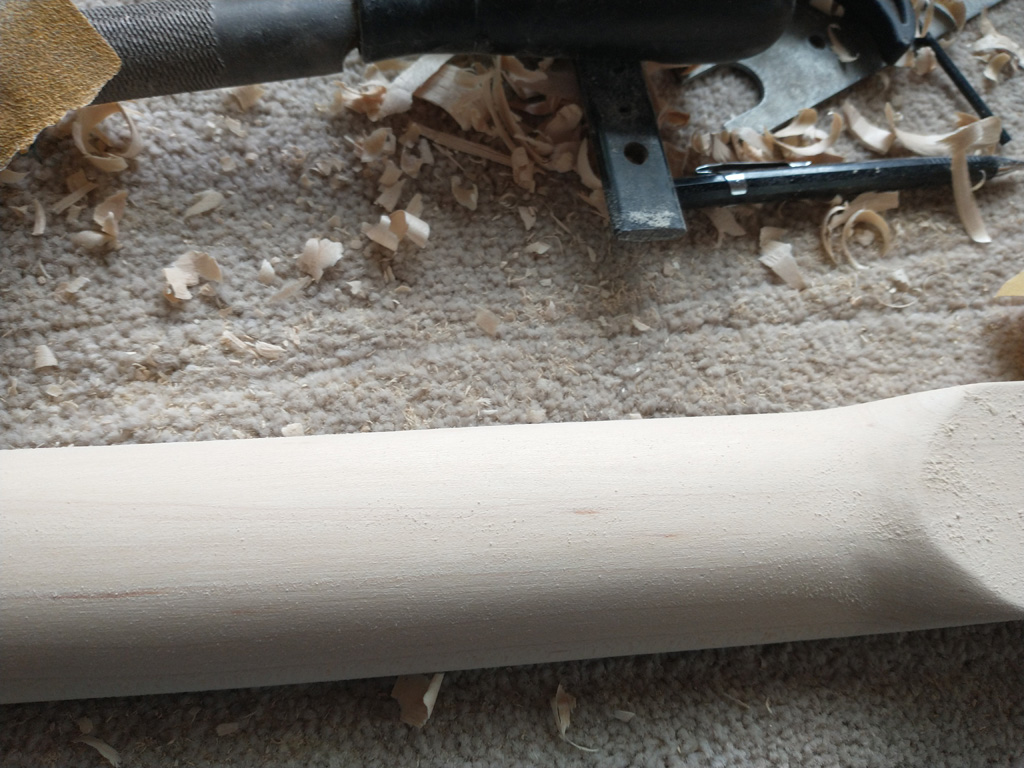
To complete the neck, I carved the back profile using a coarse file. I started with the main shaft, using some cardboard templates that I made to check the shape periodically.
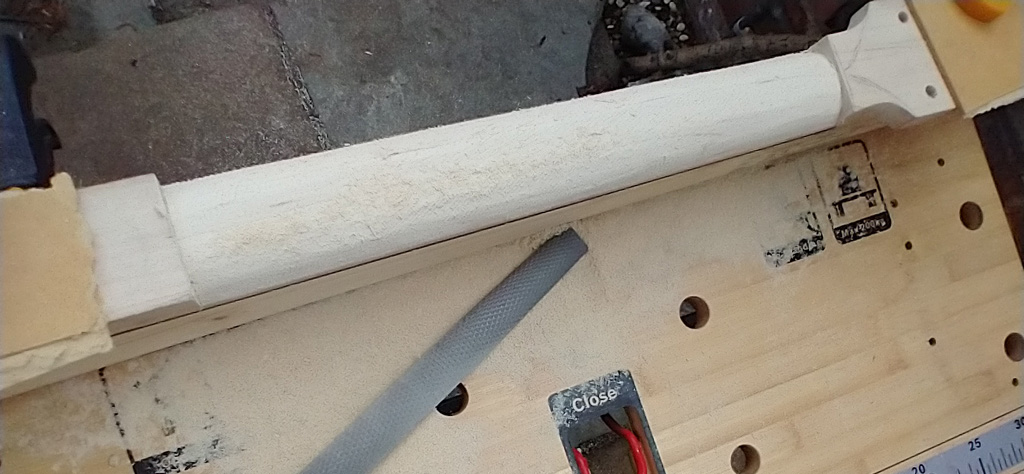
Then I blended in the headstock and heel transitions.
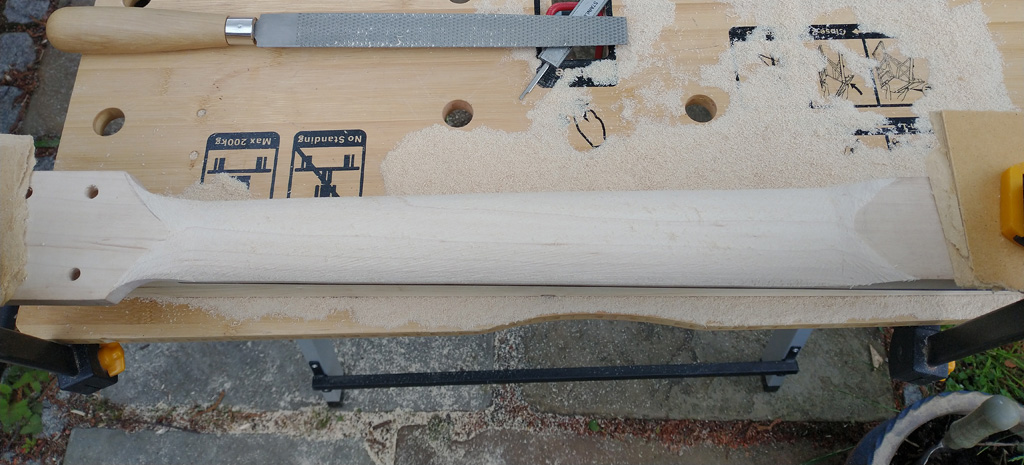
Before sanding everything to a smooth finish of 320 grit.

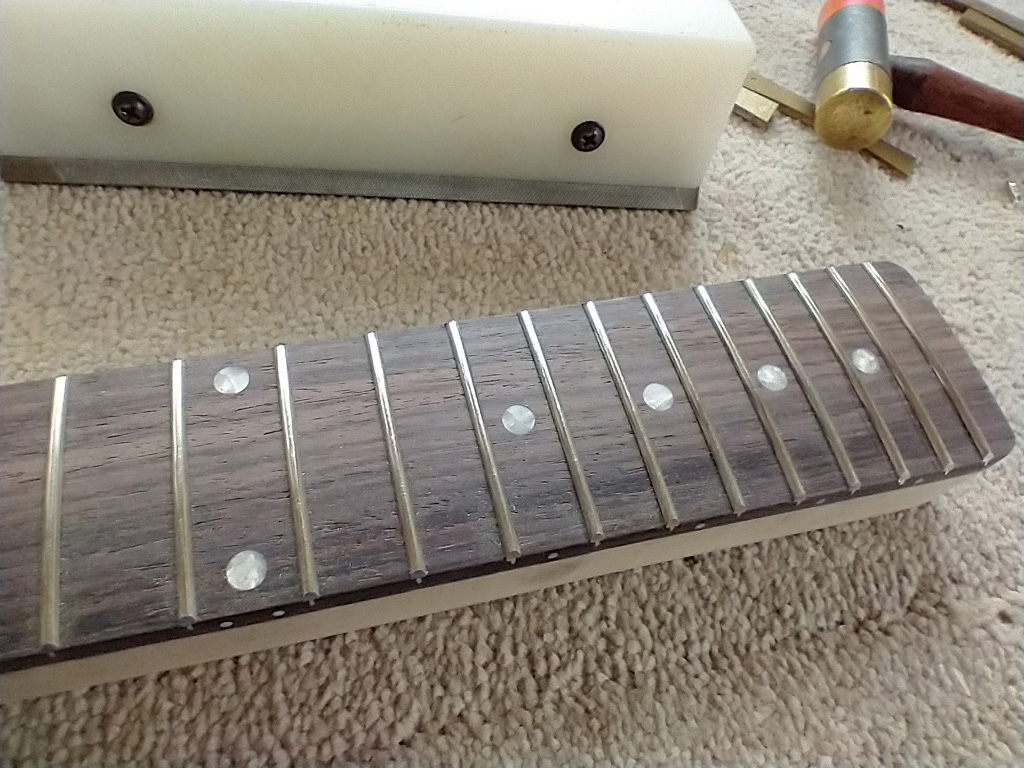
Finally I fitted a Tusq nut and that was the neck ready for finish. You’ll see too that I have counterbored the tuning peg holes to accept Kluson ferrules.
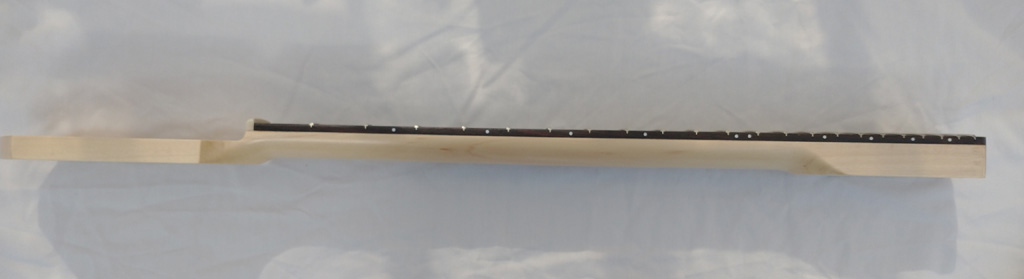
The completed neck:
I’ll cover finishing and assembly in Part 2 shortly.