
Manchester Guitar Tech


Ozzy Lister – guitar and bass repair

In the mid-70s, some Gibson semi-acoustics such as the ES-335 and ES-347 were fitted with coil splitting switches, which shorted out one coil of each pickup to provide a single coil sound. I think this was a nod to fashion as thanks to disco and in particular Nile Rogers, the Fender Stratocaster sound was all the rage.
The Gibson schematic uses a special switch to split the pickup coils. This switch is as far as I know not available from Switchcraft. I had a customer come to me and ask me if I could get one for his guitar. I said no, but I can make you one. These switches haven’t really changed for over 50 years and thankfully it’s possible to take them apart and put them back together in different ways.
Here is the old switch. The problem with it is that the extension on the long leaf which the toggle acts against has broken off. The lower long strip of metal is a semi rigid stop meaning that the toggle can only move in one direction. I transferred this part (which isn’t present on the new switch) to the rebuilt version.
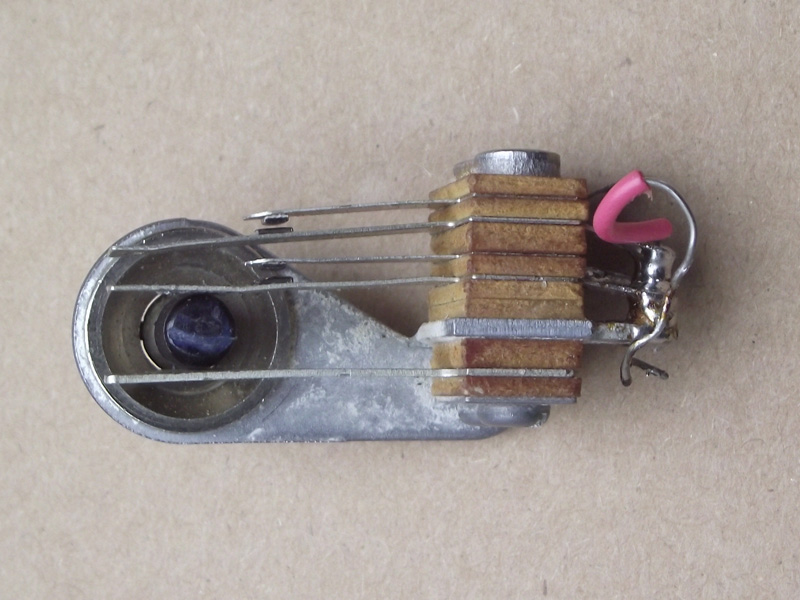
Old Switchcraft coil tap switch
Here is the old switch together with a modern donor. The donor is the standard SPDT pickup switch.
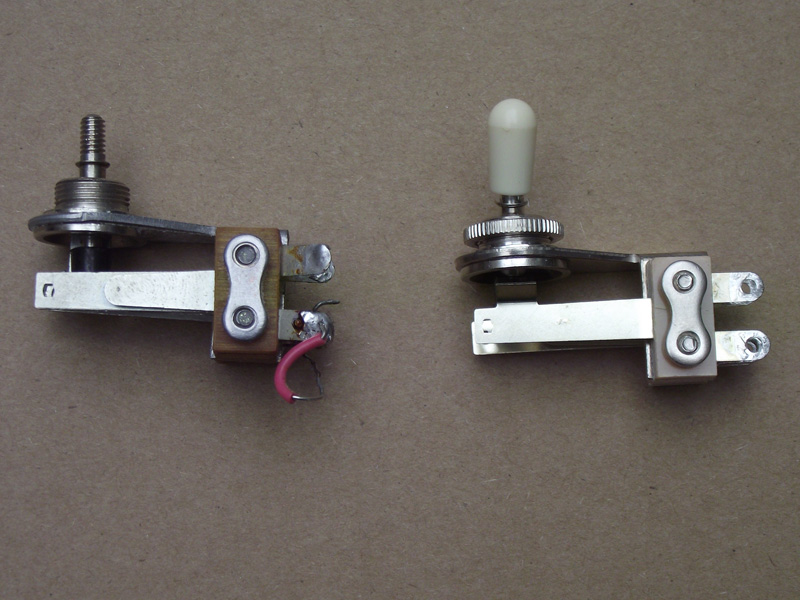
Switchcraft coil tap switch (left) and modern donor (right)
I ended up using all the leaves from the new switch as they were straight with new contacts. There was no point using old, damaged parts for a misplaced loyalty to originality. Of course all the old parts will be given back to the customer as always so they can rebuild the original if they ever wanted to.
The only modification required was to bend the extension strip mentioned above the opposite way as on the pickup switch the contacts are inboard and on the coil split switch they are outboard.
Here is the new switch open and closed so that you can see the mode of operation.
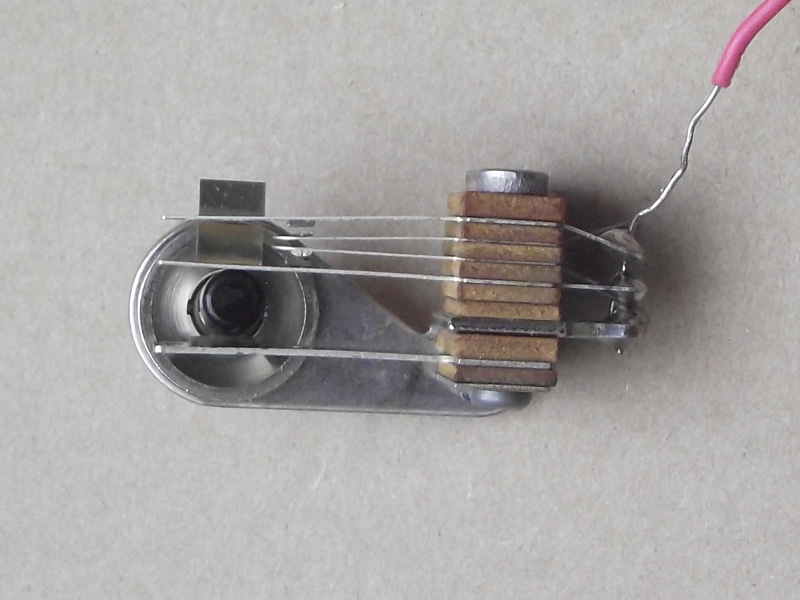
Rebuilt Switchcraft coil tap switch open
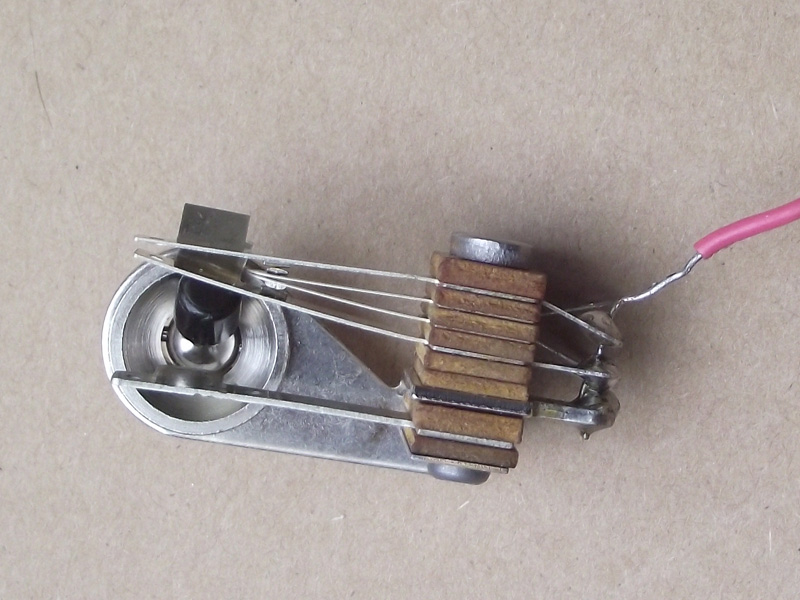
Rebuilt Switchcraft coil tap switch closed
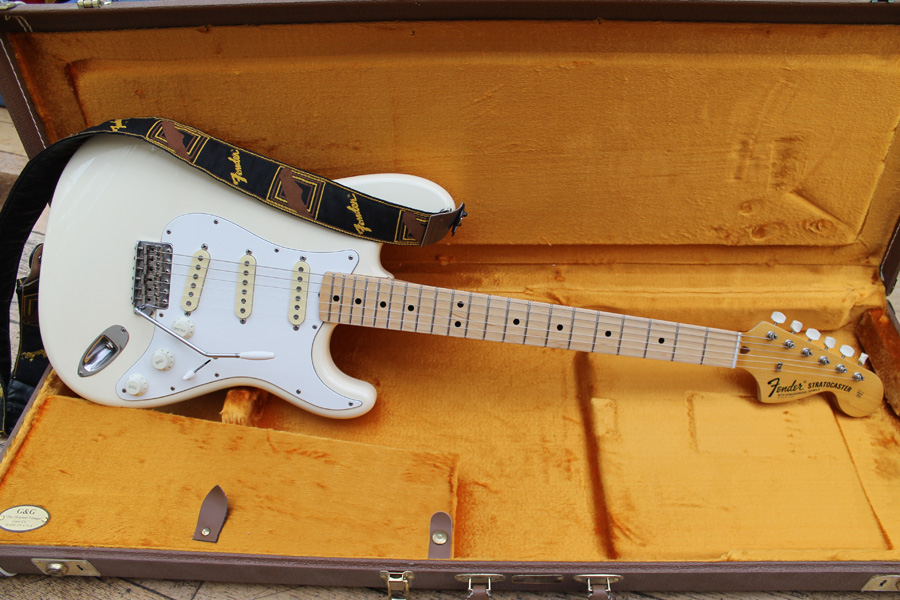

69 replica neck fitted to my Stratocaster
I have now fitted the neck that I fretted and lacquered to my Fender 62 reissue Stratocaster.
Apologies for not photographing the stages of fitting the tuners and cutting the nut but these steps are covered elsewhere on my blog.
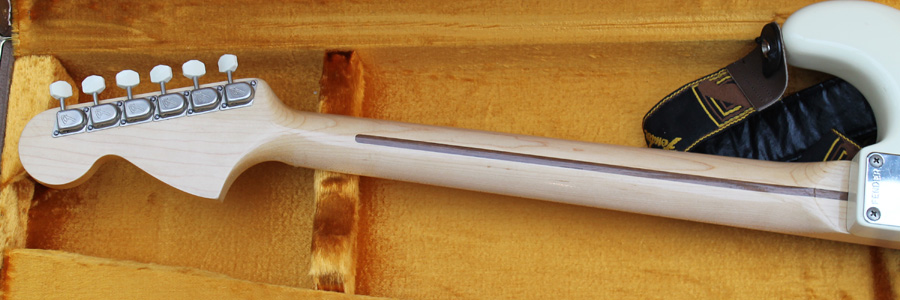
You can see that I fitted some original F-logo tuners. They are actually from a Fender Mustang or similar guitar as they have plastic buttons but the construction is otherwise identical to tuners that would have been fitted to a 1969 Stratocaster.
I’m pretty pleased with the way the neck feels, it isn’t a slim neck, certainly bigger than the neck that was on my 62RI but it’s very comfortable with the soft V shape at the first fret transitioning smoothly to a rounded profile at the 12th.
The neck relief is adjusted almost straight and the action is 1/16″ across the fretboard at the 12th fret.
I covered fret dressing in this earlier post but will repeat the steps here for completeness. The pictures should tell the story but I’ll add some text where I think it’s necessary to explain further.
The first job, before the frets can be leveled is to remove the lacquer from them. The easiest way to do this is using a round-headed nail with a groove filed in the head to match the fret size. It’s easiest to do this while the lacquer is still soft, but better left until the lacquer has hardened to avoid marking the surface.
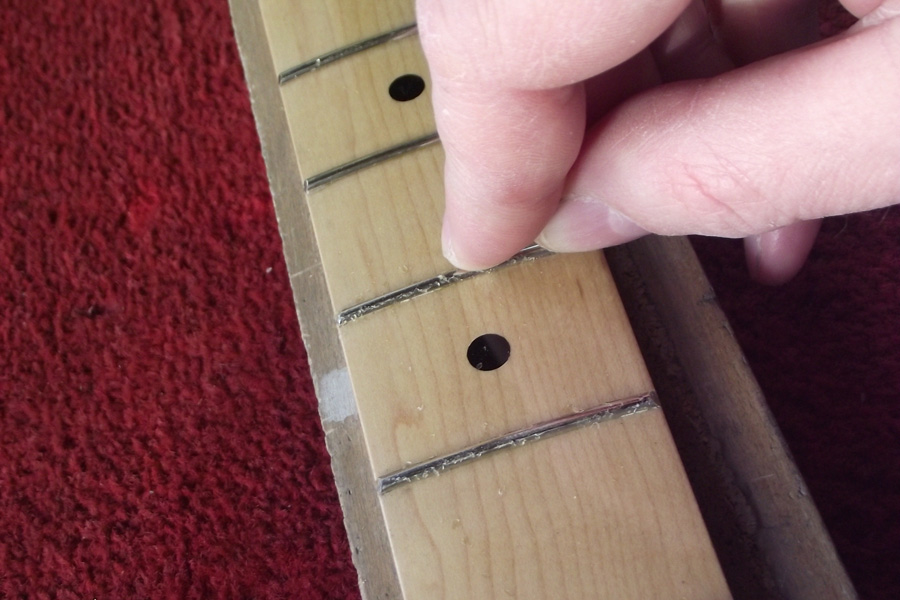
Scraping lacquer from the frets using a modified round-headed nail
The lacquer chips off the frets easily.
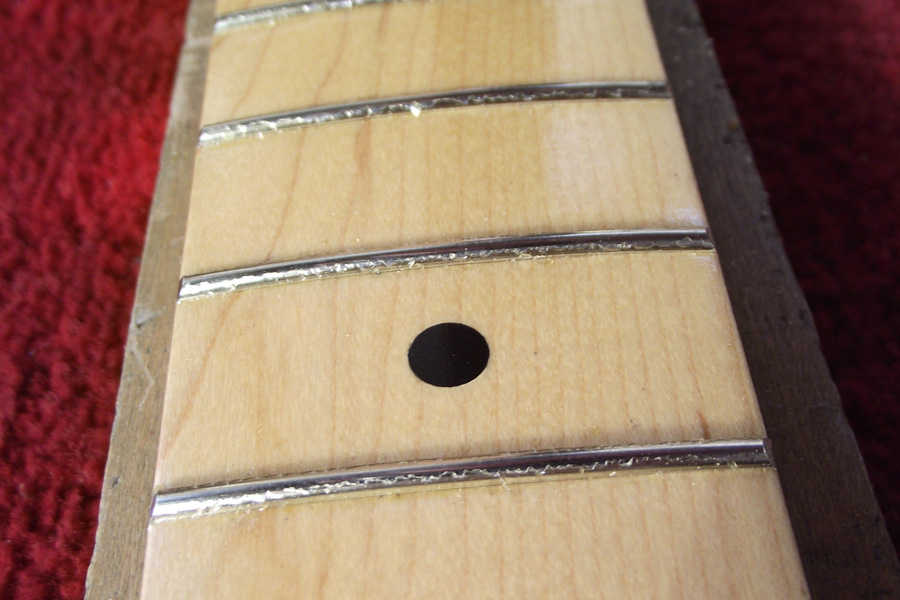
Showing the frets scraped clear of lacquer
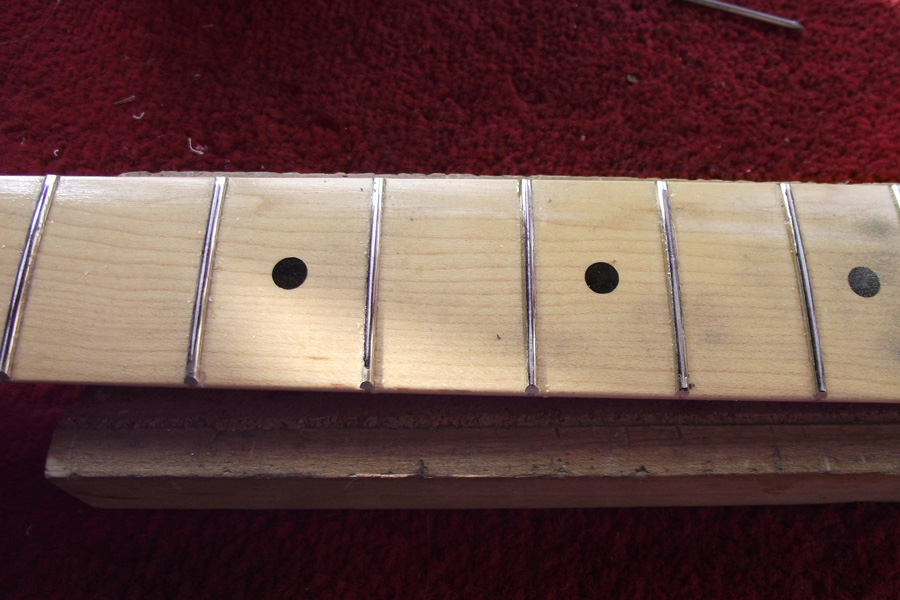
Next job is to mark the fret tops using a marker pen.
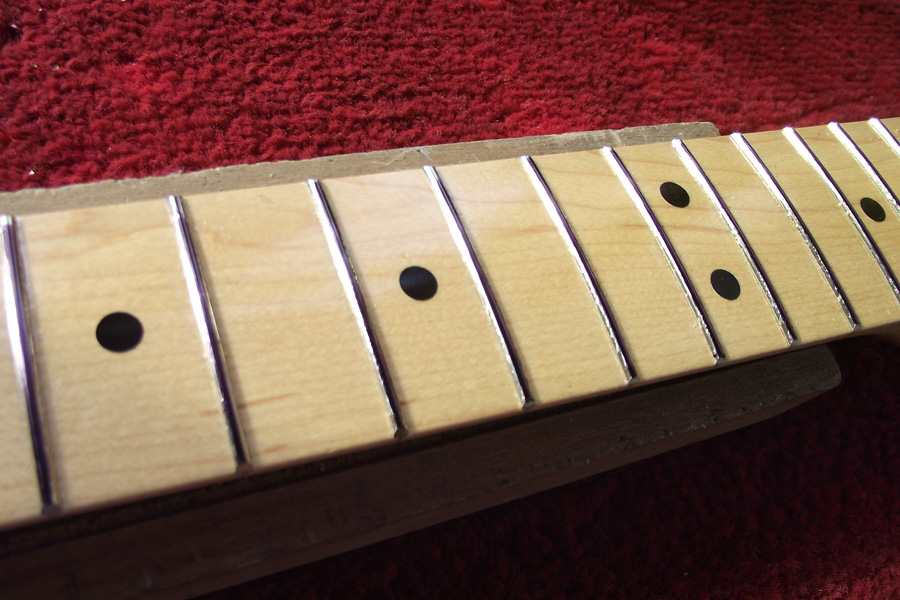
Marker pen on the fret tops will highlight low spots
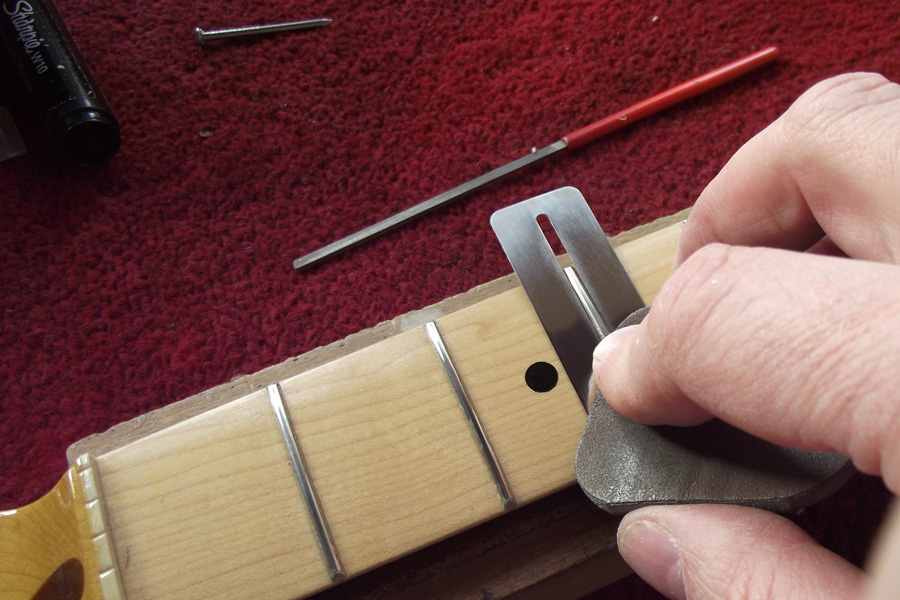
Check the neck is dead straight before leveling, using the truss rod to adjust out any curve in the neck.
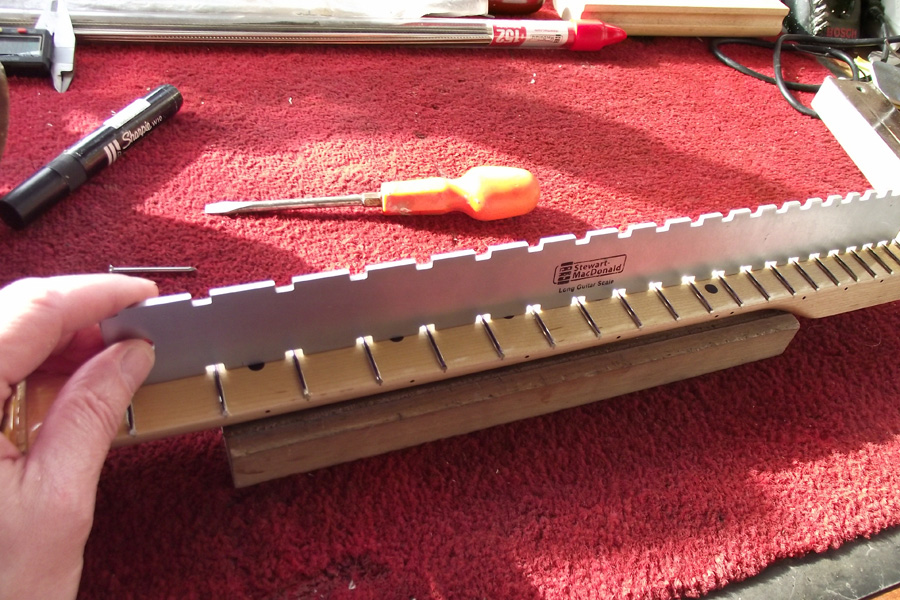
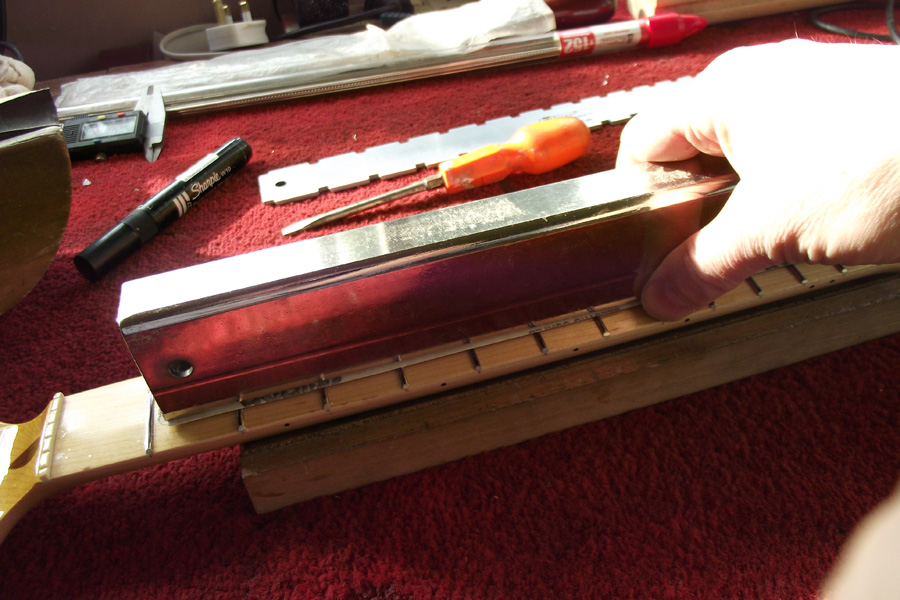
Checking the neck for straightness using a slotted straight edge
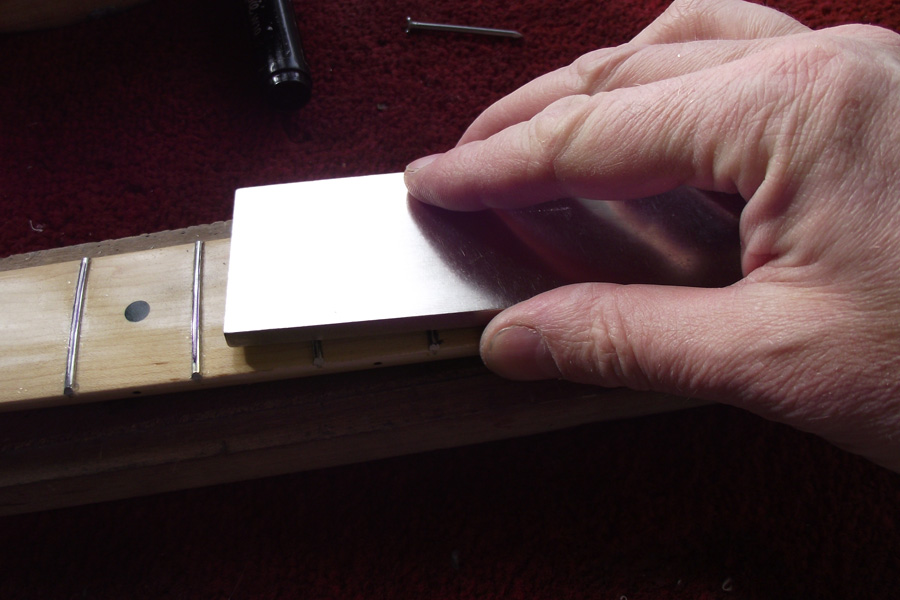
Use a long straight bar with abrasive attached to level the frets. I’m using a Stewmac precision ground fret leveller.
Using a sanding bar to level the frets
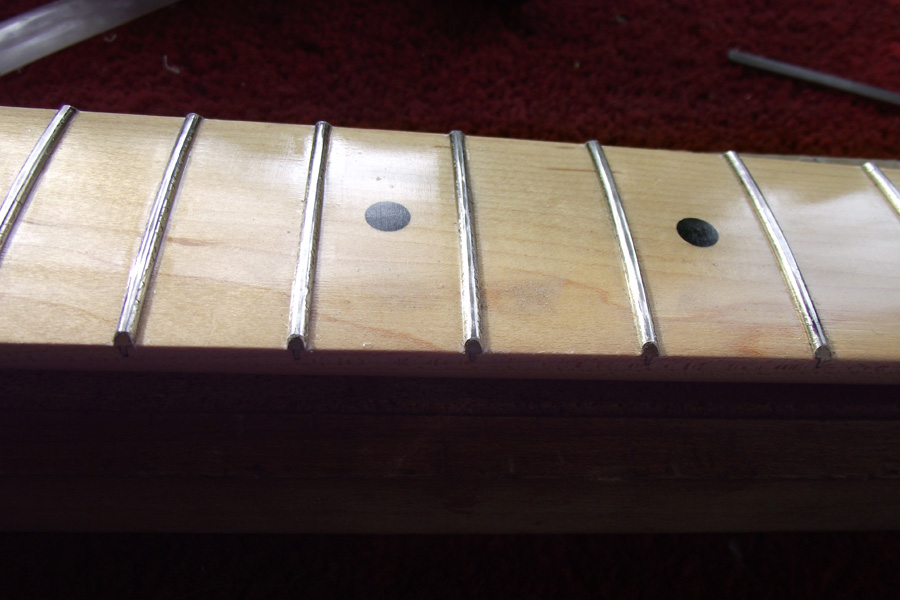
The marker pen ink will be sanded off the fret where it is leveled and any frets still showing black will be seen to be low.
Showing the fret tops all touched by the sanding bar
Once all the frets are level I changed to using diamond fret levelers which leave a finer surface.
Using a diamond-coated steel leveling file
Once the frets are level it’s time to recrown them. If the board was straight to begin with and the frets are well-seated, there shouldn’t be much work to do here. I used a Stewmac medium crowning file. I really should have run the vacuum over the fretboard before this – most of the dust you can see is abrasive.

Re-crowning the frets using a crowning file
The fret ends will still be quite sharp from the beveling step before the neck was sprayed so the ends will need rounding at this point. I used a diamond-coated fret file to take the sharp corners off the frets.
Showing the rounded fret ends
Once the fret shape is correct, it’s time to polish them. I really like Micromesh abrasive pads which by using progressively finer grades remove any remaining scratches from the fret surface and leave the frets with a deep shine.

Removing scratches from the frets using Micromesh pads
And finally, whilst buffing the lacquer, the frets get buffed too.
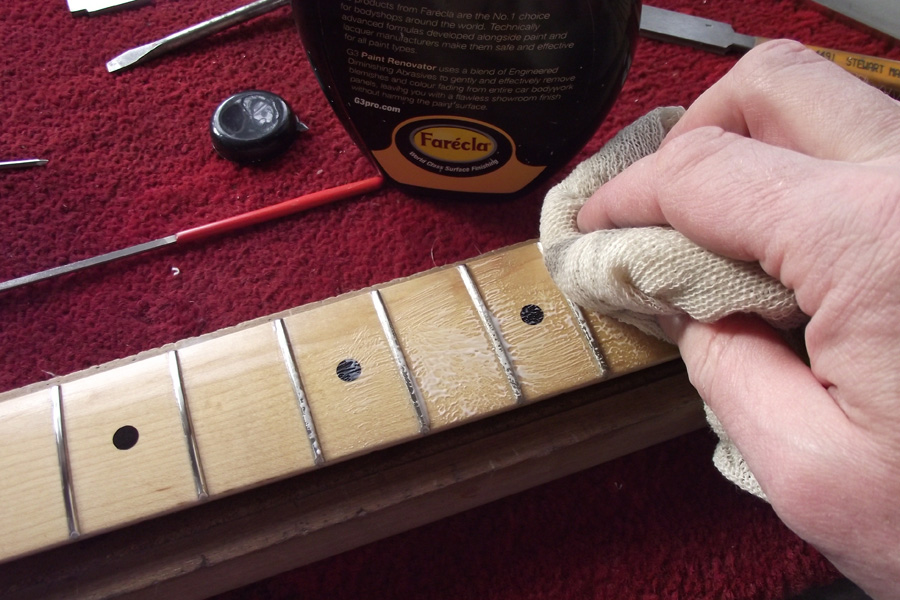
Using Farecla to buff the frets and fretboard
Here’s a photo of the finished frets.
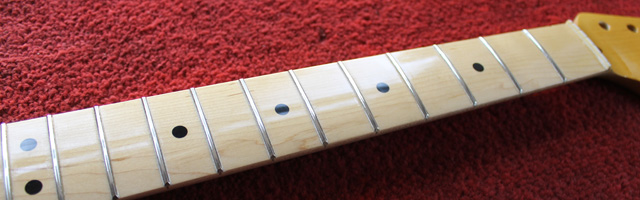
Completed neck showing polished frets