Dressing the frets on the maple neck
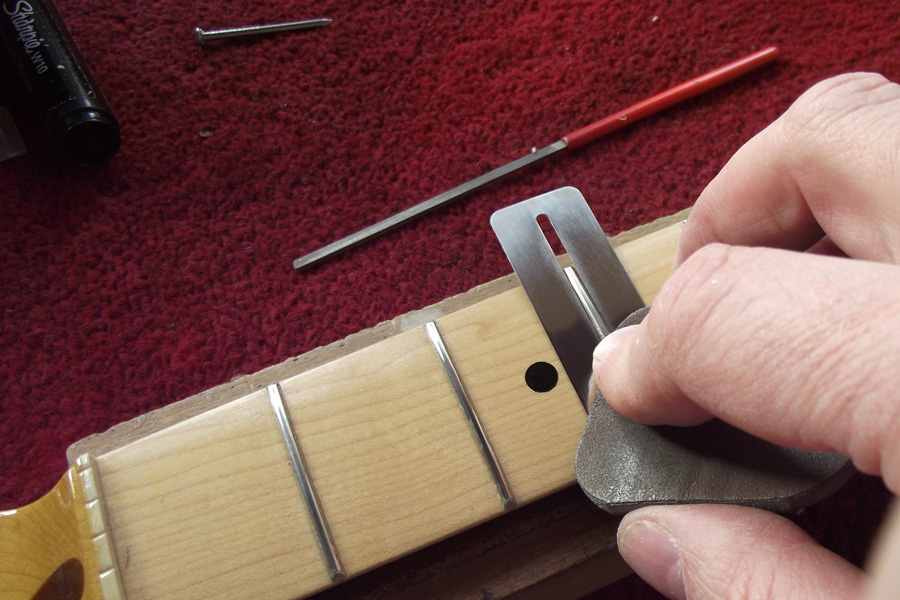
I covered fret dressing in this earlier post but will repeat the steps here for completeness. The pictures should tell the story but I’ll add some text where I think it’s necessary to explain further.
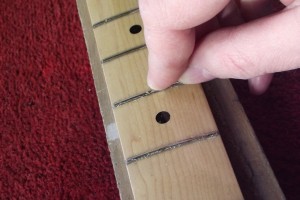
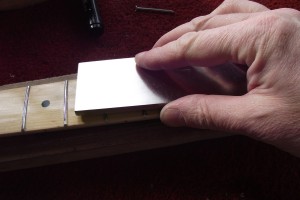
The first job, before the frets can be leveled is to remove the lacquer from them. The easiest way to do this is using a round-headed nail with a groove filed in the head to match the fret size. It’s easiest to do this while the lacquer is still soft, but better left until the lacquer has hardened to avoid marking the surface.
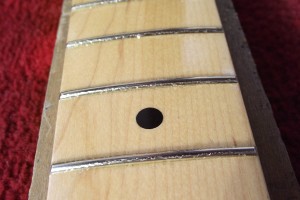
The lacquer chips off the frets easily.
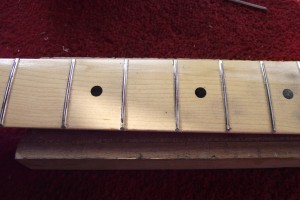
Next job is to mark the fret tops using a marker pen.
Check the neck is dead straight before leveling, using the truss rod to adjust out any curve in the neck.
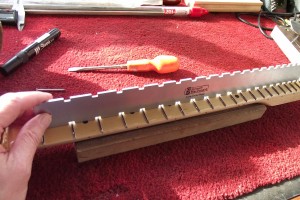
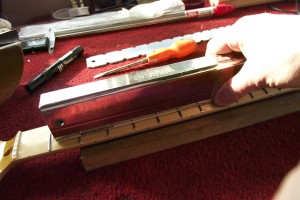
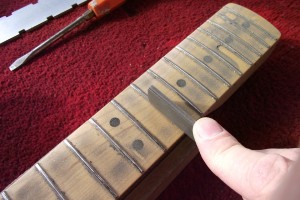
Use a long straight bar with abrasive attached to level the frets. I’m using a Stewmac precision ground fret leveller.
The marker pen ink will be sanded off the fret where it is leveled and any frets still showing black will be seen to be low.
Once all the frets are level I changed to using diamond fret levelers which leave a finer surface.
Once the frets are level it’s time to recrown them. If the board was straight to begin with and the frets are well-seated, there shouldn’t be much work to do here. I used a Stewmac medium crowning file. I really should have run the vacuum over the fretboard before this – most of the dust you can see is abrasive.
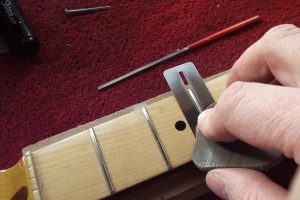
The fret ends will still be quite sharp from the beveling step before the neck was sprayed so the ends will need rounding at this point. I used a diamond-coated fret file to take the sharp corners off the frets.
Once the fret shape is correct, it’s time to polish them. I really like Micromesh abrasive pads which by using progressively finer grades remove any remaining scratches from the fret surface and leave the frets with a deep shine.
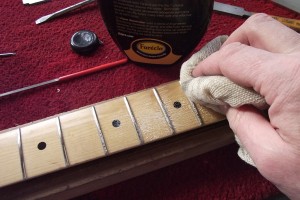
And finally, whilst buffing the lacquer, the frets get buffed too.
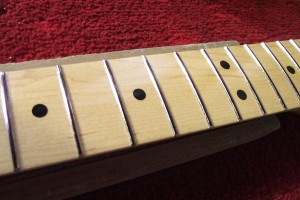
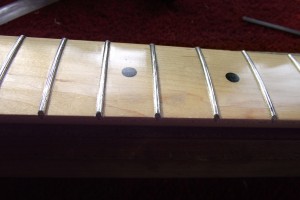
Here’s a photo of the finished frets.

Completed neck showing polished frets

Hi ,
Do you make replacement guitar necks , for example for a kramer pacer circa 1987 , maple neck and fretboard , droopy pointy headstock ? If so , what would be the approx cost ?
Thanks ,
Stuart.
I don’t sorry. Your best bet is probably Warmoth’s Slapshot necks