Manchester Guitar Tech


Ozzy Lister – guitar and bass repair

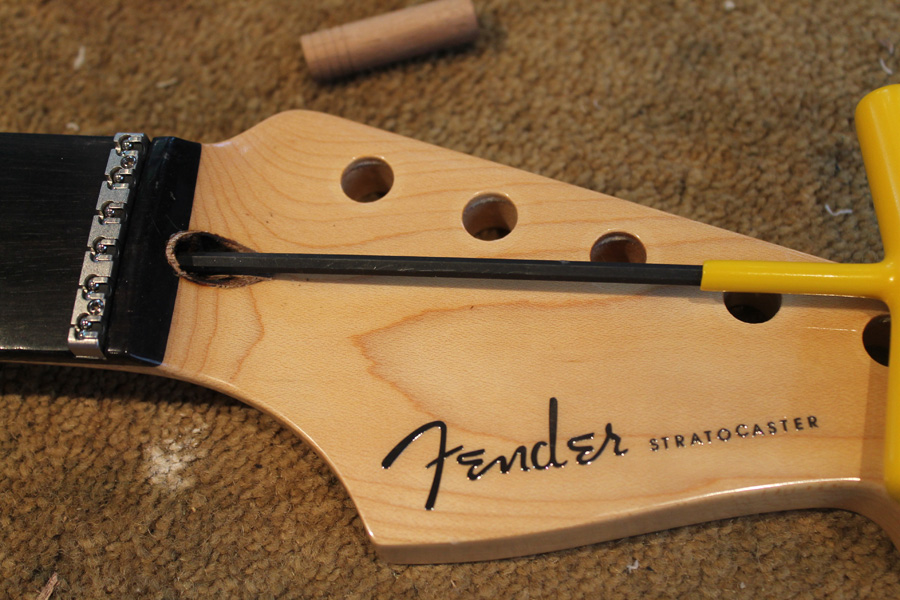
For some reason known only to Fender, the US American Standard Stratocasters and Telecasters use a 1/8″ Allen key to adjust the Bi-Flex truss rod. It’s okay if the rod is working well and whoever adjusts it used a tight-fitting key of the correct size, but if not, the nut can quickly be trashed and require replacement.
Replacing the nut is not difficult but does, like every job, require a bit of care. It sits behind a walnut plug which has to be removed. The nut pushes against this plug if you use the truss rod to introduce bow into a neck.
The first step is to score the finish around the plug so that it isn’t damaged. I omitted to photograph this step.
Next the glue that holds the plug in has to be softened. I did this by placing the bit of a soldering iron into the hole. This required more heat than I expected and did cause a little charring of the plug but this is being replaced with a new one. No pictures here either sorry!
Once the glue is soft, turning the truss rod nut anticlockwise will cause it to act against the plug and push it out.
Withdrawing the walnut plug
Once it’s far enough out to grip, pliers can be used to pull it all the way out.
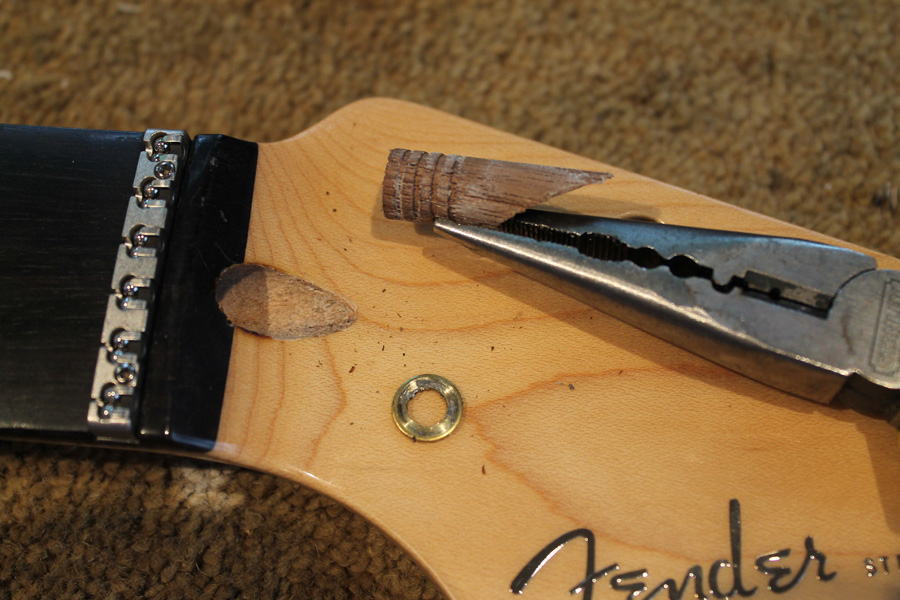
Walnut plug is out
The nut can now be withdrawn using the 1/8″ Allen key.
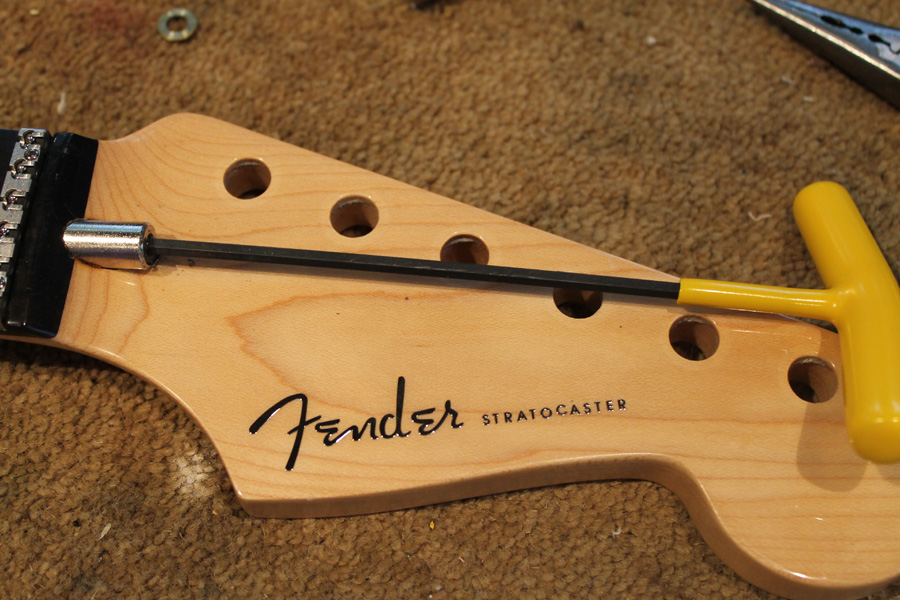
A bit of twist on the Allen key and out it comes
Once the nut is out it’s important to clean the sides of the hole so that the new plug will fit and the glue will adhere to the sides.
Here are the old and new nuts so you can see how chewed the hex socket was.

Look how worn the old nut was
The new nut should be inserted and nipped up. I applied a smear of lithium grease to the threads and inner face before I refitted it.
I roughly shaped the new plug on my belt sander and tested it for fit.
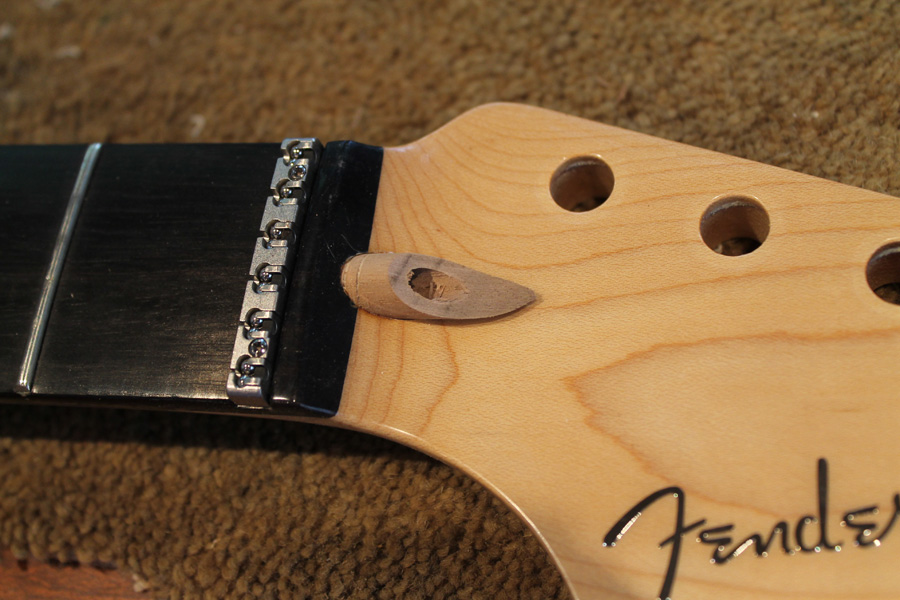
Should do nicely
Next job is to put the small washer back in and glue in the plug with a little Titebond.
Once the glue is dry the plug can be carefully sanded flush…

Looking tidy!
…then refinished to match the surrounding headstock.
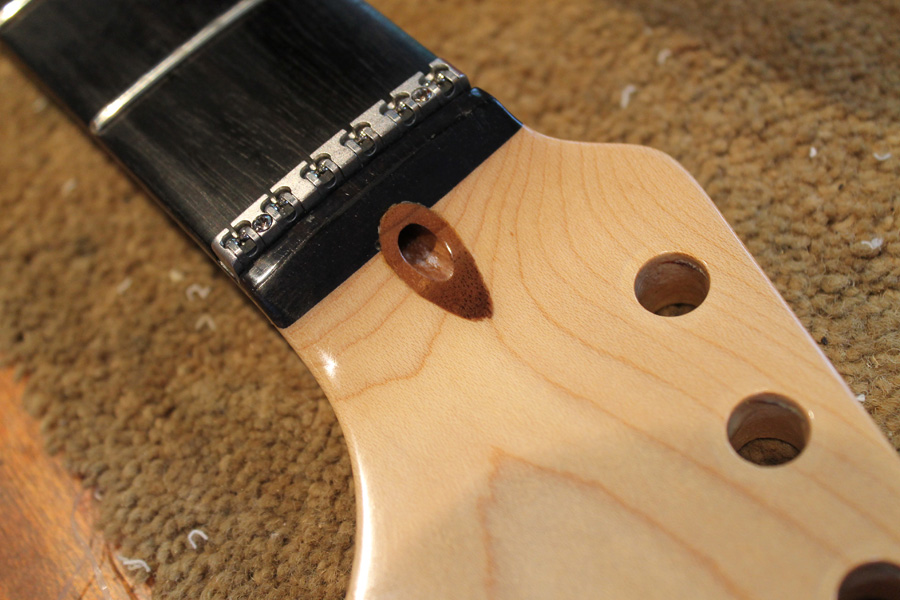
Can hardly tell it’s been out
The only thing left to do was to set the guitar up with the user’s chosen 9-42 strings. I think it’s the first time in a long while that the neck on this guitar was been straight!
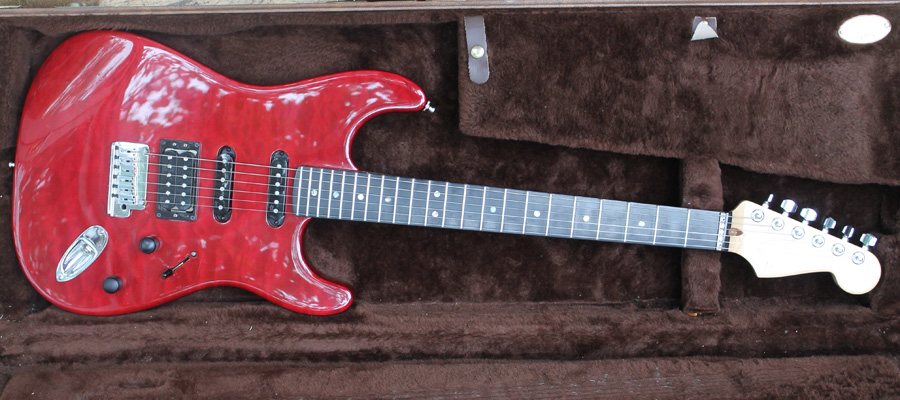
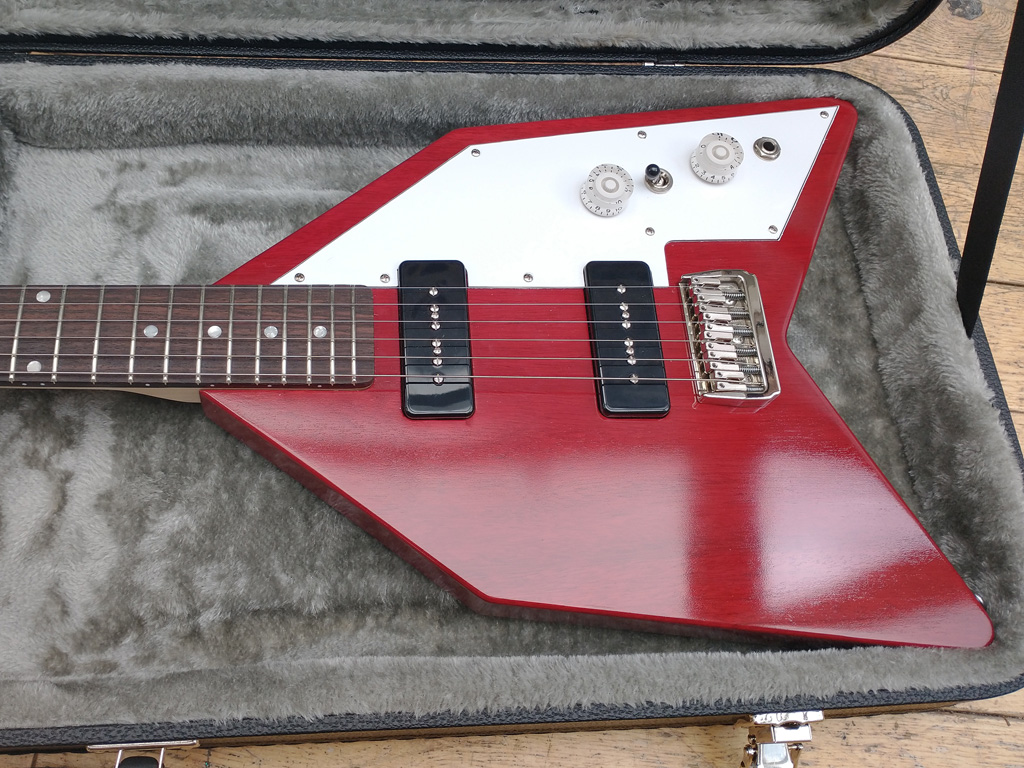
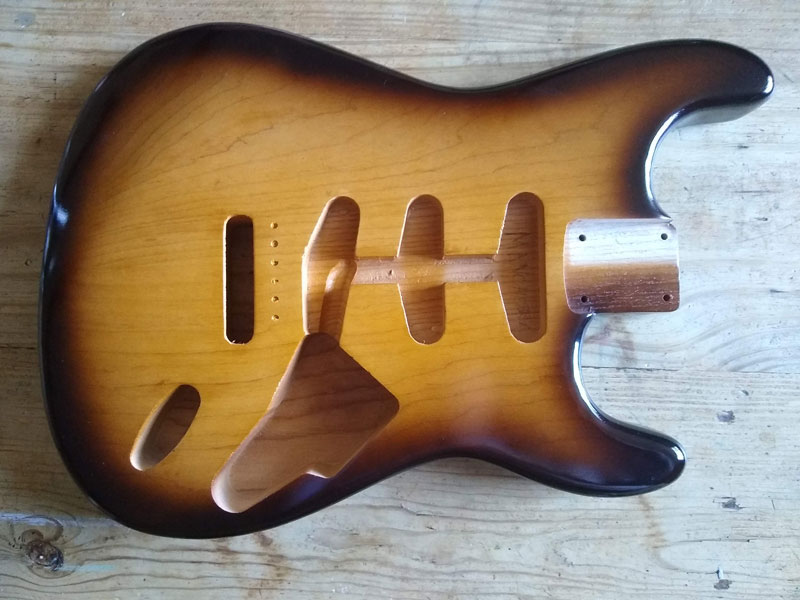
Fender USA Stratocaster Deluxe

Tune-o-matic bridge as found on Gibson and other guitars was designed by Ted McCarty and introduced in the mid 1950s as the ABR-1. The design was updated by Schaller in the 1970s and the new bridge being termed the “Nashville” bridge by players as its introduction coincided with the Gibson factory’s move from Kalamazoo to Nashville.
These bridges do suffer from one problem – they can collapse under string tension. This makes achieving a consistent string height across the fretboard impossible and can cause the inner strings to buzz.
The image below shows the problem.
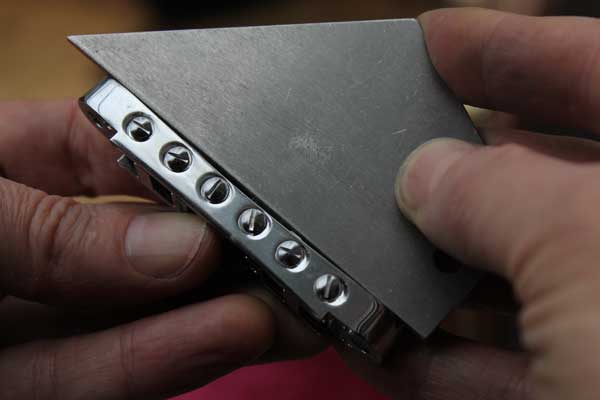
Nashville bridge bowed
Fortunately this problem can be fixed by gently bending the bridge back using a vice. If this is done carefully and slowly the bridge can be re-straightened as shown below:
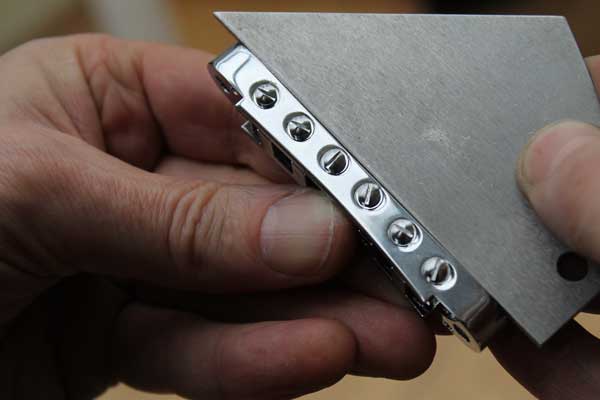
Nashville bridge straightened
If the bridge has been previously bent and straightened however, metal fatigue can cause the bridge to crack and then there is no alternative but to fir a replacement.
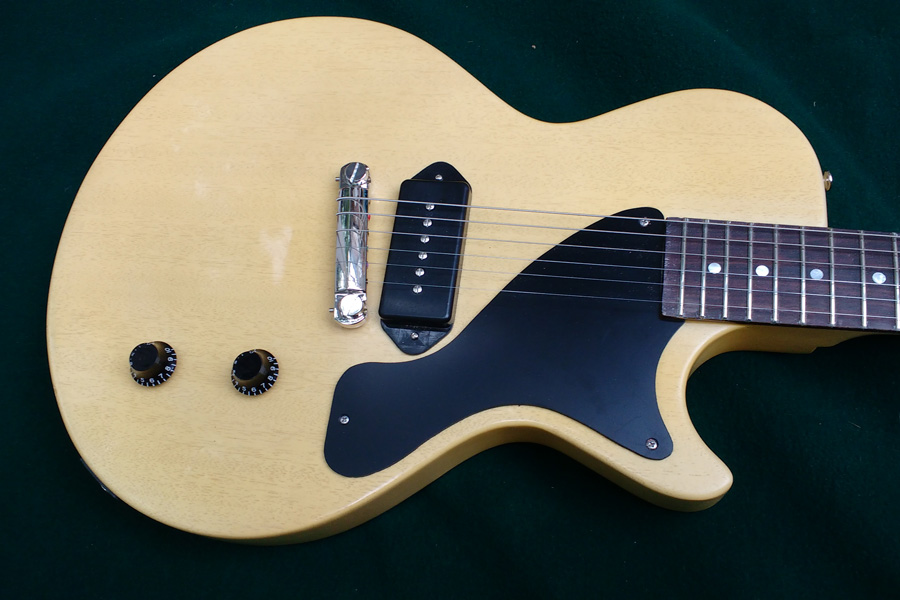
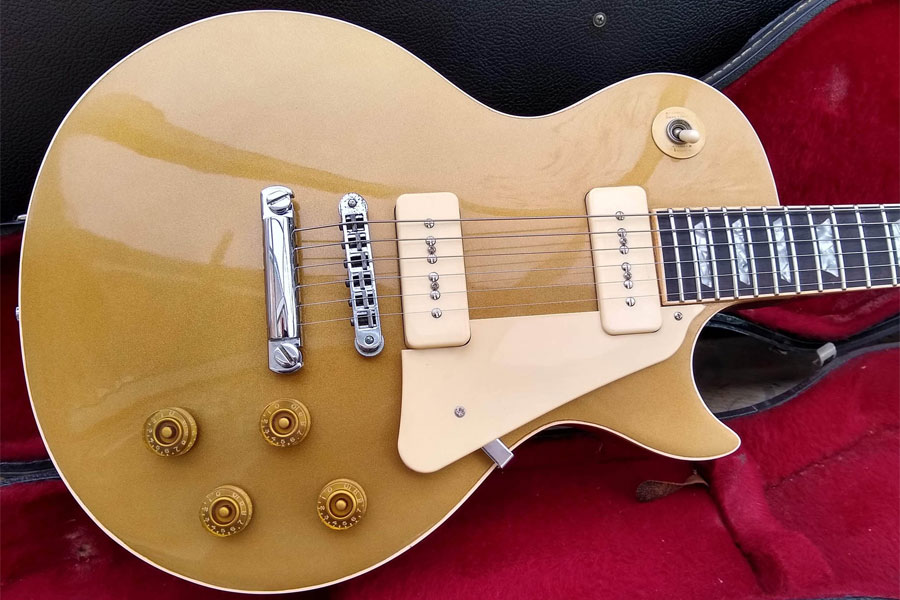
I often get asked how to spray a TV Yellow finish and have been meaning for a while to demonstrate the process, so here it is.
I think it’s unlikely that TV Yellow guitars left the factory as yellow as they are today. As with “butterscotch” Telecasters the colour has become more yellow over the years as the lacquer has degraded in UV light. Contemporary adverts list the finish on the Les Paul TV and Les Paul TV Specials variously as “limed mahogany” (older models) and “cream”. As such there is no “right” colour for a TV “yellow” guitar and you can create anything from white through “wheat” to something very yellow indeed.
As far as I can tell, the original limed magogany finish used a thin translucent white basecoat/filler combined which was brushed on and oversprayed with a clear beige top coat. The later TV cream finish used a darker filler over a thicker, more opaque white basecoat, again with a clear beige/yellow top coat. It’s the latter version that I’m copying here.
I’m basing my guitar on the 1959 Les Paul TV owned by Mick Ralphs from Bad Company which is a custard yellow shade.
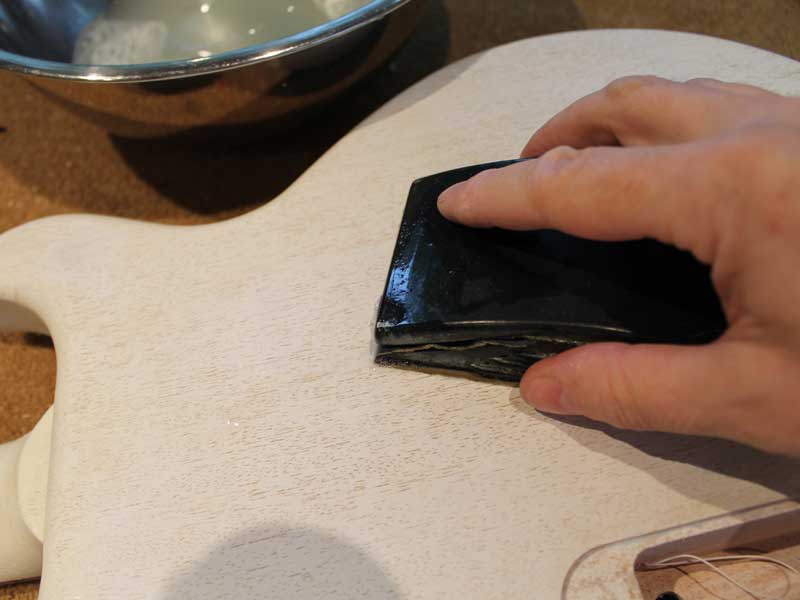
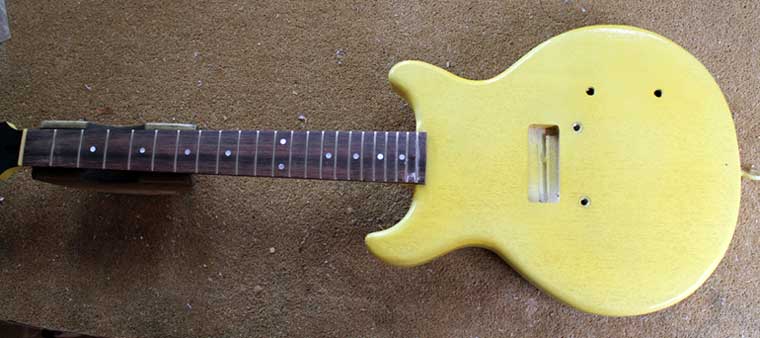
Sanding
The first and most important step is to sand every scratch from the mahogany*. If scratches remain, they will be emphasised by the grain filler step.
I started with 240 grit and progressed to using 320 grit using 3M Sandblaster abrasives, and kept going until I thought that every scratch was eliminated.
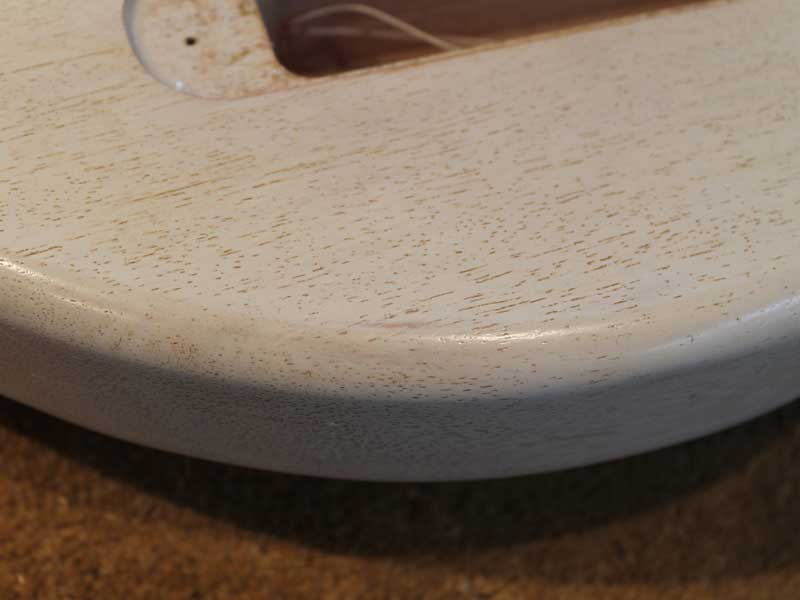
Once thoroughly sanded I used an air line to blow the wood dust out of the pores of the wood, as I want to fill the open grain at a later stage of the process. You could probably use a computer keyboard duster aerosol for this if you don’t have access to compressed air.
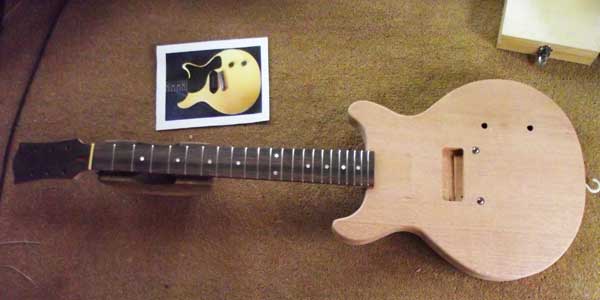
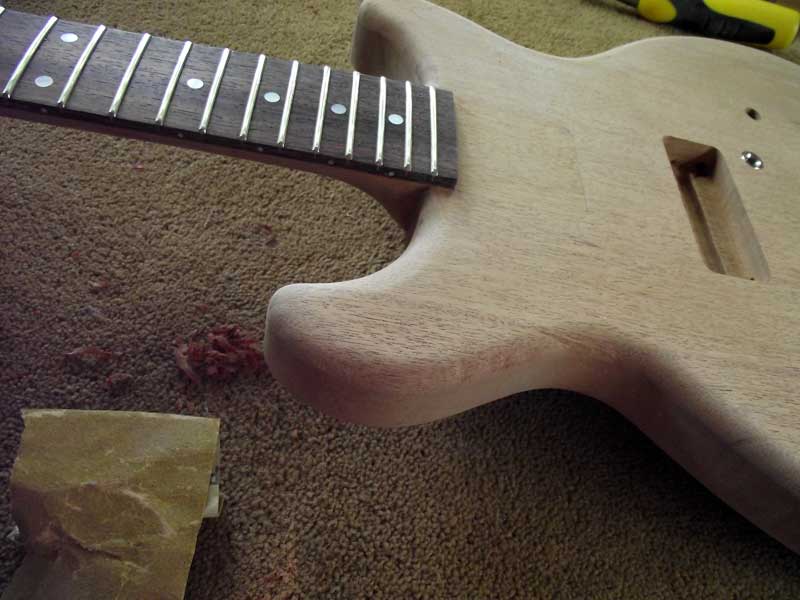
You might notice that I’ve routed a 3/8″ radius on the body edges as I’m aiming to reproduce a 1959 style guitar which I think feels nicer to play than the sharper-edged earlier version.
* Yes it’s got to be mahogany or a wood with a very similar grain for this to work!
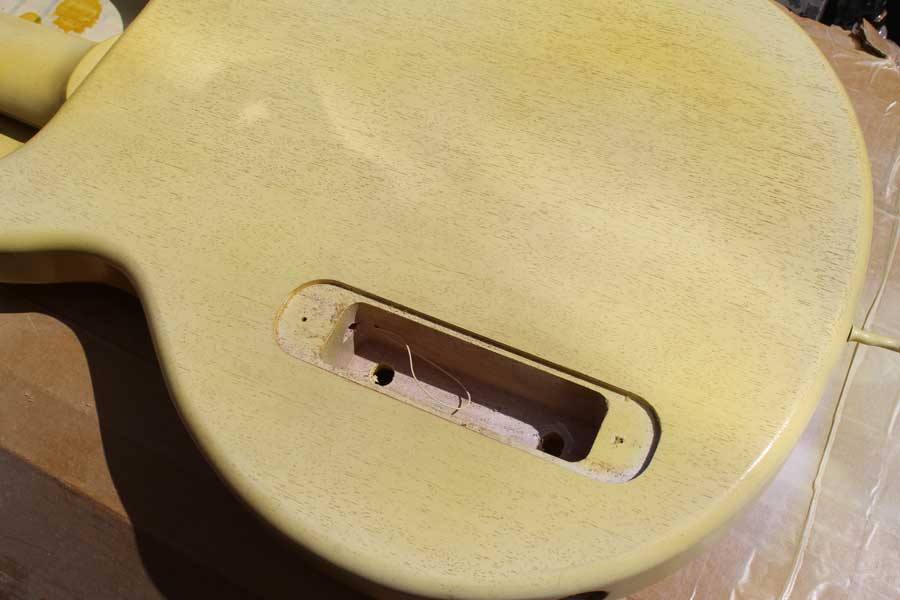
Base Coat
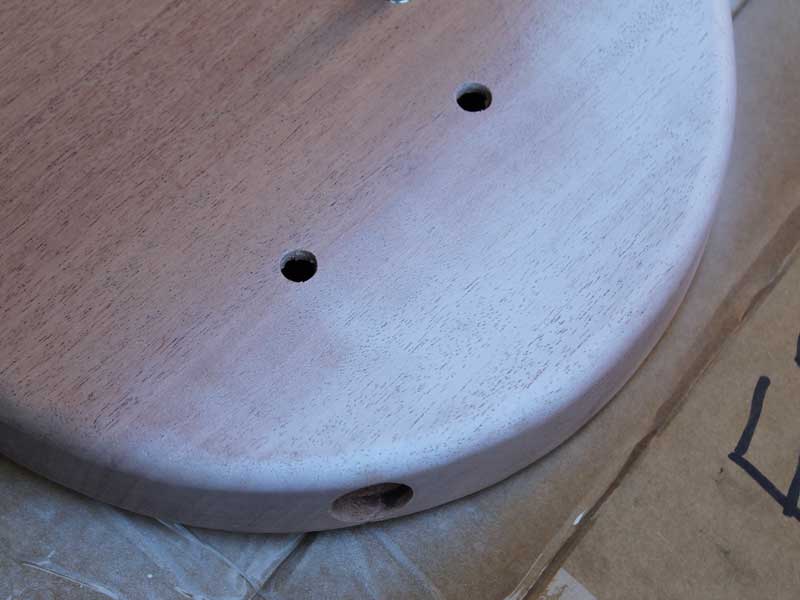
The next step is to spray a white base coat. I used my White Primer which I knew would cover well in a thin coat.
Before spraying, I masked the fretboard sides, end and the nut using 3M fine line tape which gives a very clean line, and the fretboard face using standard masking tape.
The primer needs to be applied in such a manner that the grain of the mahogany is not filled with paint, so applied it fairly dry by spraying from about 10 inches away.
I applied one coat of primer then sanded lightly with 320 grit paper to denib, removing any raised grain.
Again, I used my air line to blow any dust out of the wood grain and applied another coat of primer before leaving it to dry overnight.
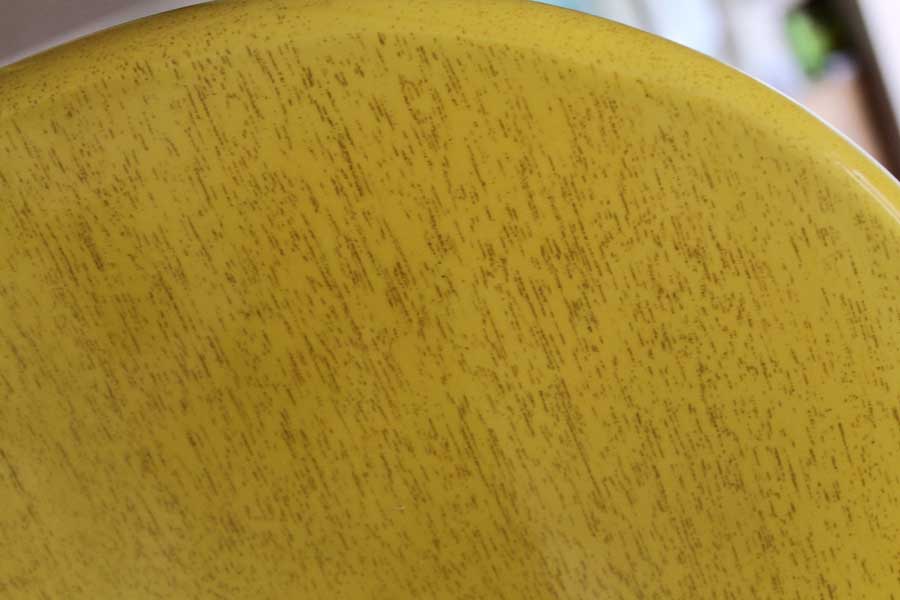
Grain filler
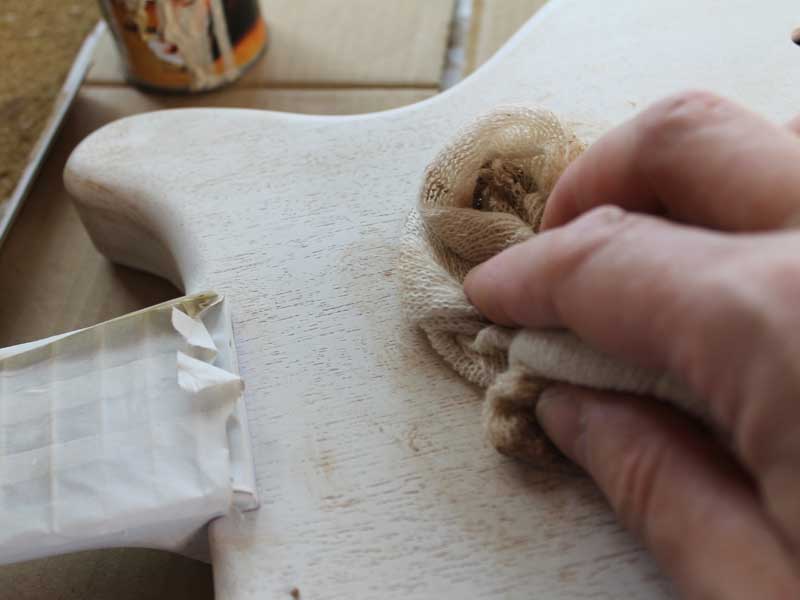
The look of a TV Yellow guitar rests on the grain filler being visible through the lacquer.
I used Rustins Grain Filler which I darkened with a touch of pigment. I’m not sure the pigment was entirely necessary and probably wouldn’t use it next time, but I did want the grain to stand out.
I applied the filler using mutton cloth, working in a circular motion, a small area at a time. I used a second piece of clean mutton cloth to wipe the surface of the guitar clean of filler, being careful not to lift the filler out of the pores.
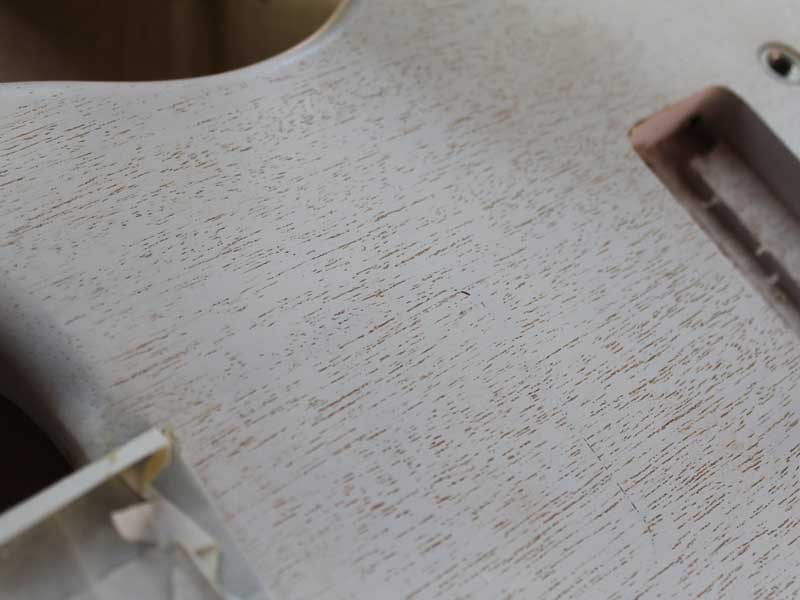
I worked carefully over the whole of the guitar until I was happy that all the pores were filled as well as was possible. I felt this technique (rather than the squeegee/credit card application) gave the best compromise between thorough filling of the pores and minimisation of damage to the thin white base coat.
Finally I used a cloth lightly dampened with naphtha (lighter fluid) to carefully wipe any remaining residue of grain filler from the surface of the guitar, again being careful not to remove filler from inside the wood grain.
Sealer coat
The grain filled guitar was of course not now perfectly smooth, due to the less than perfect filling of the grain so in order to provide a level surface for the colour I applied about four good of coats of cellulose sanding sealer to the whole guitar and left this to dry overnight.
The next day I block sanded the sealer coats level using P400 abrasive, wet with bit of Fairy Liquid in the water to help prevent clogging of the paper.
I did manage to sand through the base coat in one small area but touched this up invisibly by dabbing on some white primer before giving the area another light coat of sanding sealer.
At this stage I also blackened the headstock face by masking off the sides and spraying about three light coats of black nitrocellulose lacquer until the face was fully covered and an even black colour.
The body was now ready for the clear yellow coat.
The yellow coat
Of course if I wanted a “TV White” guitar I would skip the yellowing step and go straight on to the clear coat.
If I was aiming for a wheat/cream colour as the guitars probably were when new, I’d use my Light Tint lacquer for the colour step. If I was after a full-on yellow I’d use my TV Yellow lacquer.
Whatever you use it’s important that you experiment first to make sure you can get the colour you want.
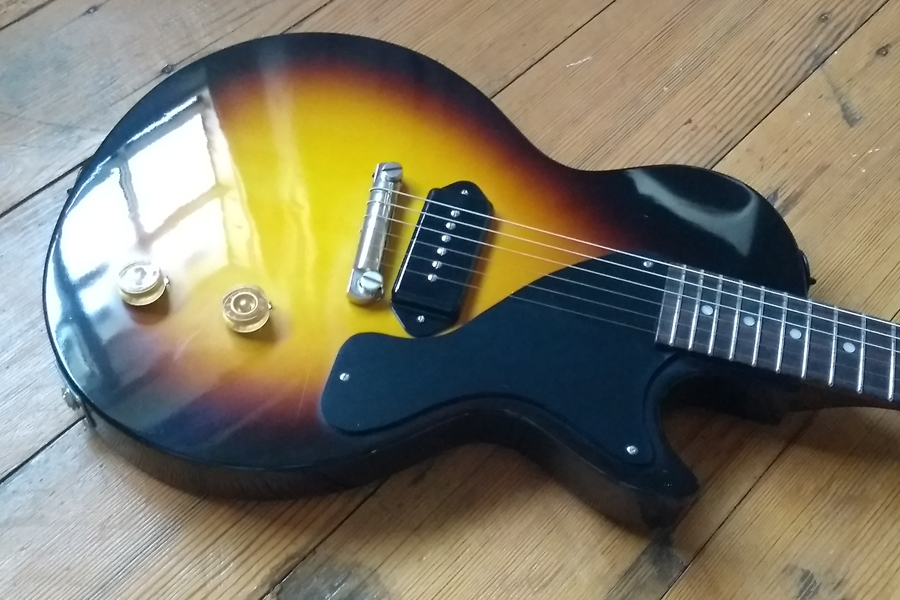
I’m actually using a lightly tinted amber lacquer that I made specially for the job. In hindsight, it’s probably a bit too yellow. Further down the page there is a single cut Junior which I sprayed in my Light Tint lacquer which is a better colour.
The image on the left shows the result of one coat of yellow. I could have left it there but I’m aiming for something darker. I have to be careful though as it’s all too easy to spray too many coats and end up with too dark a shade.
I wasn’t too concerned about achieving an even colour all over as the aged finishes often appear patchy where the lacquer differs in thickness either from the factory or from natural abrasion over the 50 years of use.
Here is the result of a few more coats of yellow. That’s more like it, I’m happy with that colour so will leave it there.
Clear coats
If you want to be able to flat sand and buff your guitar without disturbing the colour coat and sanding paler patches, it’s important to spray a good thickness of clear lacquer. The clear coat also protects the colour coats from damage and if you want to age your guitar, the clear coat will craze under thermal shock (heat/freeze cycles).
I sprayed sufficient coats of clear gloss so that I achieved a flat surface and enough of a thickness that I will be able to block sand without rubbing through. This will take at least two cans of Clear Gloss lacquer including the neck, but more is hardly ever a bad idea.
Once I had the clear gloss on, I left the guitar to dry and harden for a week before I block sanded, buffed and assembled.
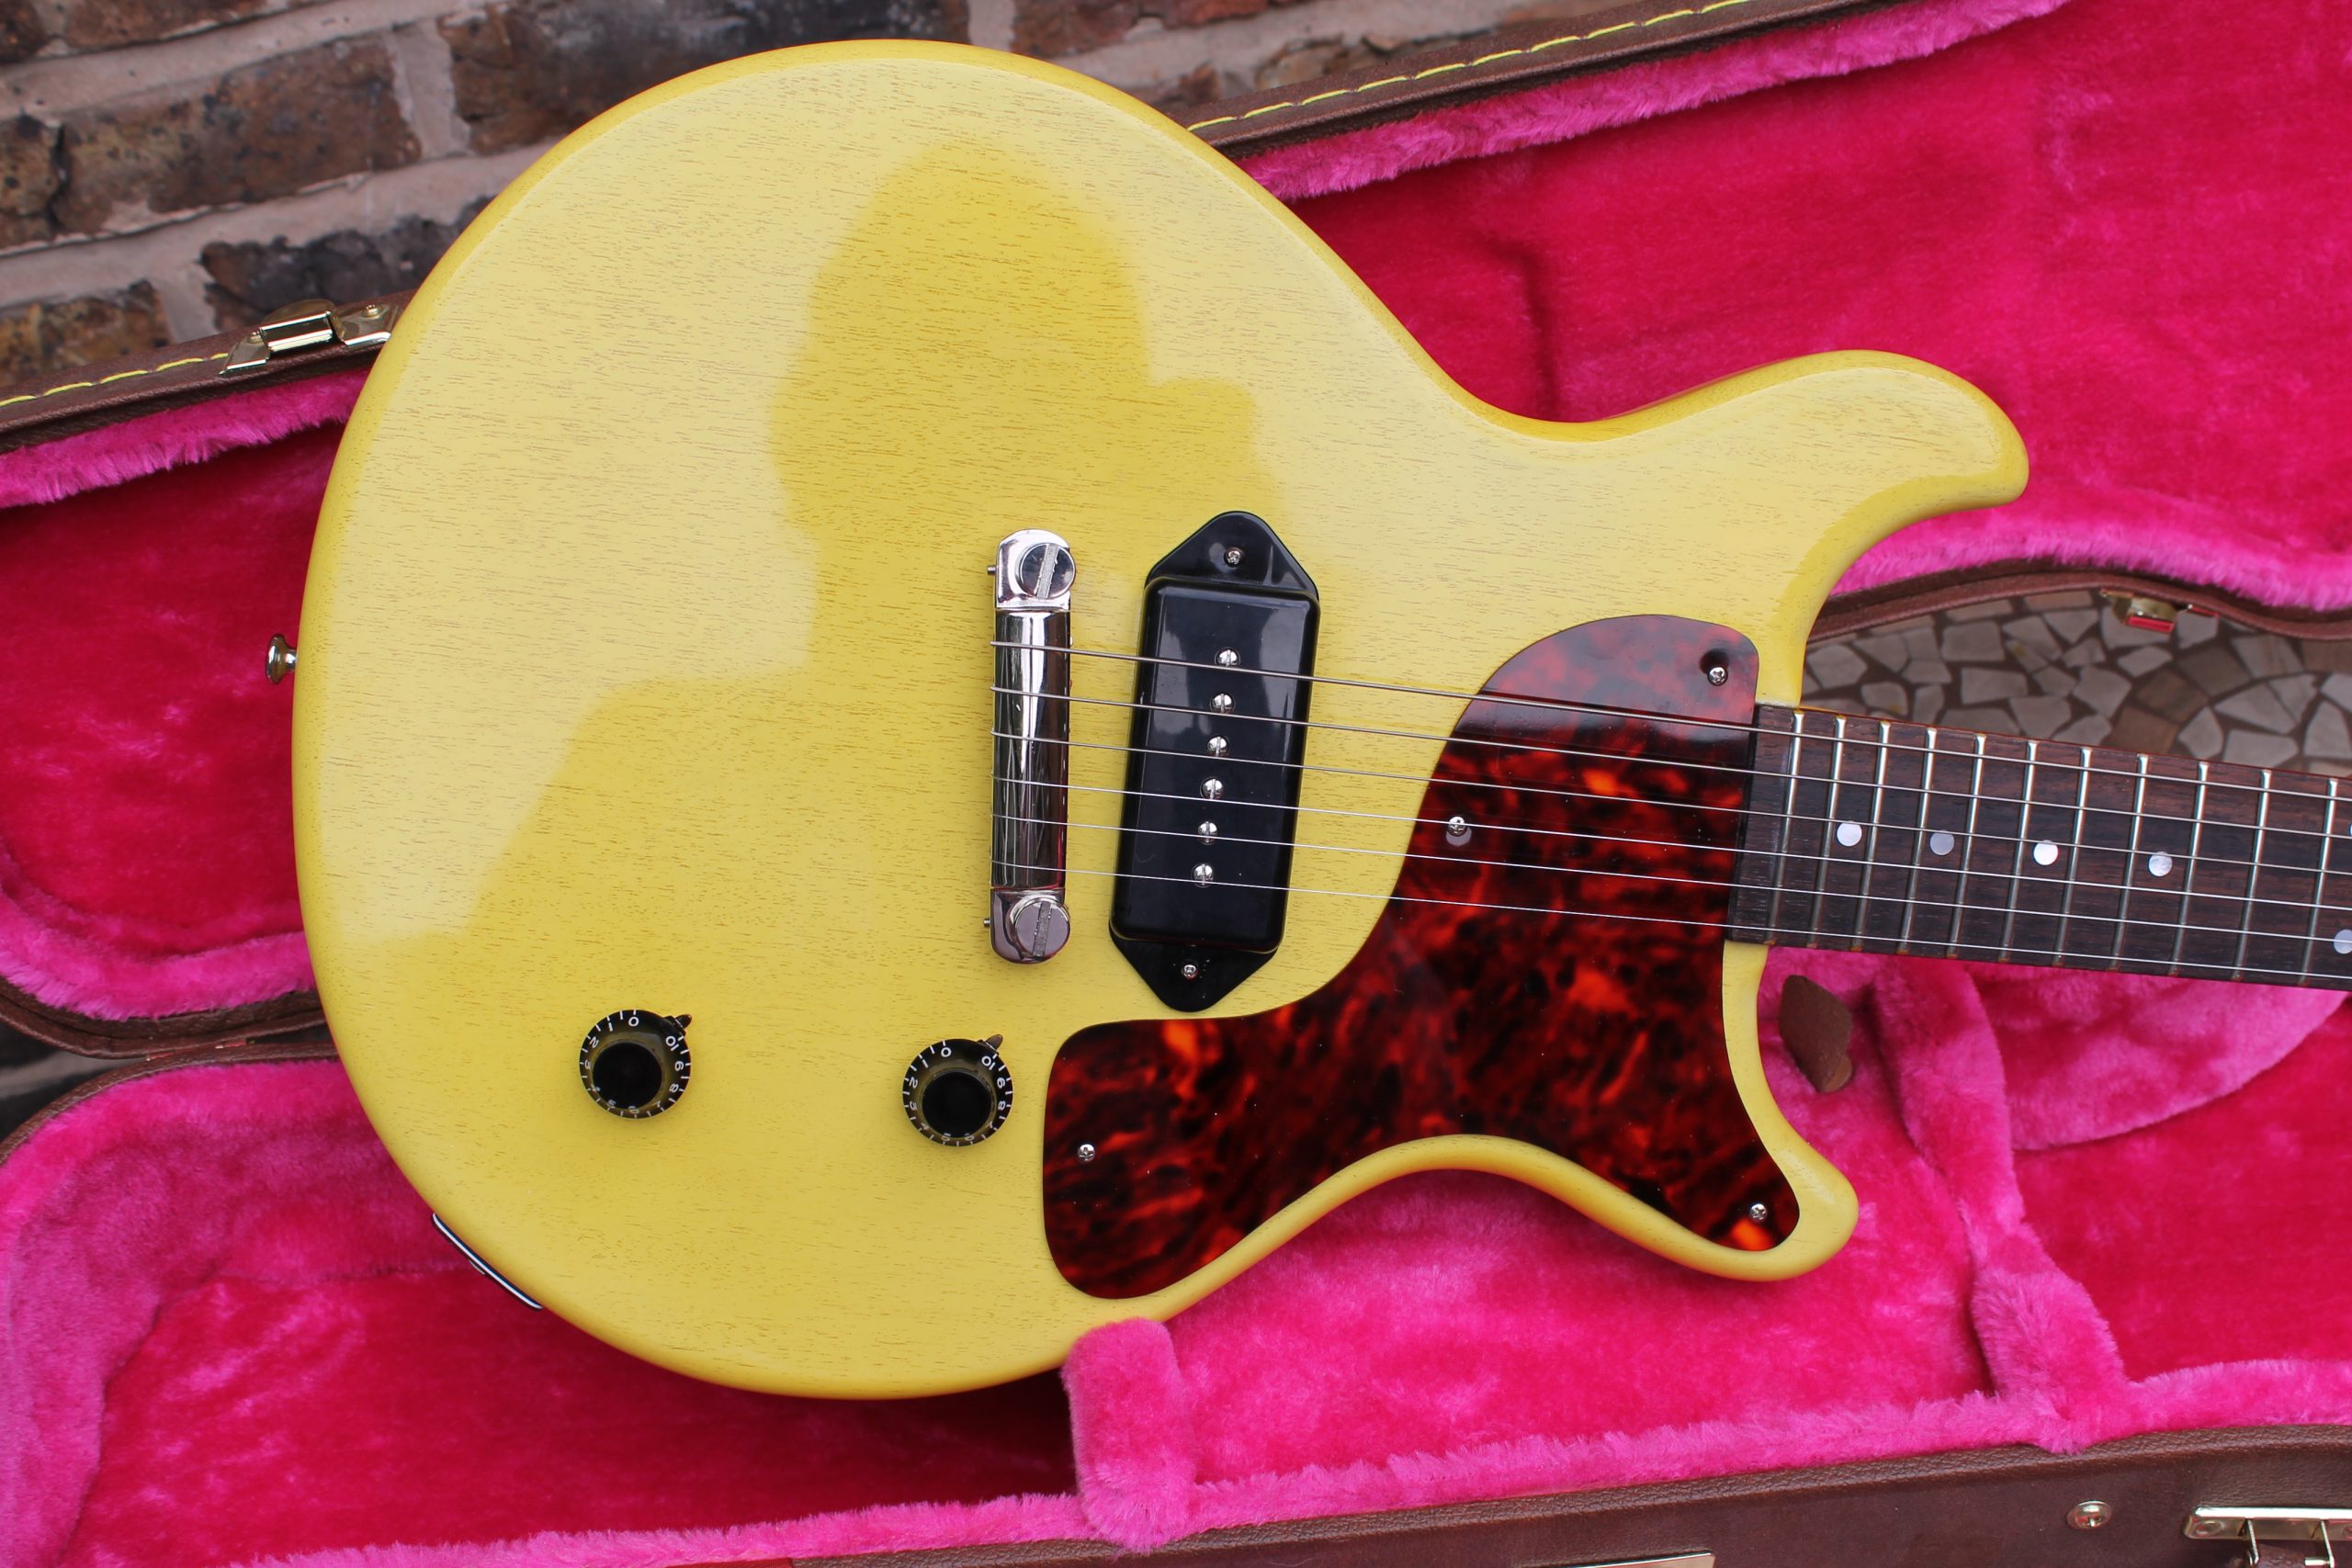
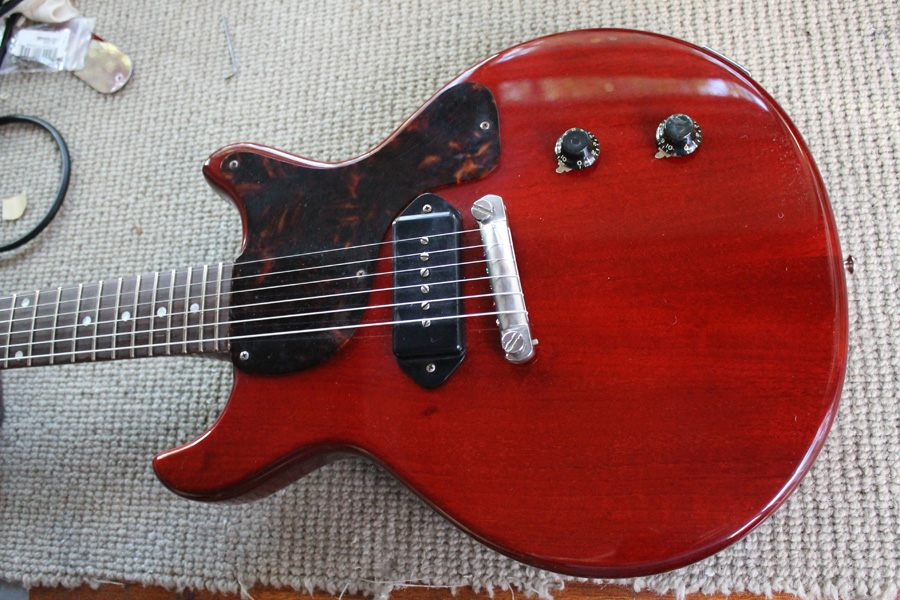
I’ve since also sprayed a single cut Junior using the same technique, but a different, less aged colour: