
Manchester Guitar Tech


Ozzy Lister – guitar and bass repair
I quite like the new Gibson Custom Shop cases with the yellow lining that come with the newer ES models. It harks back to the cases of the 1960s and shows off the guitar beautifully.
The case that came with my ES-330 has a mottled grey fur interior and the outside is heavily marked from touring Europe with its first owner.
Now I like a nice case. I always think that a case for a guitar is like a frame for a picture. As well as protect it, it needs to show it to best advantage, and the nasty brown and grey one just didn’t do that.
I couldn’t persuade Gibson to sell me one of theirs aftermarket so I decided I’d reline a black case in yellow velvet just like the Gibson ones.
I used a Spider brand case as they are cheap and sturdy but have a black fur lining, which ripped out easily leaving the wooden shell.
It took a little while working out how best to construct the interior. I made patterns of each piece of velvet before cutting. I remade the accessory compartment and neck supports, adding a second support for security. These were made from poplar, as the original was just expanded polystyrene.
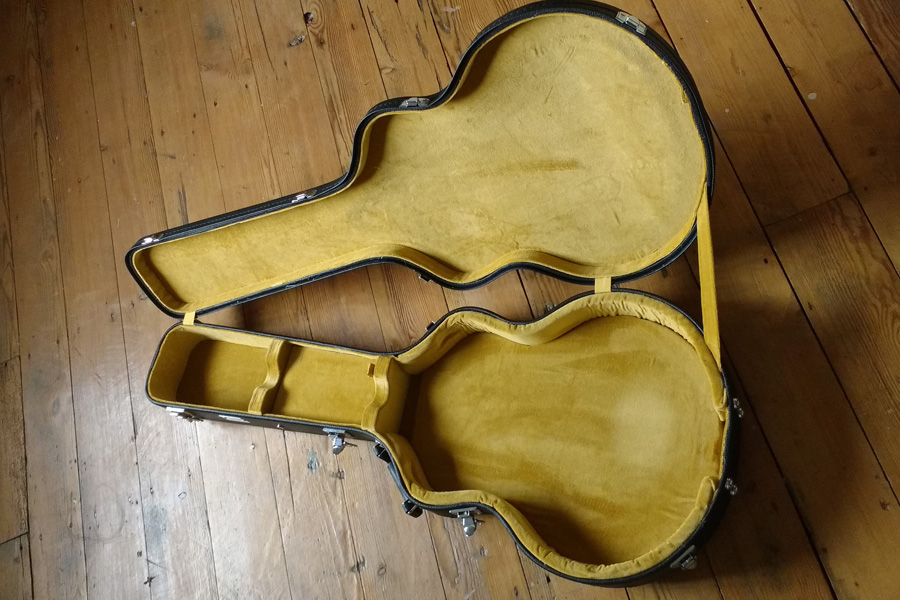
Relined case
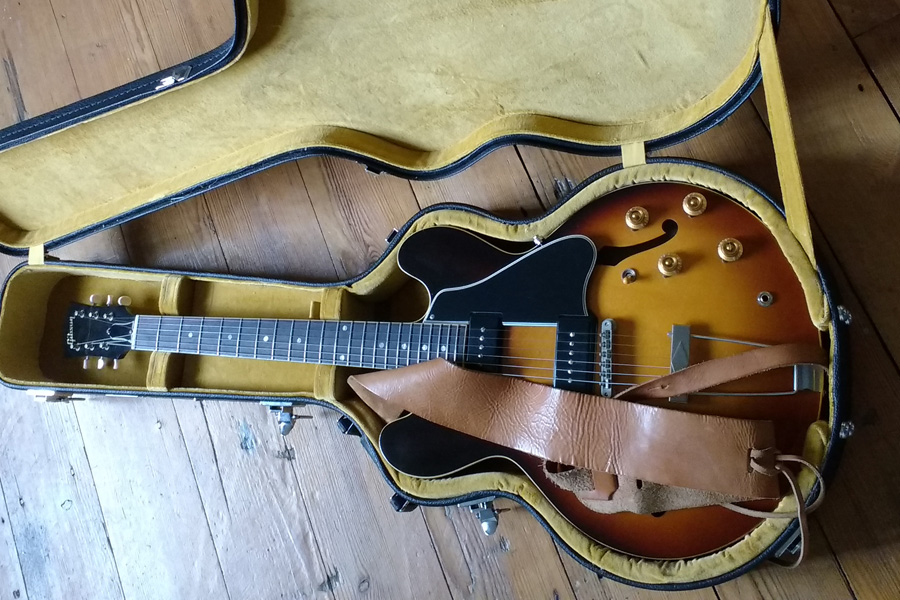
I’m pretty pleased with how it came out and it shows off the guitar beautifully.

Relined case with ES-330
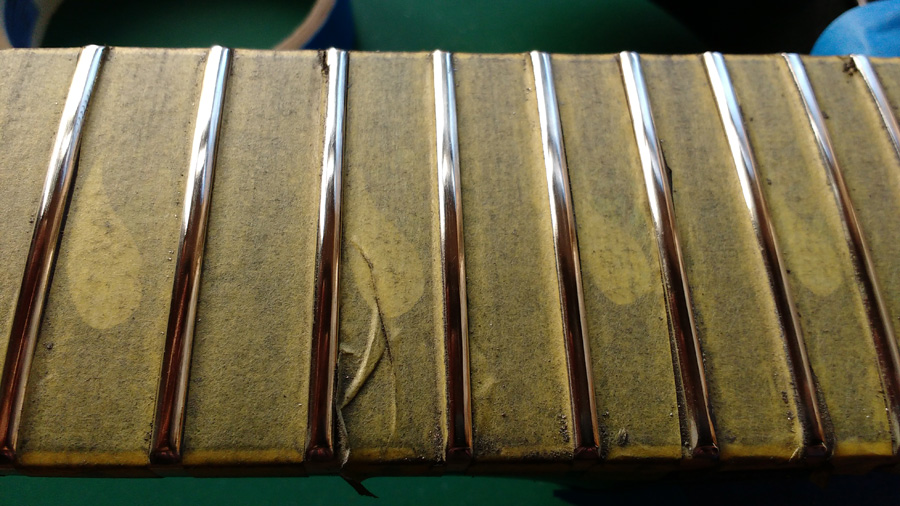

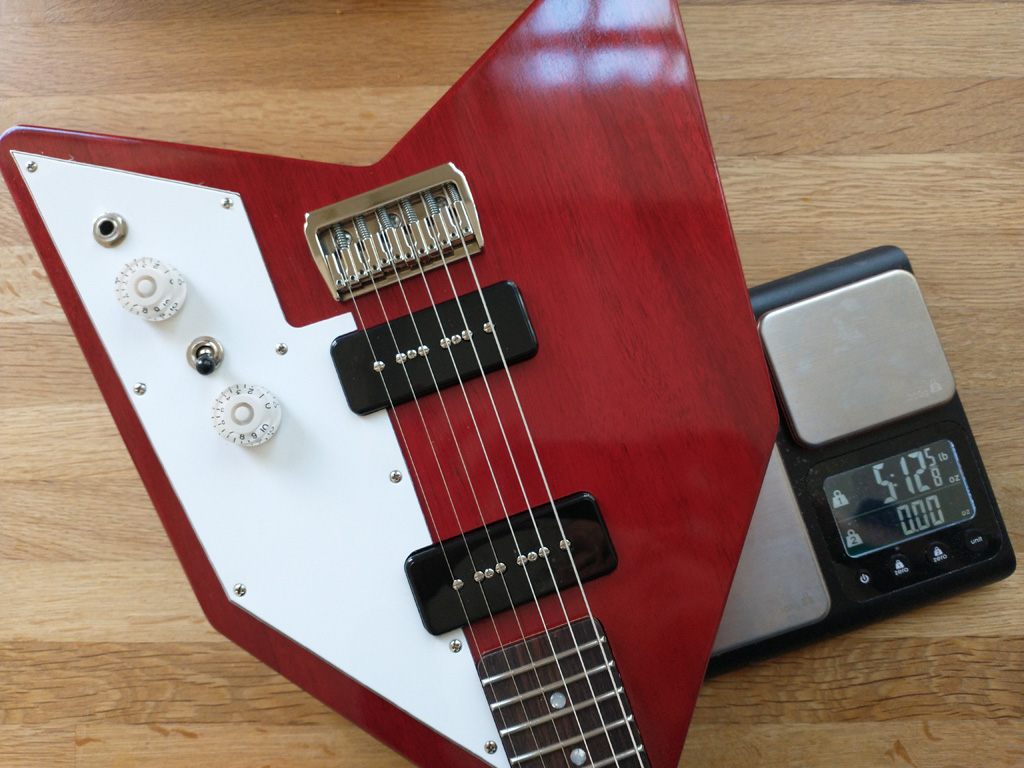
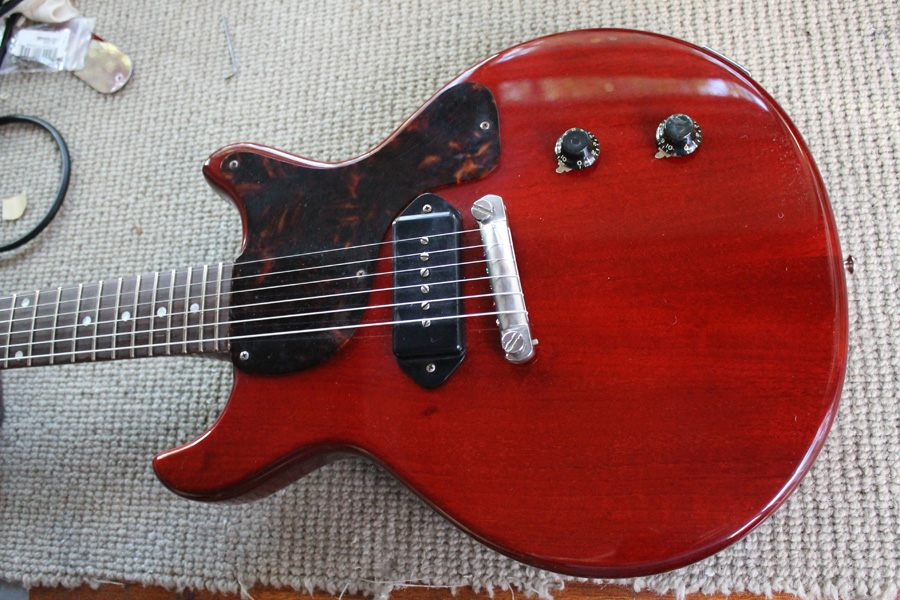
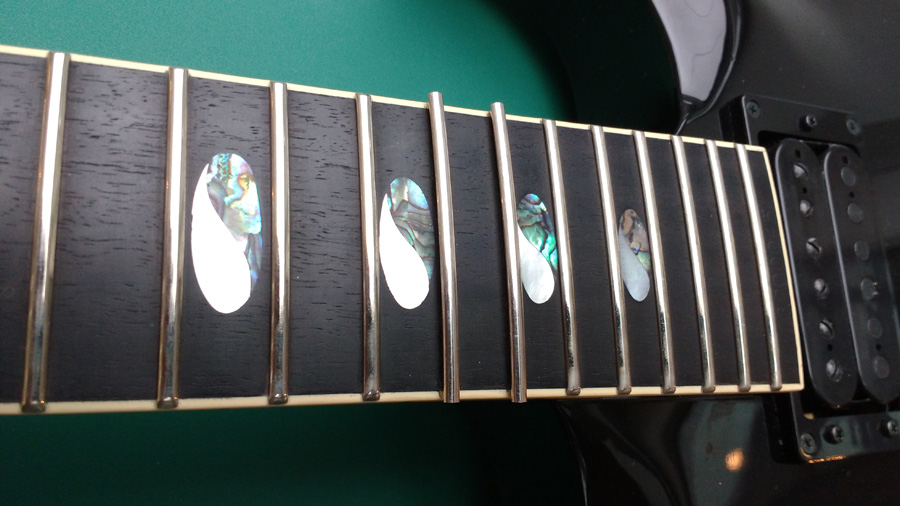
This guitar is a long-term test guitar for a UK magazine. It was dropped on its face, suffering some damage from the plain strings to frets 17 and 18. A couple of higher frets were also lightly marked but this was damage which would dress out easily. As you can see below, the damage wasn’t bad but it made bending problematic as the strings caught in the notches.
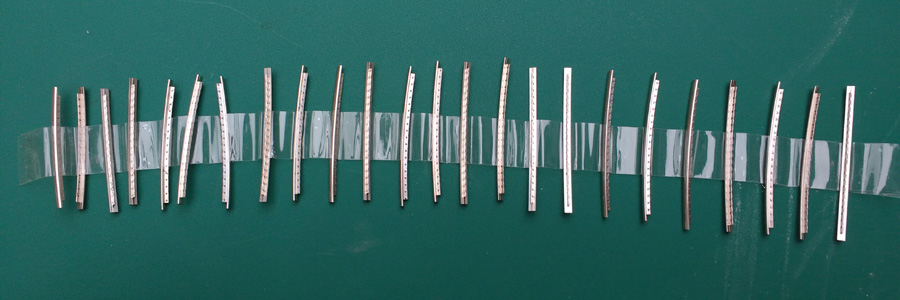
The custodian of the guitar sourced some fret wire from Caparison which came cut to size, undercut and neatly taped in order which made my job easier as all I had to do was select the appropriate frets.
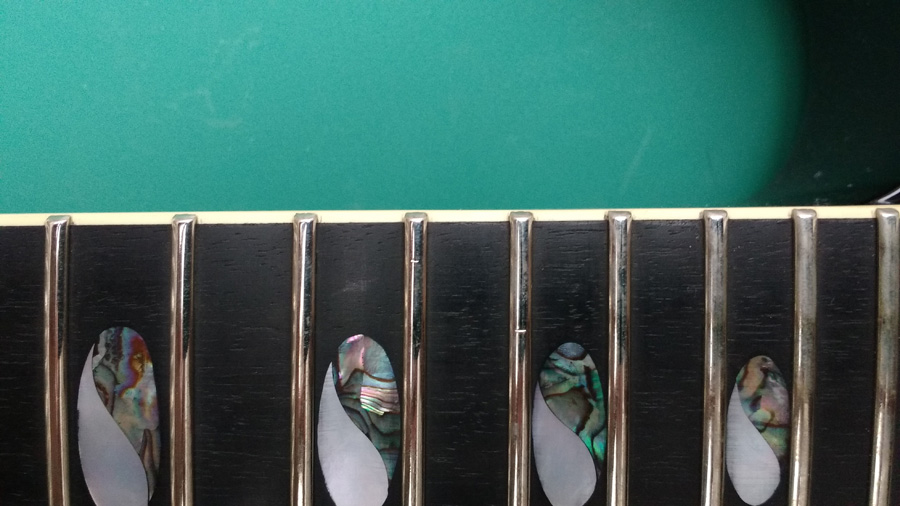
First job was to remove the old frets. With some gentle encouragement they came out cleanly, with no chipping of the ebony board beyond the extent of the fret.
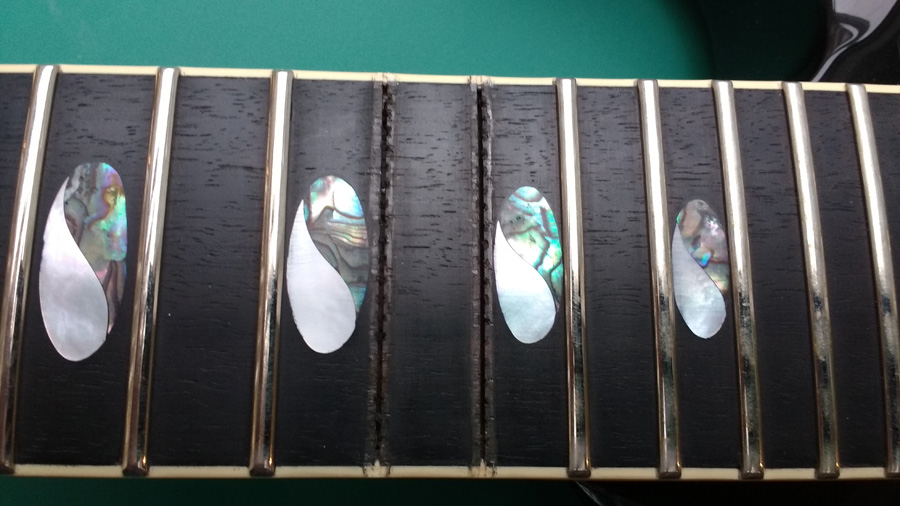
I tidied the slots, made sure they were deep enough and tried the frets in for size.
Happy that they would fit I tapped them home with fretting hammer, each end first then the middle to seat the frets good and tight against the fretboard.

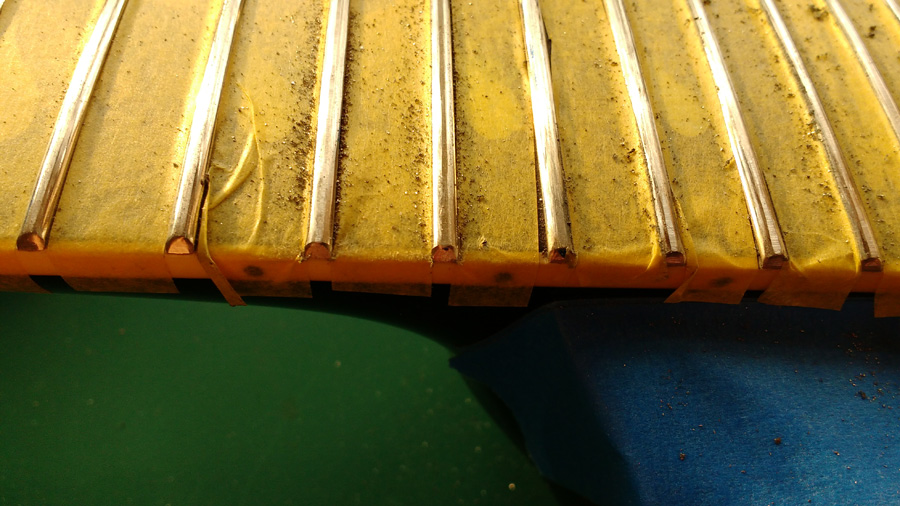
I trimmed the slight overhang and masked the fret board ready for dressing the frets.
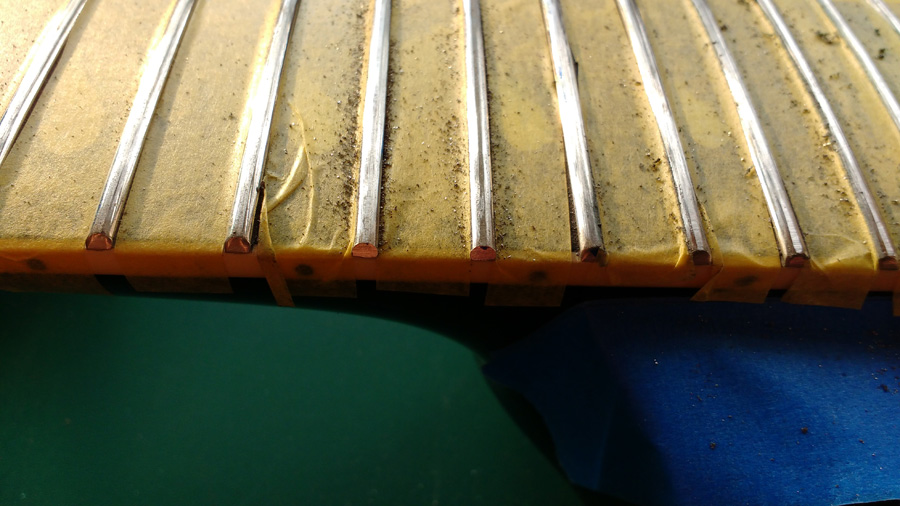
I beveled frets ends to 30° from vertical and leveled them all using a steel beam and abrasive followed by a diamond file. I then re-crowned the flat tops to the correct profile using a series of files. Then I dressed the sharp ends round using a diamond fret file.
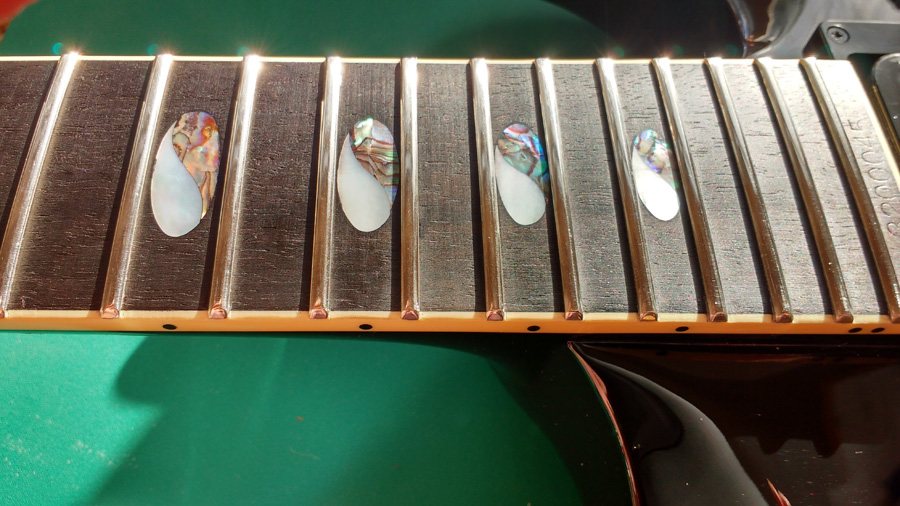
One the frets were the correct shape I began to polish them. I started with P400 carborundum, progressively finer up to 12 000 grit Micromesh.

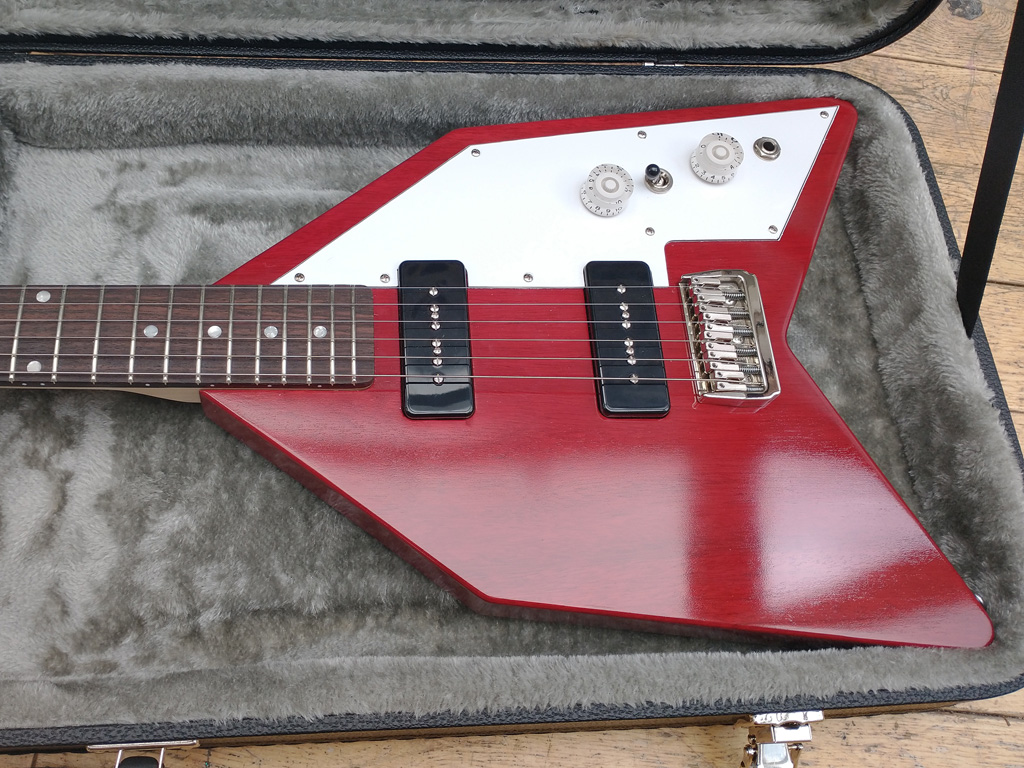
Once finished, it is impossible to tell that any frets have been replaced!
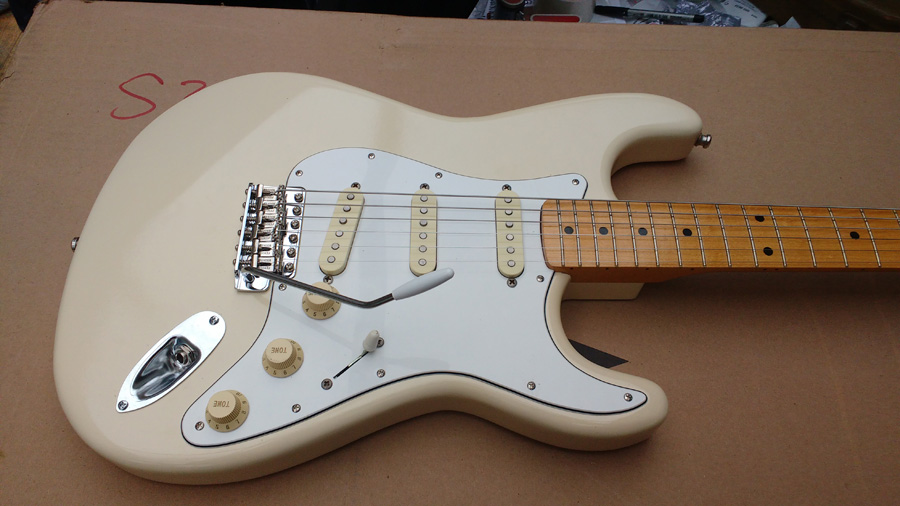
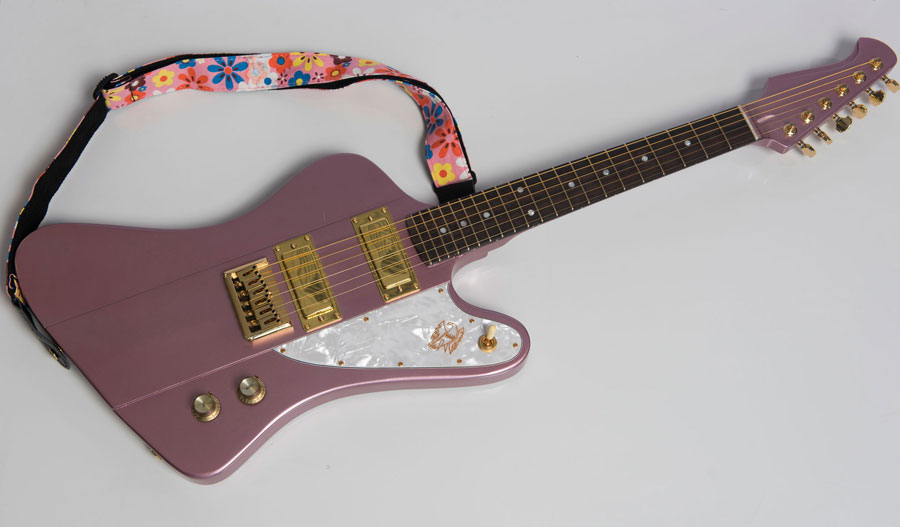
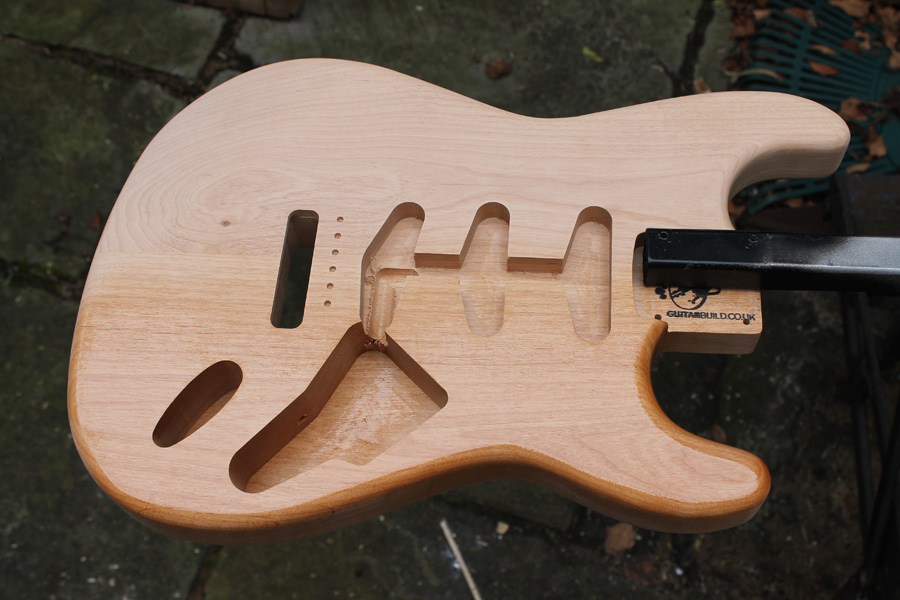
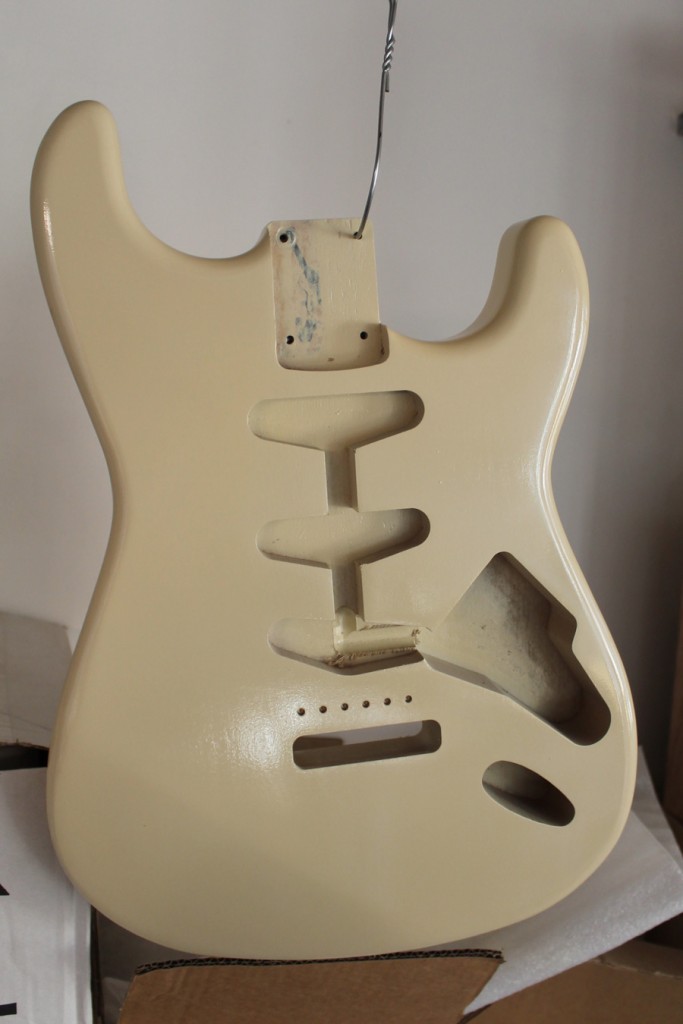
I’m putting together a Stratocaster for a friend. It’s to match a Telecaster he has so will be painted in a creamy colour. This is the look we are going to achieve:

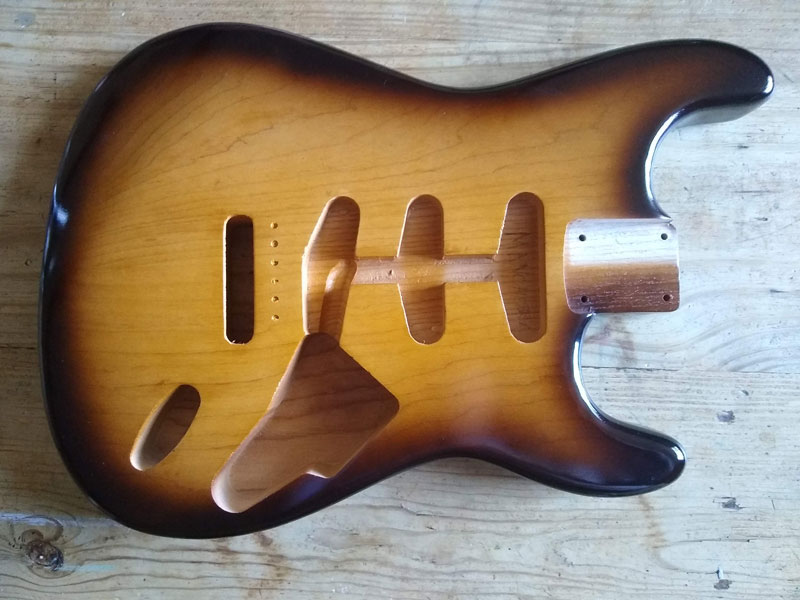
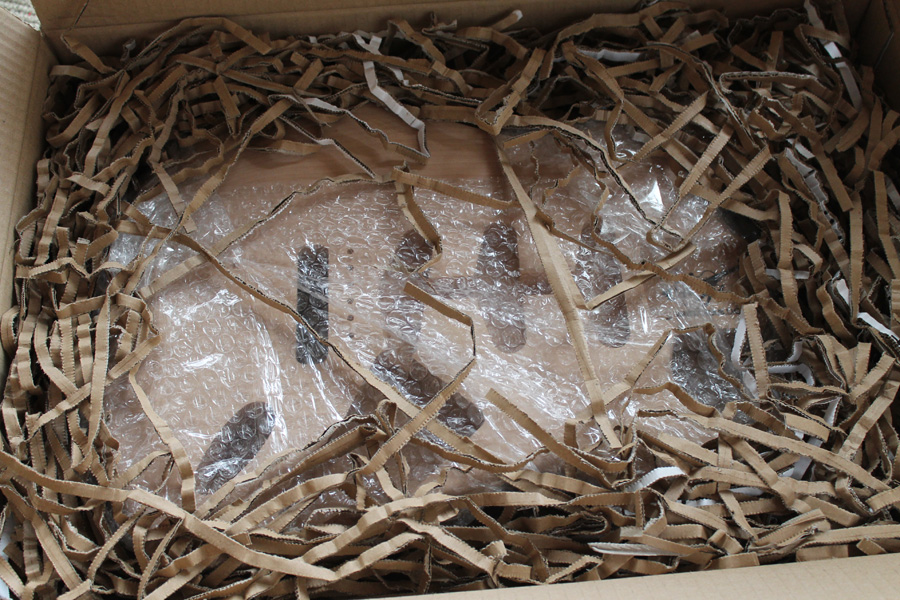
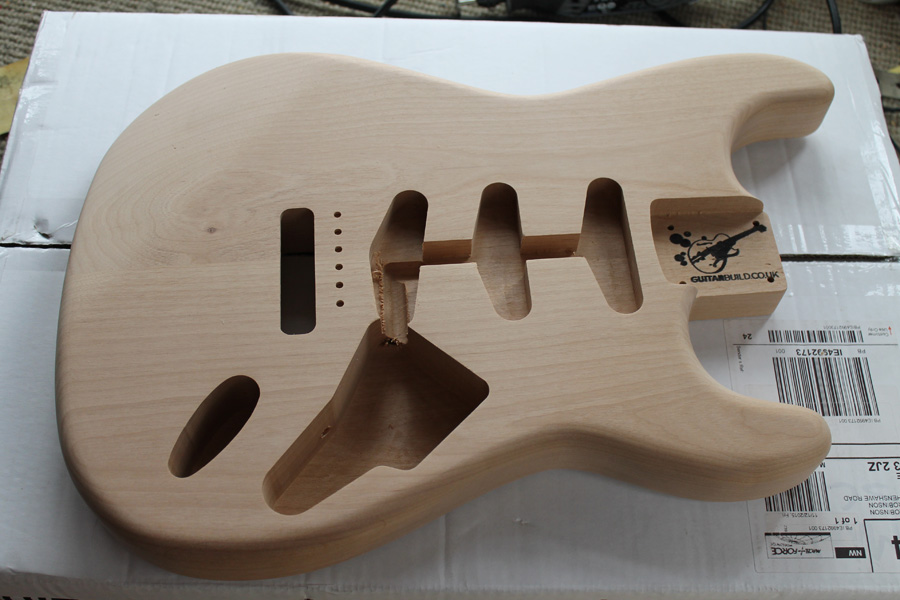
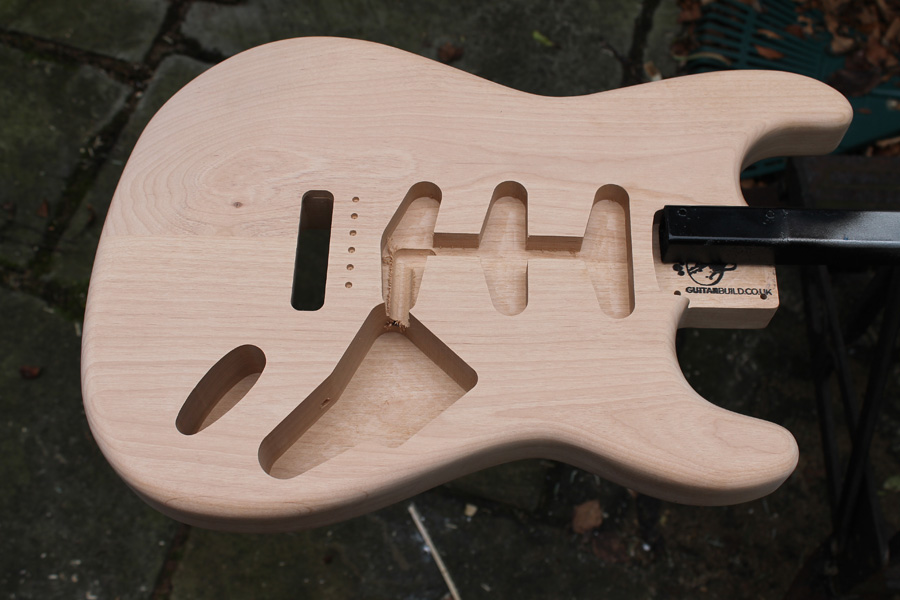
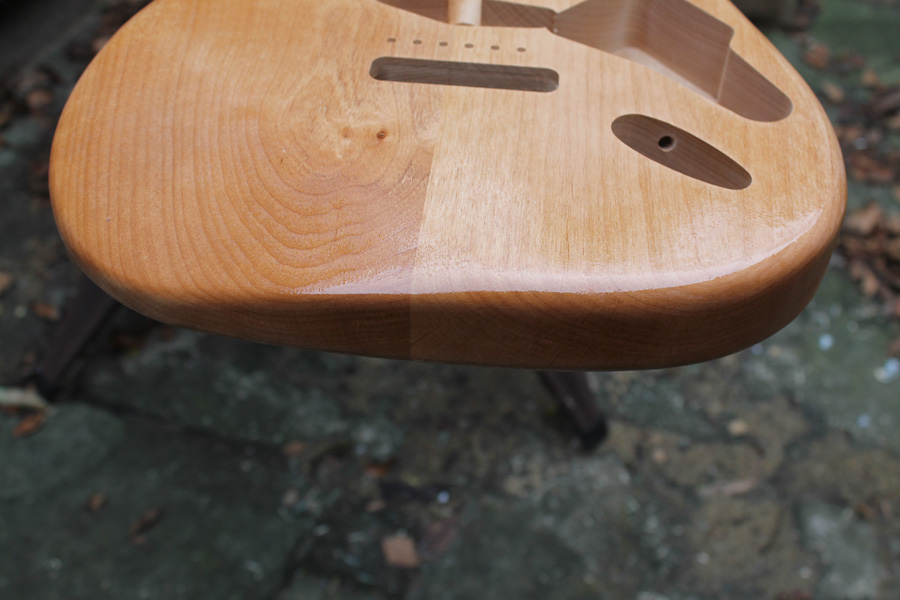
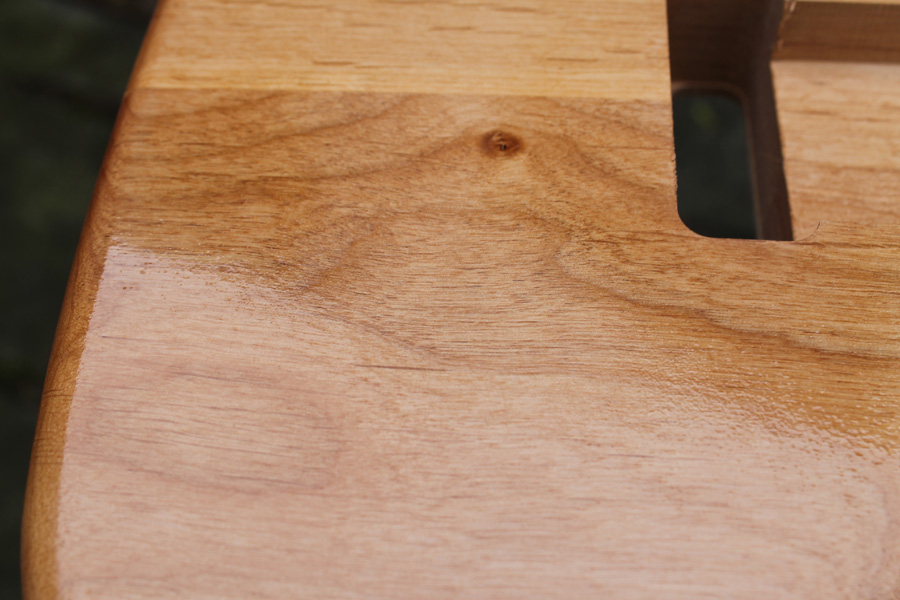
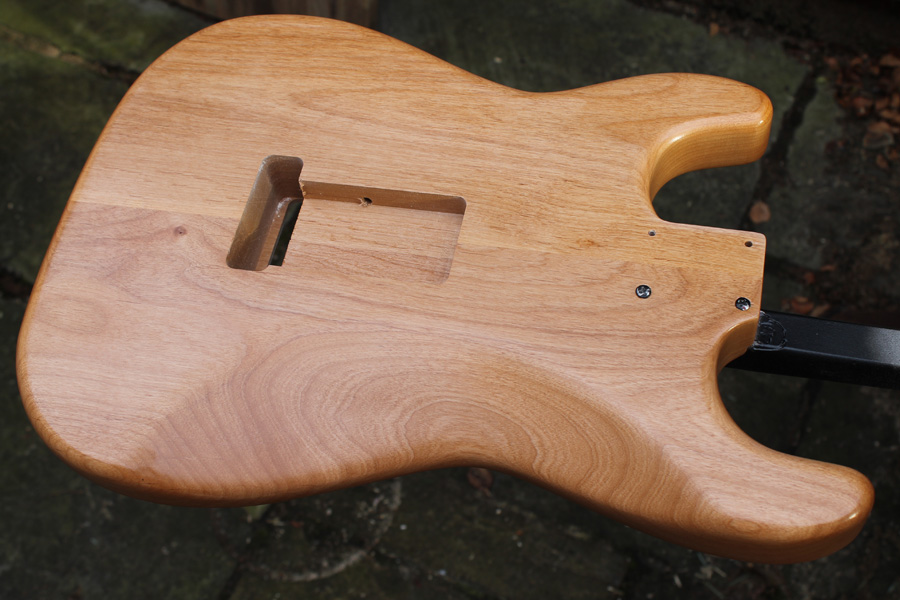
The body, as is usual, is from Guitarbuild and it’s a beauty. Made from alder, it arrived really well sanded so virtually no preparation was required before I could start painting.
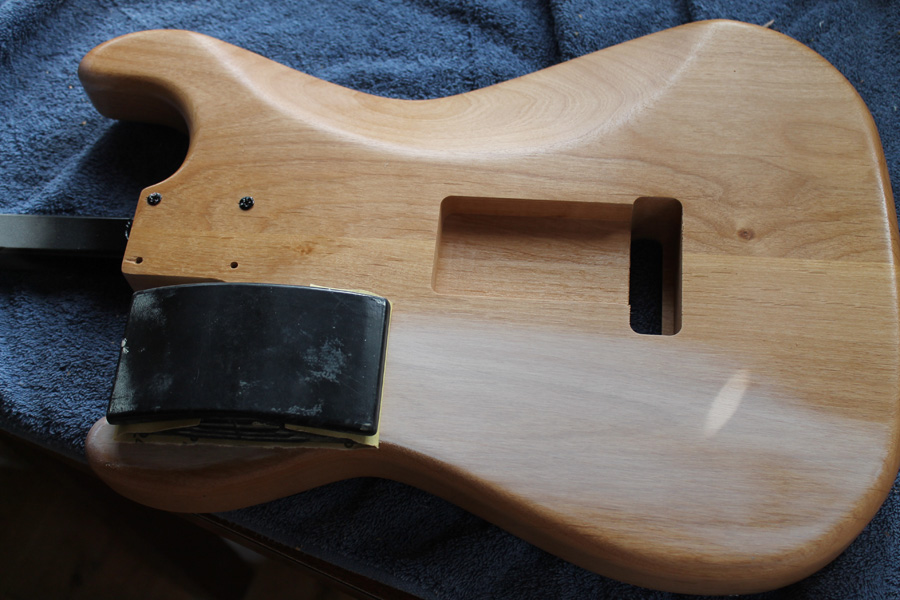
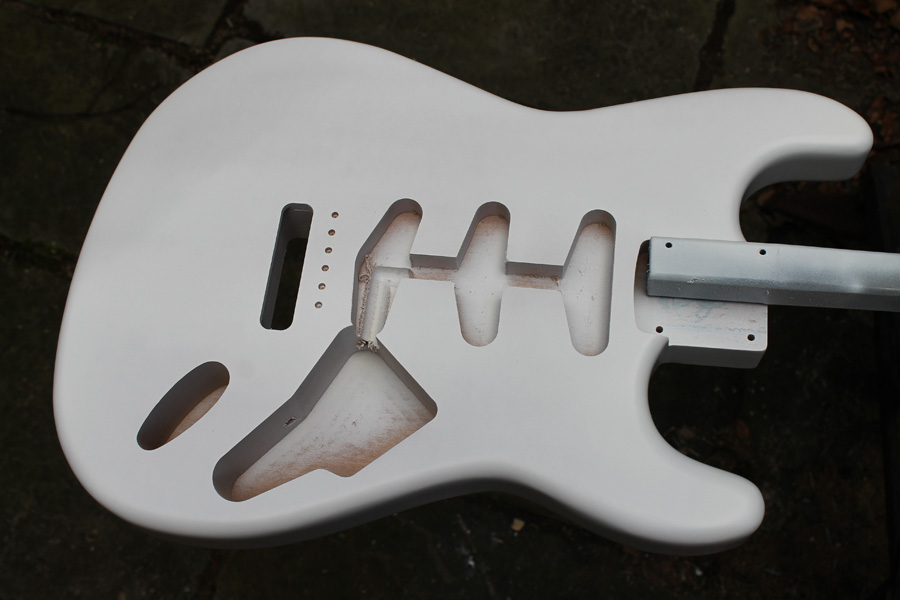
Spraying the sanding sealer
No grain filling is required with alder so the first step is always to seal the wood. This is essential to give a smooth base for following layers. Here is the body attached to my trusty painting stick. This is 1″ square section tube with two tapped holes to accept M4 machine screws.
It’s important to get lots of sealer onto the body, especially as alder tends to soak it up.
I applied two or three heavy coats, concentrating especially on the end and inside the cutaways as the end grain soaks up more sealer. You can see how wet it is here.
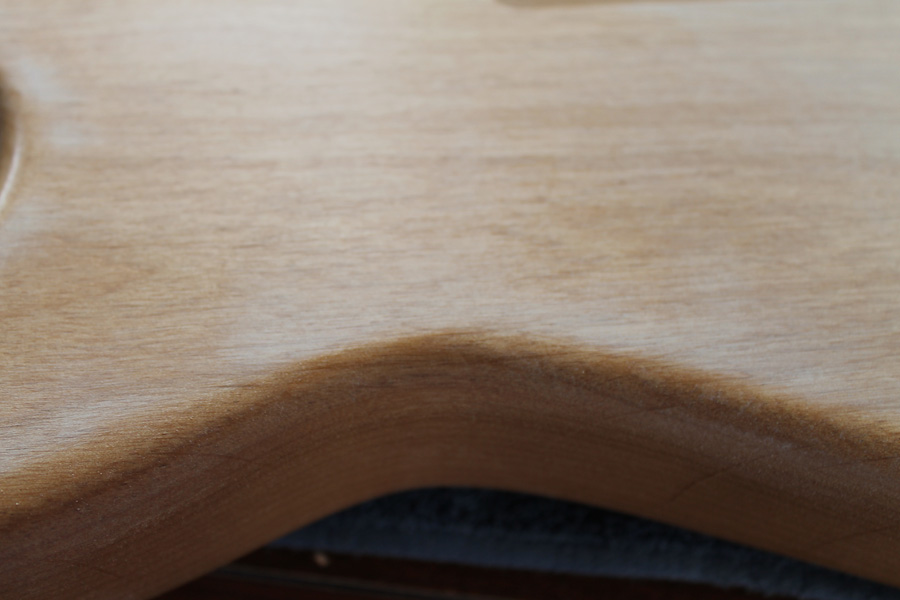
You’ll find that the sanding sealer raises the grain slightly. This isn’t a problem as we are going to sand back.
Once the sealer has dried, preferably overnight but a few hours in warm conditions is fine, it can be sanded flat. Use a sandpaper over block on the flat faces and sandpaper held in cupped fingers for the rounded areas such as the sides and corners. You can see how easily the sealer sands, giving a white dusty residue.
Wipe the dust off using a tack cloth or blow it clean with an air line. Any shiny spots are dips (I had none) and any whiter areas are where you’ve sanded through to the wood. Sand again if necessary until no shiny spots remain.
Once everything is flat you can spray another coat of sanding sealer and repeat the process. Spray less heavily now as you just want an even coat for the next step. One more coat is all it took to have this body looking nice and smooth.
Spraying the primer coat
Once the primer is on is when you notice any imperfections masked by the grain. I’m happy to report that there were none.
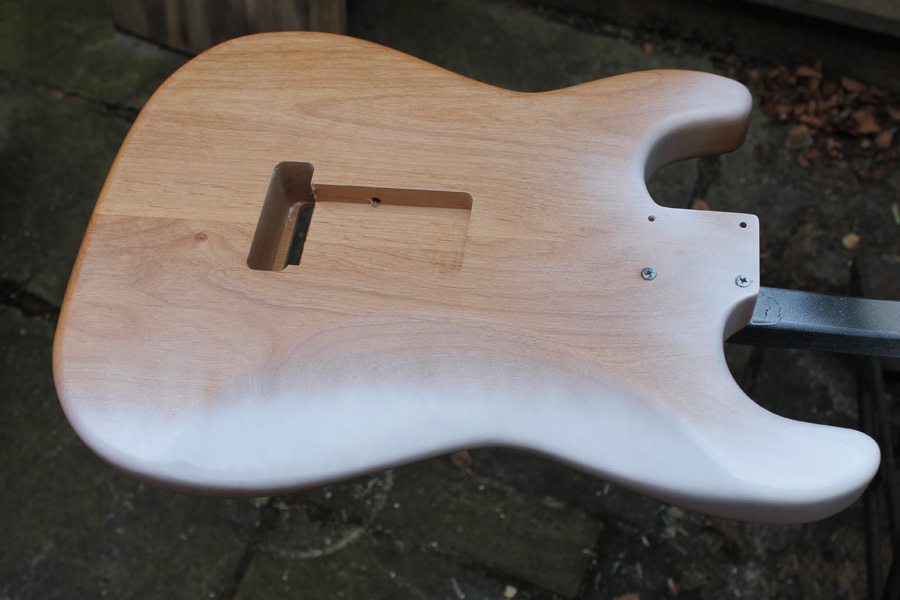
Here I’m starting to spray the primer, making sure I get good coverage on the edges and in the cutaways.
First coat of primer is on but I can still see a bit of grain though it.
After the second coat it’s looking nice and opaque so time for the colour coats!
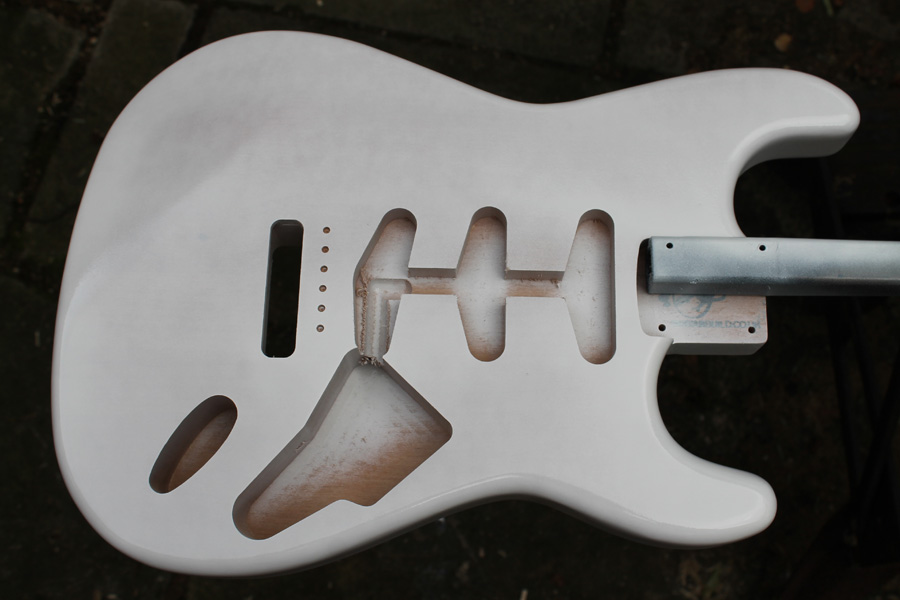
Colour and Clear coats
Here’s the body with the colour and clear coats sprayed. Sorry there are no pictures of the process.
You can see from the reflections that the surface is a little uneven and needs to be flat sanded.
Assembled guitar
Well the guy whose guitar this is wanted it assembled quickly for a video shoot so I didn’t get time to distress it.
