
Manchester Guitar Tech


Ozzy Lister – guitar and bass repair

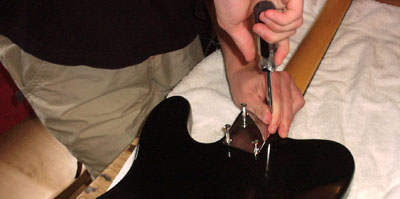
Attaching the neck to the body
At this point you can attach the neck to the body using the four large screws. Use the neck plate to act as a large washer for the screw heads. Tighten the screws firmly.
Fitting the tuners
If you are using alternative tuners, like our Gotohs you will probably need to ream out the holes to 10mm. You can use a 10mm drill for this but it is probably better to use a round file or reamer to carefully extend the holes.
Attach the tuners using the ferrules only. Tighten lightly so that you can still adjust the angle of the tuner.
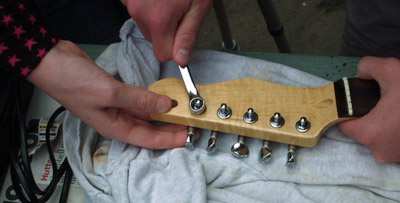
Turn the neck over and position the tuner bodies so that they are all straight. Then drill pilot holes for the screws using a Dremel or similar small drill. Mark a depth stop on your drill bit so you don’t drill through to the other side.
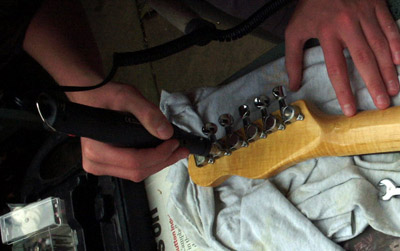
Finally, you should tighten the ferrules fully.
Preparing to paint
Unless you have a purpose-built spray booth, paint outdoors. Lacquer fumes are toxic and explosive. Even if you are outdoors you should wear a dust mask to avoid breathing the spray.
The Saga kit bodies are already sealed with a coat of polyurethane sealer which gives a good surface for your top coats. If you are using a body from another manufacturer you may need to seal and grain-fill first.
You can buy the nitrocellulose lacquer you need in various colours, including clear coats from me here.
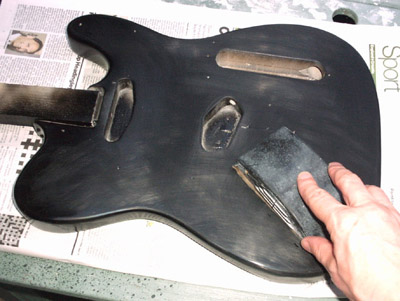
Lightly sand the body with P800 wet-or-dry to provide a key for the lacquer. Use a tack-cloth to remove any dust every time you sand and in-between coats to remove any particles of dust.
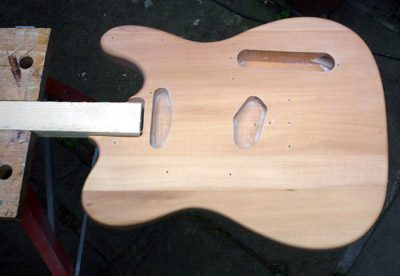
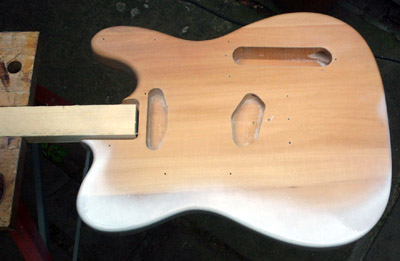
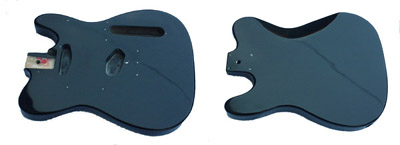
Attach a short length (approx 75cm) of wood to the body using 2 screws. This will allow you to suspend the body horizontally (or at any convenient angle) for easier spraying.
Primer and colour coat
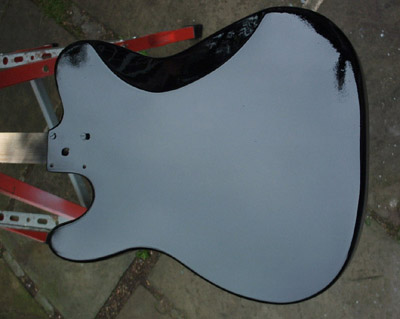
In order to get an even colour, you should prime the body. This is especially important if you are finishing your guitar a light colour. Spray the edges first, being careful to avoid applying too much paint and causing runs which you will have to sand flat again.

Once the edges are covered, fill in the front and back of the body.
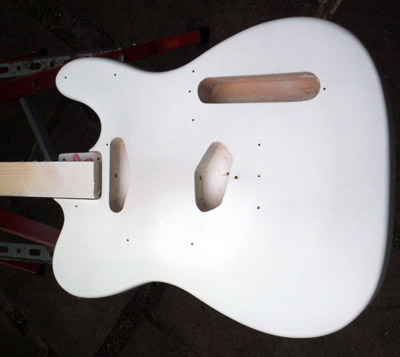

Don’t forget to prime inside the cutaways.
Colour coats
Before applying the colour coats you must fix any problems with the primer coat. Sand out any runs and re-prime if you sand through to the wood. When everything is even, lightly sand so as to de-nib the primer coat. This is to remove any small rough spots due to dust. Don’t forget to use your tack cloth before spraying.
Just as with the primer, start with the edges of the body. Take special care on the cutaways and horns to get an even and thorough coverage.
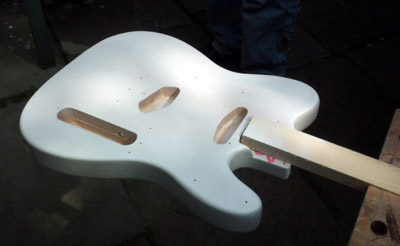
Fill in the front and back of the body. Spray the lacquer, moving across the body in overlapping stripes. Keep the paint wet so each stripe of spray flows into the previous giving a glossy coat.

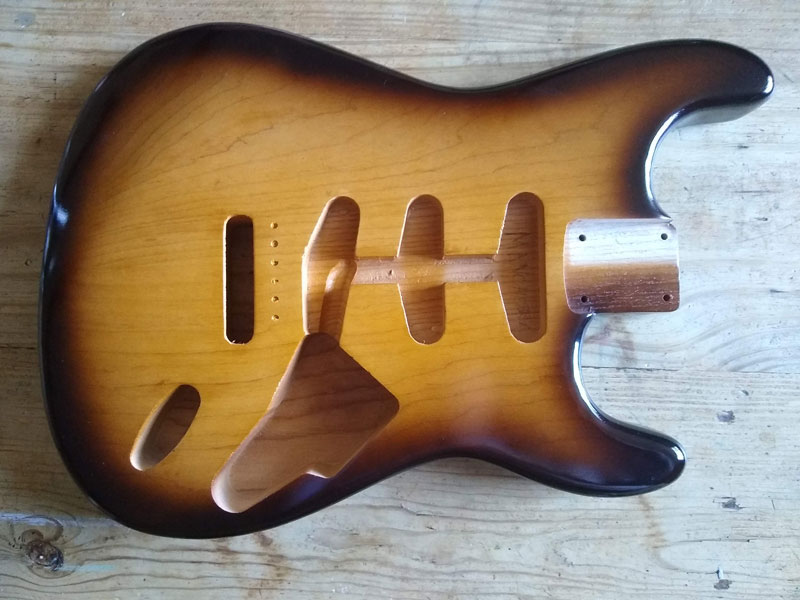
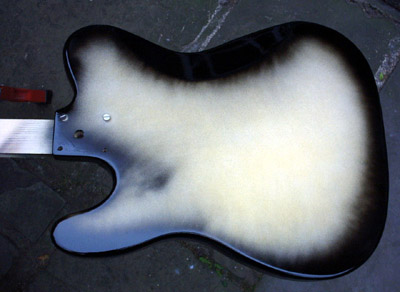
Here is the back of the body after 2 coats of colour.
Applying the clearcoat
You can buy the nitrocellulose lacquer you need in various colours, including clear coats from me here.
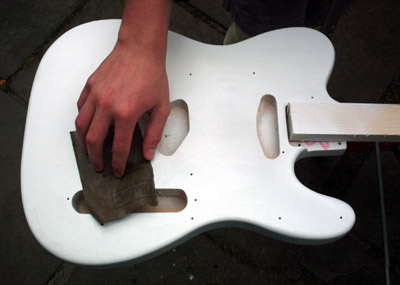
If you have runs or dust in your finish, use a block to wet-sand the front and back faces of the body flat. Wipe dry and use a tack cloth to remove any particles of dust.
There is no need to sand if your colour coat is smooth and free from major defects.
Just as you applied the colour coat, carefully spray the clear lacquer. Sides first then fill in, keeping the coat wet but not so thick that it runs.
Spray a second and third coat, leaving time between coats for the prior one to dry sufficiently. Once you are happy that you have sprayed enough lacquer, leave the body to set for at least 3 days, preferably a week or two for the lacquer to harden properly.
Sanding and buffing the finish
Once the lacquer had hardened, ideally after 2-3 weeks, block sand the front and back and sand the edges using P800 grade wet or dry paper and plenty of water. Follow this by block sanding with P1200 paper, again wet. Be very careful on the edges not to rub through
Wipe the body dry and then buff using a proprietary rubbing compound, followed by a good quality guitar polish.
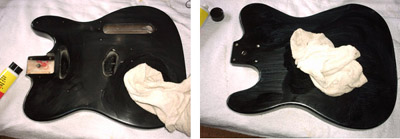
Your body should have a mirror-like finish and is now ready for assembly.
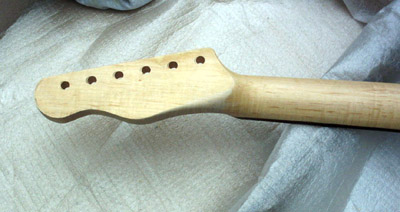
Shaping the headstock
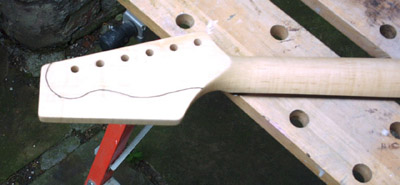
Because the Telecaster headstock shape is a trademark of Fender Musical Instruments Corp. (FMIC) then all modern kits come with a blank or “paddle” headstock from which you can cut your own design. Any similarity to a Fender Telecaster headstock on this page is purely coincidental!
The first job is to decide on your headstock shape. I made a paper template and used this to draw the shape on the back of the headstock. Don’t use black pen as I did – pencil will do. I used a pen to show up in the photograph.
Cut out the shape of the headstock roughly with an electric jigsaw or coping saw. You can use a router if you have one.
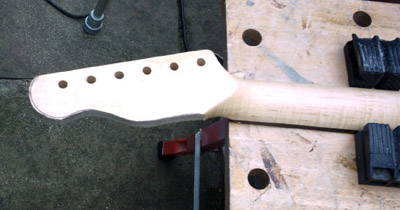
The final shaping of the headstock is done using coarse sandpaper before finishing off with finer sandpaper to give a smooth surface for the lacquer.

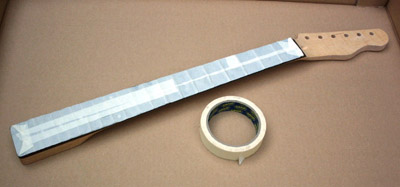
Finishing the neck
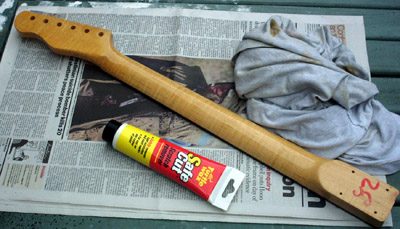
As our chosen kit has a rosewood fretboard, it is important to mask it off to avoid unwanted overspray. If you have a maple fretboard then don’t mask as you’ll be lacquering that too.
You can buy the nitrocellulose lacquer you need in various colours, including clear coats from me here.
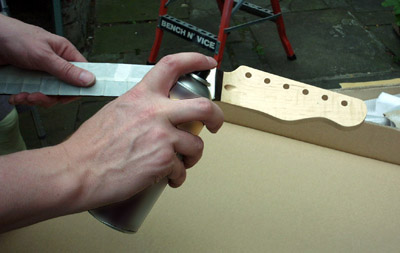
Hold the neck and spray a couple of thin coats of lacquer onto the face of the headstock. You should spray the sides of the headstock too.
Lay the neck on a flat surface and spray a few thin coats of lacquer. Once the lacquer is touch dry you can spray a few more coats but be very careful not to spray too thickly or the lacquer will run. I have used a slightly tinted lacquer to give a vintage colour to the neck.
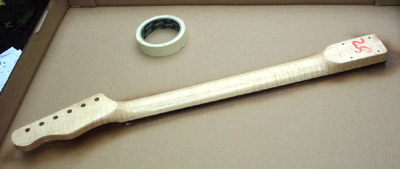
Once the lacquer on the neck has hardened (we left ours 3 days) you can polish using a proprietary rubbing compound before polishing to a shine.
