Manchester Guitar Tech


Ozzy Lister – guitar and bass repair

Fit the string guide
String the guitar. Place the string guide over the b and e strings and find a suitable place for its placement on the headstock. Drill a small pilot hole and then screw the string guide down.

Cut the nut slots
You should lower the nut slots until there is just a small gap between each string and the first fret when it is fretted at the third fret. I am using special nut files here. It is possible to use needle files but it is a much harder job and I recommend you borrow a set of files.

Adjust the truss rod
Check the neck relief. With the strings tuned and at normal tension here should be a slight curve in the neck so that if you hold the g string down at the 1st and 15th frets there should be a slight gap between the string and the 7th fret. If there is no gap then the neck is either straight or back-bowed and you should reduce the tension on the truss rod. If there is a gap larger than 0.5mm you should tighten the truss rod slightly. Be careful as it is possible to overtighten and snap a truss rod. If it seems unduly stiff, stop adjusting. Adjust by only 1/4 to 1/2 a turn at a time before allowing the neck to settle.
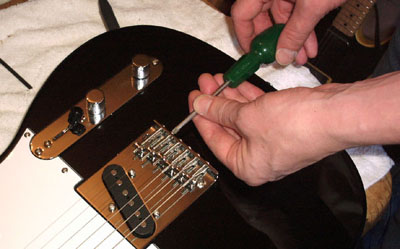
Adjust the string height
Adjust the string height by raising or lowering the saddle pieces using an allen key. Get the strings as low as possible without “buzzing”.
Set the intonation
Adjust the intonation by moving the bridge saddles back or forwards until the pitch of each string at the 12th fret is the same as the harmonic at the 12th fret. If the fretted note is higher than the harmonic, you need to move the saddle backwards (away from the neck) and if the fretted note is lower than the harmonic, screw the saddle towards the neck.
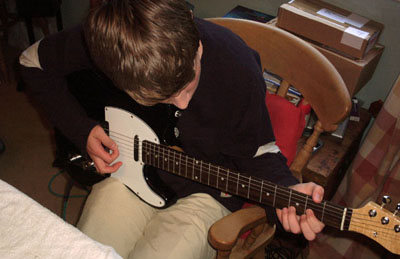
Recheck and PLAY!
Finally, retune your guitar, recheck the action and intonation, then enjoy!.

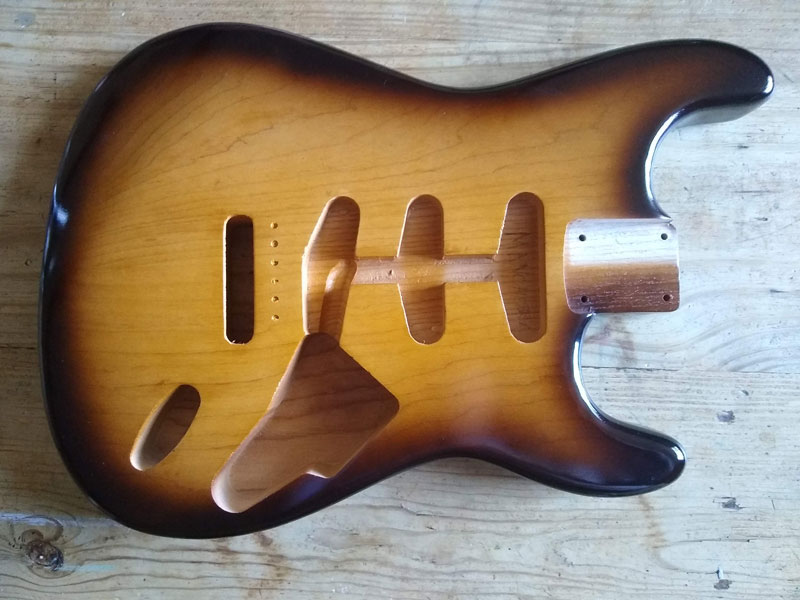
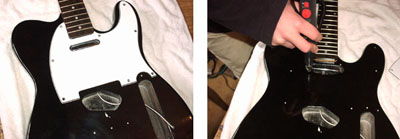
Neck pickup
The first job is to find the right postion for the neck pickup. Place the pickup in the cavity and thread the wires through to the control cavity. Place the pickguard on the guitar and position the neck pickup central in the hole. Being careful not to move the pickup, remove the pickguard and drill two pilot holes, one for each mounting screw.
Fit the screws and springs to the pickup and screw into the pickup cavity using the pilot holes that you drilled. Don’t worry about the height too much at this stage, you will be adjusting it later.
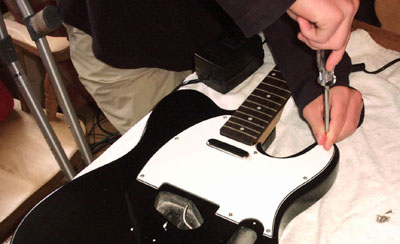
Pickguard
Now is a good time to fit the pickguard.
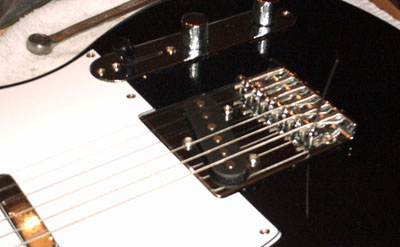
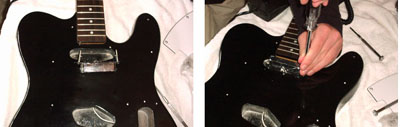
Bridge pickup
Attach the bridge pickup to the bridge plate using 3 screws and springs.
Thread the bridge ground wire from the control cavity to under the bridge and leave plenty of bare wire under the bridge plate to ensure an adequate earthing of the bridge. Attach the bridge to the guitar using three screws.
Wiring the pickups
Solder the black wires from the pickups, together with the bridge earth wire to the back of the volume pot. Solder the white wires from the pickups to the appropriate poiints on the 3-way switch.
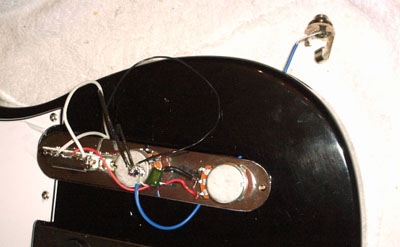
Attach the control plate using 2 screws. Attach the jack socket to its plate tightening firmly. Attach the jack plate to the guitar body using 2 screws.
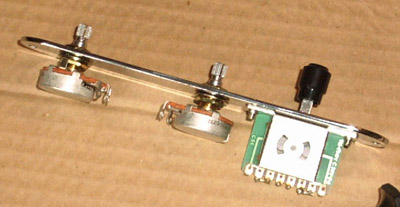
Attaching the switch and controls
Attach the 3-position switch using the screws provided. Attach the volume and tone pots with the soldering lugs facing. Use the lower nut to adjust the height of the potentiometer. Place the star washer between this nut and the control plate. use a dress washer beneath the upper nut and tighten fully.

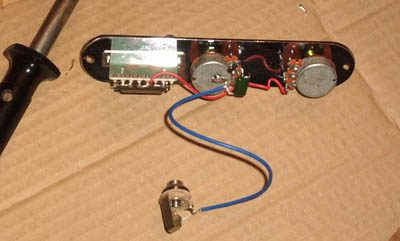
Wiring the control plate
Solder a wire from the centre two contacts of the switch to the lower contact on the volume pot. Solder another wire from here to the lower contact on the tone control. Solder the upper leg of the volume pot to the body of the pot and connect a 0.047?F capacitor from here to the centre leg of the tone pot. Connect a length of shielded wire from the volume pot to the output jack. The shield should be soldered to the body of the volume pot and the centre wire to the middle leg of the volume pot.