
Manchester Guitar Tech


Ozzy Lister – guitar and bass repair
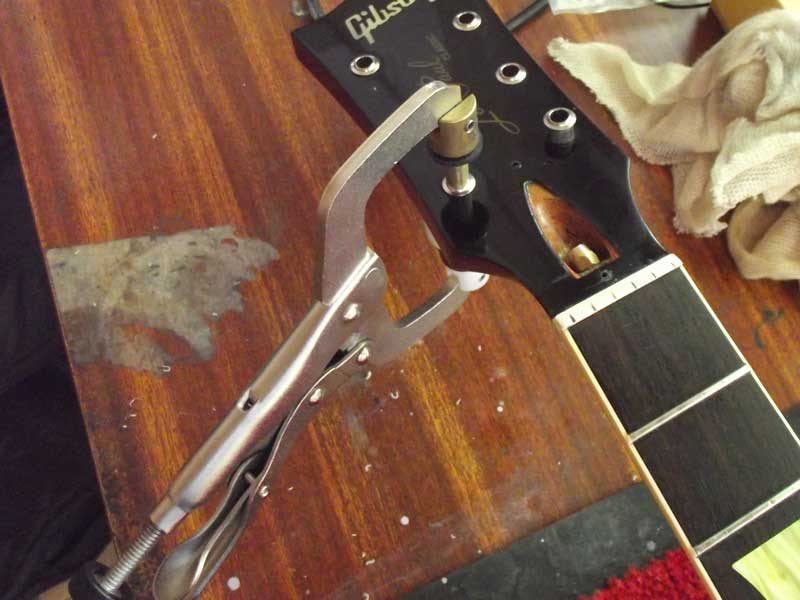
The Stewart MacDonald bushing press is a great tool for safely inserting and removing tuner bushings, avoiding finish damage that may be caused by less elegant methods.
Full instructions for using the bushing press are on the Stewmac website.
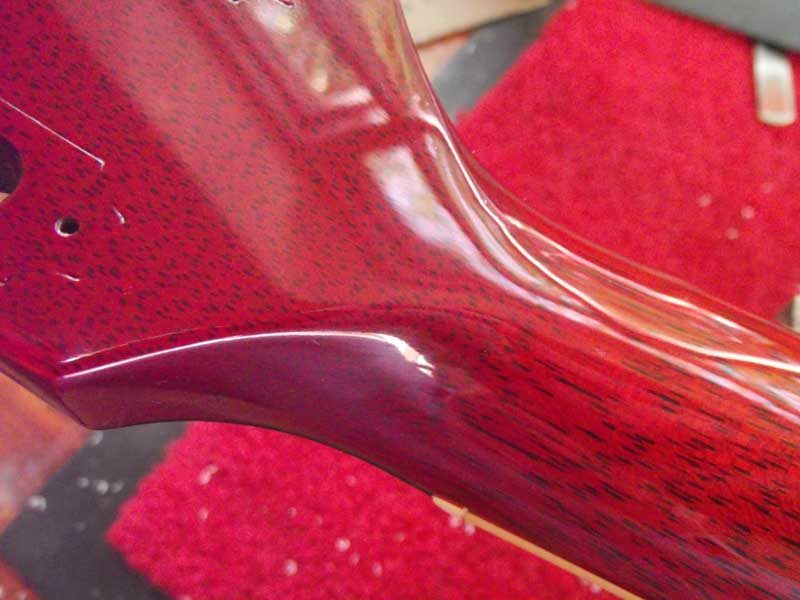
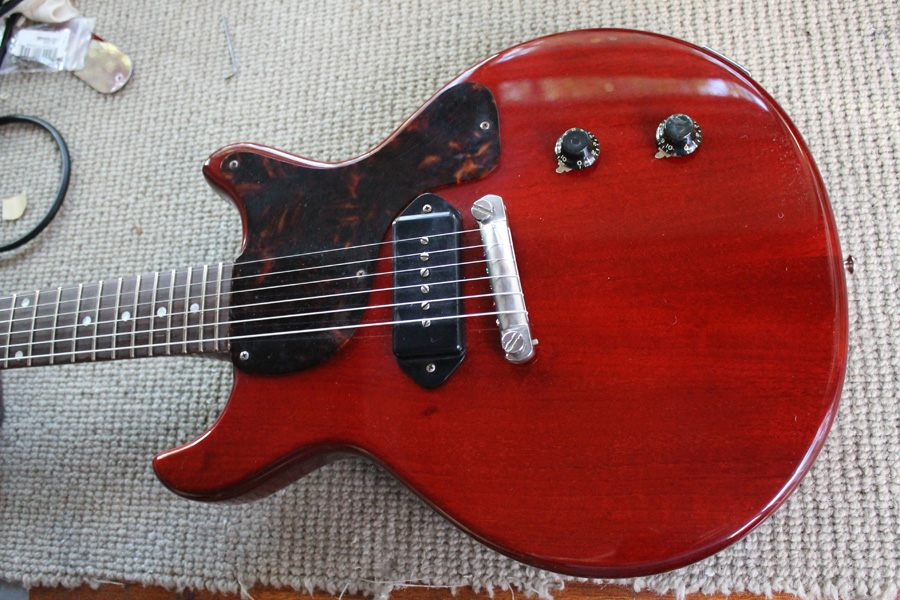
This Gibson Les Paul Classic was in the workshop for repair to a nasty headstock break and left looking (almost) good as new. The joint went together so well that the finish didn’t even need any colour, just a few coats of my clear nitrocellulose lacquer to smooth out the line of the break before levelling, buffing and a polish.

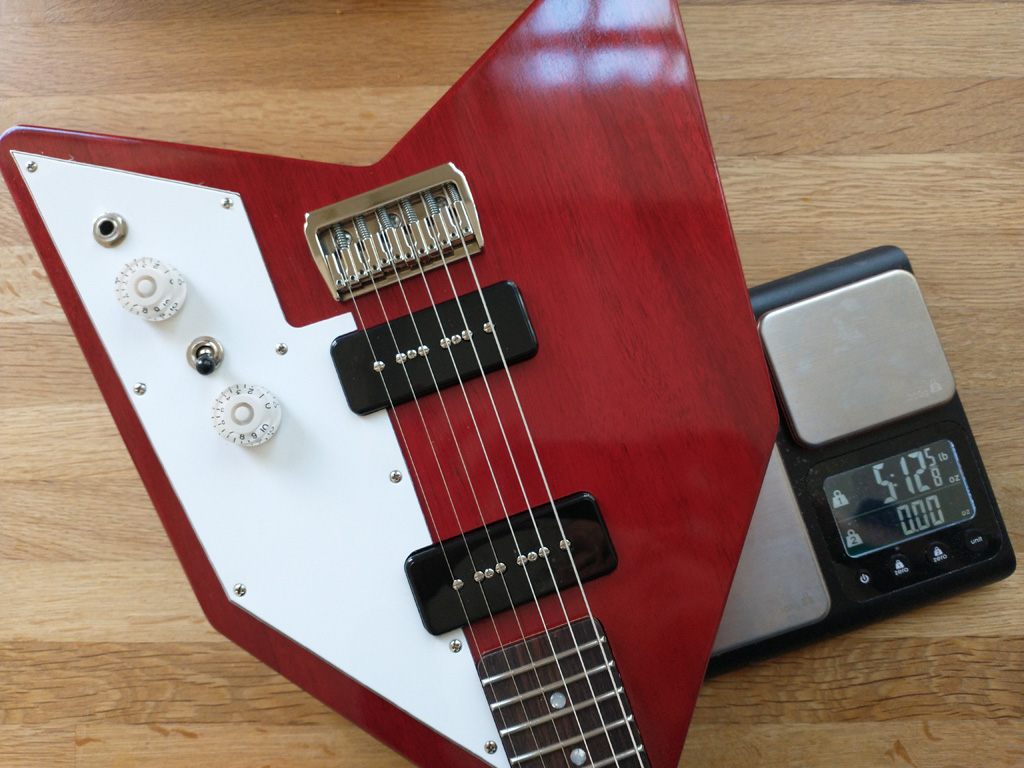
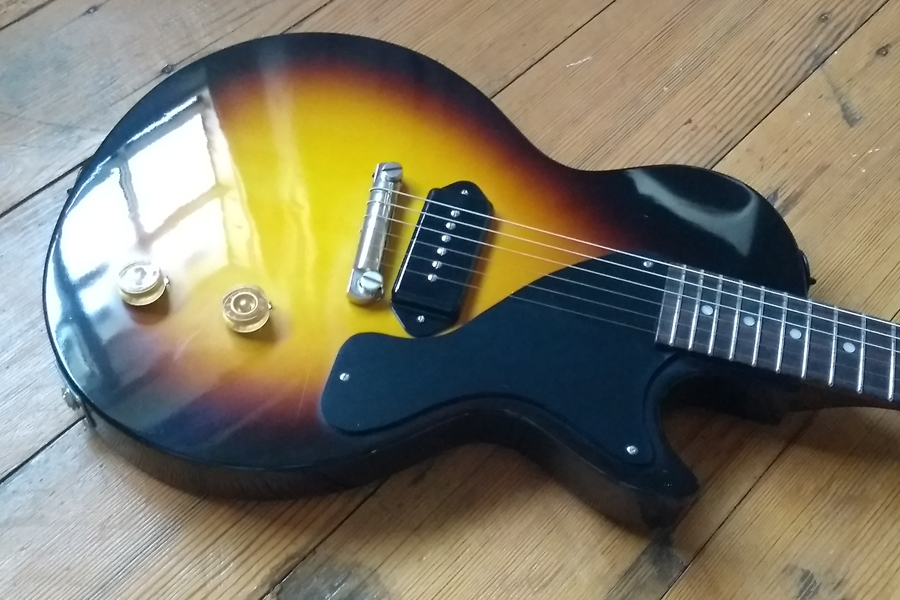
I recently performed a full upgrade on a Vintage Lemon Drop guitar. These guitars are great value for money but obviously at such a low price, some components are going to be less than top quality.
The full list of changes is:
- bone nut
- Sperzel tuners
- Tonepros nickel bridge and tailpiece
- Tonerider Alnico IV pickups
- CTS pots
- Switchcraft switch and jack
- Sprague Orange drop capacitors
As well as a complete rewire in braided wire, fret dress and setup.
The total cost of upgrades including parts was about £370.
The pickups were, of course, wired out of phase. With both pickups on, and the neck volume rolled off slightly, it did the Peter Green sound perfectly.
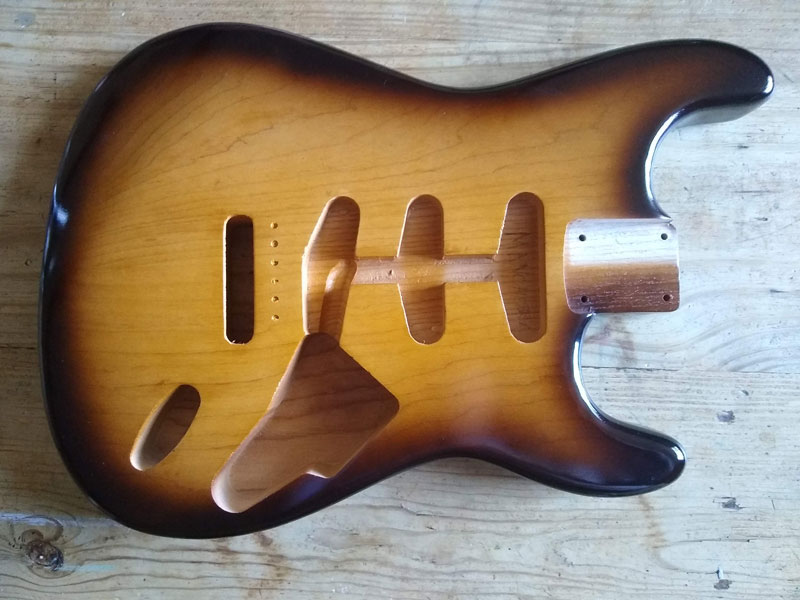
When painting a guitar, preparation is critical to success. At every stage, it’s important that you get the body as smooth as you can. A bit of work early on saves a lot of work later.
Open-pored woods such as ash must be grain filled before lacquer is applied otherwise the lacquer will sink into the grain and it will be very difficult and expensive in lacquer to get a smooth finish.
Grain filler is not the same wood filler and is only for filling pores in the wood so before you start, sand the wood thoroughly to 240 grit or so to remove any scratches and minor imperfections. Bigger imperfections such as holes will need to be filled with wood filler which may mean that a solid colour is your only option.
Once you have your guitar body sanded you can apply the grain filler.
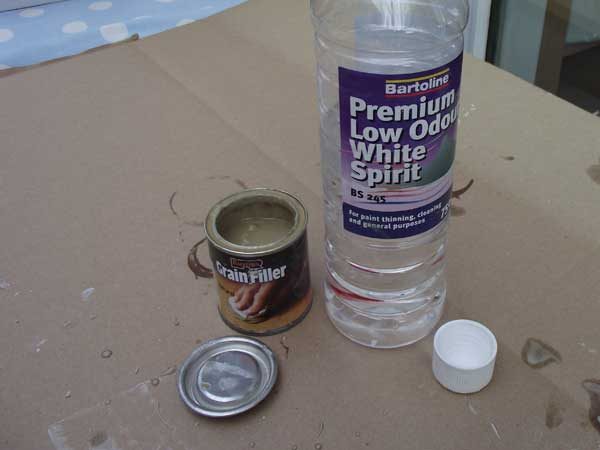
Here, I’m using Rustin’s natural colour grain filler. This works best when thinned to the consistency of double cream so my first step it to do that.
You’ll find that the wood naturally absorbs the solvent so you’ll need to keep adding more in order to keep the correct consistency.
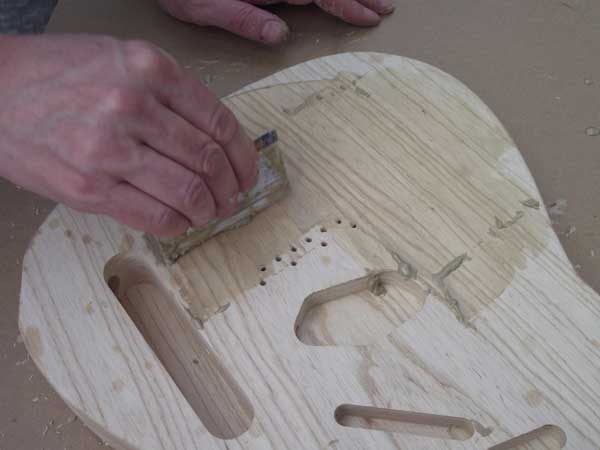
Apply the filler with a squeegee, cloth or your fingers, whichever works best for you, but be sure to pack the filler deep into the wood’s pores. Here I’m using an old credit card. Work along the grain to be sure that the filler is pushed into the pores.
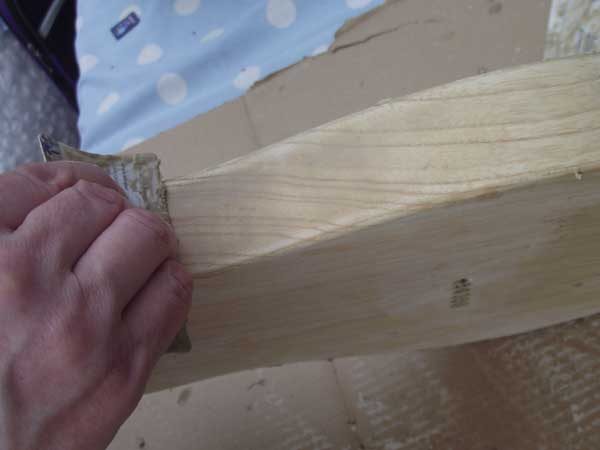
Don’t forget to treat the edges too, as well as inside the cutaways. It’s easy to neglect these areas!
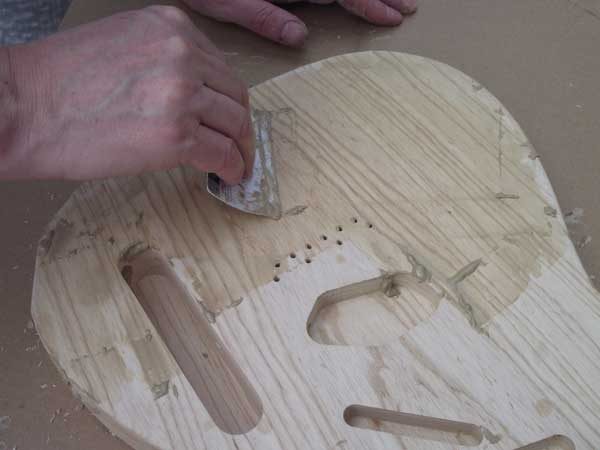
Because the oil-based filler dries slowly, working quickly it’s possible to fill a reasonable area before scraping off the excess. Here, I’ve filled about half the body.
Again, you can use the implement of your choice but here I am using my trusty credit card to remove excess filler. I’m scraping across the grain so that I don’t pull the filler out of the pores.
The more you scrape off at this stage, the less sanding you need to do to remove dried on filler. I find it best to wait an hour or so, when the filler is hard in the pores but still fairly soft on the surface to scrape.
Once you have removed most of the excess filler, you need to leave it to dry over night before sanding.
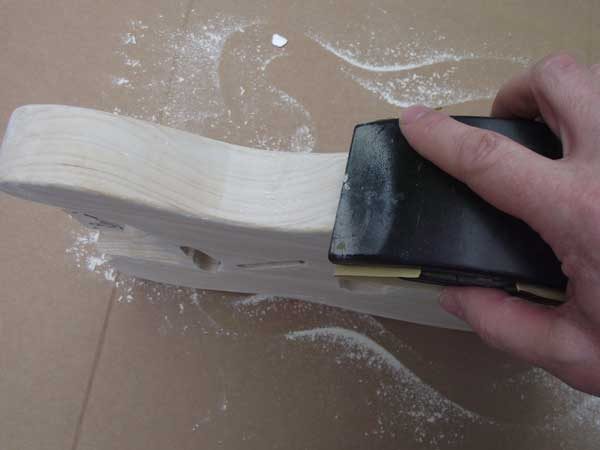
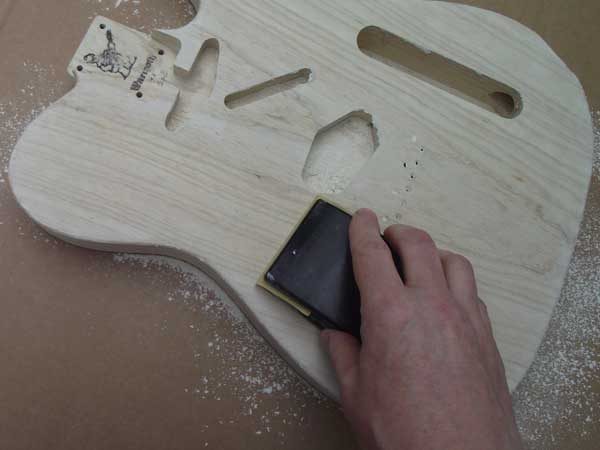
Sand carefully to 320 grit, using a block and going along the grain so as not to introduce any scratches. You need to get down to the surface of the wood without sanding out the filler that you’ve so just applied.
Sand the edges carefully too and then inspect your work to make sure you’ve done a thorough job.
If you have missed any areas, you’ll need to apply more filler to them.
It really is worth the effort of getting this stage right as everything else depends on having a smooth surface for your lacquer.