Manchester Guitar Tech


Ozzy Lister – guitar and bass repair
I have just refretted this maple board Telecaster. At the request of the customer I left the fretboard lacquer intact as it was virtually undamaged. I had hoped to get away without changing the nut but the 1st string slot was too low.

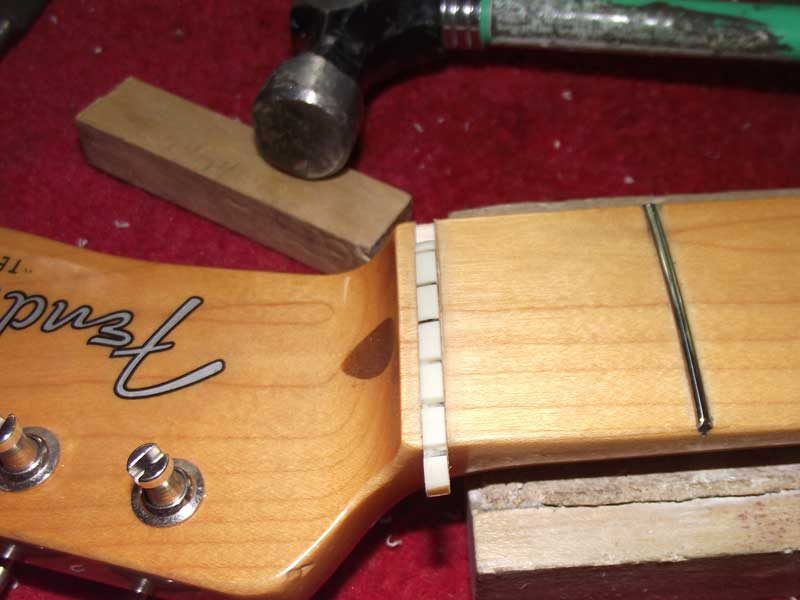
The old nut tapped out easily enough and I cleaned up the slot and sized a pre-slotted Tusq replacement to fit the slot. Tusq nuts are generally oversized and need to be cut down slightly.
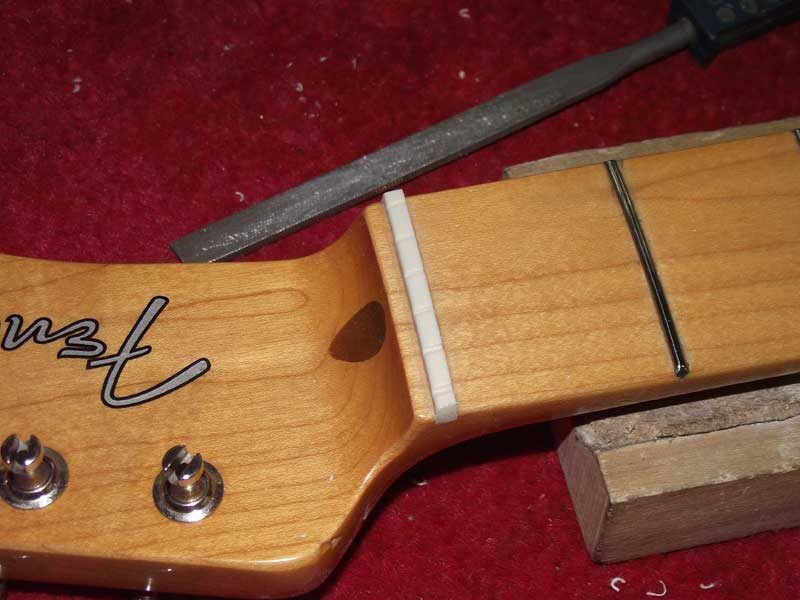
Once fitted, the string slots needed lowering with nut files to approaching the correct heights.
The top of the nut was now much too high and the treble strings would have sat in deep slots so the nut had to be filed down
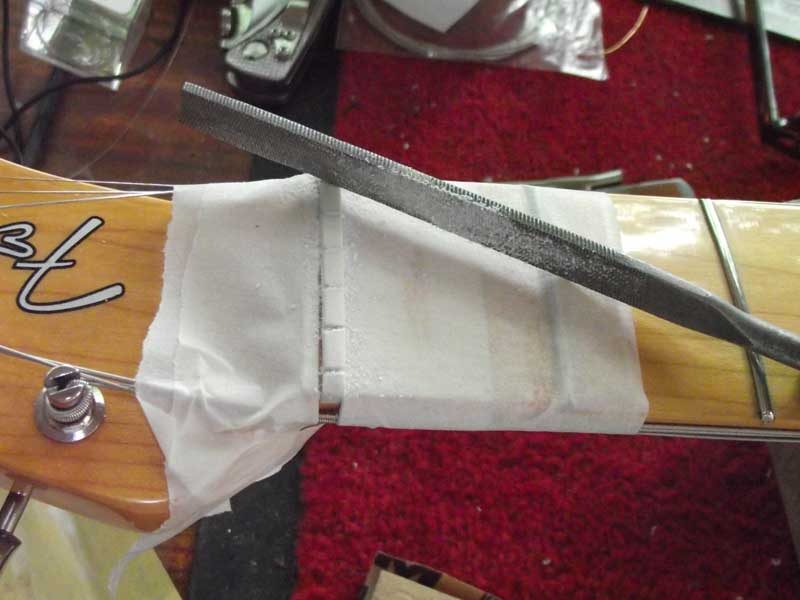
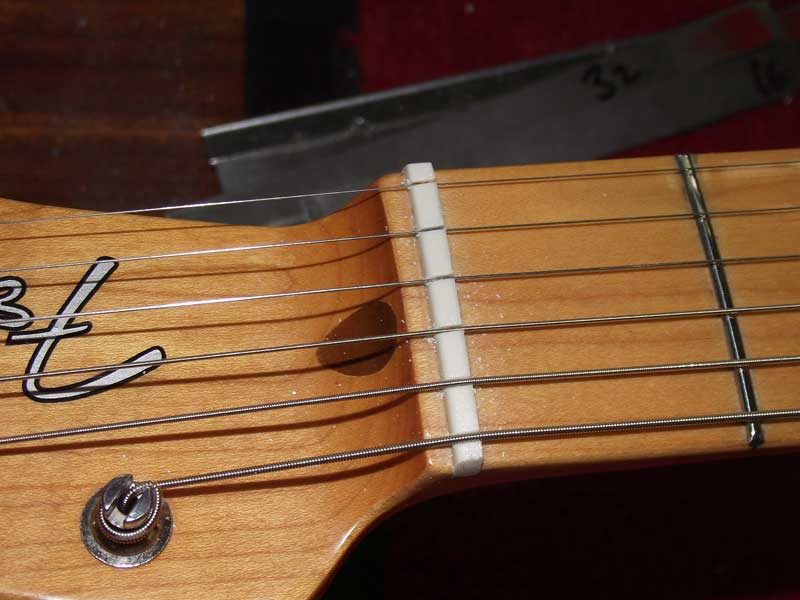
and polished with Micromesh pads.
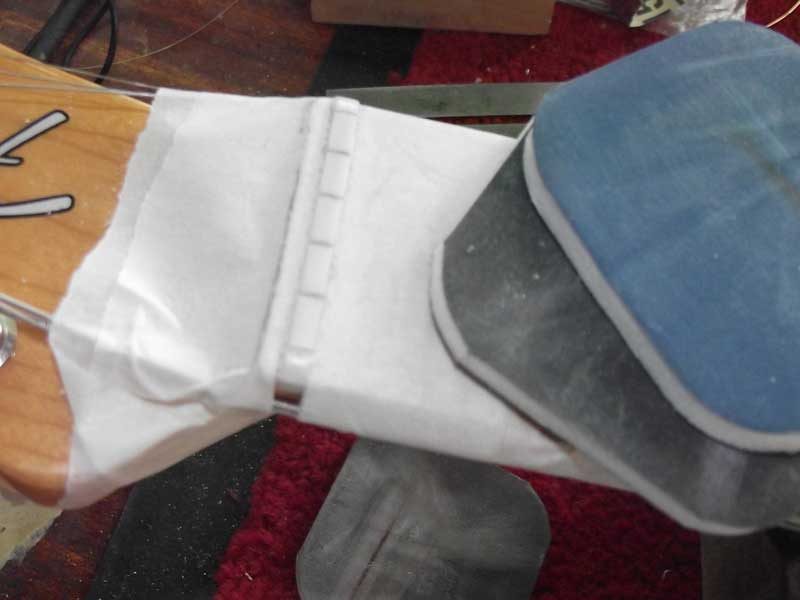
The guitar was then restrung and the nut slots carefully lowered to the correct heights.
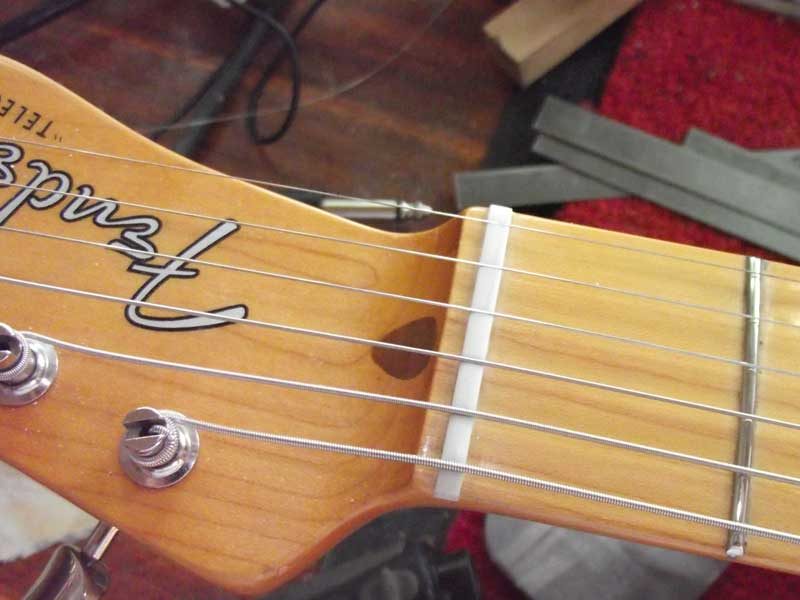
Finally the guitar was tuned to pitch, the setup adjusted and was ready to play.
I have to say that if you didn’t know this guitar had been refretted, you probably wouldn’t be able to tell!
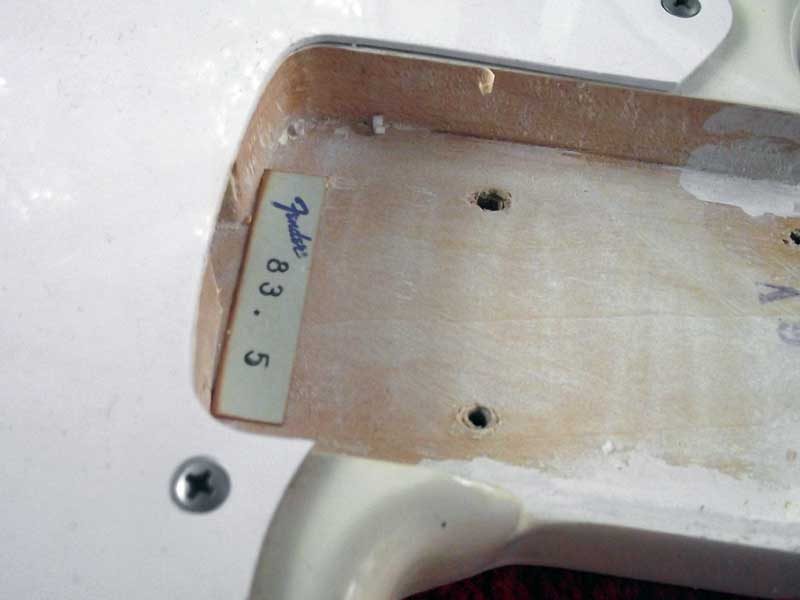
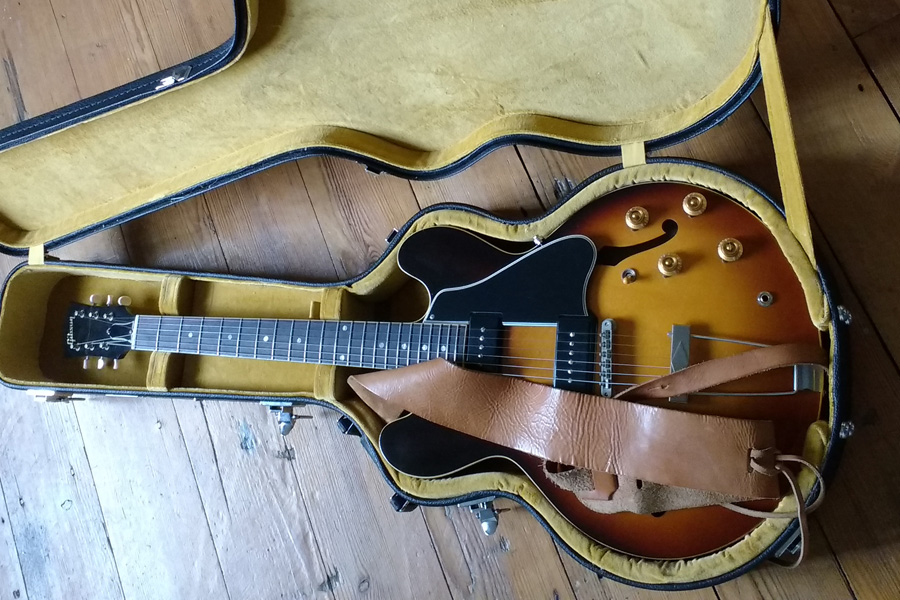
I just thought I’d share this. I set up this 1983 Squier JV Precision Bass and discovered the original shim in the neck pocket, dated May 83. Needless to say, I left it there.
Note: In this post I refer to “left-handed” and “lefty”. This refers to a guitar which is strung, looking at the guitar face on, with the 1st string on the left and the 6th string on the right.
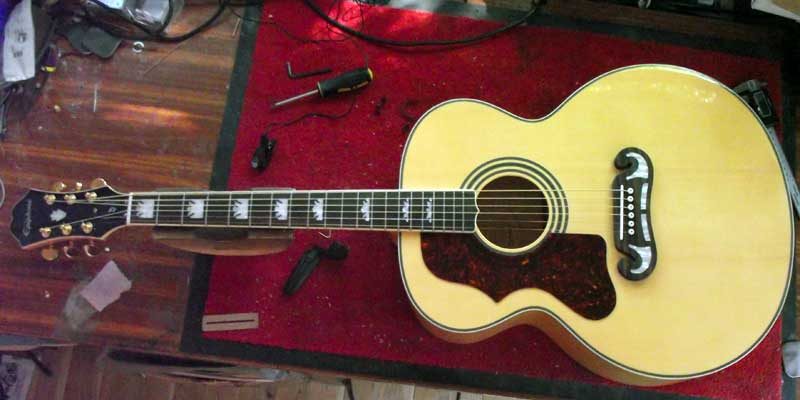
A customer asked me to convert their brand new Epiphone acoustic to left handed. It seems that Epiphone don’t make a lefty model.
In order to convert it there are a few things that need to be done.
- Nut
- Saddle slot
- Pickguard
- Trim
Preparation
I peeled off the pickguard in order to use it as a pattern for the new one. It came off pretty easily as it was mostly paper with a thin plastic veneer! It did leave a lot of adhesive behind which I cleaned off with lighter fuel.
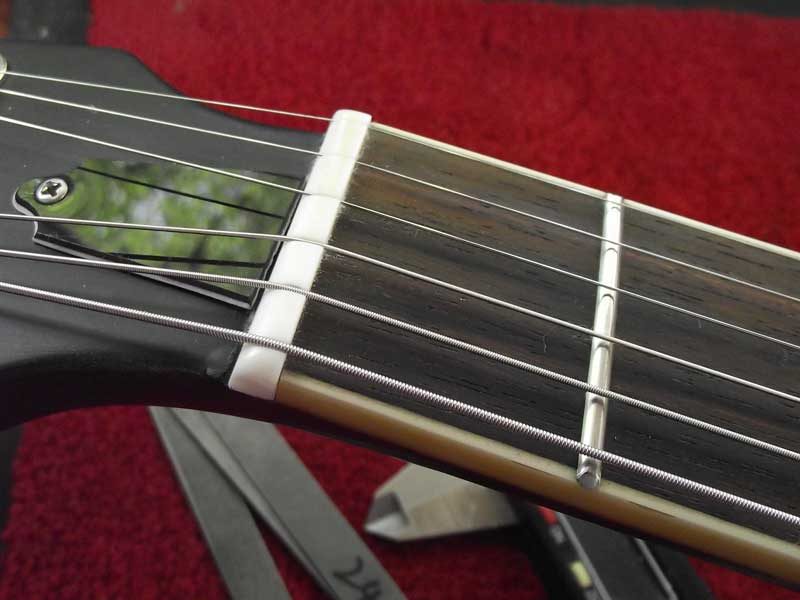
Nut
I replaced the Epiphone plastic nut with a Tusq one, cut for left-handed stringing of course.
Saddle slot
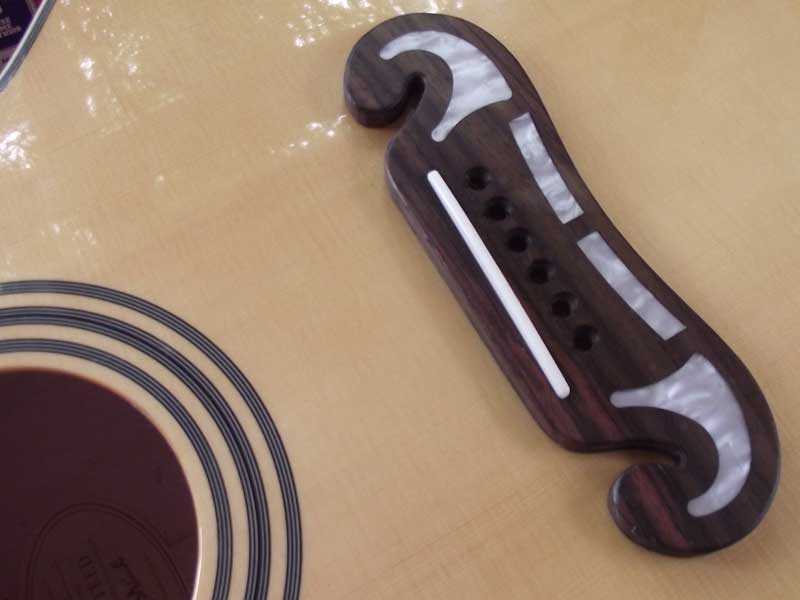
I measured the distance of the old saddle slot from the front of the bridge at each end and also the depth of the slot and made a note of those measurements. I’d use the same treble and bass spacing and depth for the new saddle slot.
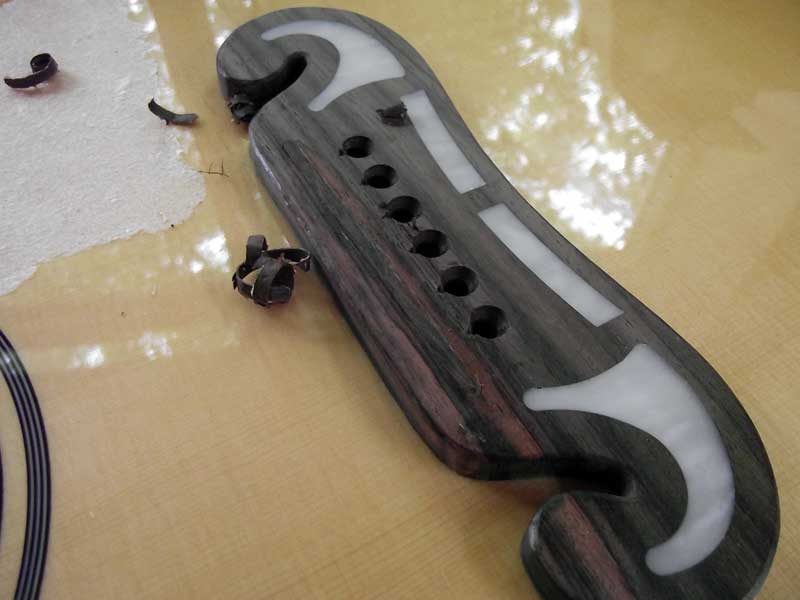
Then I filled the existing slot with a carefully cut piece of rosewood and levelled it with a chisel.
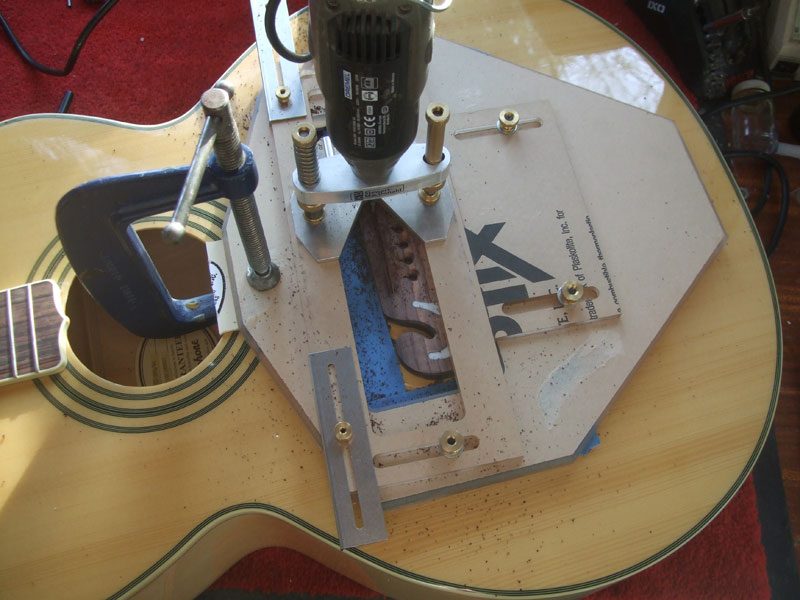
Next, using a 3mm router bit on my Dremel, with a Stewmac router base and the Stewmac jig, I routed the new slot, a millimeter depth at a time, to the measurements I’d made earlier. A final run through with the router cleaned the base of the slot nicely to accept the new saddle.
I made the new saddle from a piece of bone, using the old one as a pattern. I couldn’t use the old one as it was compensated for right-hand stringing. I profiled the saddle and polished it nice and glossy with micromesh.
Here’s a picture of the new saddle in its slot.
Pickguard
I used the old pickguard as a pattern for the reversed copy from self-adhesive faux tortoiseshell sheet. I cut the material with a craft knife before sanding and scraping the edges smooth.
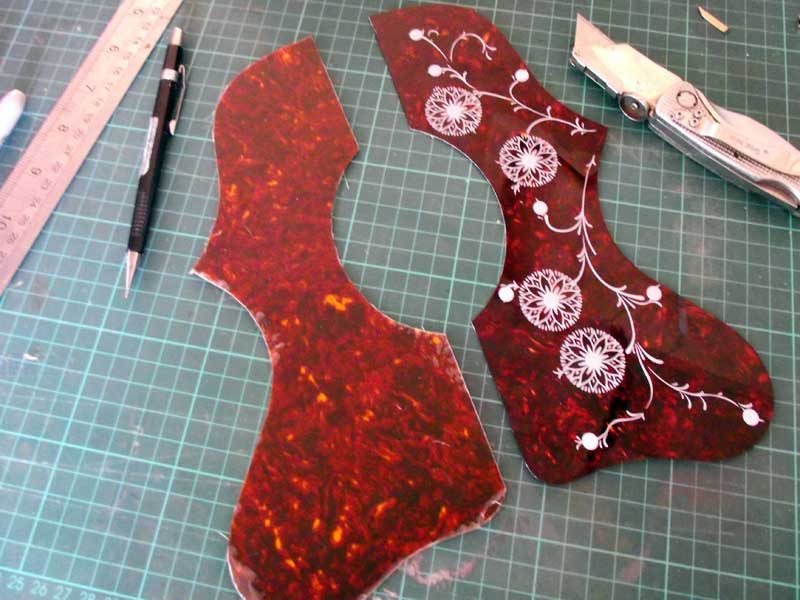
I couldn’t easily reproduce the floral pattern of the old ‘guard but maybe that is a good thing?
Trim
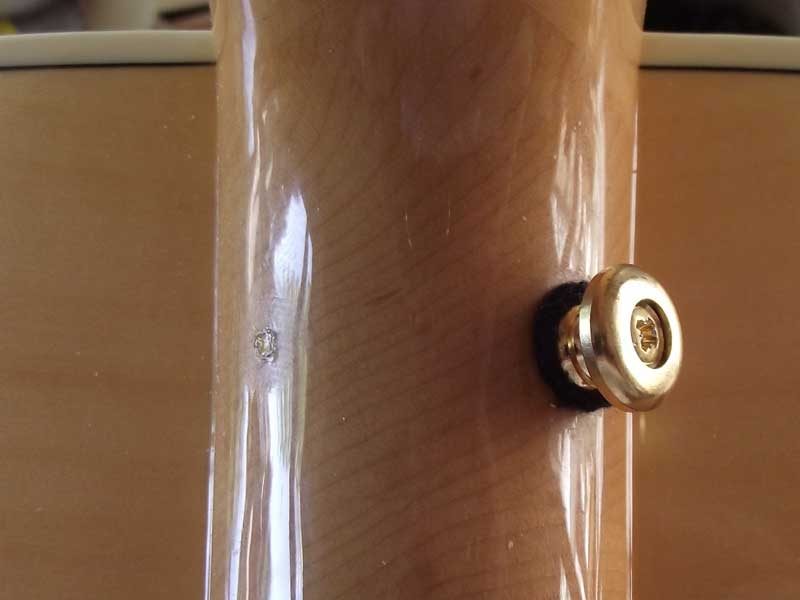
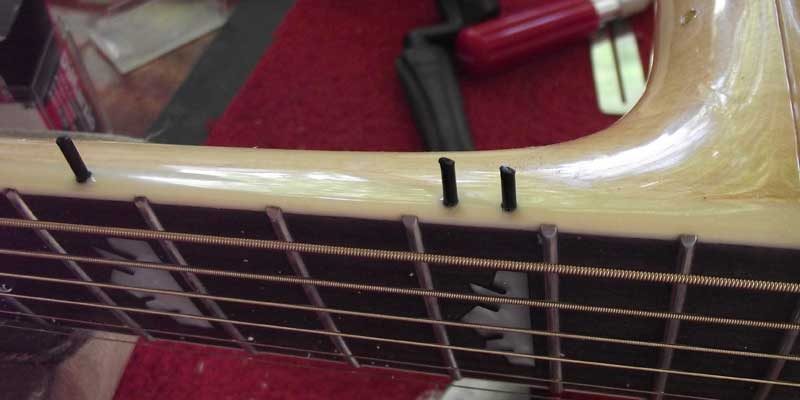
The final tasks were to reposition the strap button on the heel to the other side and fit new side dots on the edge of the fretboard.
The holes for the side dots were drilled using a small jig I made for the purpose so that they are all the same distance from the fretboard edge. I glued in small lengths of 2mm plastic rod before cutting them flush and polishing smooth.
I filled the hole left by the strap button with a maple plug and put a dab of tinted lacquer over it to seal.