Manchester Guitar Tech


Ozzy Lister – guitar and bass repair
Below I’ll show how to achieve a Candy Apple Red finish on a Stratocaster body. Candy Apple Red is based on the old custom car technique of spraying clear lacquer over a metallic base coat, and was Fenders only truly “custom” colour, all the others being repurposed car finishes. I have itemised the process in my Lacquer FAQs.
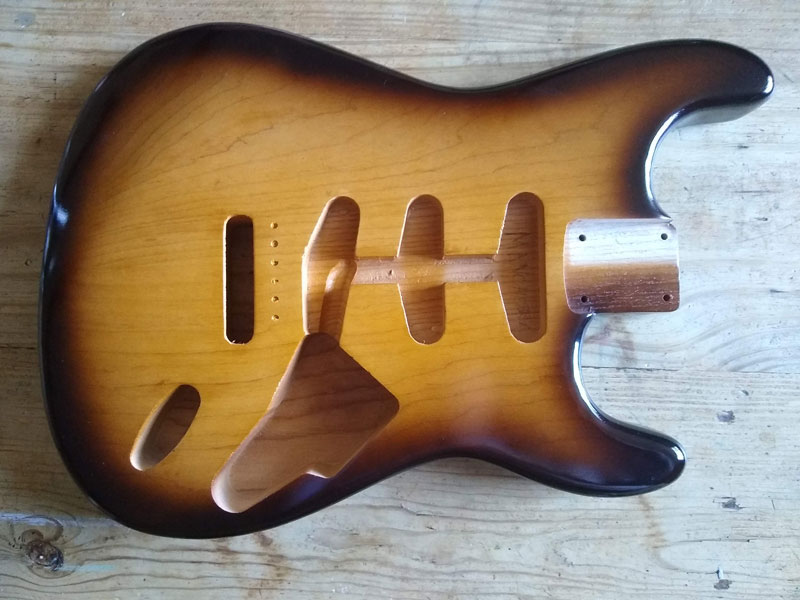
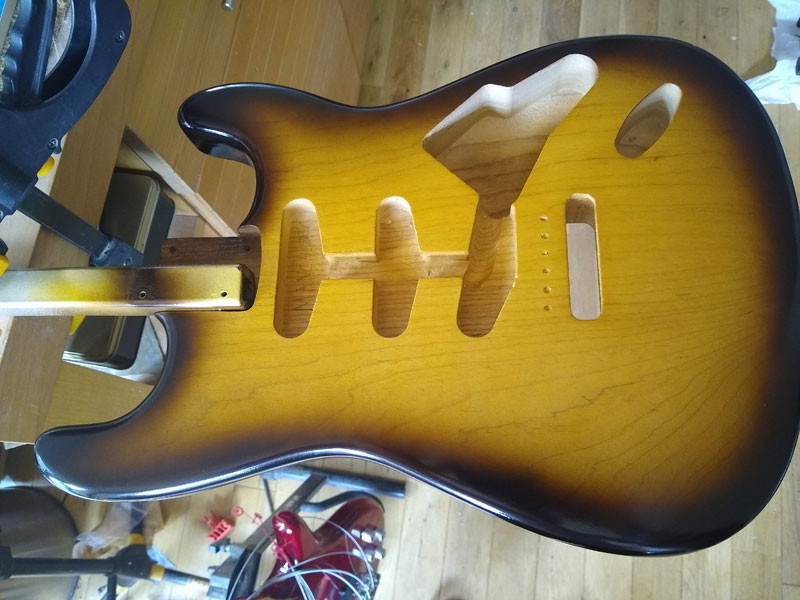
I’m using the Guitarbuild body that I previously sprayed with a 2-tone sunburst. This is actually something that Fender often did as it’s not unusual to find a sunburst under a custom colour. I think this could be for one of two reasons: firstly Fender may have had a special order for a custom colour and not had any bare bodies so used a stock sunburst body or secondly they may have just been sunbursts gone wrong that were sprayed over to hide a mistake.
You can use a prepped body in sanding sealer of course!
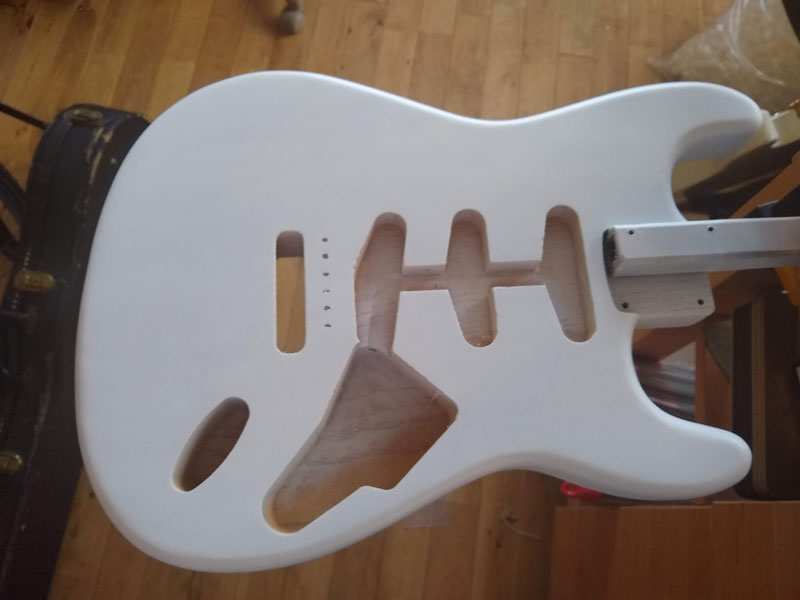
The first step is to spray a coat of white primer to give an even base for the metallic layer.

Once the primer was on I sanded it smooth ready for the gold layer.
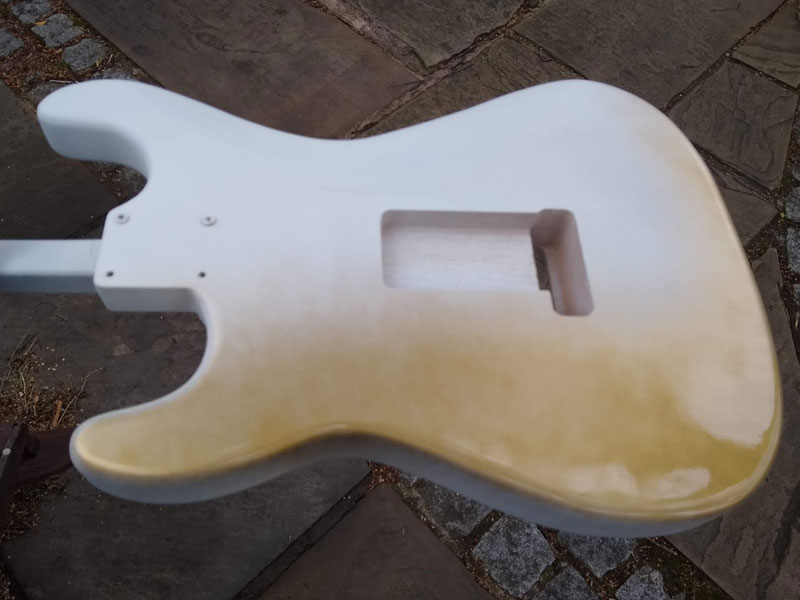
I’m using my “Gold Top” lacquer. I could have used a different gold or Inca Silver.
Here’s the first coat which you can see is quite transparent but it soon builds.
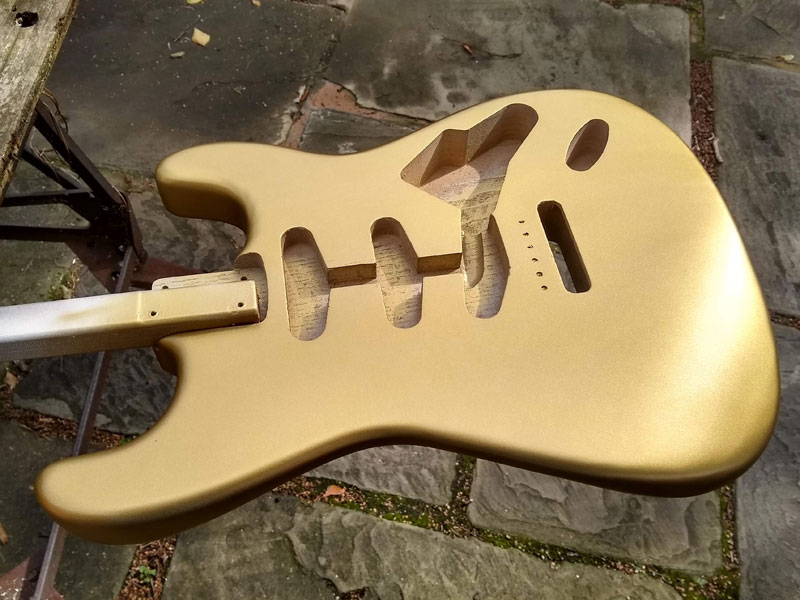
For the gold to sparkle under the red, spray the last coat very lightly, as described in my Ice Blue Metallic Telecaster post.
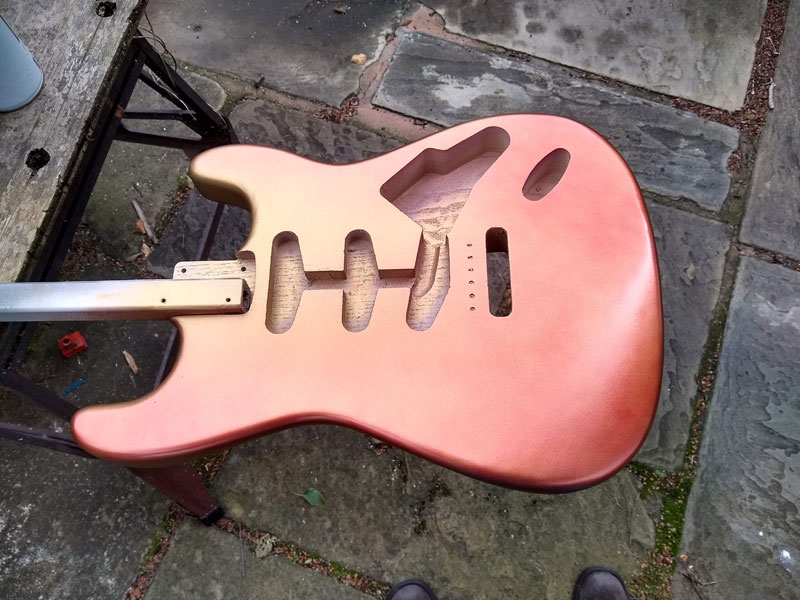
Once the metallic layer was done it was time to start applying the Clear Red.
The first few passes of red were applied very light to avoid disturbing the metallic.
A whole can of Clear Red has been applied. If I had wanted a darker red, I could have sprayed more coats.
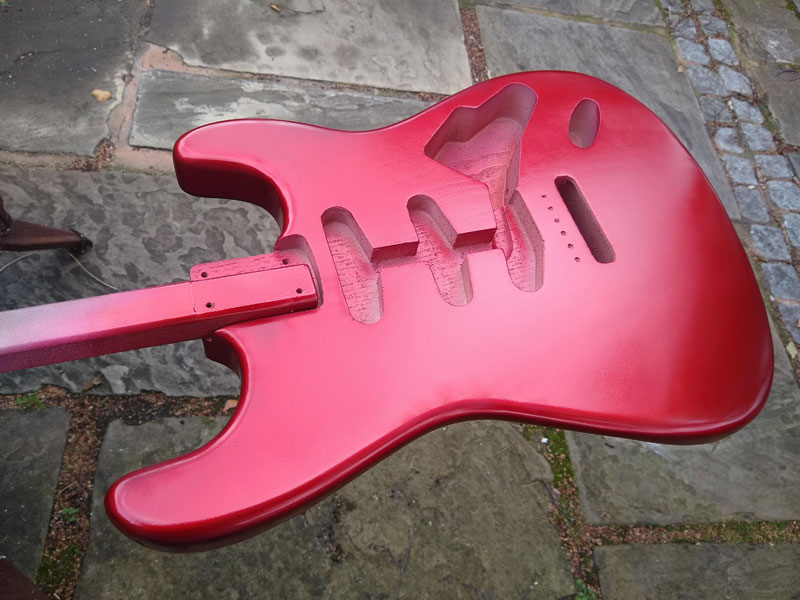
You can see I have a bit of roughness to the finish at this point, caused by spraying in non-ideal conditions (a strong breeze!) I didn’t sand though as the clear gloss coats would smooth everything out.
I sprayed a whole can of Clear Gloss and then left it to harden. The reason for spraying a clear coat is that if the Clear Red were flat sanded, it would be made thinner (and therefore paler) in patches. Spraying a clear coat gives a barrier against this and maintains an even colour to the red layer.
The next step once the lacquer is hard enough is to flat sand to remove any orange peel. I started with 400 grit then went through 800 and 1200 to 1500 grit using a rubber sanding block on flat areas.
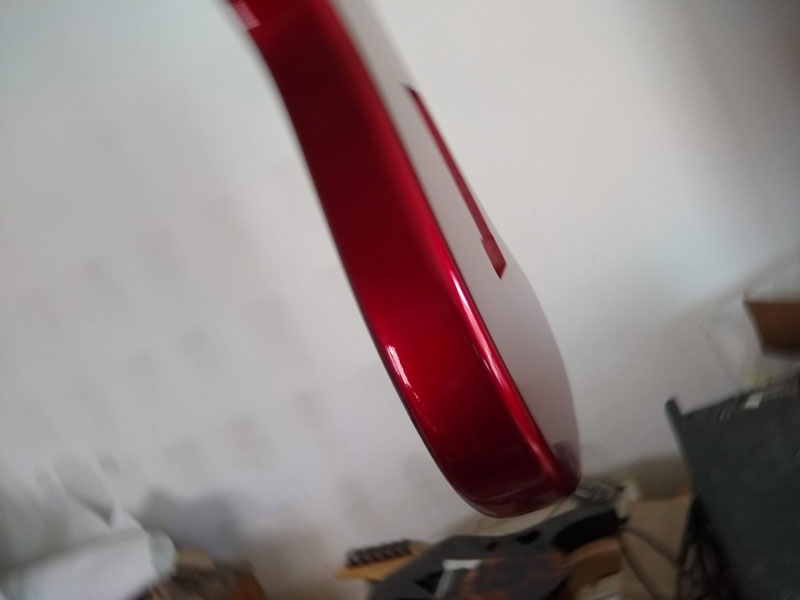
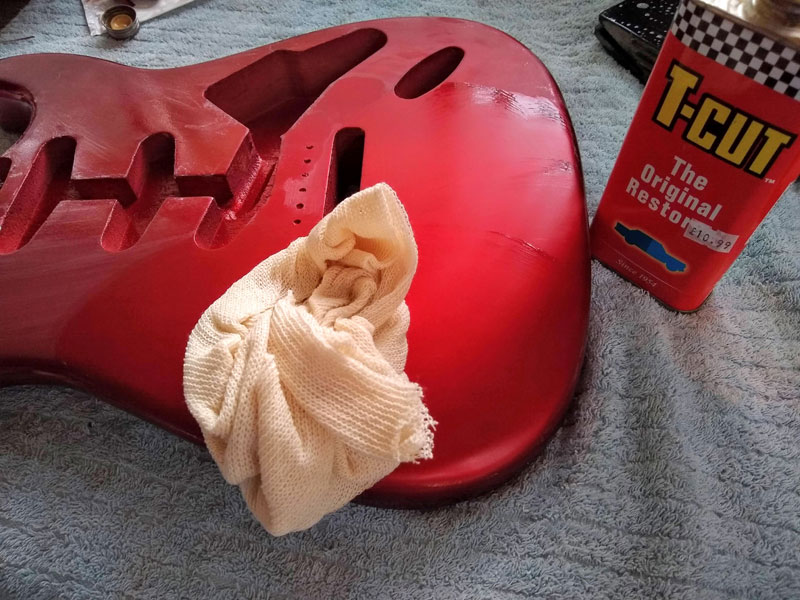
Once the orange peel was mostly eliminated I buffed to a high gloss using my favourite T-Cut on mutton cloth.

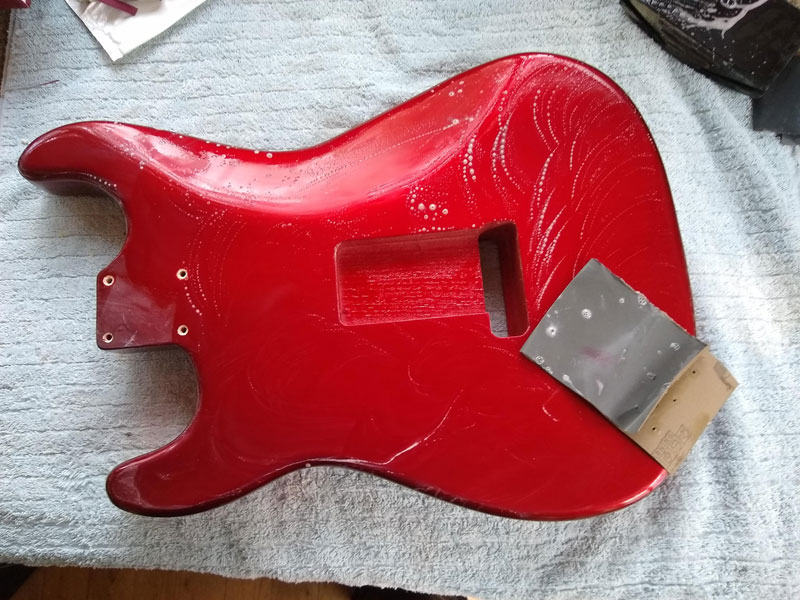
Here’s the finished body. If you look closely you might see that I’ve missed a bit of orange peel here and there that I’ll go back to.

All in all I used:
- 1/2 can White Primer
- 1 can “Gold Top”
- 1 can Clear Red
- 1 can Clear Gloss
Plus the Sanding Sealer prep previously of course.
I’m often asked to demo spraying a sunburst so here it is.
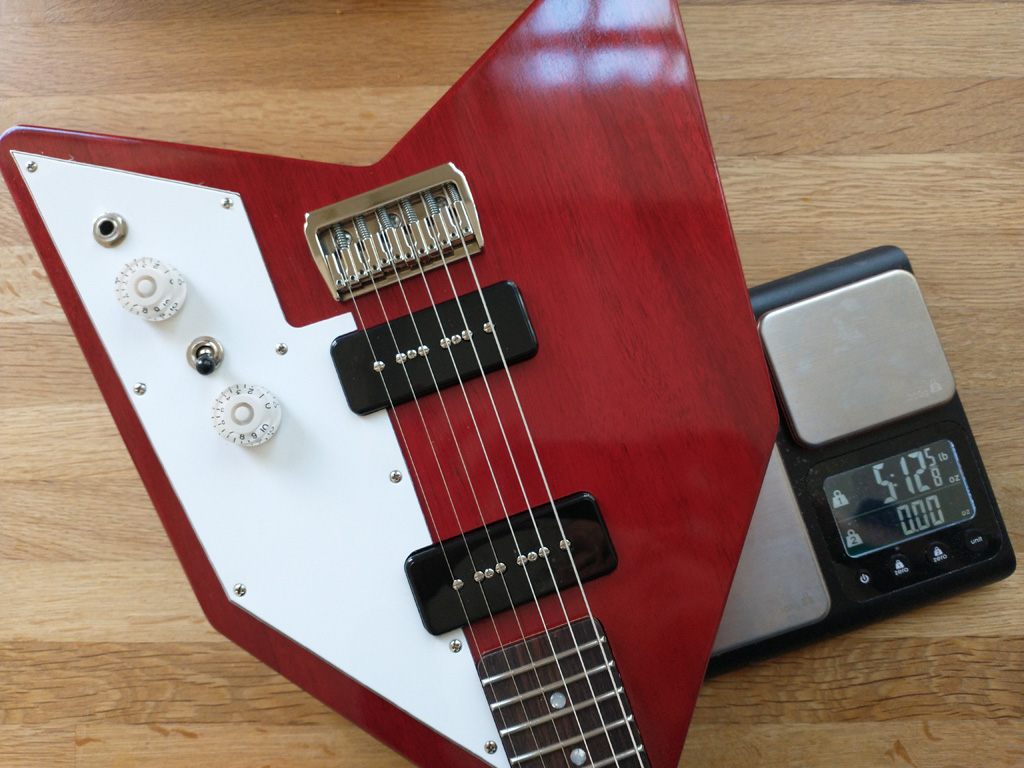
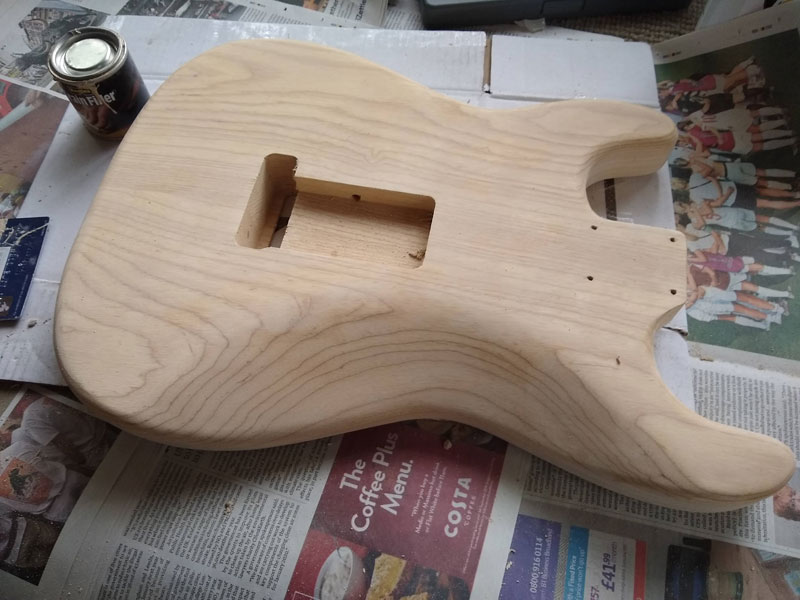
My starting point is a GuitarBuild body. It’s two piece swamp ash and very light at 3lb 4oz (<1.5kg).
My first step was to sand the body well to eliminate any scratches then grain fill thoroughly. There is more on grain filling in this post.
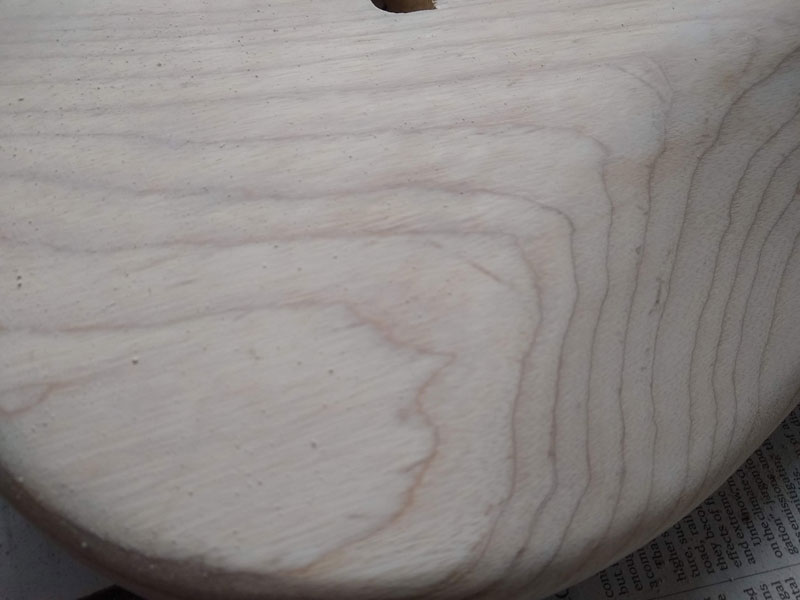
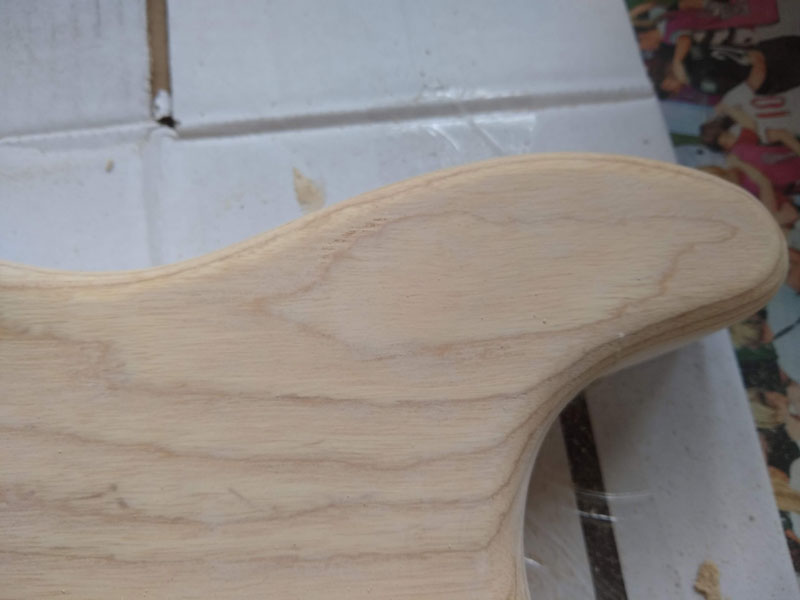
I was careful to pack the grain filler into the pores and wipe as much as possible off the surface of the body. I applied the filler using an old credit card in the direction of the grain and scraped off across the grain. Additionally I wiped the surface with hession. This is how the wood looked before sanding:
Inevitably I missed a few areas with my first application such as this, so I fixed them with another application of filler before continuing.
I carefully sanded off any grain filler residue on the body using 320 grit paper.
Once I was sure that all pores were filled, it was time for sanding sealer. There is a sanding sealer demo here.
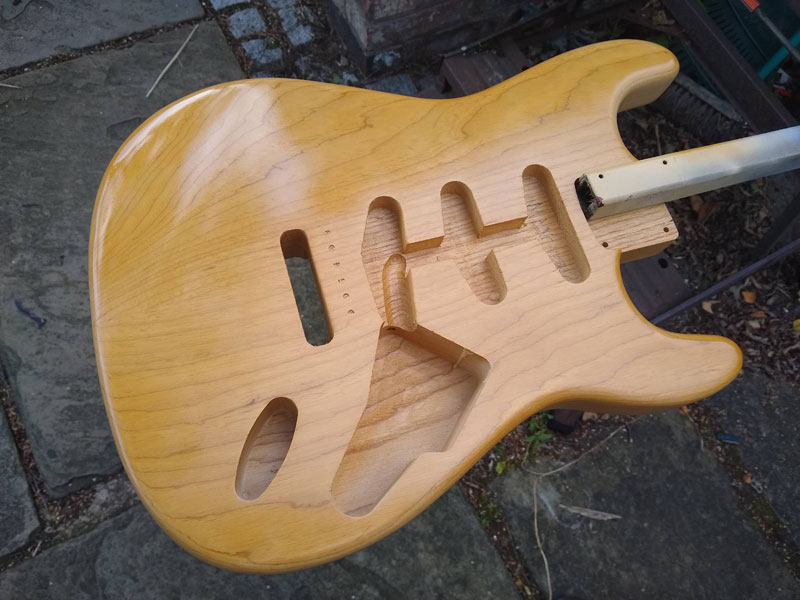
Once sealer coat was nice and level, I applied the amber base coat. I used my Tinted Gloss/Vintage Amber lacquer.
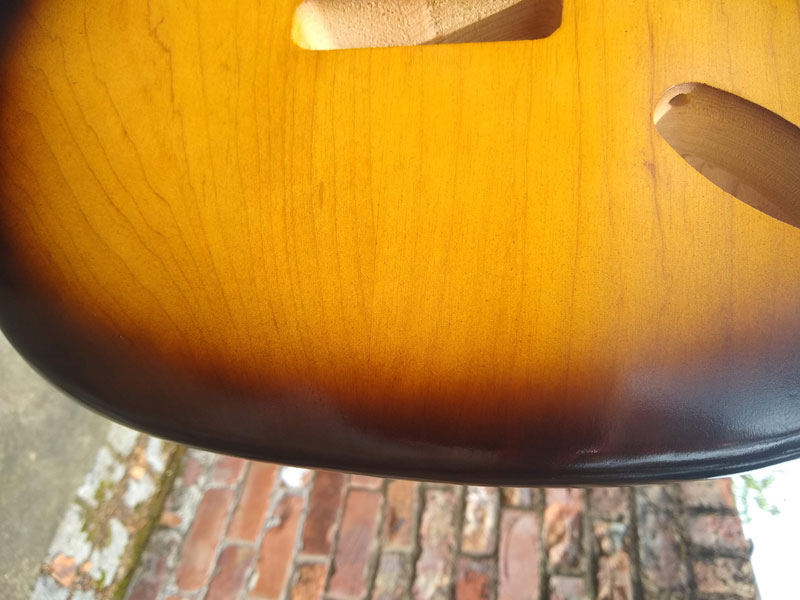
Once I was happy with the colour of the base coat, I started on the sunburst using my Tobacco Brown aerosol. I’ve recorded some video to show just how straightforward it is:
I’m using one of the round pattern spray heads which gives a nice tight band. I’m probably rushing it here for the purposes of the demo. To avoid runs, I recommend that you allow one pass to dry before going over it again.
Once I’d done the band on front and back I sprayed the edges where the brown had not reached.
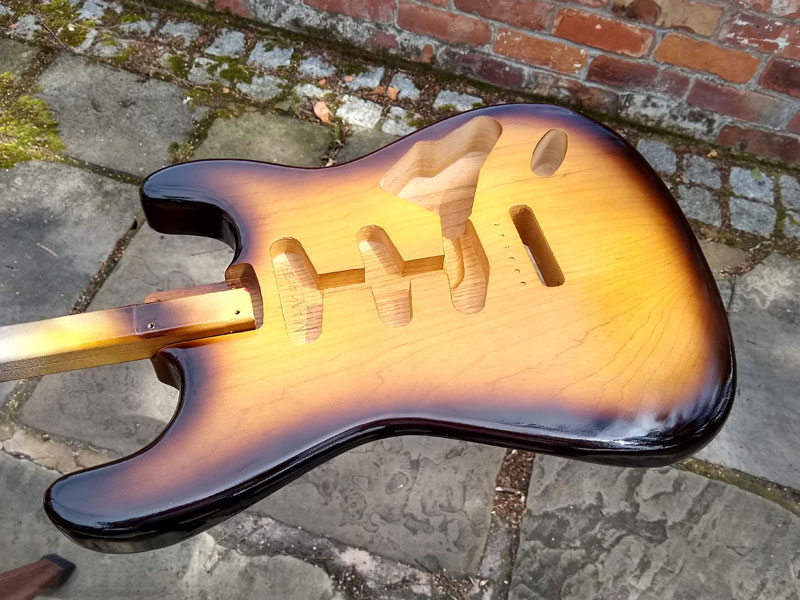
Once I’d sprayed the sunburst I locked it in with several coats of clear gloss lacquer.
Here’s the final result drying in my workshop. The colour is a better representation than the outside shots.
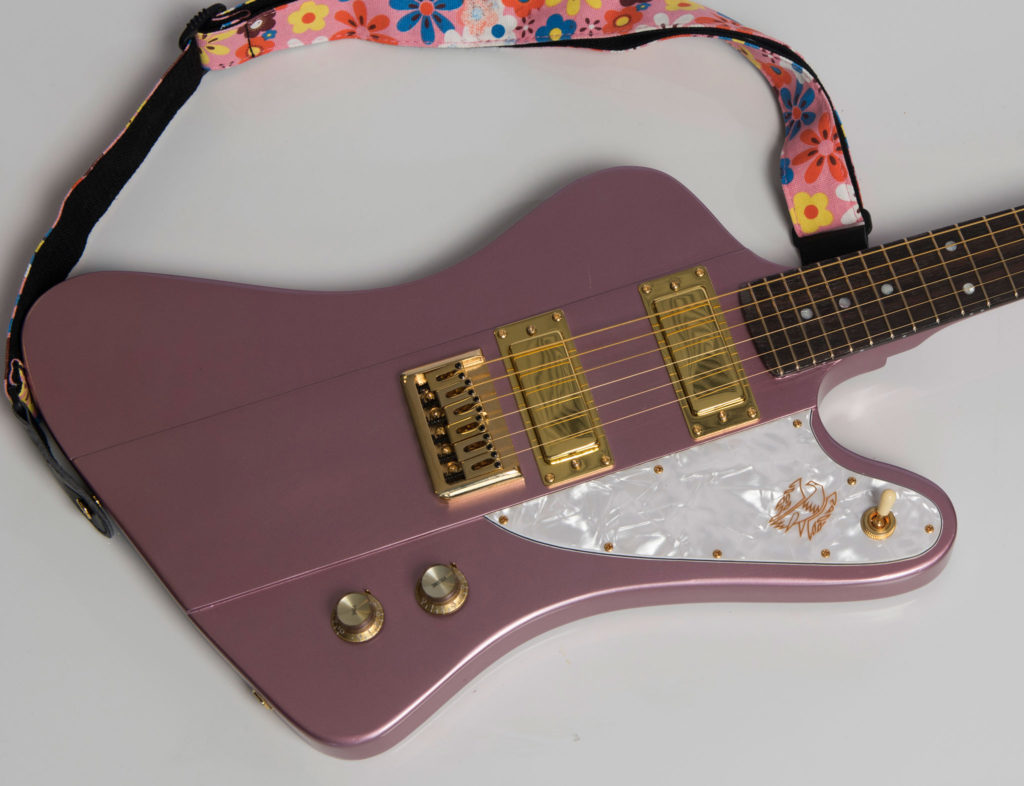
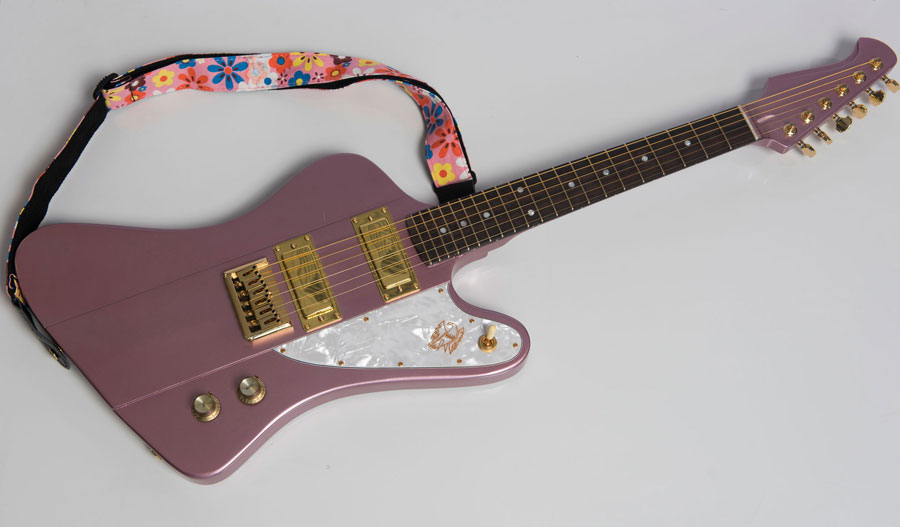
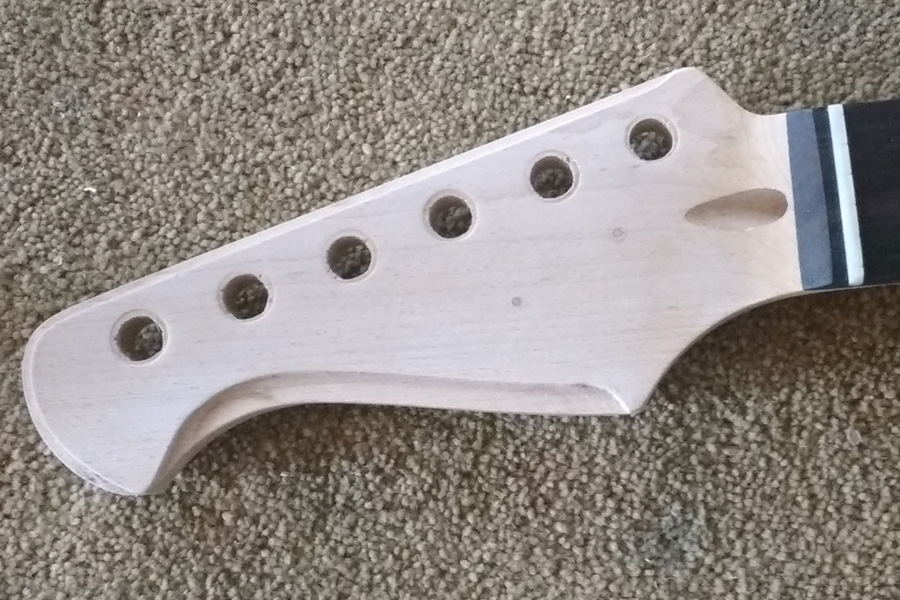
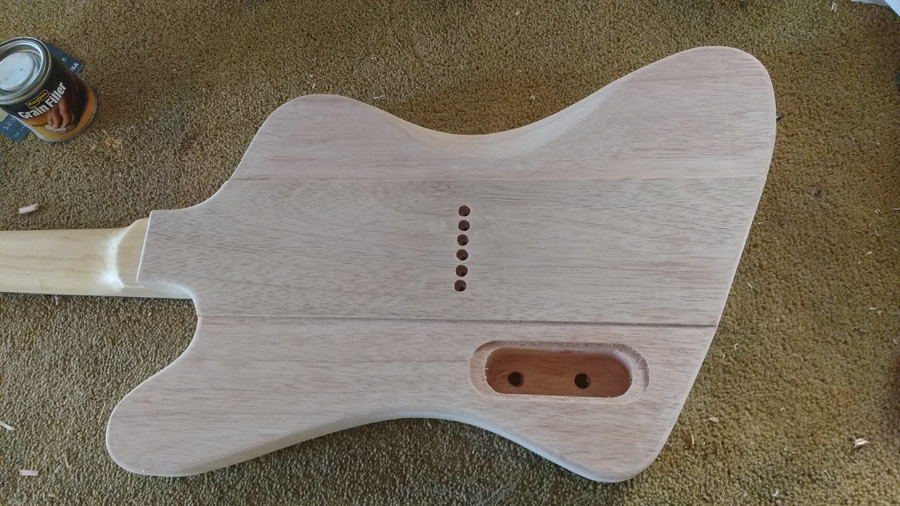
Inspired by a guitar forum challenge to modify a guitar I decided to make my Granddaughter a Firebird based around a Harley Benton mini strat from which I’d use just the neck. I chose a left-handed guitar as the donor so that my guitar would have a reverse headstock. I carved the headstock to have a Firebird style rebate and refretted in Jescar Evo gold fretwire.
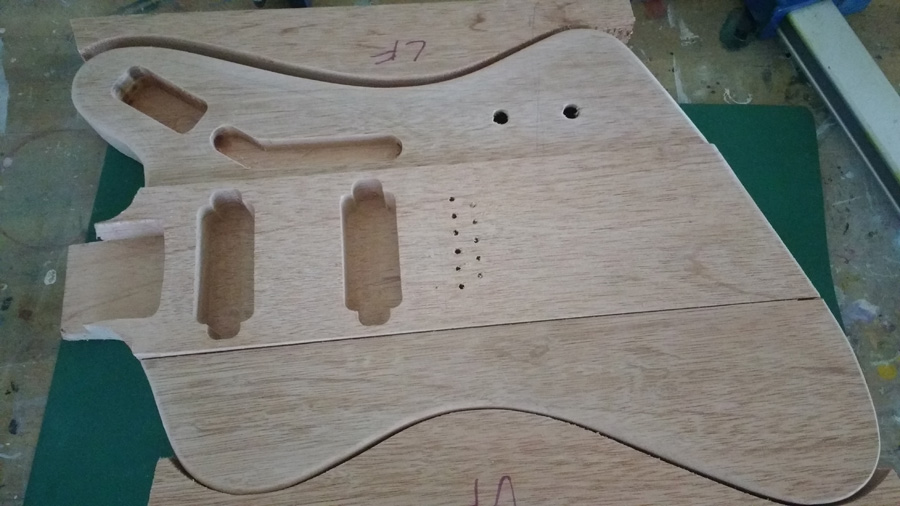
I made the body from meranti which is a very light wood with properties similar to mahogany and used a CNC Shopbot to make the body which comprised three parts butt jointed and glued.
I glued the neck in.
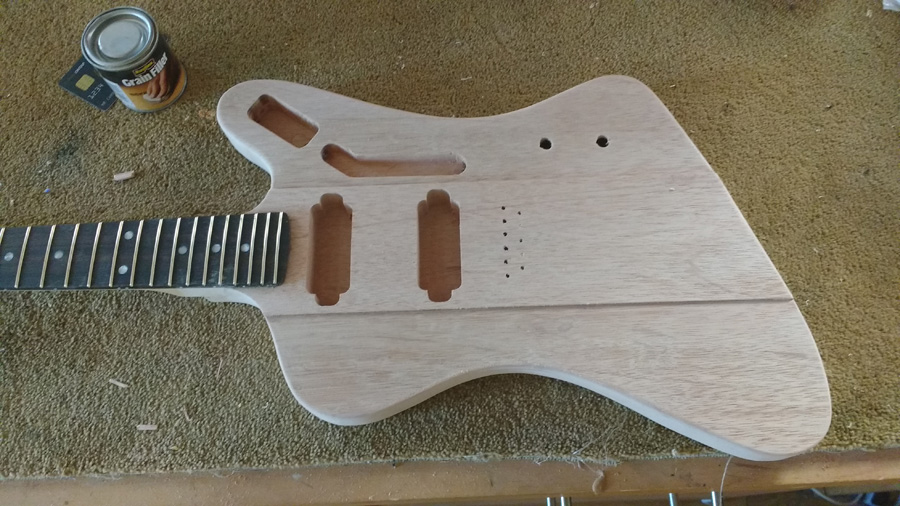
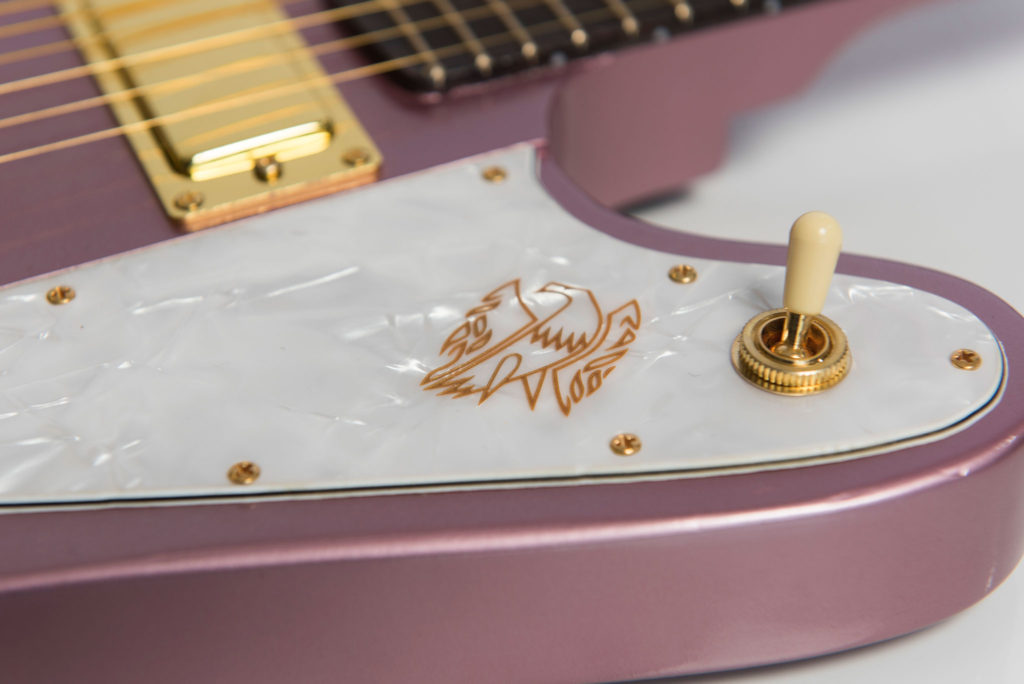
Once the meranti was grain filled, I primed and sprayed using a specially mixed colour close to Gibson’s Heather Mist Poly.
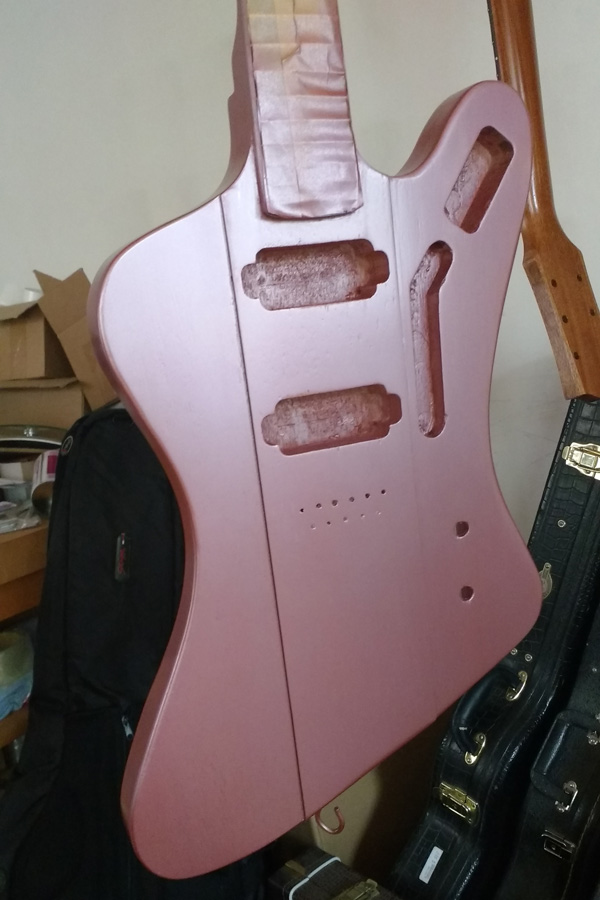
The pickguard was made on a laser-cutter which etched the Firebird logo and I assembled using gold plated hardware. I even strung it using Optima 24ct gold plated strings for extra bling.