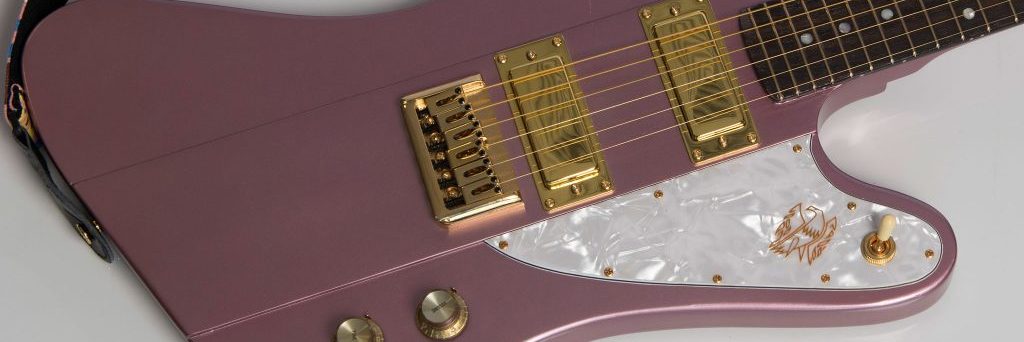
Building a SAGA TC-10 Part 3 – The Body
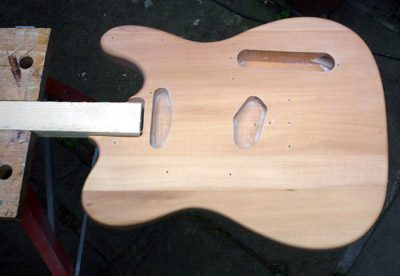
Preparing to paint
Unless you have a purpose-built spray booth, paint outdoors. Lacquer fumes are toxic and explosive. Even if you are outdoors you should wear a dust mask to avoid breathing the spray.
The Saga kit bodies are already sealed with a coat of polyurethane sealer which gives a good surface for your top coats. If you are using a body from another manufacturer you may need to seal and grain-fill first.
You can buy the nitrocellulose lacquer you need in various colours, including clear coats from me here.
Lightly sand the body with P800 wet-or-dry to provide a key for the lacquer. Use a tack-cloth to remove any dust every time you sand and in-between coats to remove any particles of dust.
Attach a short length (approx 75cm) of wood to the body using 2 screws. This will allow you to suspend the body horizontally (or at any convenient angle) for easier spraying.
Primer and colour coat
In order to get an even colour, you should prime the body. This is especially important if you are finishing your guitar a light colour. Spray the edges first, being careful to avoid applying too much paint and causing runs which you will have to sand flat again.

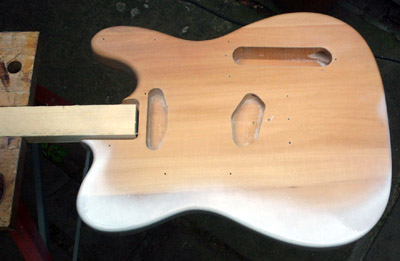
Once the edges are covered, fill in the front and back of the body.
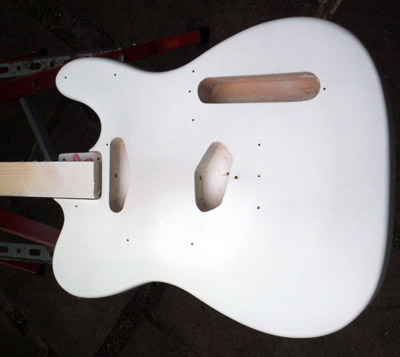
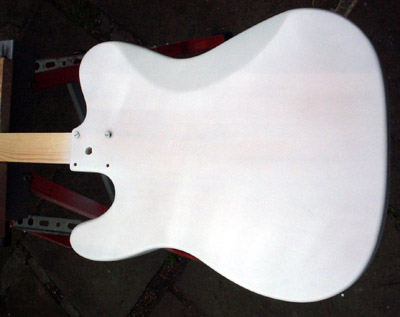
Don’t forget to prime inside the cutaways.
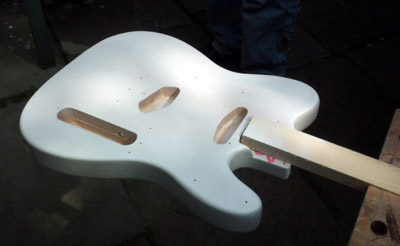
Colour coats
Before applying the colour coats you must fix any problems with the primer coat. Sand out any runs and re-prime if you sand through to the wood. When everything is even, lightly sand so as to de-nib the primer coat. This is to remove any small rough spots due to dust. Don’t forget to use your tack cloth before spraying.
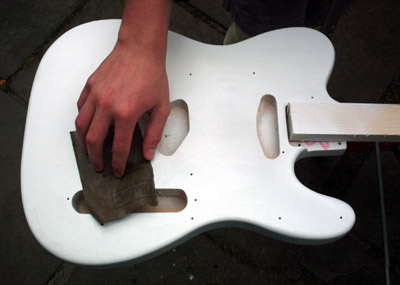
Just as with the primer, start with the edges of the body. Take special care on the cutaways and horns to get an even and thorough coverage.
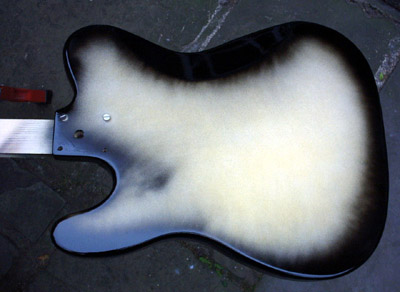
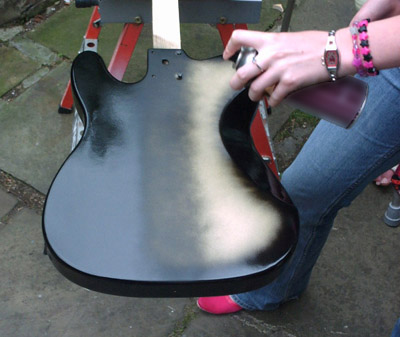
Fill in the front and back of the body. Spray the lacquer, moving across the body in overlapping stripes. Keep the paint wet so each stripe of spray flows into the previous giving a glossy coat.
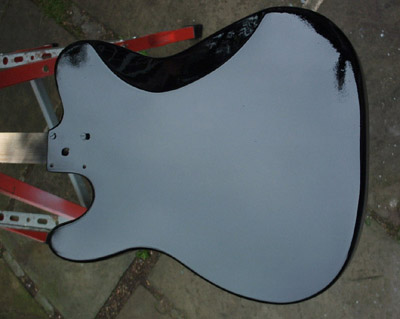
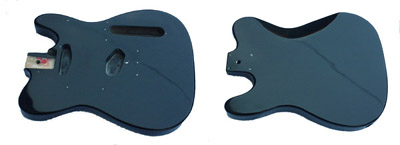
Here is the back of the body after 2 coats of colour.
Applying the clearcoat
You can buy the nitrocellulose lacquer you need in various colours, including clear coats from me here.
If you have runs or dust in your finish, use a block to wet-sand the front and back faces of the body flat. Wipe dry and use a tack cloth to remove any particles of dust.
There is no need to sand if your colour coat is smooth and free from major defects.
Just as you applied the colour coat, carefully spray the clear lacquer. Sides first then fill in, keeping the coat wet but not so thick that it runs.
Spray a second and third coat, leaving time between coats for the prior one to dry sufficiently. Once you are happy that you have sprayed enough lacquer, leave the body to set for at least 3 days, preferably a week or two for the lacquer to harden properly.
Sanding and buffing the finish
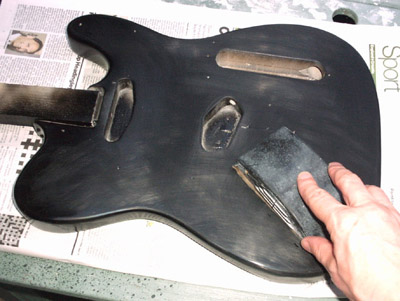
Once the lacquer had hardened, ideally after 2-3 weeks, block sand the front and back and sand the edges using P800 grade wet or dry paper and plenty of water. Follow this by block sanding with P1200 paper, again wet. Be very careful on the edges not to rub through
Wipe the body dry and then buff using a proprietary rubbing compound, followed by a good quality guitar polish.
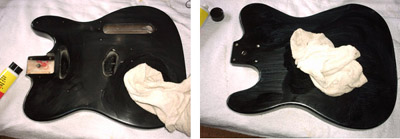
Your body should have a mirror-like finish and is now ready for assembly.

Nice one Steve. Sprayed the primer earlier today. Will leave it until morning and do some sanding. Hopefully will be able to finish the colour coats tomorrow. Would overnight would be enough for a colour coats too before spraying clear?
You can spray the clear as soon as the colour coat is dry. You should definitely do this with a metallic so the flakes don’t get disturbed.
If you leave a solid colour overnight, wipe it down thoroughly and carefully with a tack cloth to remove any dust before spraying clear.
Hi Steve.
It’s all coming together slowly. Quick question though. How long should I leave primer to harden, before sanding and spraying a colour coat on. Same with colour coat. How long to let it dry before sand and clearcoat?
Thank you Steve.
It depends how thick the finish is, as lacquer dries by evaporation.
Overnight should be enough for the primer. Once that is sanded smooth, there should be no need to sand again until all the clear coats are on, unless you get runs or dust in the finish.
You can spray subsequent coats as soon as the previous one is dry, a matter of minutes in a warm environment.
Hi Steve
Briliant web site! I stand in awe at the standard of the projects I have seen in it!!
I’m just about to try and put a finish on the body of my kit bass. Is there anything I have to worry about from the finish that may affect the sound of the guitar?
Just to add, my kit is a Harely Benton Fender Jazz bass lookalike and I am very impressed with it. The only problem is that the instructions are in German. Hence why I am here!
Rock On!
Dave,
E-Mail Thomann and they will send you instruction for your Harley Benton kit in English. Steve’s blogs have more detail than the HB instructions so just follow what he says about the SAGA kit.
All the best
Thanks John. I translated some of the German to English as best I could, but then I found the instructions in English for the Harley Benton Precision Bass, which was close enough. I am very pleased with the finished bass which really looks the part and plays and sounds well.
My problem was deciding how to finish it. In the end I used simply a spray can of polyurethane transparent satin finish. I was advised that satin would enable obtaining a nice finish more easily, and being transparent would be easier to paint over if I decided to use colour at a later date. I am very pleased with the natural wood finish I have got.
I had to trim the scratch board to fit properly, but didn’t get it quite right with the result that it is 2 or 3mm out of place. Not too noticeable but I see it, knowing that it is there.
One of the wires in the pre-wired electrics broke off but luckily it was obvious where it went. I ran my soldering iron over the remaining joints because they didn’t look that good. Also the output jack socket had been bent out of shape and had to be put back into place. It seemed to be a bit soft, but will be easy to change if it goes wrong again.
I changed the grub screws in the bridge for slightly longer ones. I also obtained another bridge adjusting allen key as it kept getting stuck in the grub screws. It took me a while to get it set up, but now seems to be very good. I used the setting up instructions from the actual Fender Jazz Bass handbook that you can get from the Fender website. You really do have to make small adjustments of the truss rod and use feeler gauges. I couldn’t do it by eye.
The kit is more an assembly kit than a building kit. There is very little to do apart from fit the bits together and I learnt a lot about setting up a guitar. I didn’t dare try to adjust my other expensive guitars in case I messed them up, but I’m a lot more confident now and feel I know what to do.
Hi Steve
I am lucky enough to have had a guitar hand painted in a psychedelic by a local artist but need to know what lacquer to put oer the paint job to protect it, I am also wary of sanding it to much, what would you recommend?
Toby
It depends what paints were used. The solvents in nitrocellulose lacquer are quite aggressive and may well damage the artwork.
If you want to build up a smooth finish it could take a lot of lacquer if there is any texture to the paint.
hi!
how many coats of primer / paint and clear coat should i use ?
thanks!!
-james
How long is a piece of string? ;)
There is no hard and fast rule but the better your preparation, the fewer coats you’ll need. Just spray until it’s right!
See https://www.manchesterguitartech.co.uk/shop/lacquer-faqs/#coats
Wow, I just found this site and it’s great. I just got a kit and I painted the body, however I did not do all that you recommended on this site for it. I did not do a base primer coat and just spray painted the body as it is. Now after about 5 or 6 coats it looks good for wood but not for something that is supposed to look really glossy like a guitar body. If you look closely you can see some imperfections and very small paint drips.
My question is how do I go about fixing this in order to make it look super glossy before I try and go further along in my project? Do I need to sand all the paint off and start over or can I fix the problem without going that far? Thanks
You should sand out any imperfections and spray another colour coat. Then, if you want a really shiny finish, clear coat, flat sand and buff as I show above.
Hi Steve, what is a good rubbing compound to use? I am gonna replicate your finish here on my pbass after I refret it.
As for priming is it best to stay nitro on nitro?
and is there a grey primer avaliable?
Thanks in advance, and looking forward to buying some paint.
Hi James. For the small stuff I do I generally use plain old T-Cut. If I want a finer shine I use Farecla G10 and Blacktop glaze.
There are other compatible primers, but I haven’t experimented and just stick to cellulose. I just stock white primer as this is what Fender used. As far as I know they never used a grey primer.
thanks for the quick Feedback. I’ll probably go with the farecla as I’m after a mirror finish on this!
are the g10 and blacktop glaze seperate products or an all in one?
will have the get the ball rolling on this one once the frets go in,
best
J
They are separate. The “Blacktop” now seems to be just called Glaze.
See http://www.farecla.com/#/55 – it’s not a very good website tho. :)
Hi, I’m half way through my first Tele Kit. However, I’ve experienced ‘blushing’ on the paint coat, I know you’ll curl your toes, but I used auto metallic paint . Any ideas to get around this?
It’s in the FAQs https://www.manchesterguitartech.co.uk/shop/lacquer-faqs/#bloom
Cheers, Thanks alot, it has reduced. Excellent site.
Hello. My question is does the same apply to re-spraying acoustic guitars? The above only shows electric guitars that are easy to take apart but 12 string acoustics are a bit more difficult! The guitar I’m wanting to sort out has no brand name on it and was in a sorry state when I got it but I’ve stripped it all down ready to spray it but I’ve never done this before and I don’t want to make a pigs ear of it so any help would be greatly appreciated. Thanks.
Well yes the same basic principles apply to painting anything.
OK mate thanks.
heyy is there anywhere in london i can have a customised logo spray painted onto my bass guitar?
Not in London but Tom at http://www.inkyhollow.co.uk/ is great at guitar graphics!
thanks :)
what if i whanted to stain the body with somthing like cheery would i remove the factery coat of lacure with wet dry 800 grit.
Hi Chris,
Yes, the cherry red stain will not take on the sealer so you would need to strip it, either by sanding (I’d probably start with 150 grit) or by heat gun.
You can buy kits that are bare wood, such as those from http://www.diyguitarshop.co.uk/kits.htm
Steve