
Manchester Guitar Tech


Ozzy Lister – guitar and bass repair

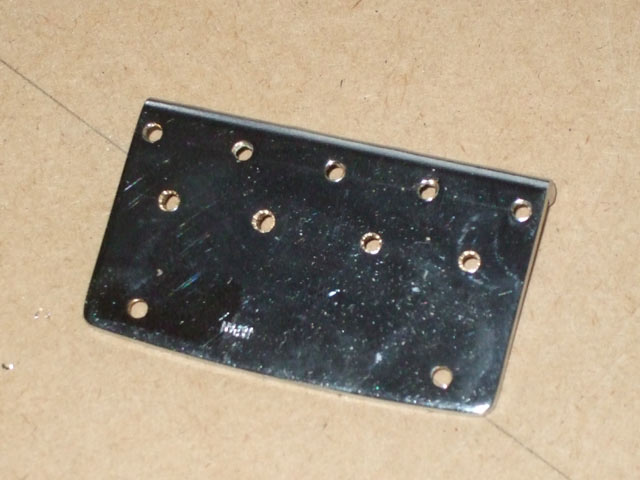
First job was to modify the bridge plate so that the wires from the piezo saddles would pass though. The holes were drilled just large enough for the plugs to fit through and the edged chamfered with a countersink bit to avoid any sharp edges and chafing of the delicate wires.
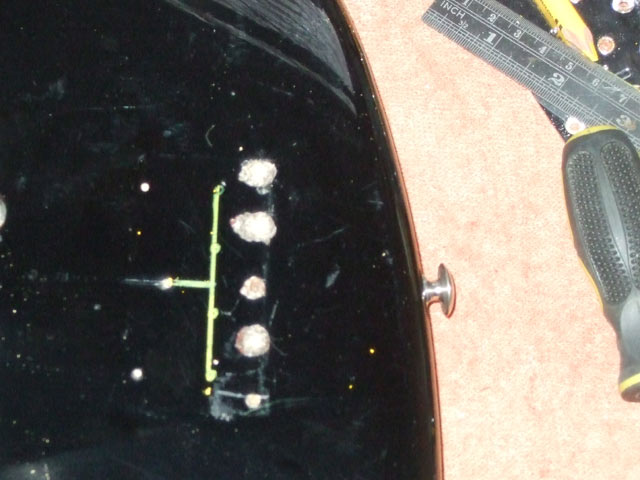
The hole positions were transferred to the bass body so that a channel could be routed.
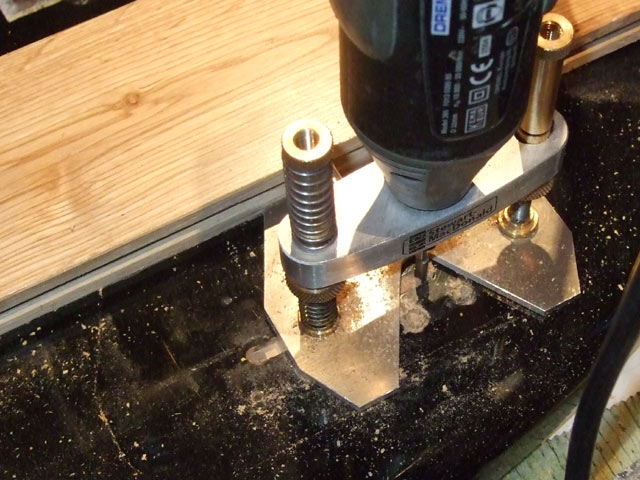
A Dremel tool and Stewmac router base were used to rout a channel for the piezo wires.
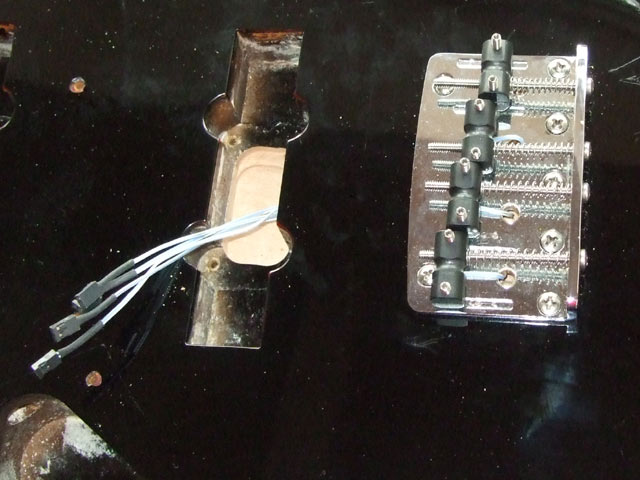
Here’s a shot of the completed piezo channel.
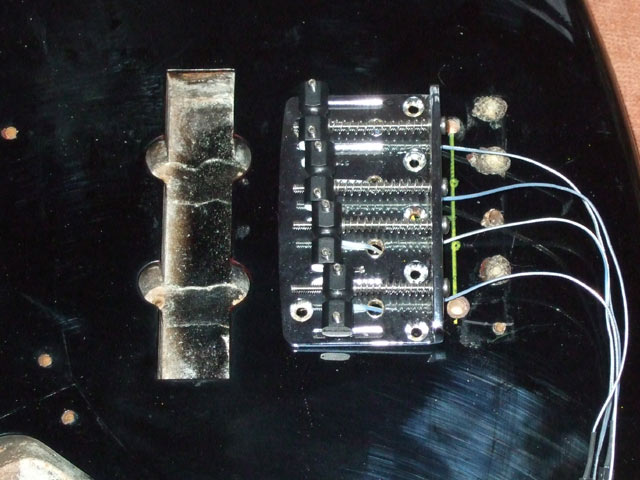
Here is the assembled bridge.
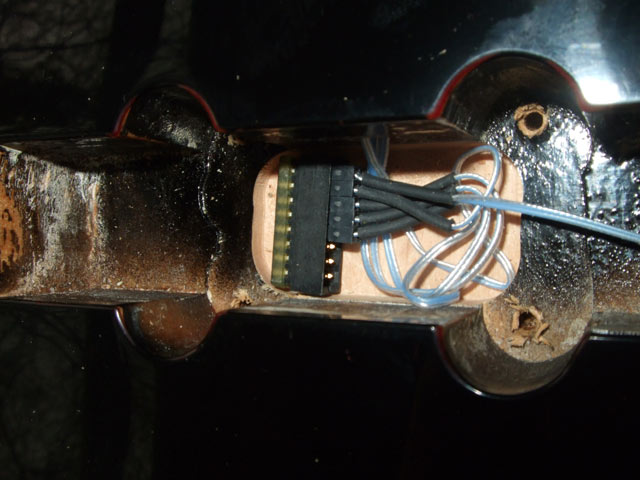
It was decided to place the piezo junction box under the bridge pickup. This was because:
- the wires wouldn’t reach the control cavity,
- space in the control cavity was at a premium and
- it seemed like the best place!
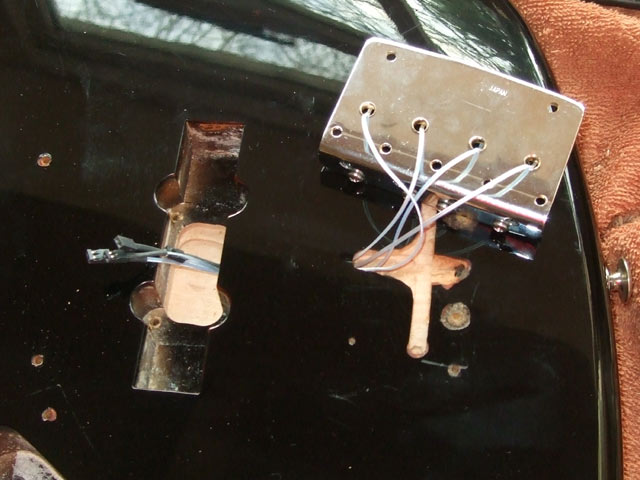
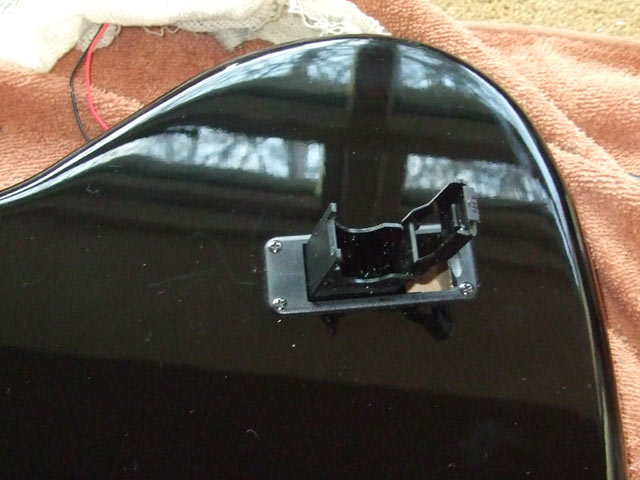
Here is the bridge fixed to the bass with the wires passed through to the bridge pickup rout.
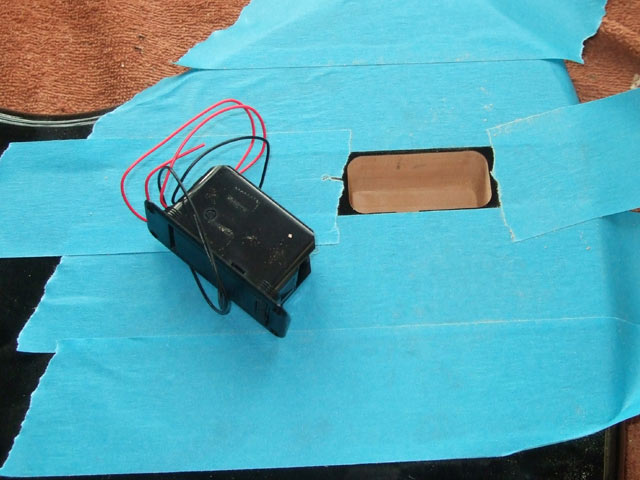
A battery box was routed for.
And fitted to make battery changing a snap.
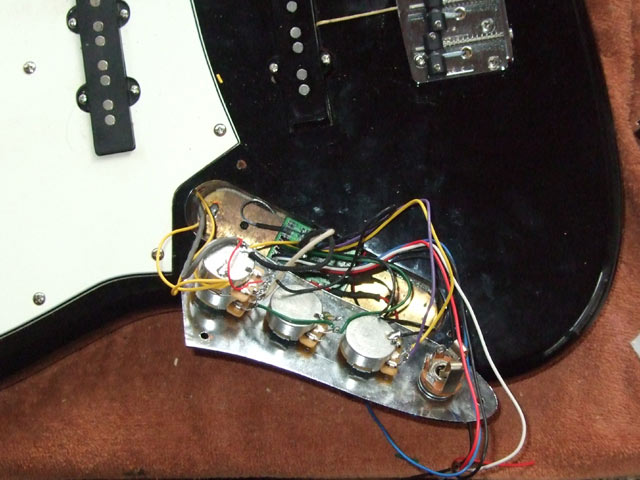
Here’s the control cavity. New pots were fitted and because a volume control was required for the piezo circuit, the magnetic pickups were given concentric volume controls.
The blender circuit board fitted nicely in the bottom of the control cavity, requiring just a slight undercut with a chisel make it fit.

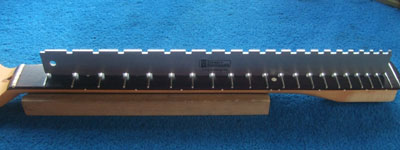
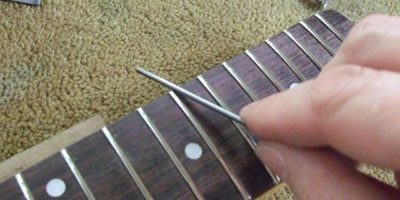
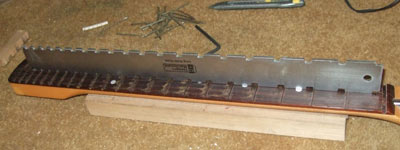
Before doing any levelling, you need to be sure that you are working with a straight neck. I’m using a Stewart MacDonald notched straightedge which allows me to read the fretboard. I adjusted the trussrod until the fretboard was flat.
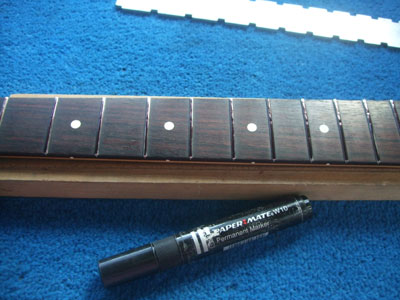
I have marked the top of each fret with a marker pen. This is so that I know when all low spots have been removed.
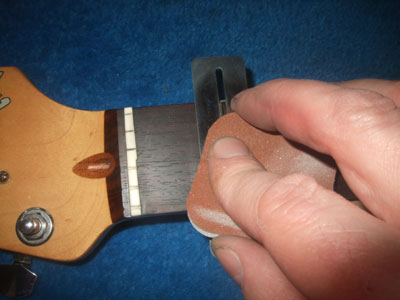
To do most of the work I used a Stewart MacDonald fret leveler with 180 grit carborundum attached with double-sided tape. It quickly cuts through the frets to give an extremely flat surface. You need to ensure that you closely follow the radius of the fretboard.
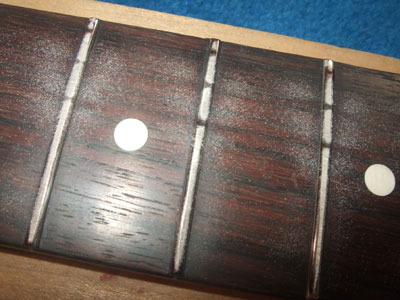
You can see here how the marker pen shows up any low spots that remain to be dressed out.
Nearly there now, time to switch to a finer abrasive.
To smooth the fret tops I use a Stewart MacDonald diamond fret levelers in progressively finer grades. These are industrial diamond-coated steel blocks which are great for leveling frets. Again, you need to ensure that you closely follow the radius of the fretboard.
For a super-low action it’s a good idea to file a slight fall-away on the tongue of the neck.
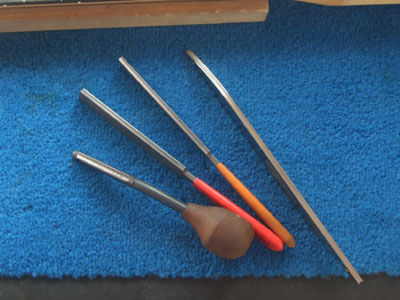
The next step is to restore the rounded crown to the top of each fret. This is done useing fret crowning files. I have a selection that I choose from depending on the size of the fret and how much metal need to be removed.
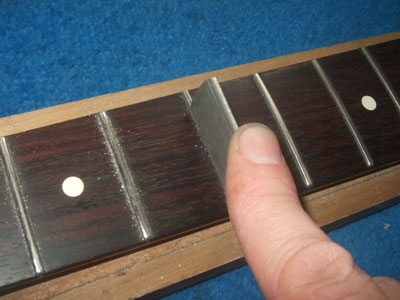
The idea is to end up with a “landing strip” about a millimetre wide on the top of each fret. I’ve highlighted it here with more marker pen.
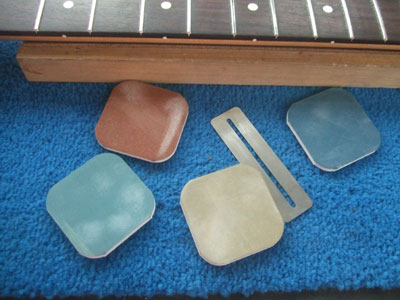
Now that the frets are level and crowned it’s just left to polish them. I used Stewart MacDonald Micro-mesh soft touch finishing pads to remove any sanding marks remaining on the frets and to buff to a high polish. This process also ensures that the fret ends are gently rounded and comfortable for the player.
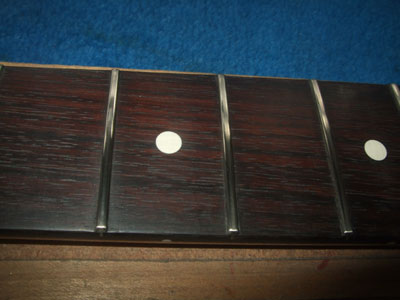
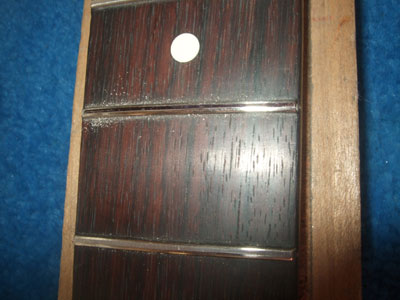
Here are the frets after being polished with Micro-mesh.
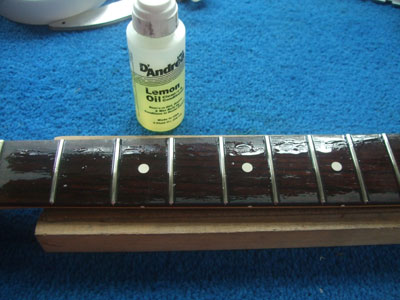
All that’s left to do now is to clean the neck of any metal particles. I use lemon oil to do this which ensures that the fretboard is clean, smooth and a joy to play.
The owner was pretty pleased too
“Just wanted to thank you for a great job on my guitar! The action is superb and now allows me to play in a more relaxed way when required as opposed to fighting with it all the time. It feels much ‘slinkier’ overall. The electrics mod is also spot on and the push button tone pot works a treat. Don’t know whether it is psychological or not but the guitar actually feels a bit more responsive and alive now.”
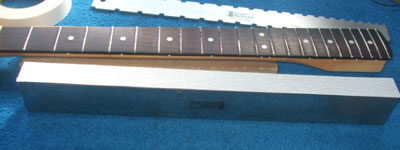
The Squier Vista Series Jagmaster is one of my favourite guitars. The Squier Vista series was made in Japan to very high standards and comprised around 4 models.
If you are going to do this remember that rosewood dust can be an irritant so wear a dust mask when sanding and cutting it.
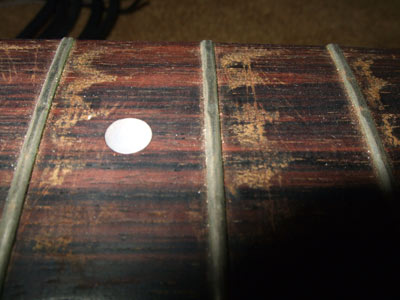
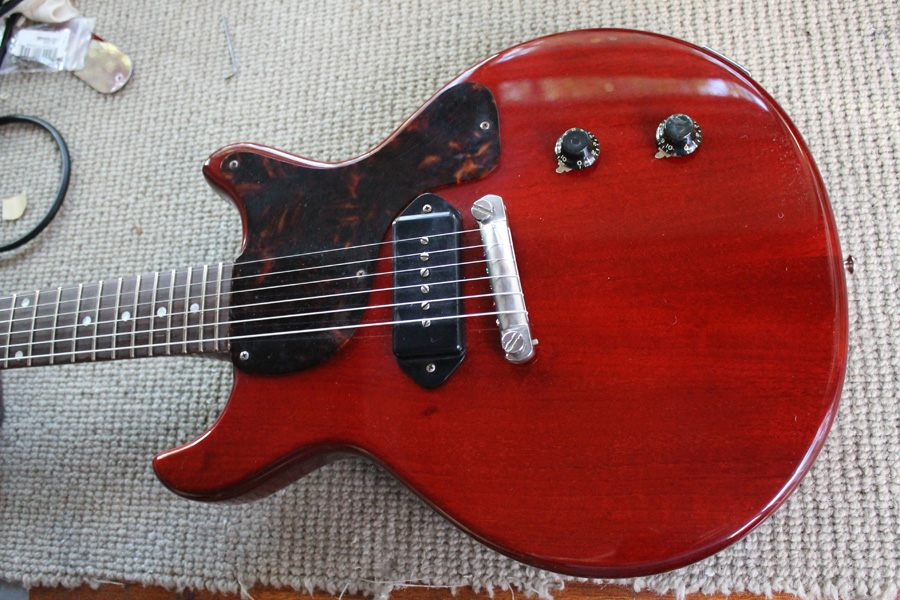
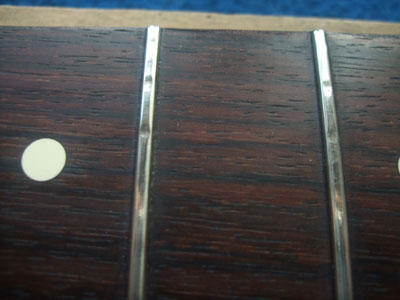
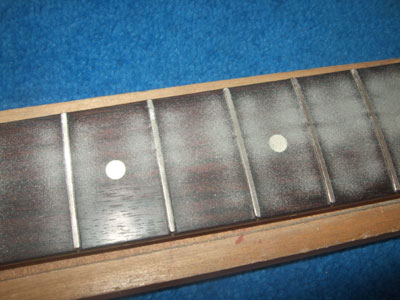
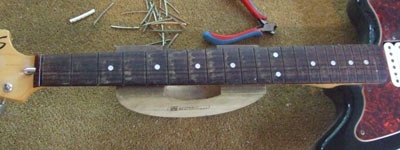
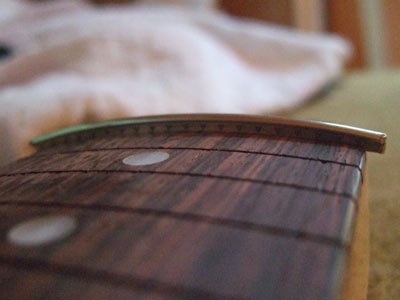
This Jagmaster was brought to me for an upgrade but deperately needed a refret. You can see in the above picture how worn they were. A fret dress would have left too little metal so a refret was the only option. Note how dirty the board is (sorry Matt.) Dirt and corroded strings are a sure-fire way to wear away your frets prematurely.
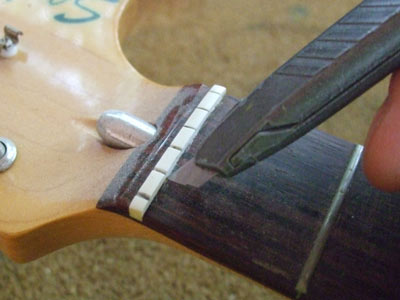
The first step is to remove the nut. Chances are that this will need replacing as the new frets will be higher than the old worn ones. The first step is to score around it with a sharp knife so that the finish is not chipped when it’s removed.
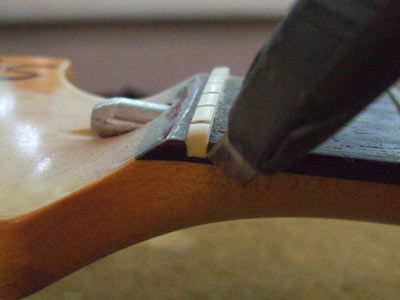
The nut is loosened by tapping it forwards and backwards until the glue is broken. Then the nut is tapped out sideways.
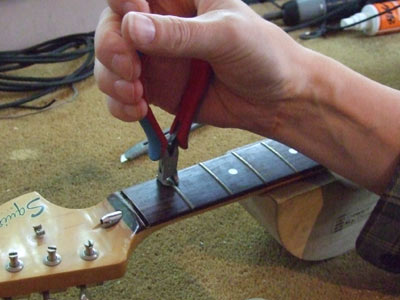
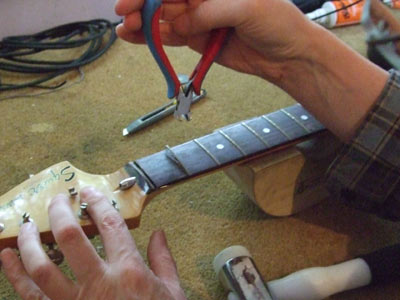
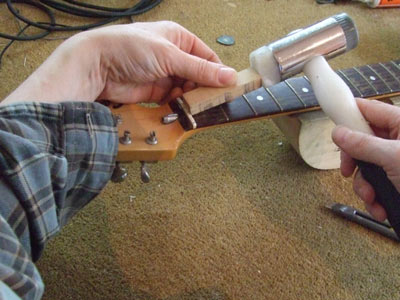
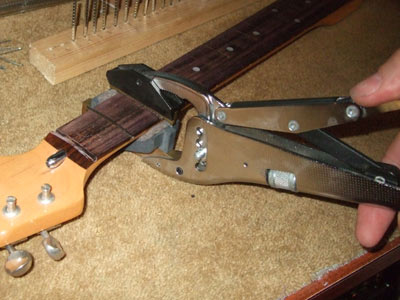
The frets are removed using fret pullers. You can make your own pullers by grinding down the jaws of a pair of small pincers. The idea is to gently lift one end of the fret and then work along it, easing it out gently.
I was very careful and the fretboard did not suffer any serious chipping. Here it is with all the frets removed.
The next step is to ensure that the neck is completely straight. I adjusted the truss rod until it was.
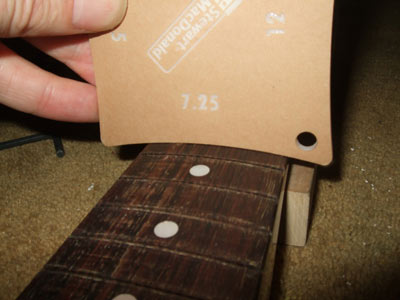
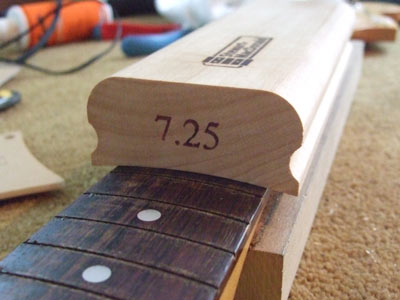
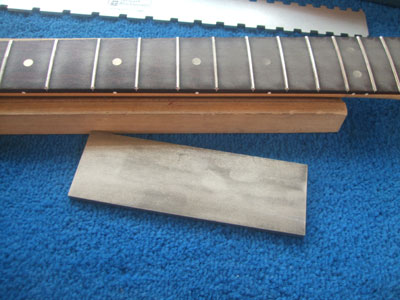
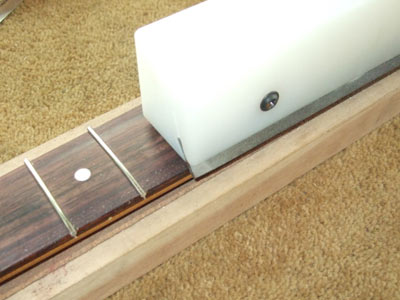
I measured the fretboard radius with a gauge, and then checked with my radiused block. It was a 7 1/4 inch radius.
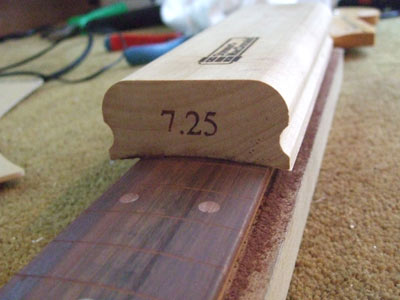
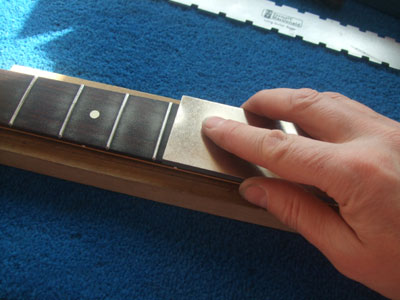
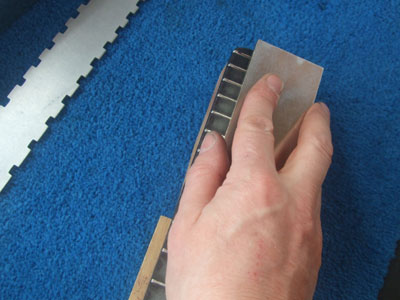
I used the radiused block with sandpaper attached to ensure that the fretboard was true.

I then checked that the fret slots were clean with a slot-cutting file and deepened them if necessary. I vacuumed up the sawdust which can be an irritant.
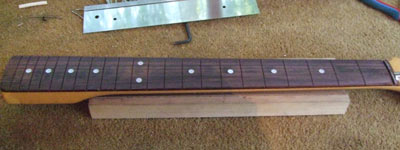
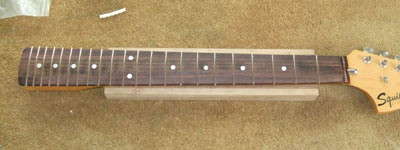
Here is the fretboard ready to accept the new frets.
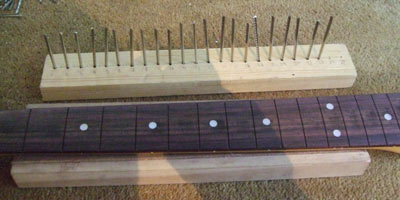
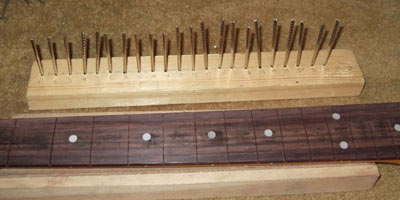
I use a wooden block to hold my fretwire. Each piece is cut oversize and it took about 120cm (4 feet) of fretwire in total.
The frets are overbent to ensure that they are tight down at the edges.
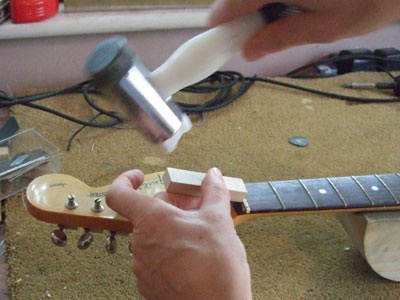
I used a Stewmac Jaws fret press to insert the fretwire but you can use a wooden block and a hammer. The frets over the neck heel were pressed in using my pillar drill.
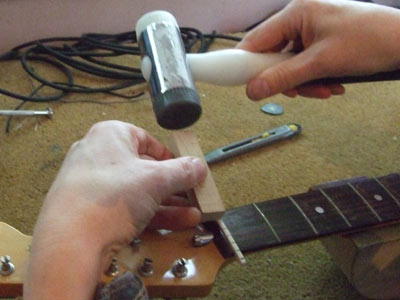
Here is the neck with the frets in place and the ends roughly trimmed to size.
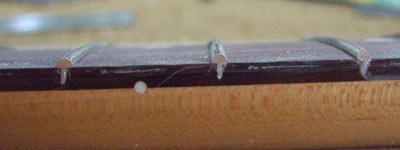
The next step is to chamfer the ends. I’m using a file in a PTFE block set at 30 degrees from vertical. I filed until the file just touched the edge of the fretboard.

Here is a closeup of the chamfered fret ends. The chamfered file leaved little nibs of fretwire sticking out which must be removed.
I used a diamond-coated steel to file the fret ends flush with the sides of the fretboard. Again, I filed until I just contacted the neck’s finish and stopped before any was removed.

In order to make the neck comfortable to play, I rounded the fret ends using a small file.
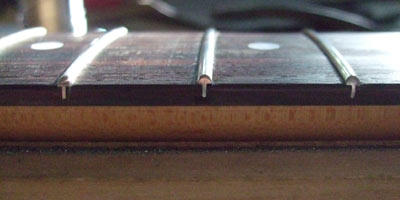
Here is a closeup of the finished fret ends.
The final step is to dress the frets. It shouldn’t be necessary to do much work here if the board preparation and fret fitting was precise.
Oh yes, and to fit and cut a new nut. I’ll post that too…