Manchester Guitar Tech


Ozzy Lister – guitar and bass repair
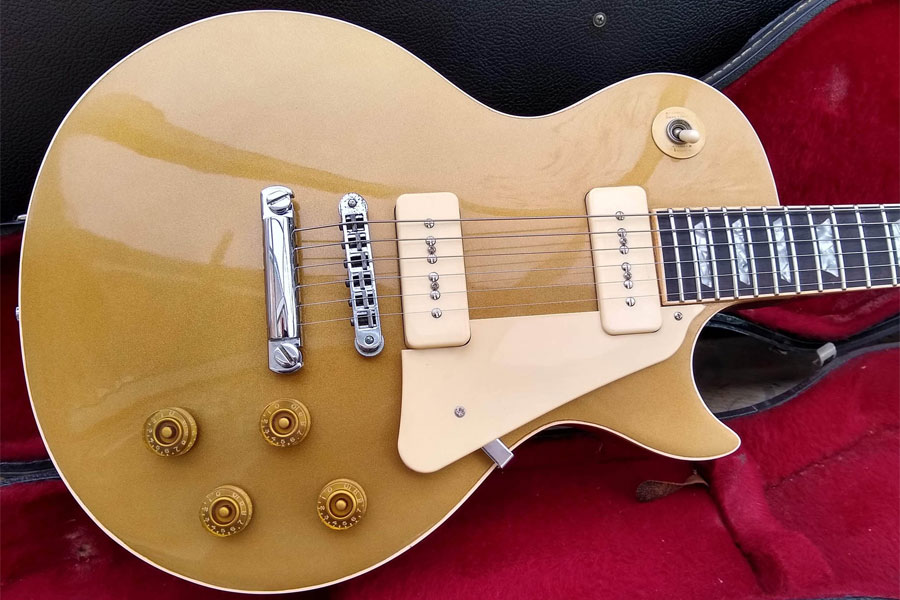
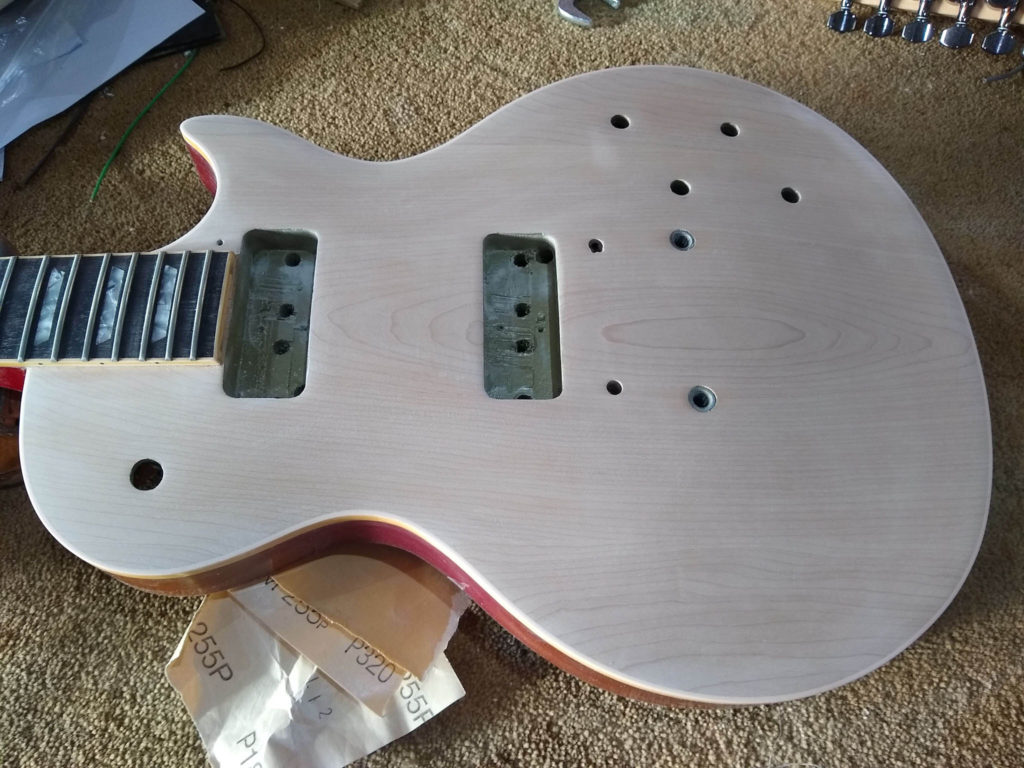
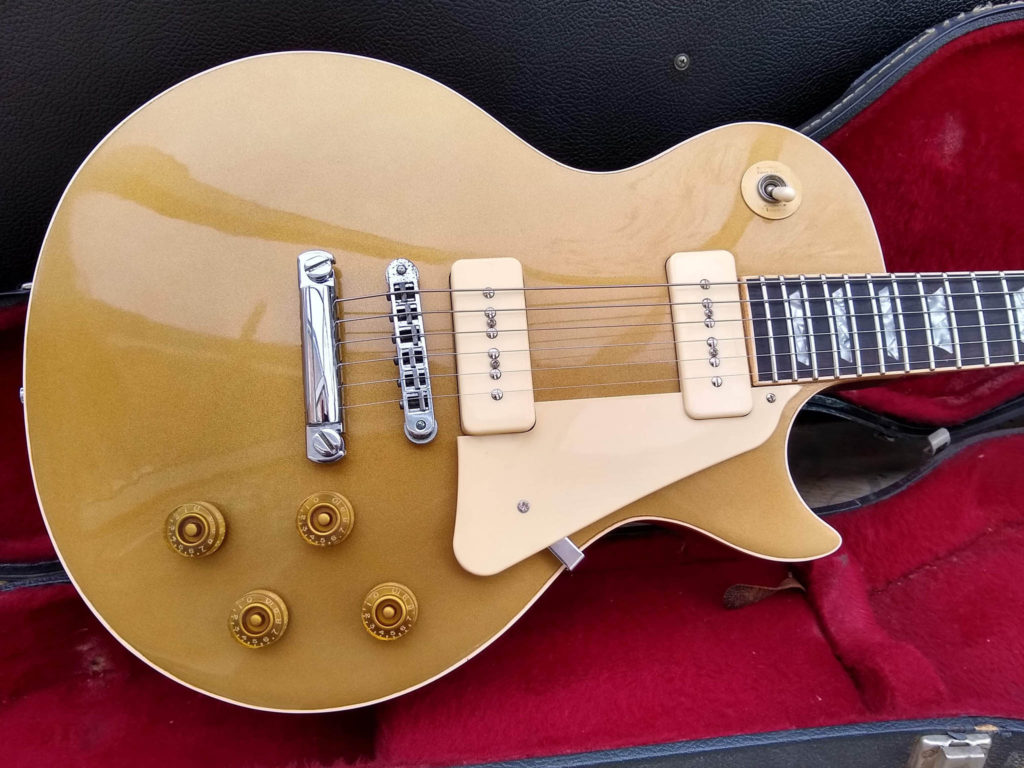
I was asked to refinish the top of this 1981 Gibson Les Paul Deluxe which was originally sunburst but had been “goldtopped” using what looked like car spray. The colour was completely wrong and bizarrely, mini-humbuckers and P-90 pickups (which are the same size of course) would not fit in the cavities!
For this job I used:
- One can of Clear Gloss Lacquer
- One can of Goldtop Lacquer
The first step was to strip the top. I did this using a Black & Decket mouse sander to remove most of the paint and primer, then finishing along the grain of course using 320 grit 3M gold sandpaper to remove any scratches left by the sander.
I carefully re-routed the pickup cavities a fraction larger so that I could get the pickups in without fear of chipping the new finish. This was the most nerve-wracking part of the job – nobody wants a router slip on a vintage Les Paul!
Once the top was sanded it looked really nice and would have been great with a natural or sunburst finish but it had to be a goldtop. I masked off the neck and sides and sealed the maple with a coat of Clear Gloss, denibbed and sanded again. I would not recommend using primer on a bound guitar such as this as when the binding is scraped later it may leave a white line of exposed primer.
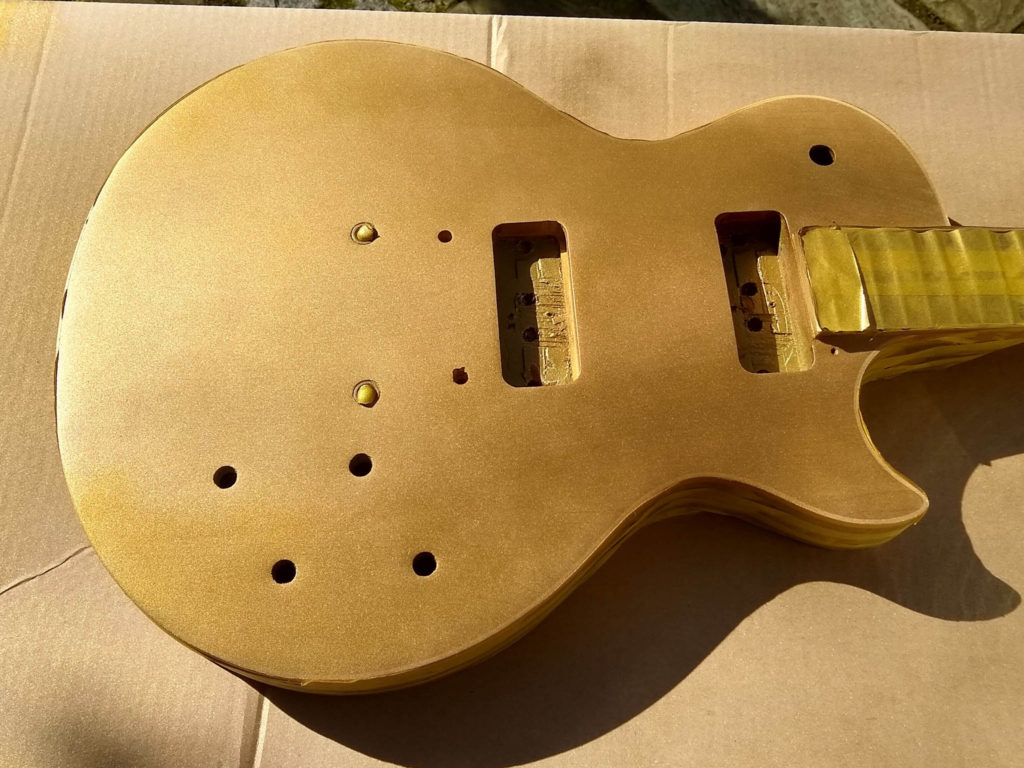
The next step was to spray the Gold Top lacquer. This takes a few coats to achieve a nice opaque covering. I was spraying outside on a sunny day and the lacquer really sparkled in the sunlight. The picture below was taken after the first coat and you can still see some of the maple wood grain showing through.
My Goldtop lacquer contains real bronze powder plus other pigments, just like the lacquer used by Gibson in the 1950s.
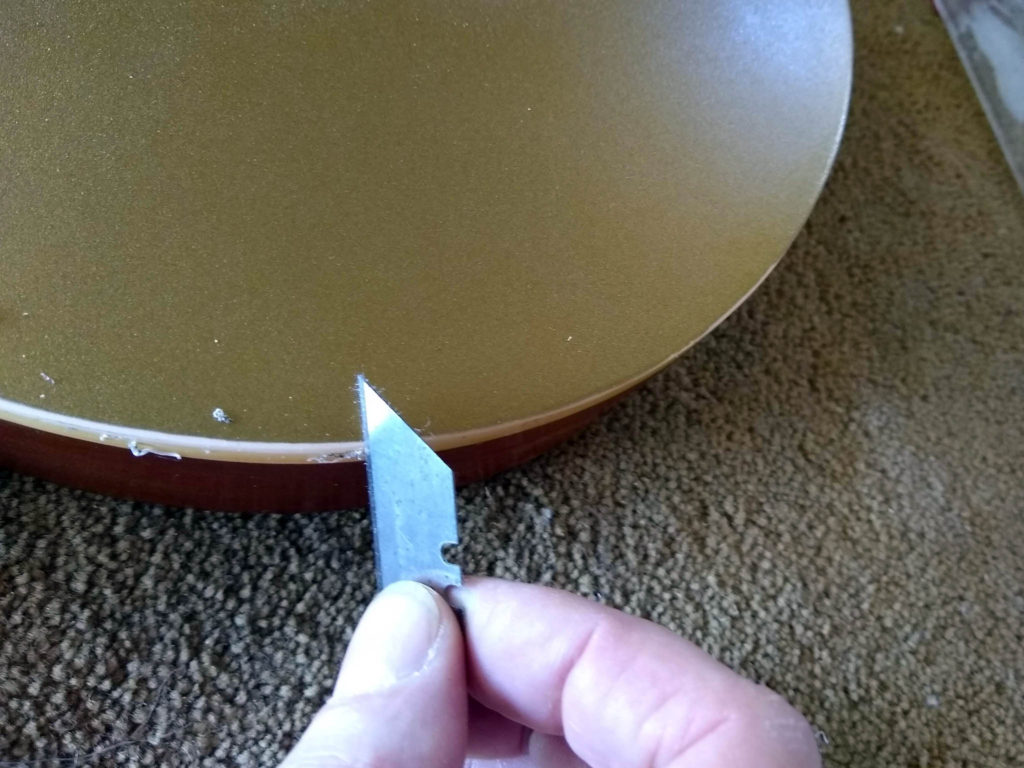
I sprayed a coat of clear to protect the gold whilst handling and took it indoors to scrape the binding. It’s best to leave an hour or two for the lacquer to harden, but before the lacquer has become so brittle that it might chip. Scraping is fairly easy to do with a steady hand using a Stanley blade. It’s best to go slowly, taking off a little at a time until enough binding is exposed.
Once that was done I remasked and sprayed the clear coats. It’s essential to get plenty of clear on so that there is protection from rubbing through when flat sanding. I put most of the rest of the can on.
Once the clear lacquer was on I had to leave it a few days to harden before sanding and polishing.
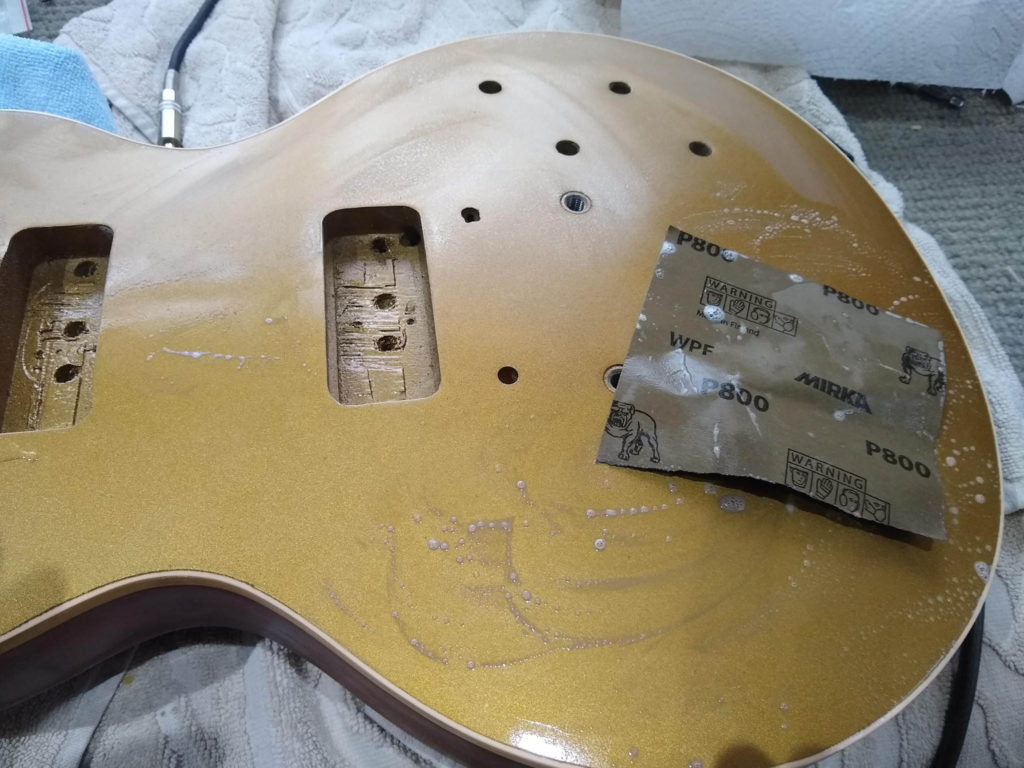
I started the flat sanding using 800 grit wet abrasive. This was coarse enough to remove the small amount of orange peel I had. I sanded until I had no shiny spots that indicated dips then went over again with 1200 grit, again wet. I had kitechen roll on hand and was very careful not to allow any water into holes in the guitar which can swell the wood and crack the lacquer.
Once I was happy the the top was sanded I buffed using my favourite T-Cut to a shine before reassembling and setting up.
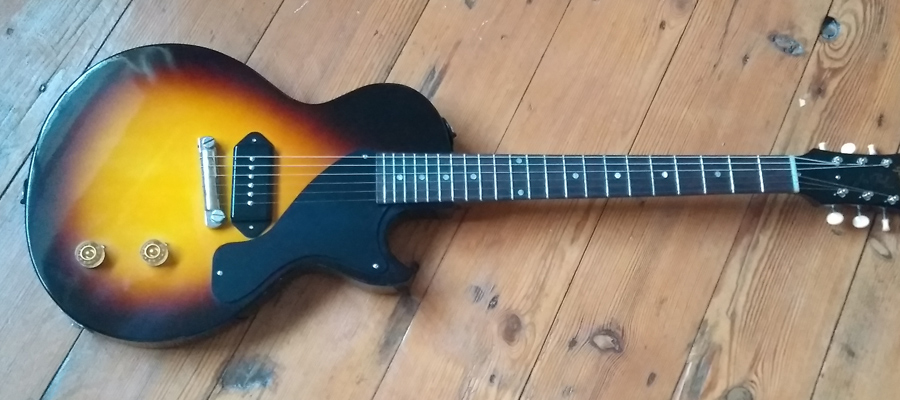
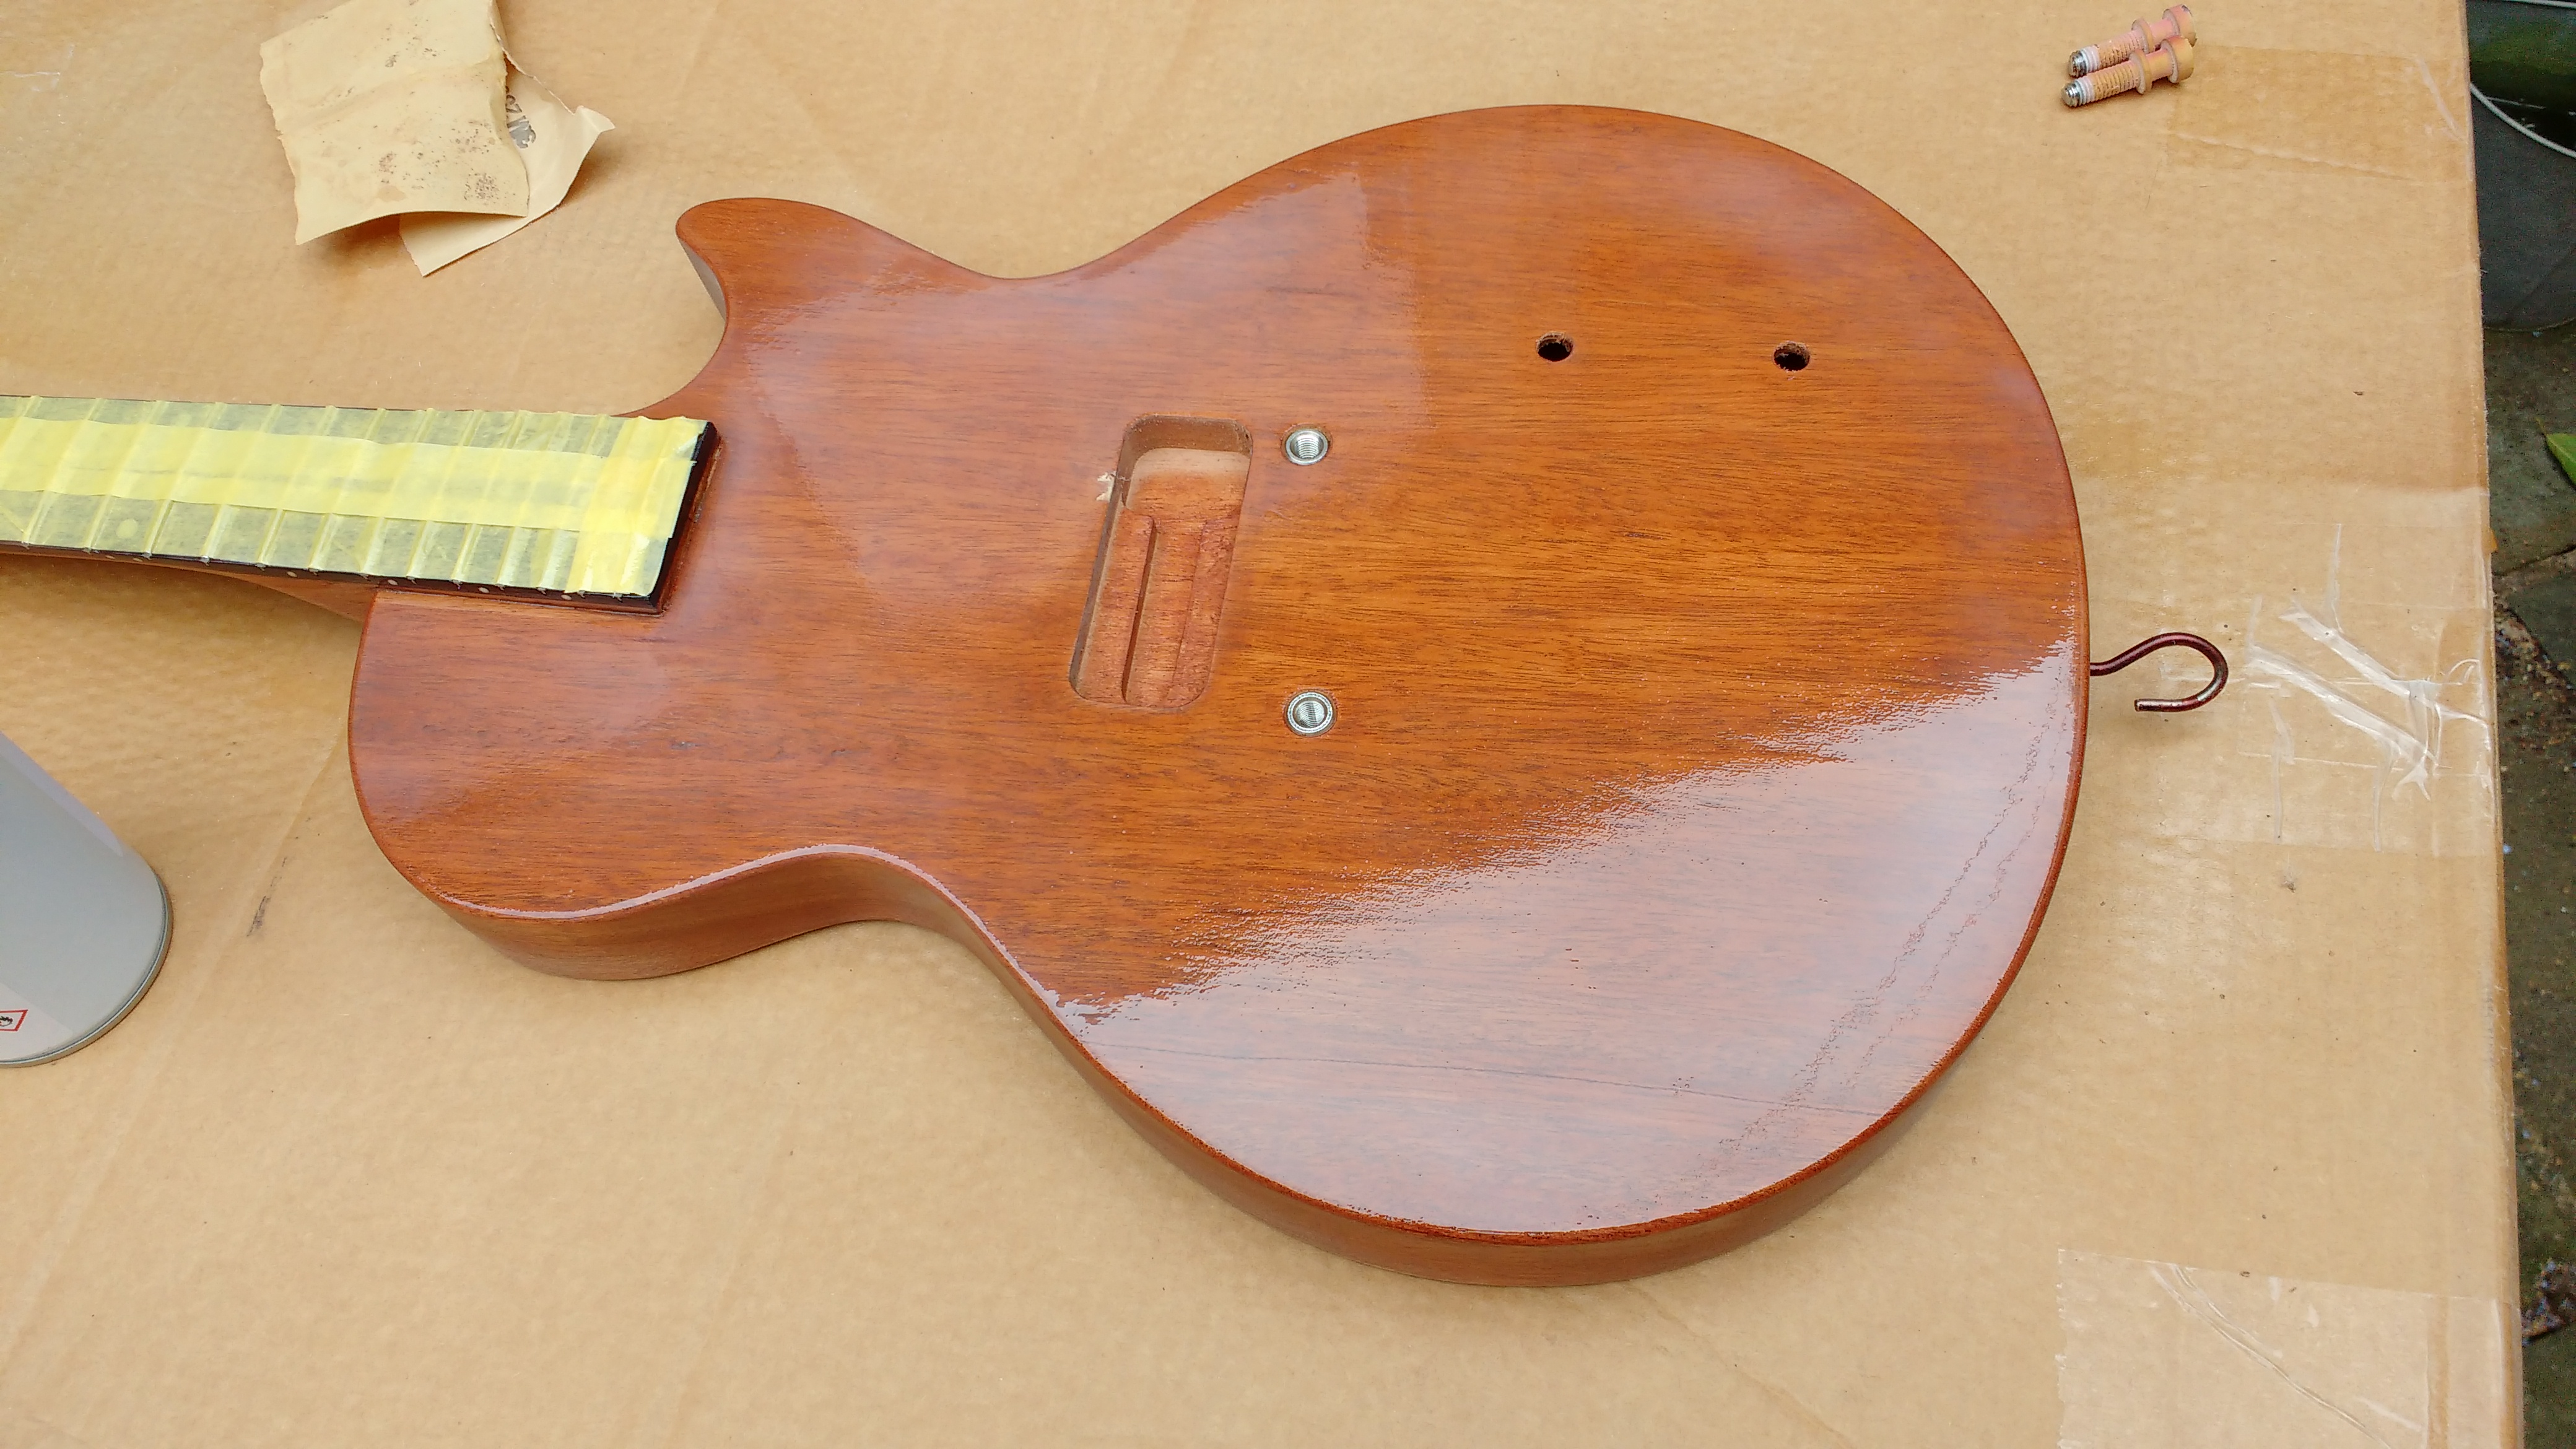
This Les Paul Junior has had a hard life.
When it came to me for a refinish in nice thin nitrocellulose it was coated with a thick layer of yellow paint which on closer inspection revealed a history that the owner was completely unaware of.
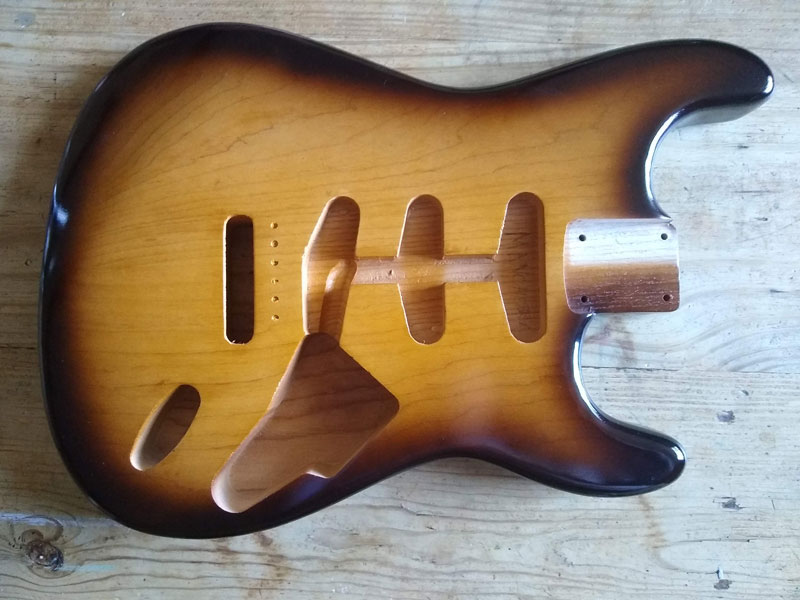
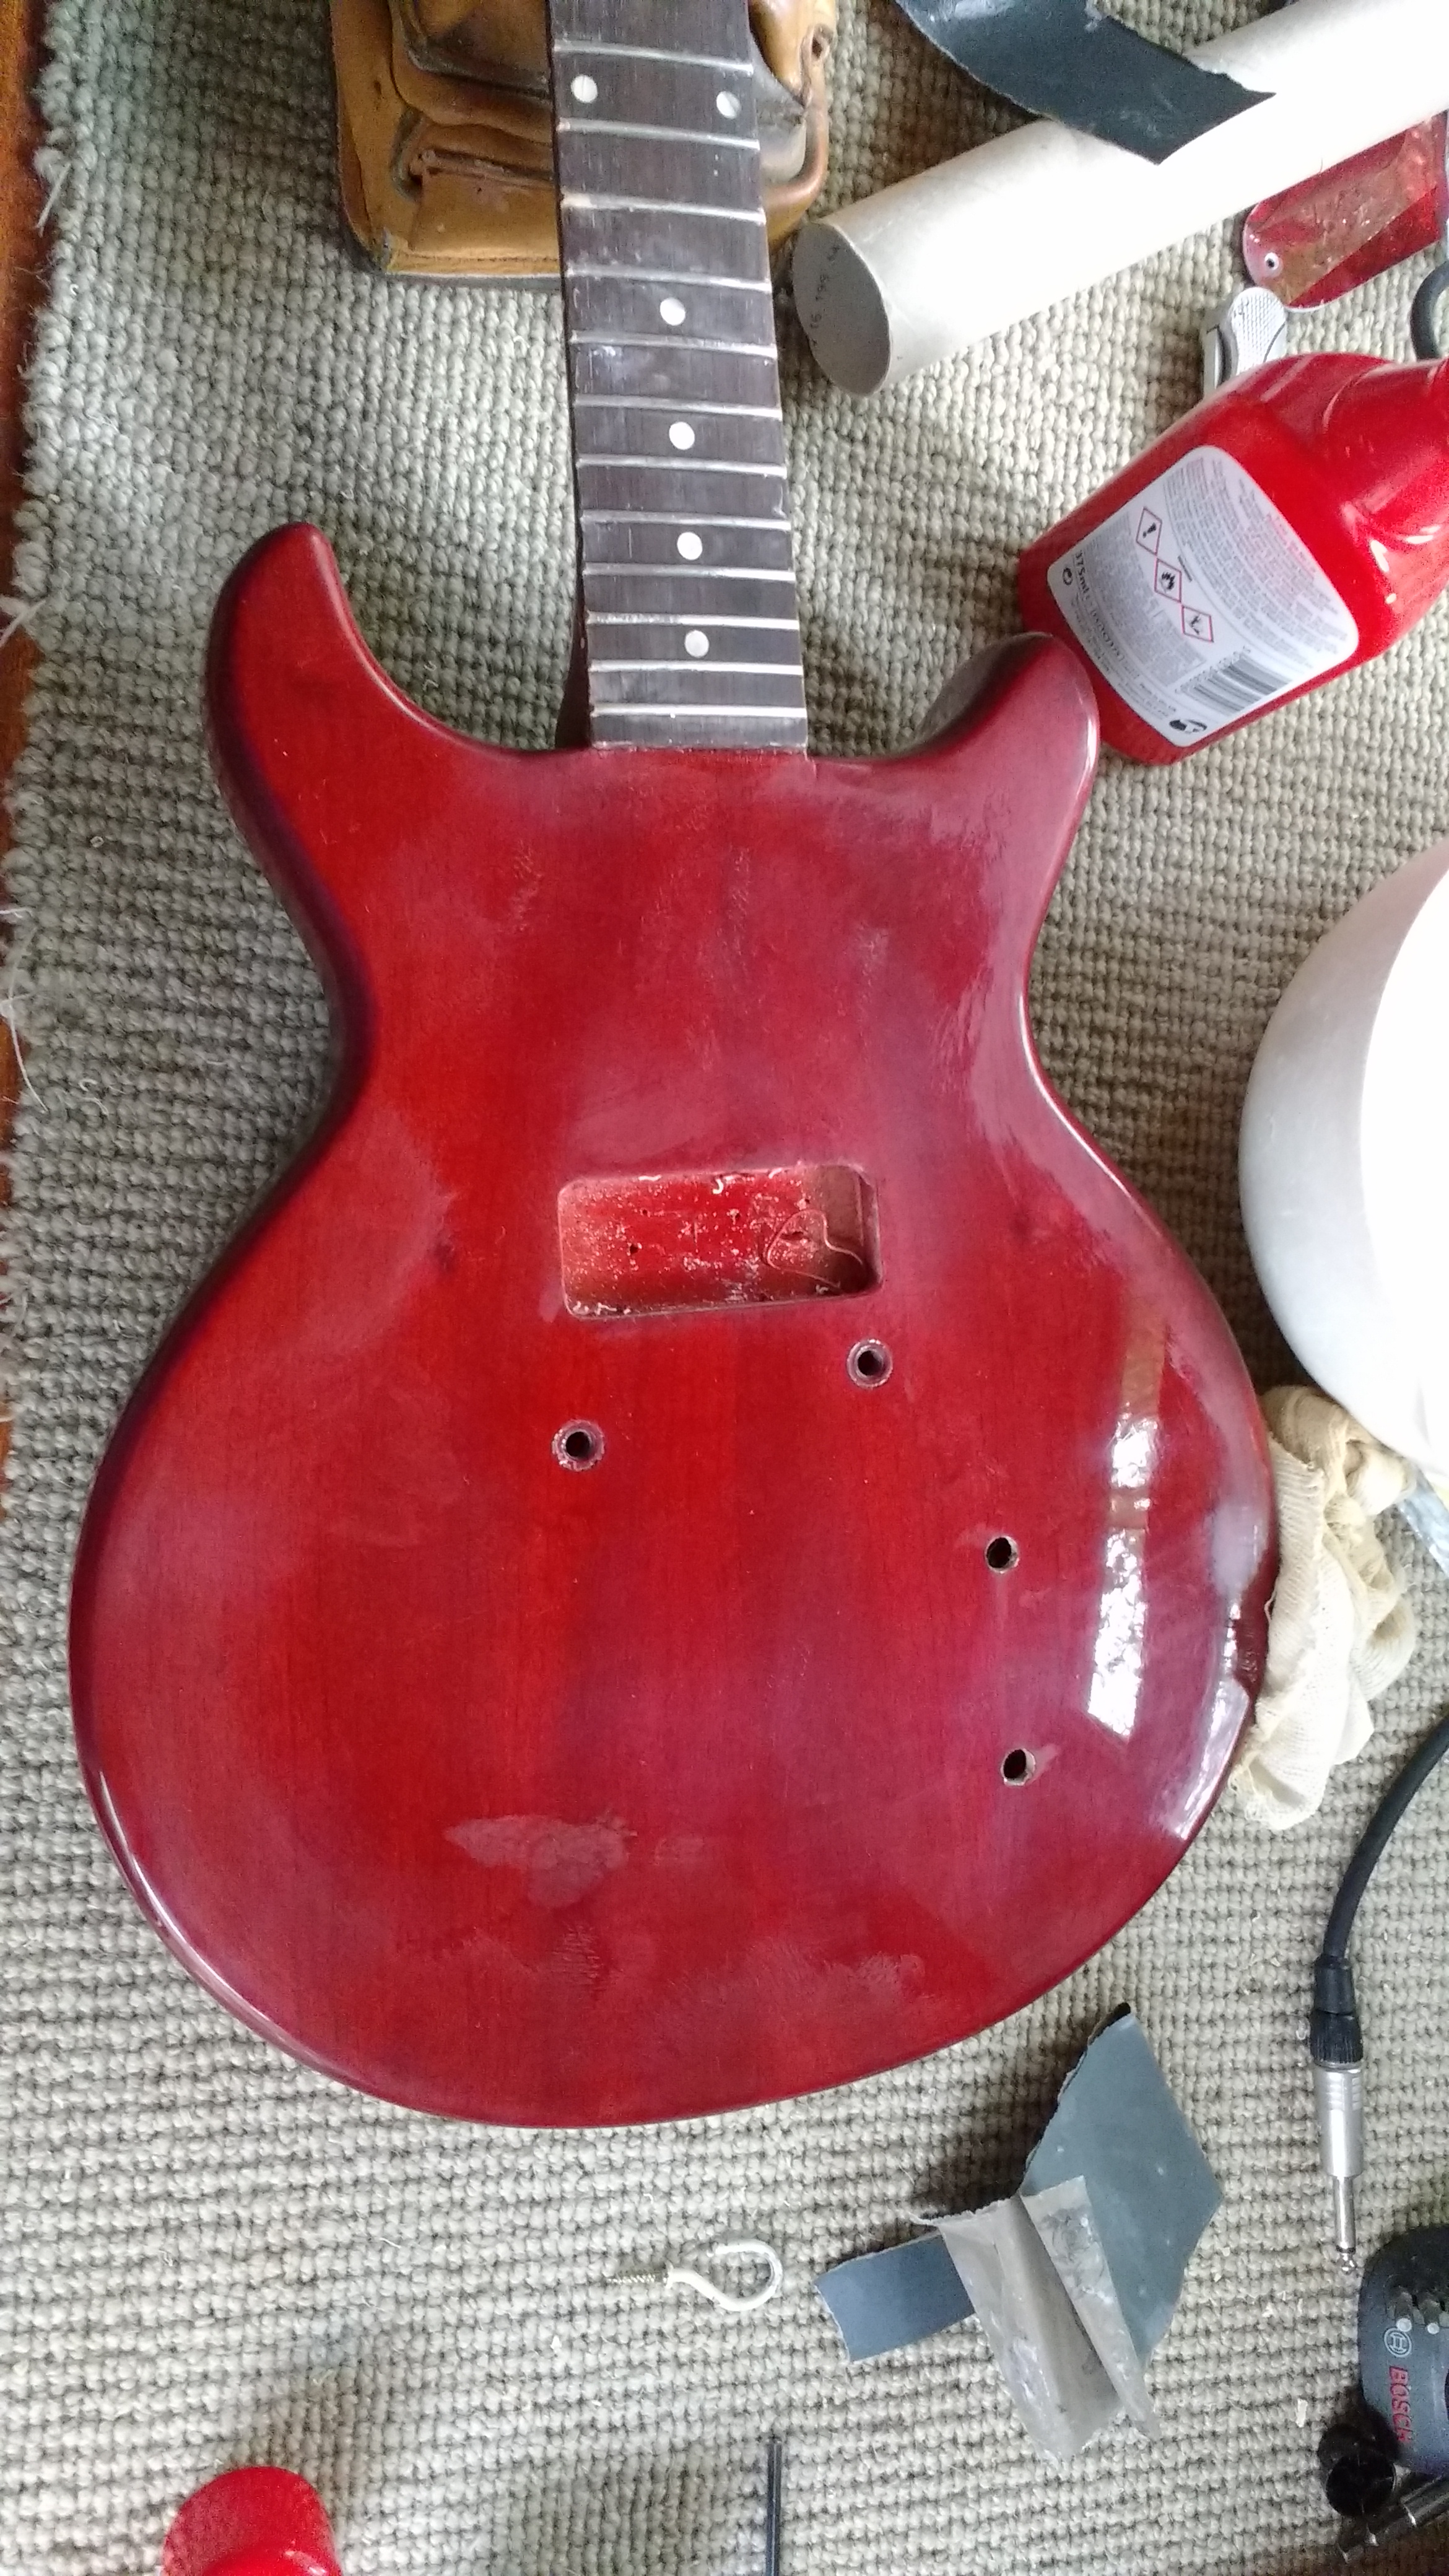
It seems that at some point in its life it had been converted to a Special, with an extra pickup, volume and tone controls and a switch, then crudely converted back, before the damage was masked with the thick finish.
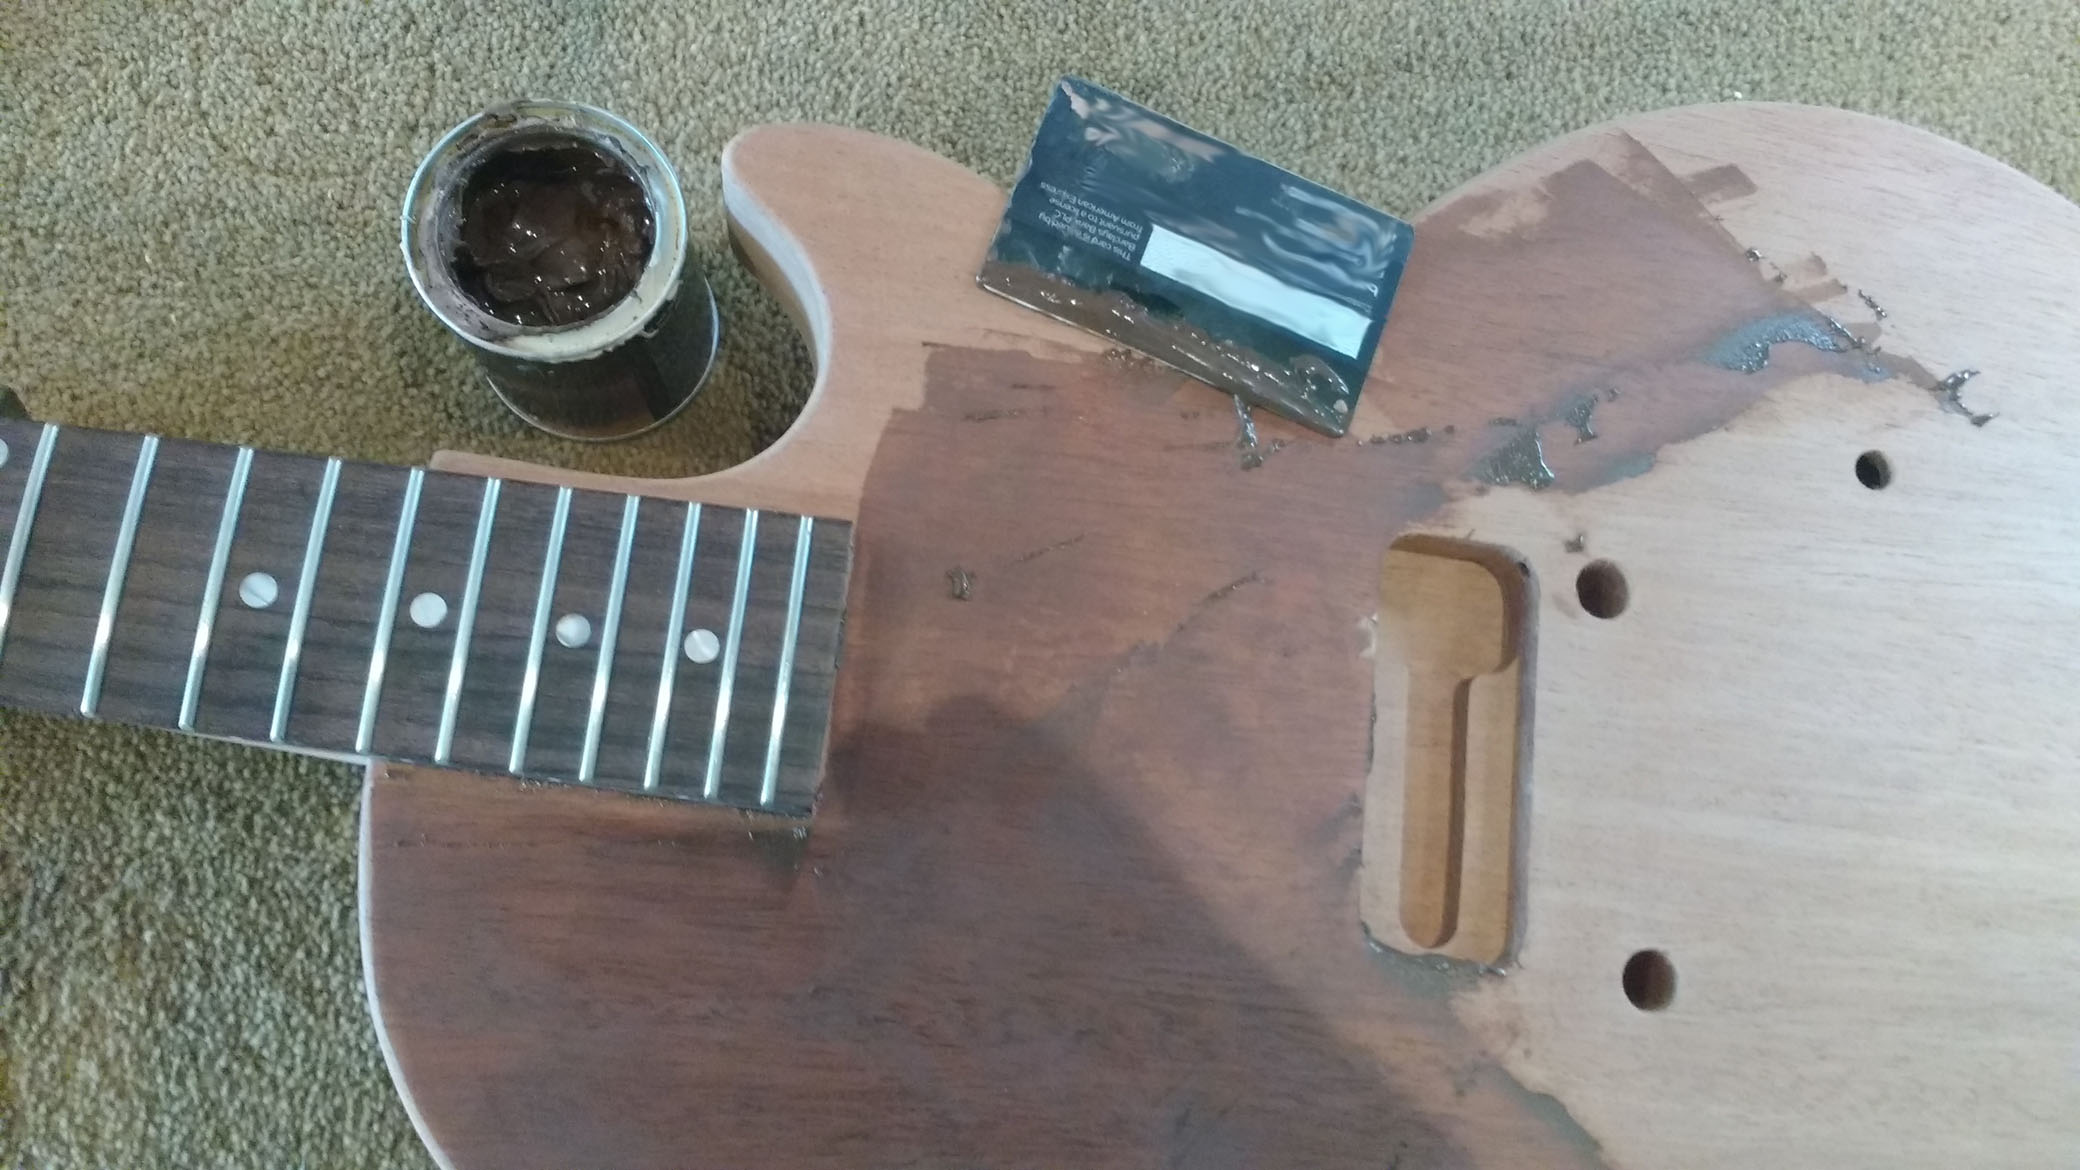
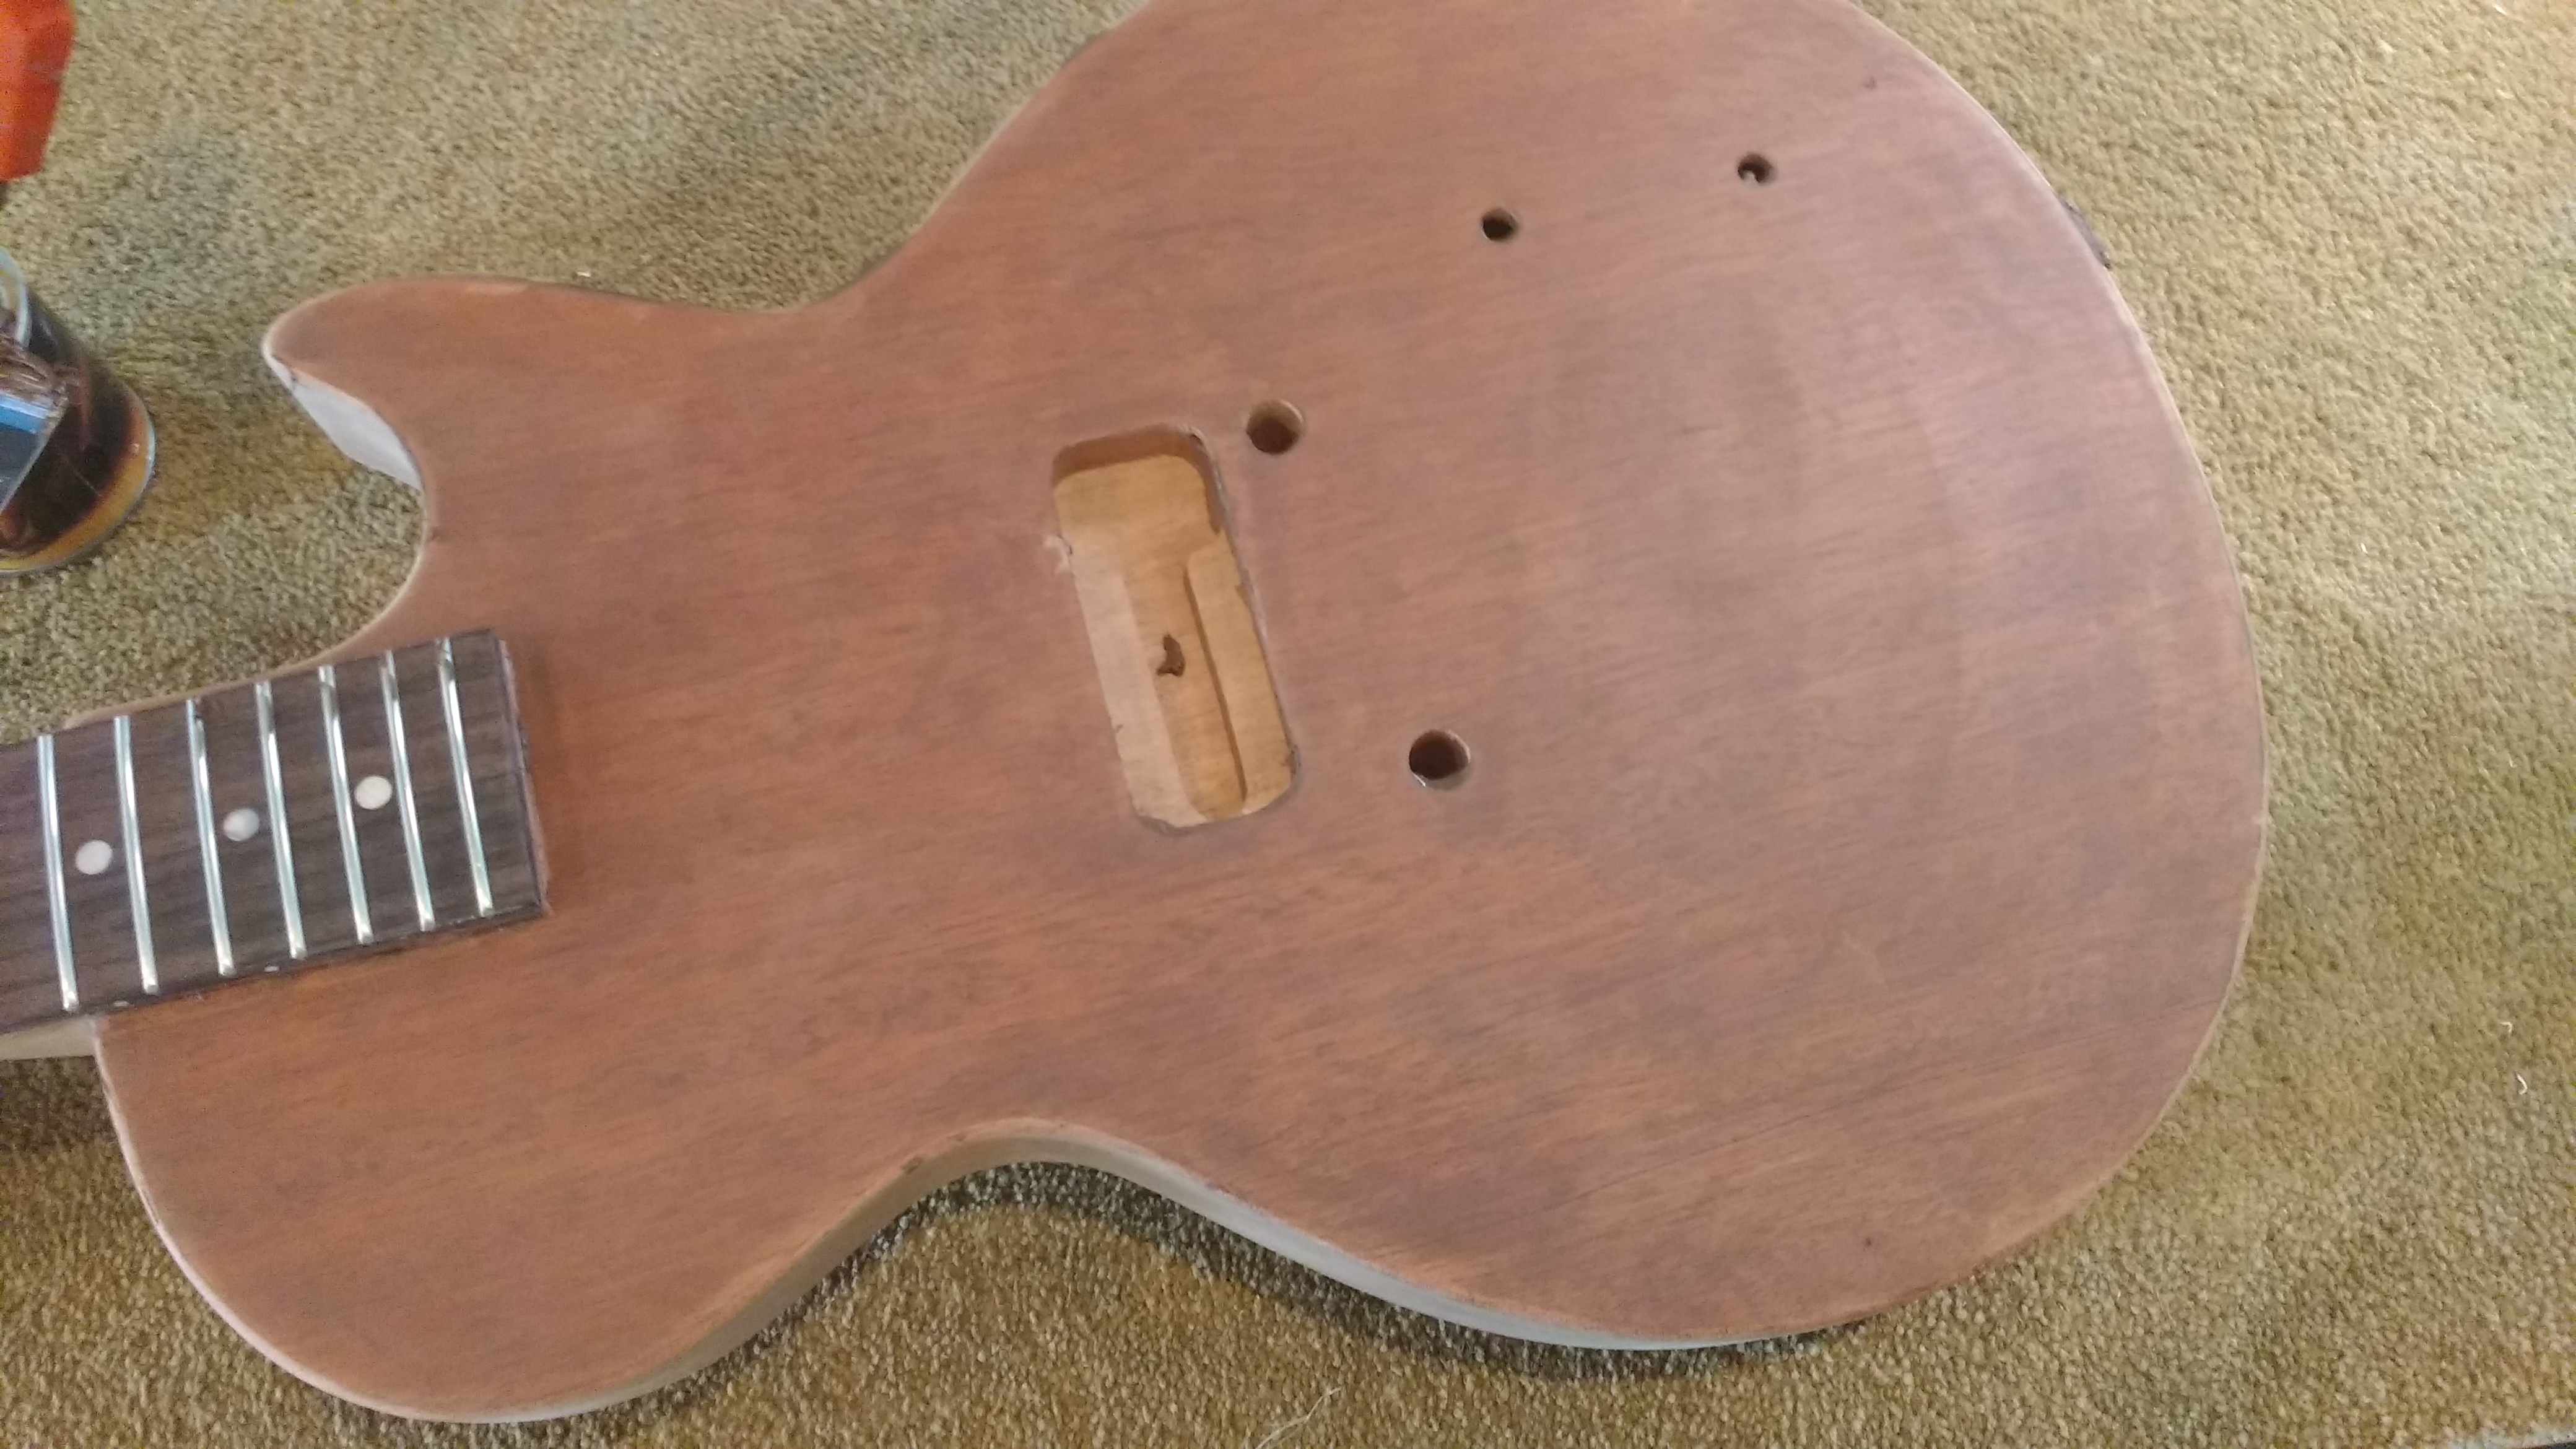
I’ve pointed out in the pictures below where the changes have been made and reversed.
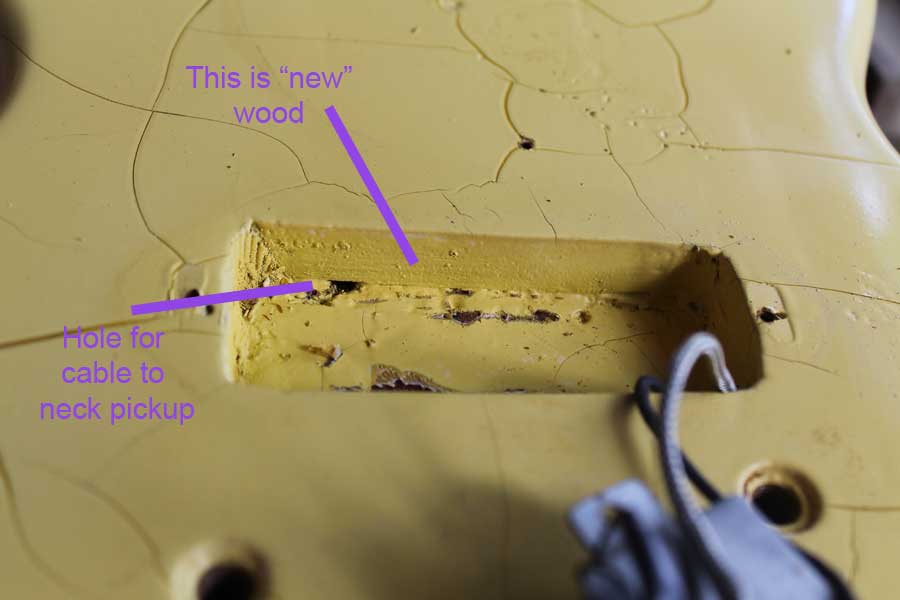
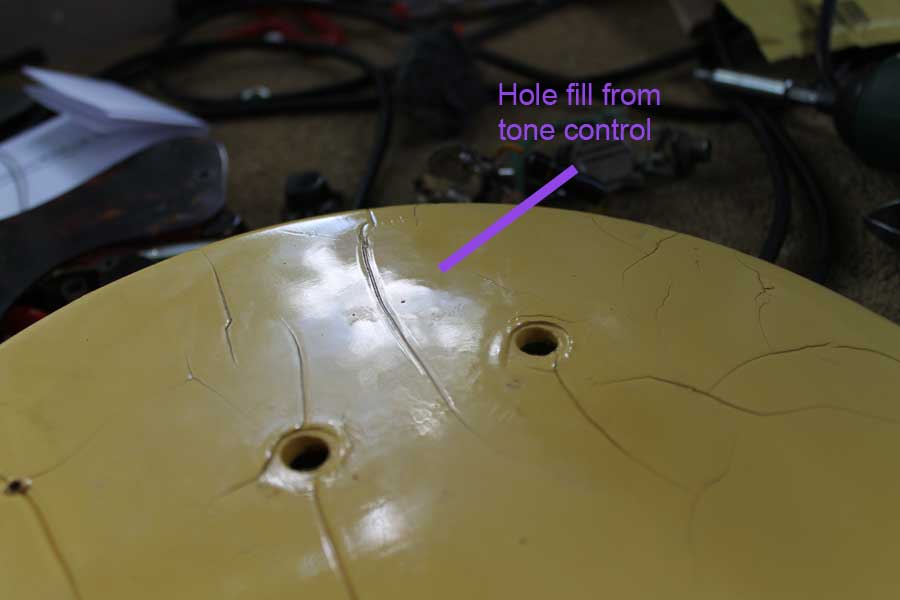
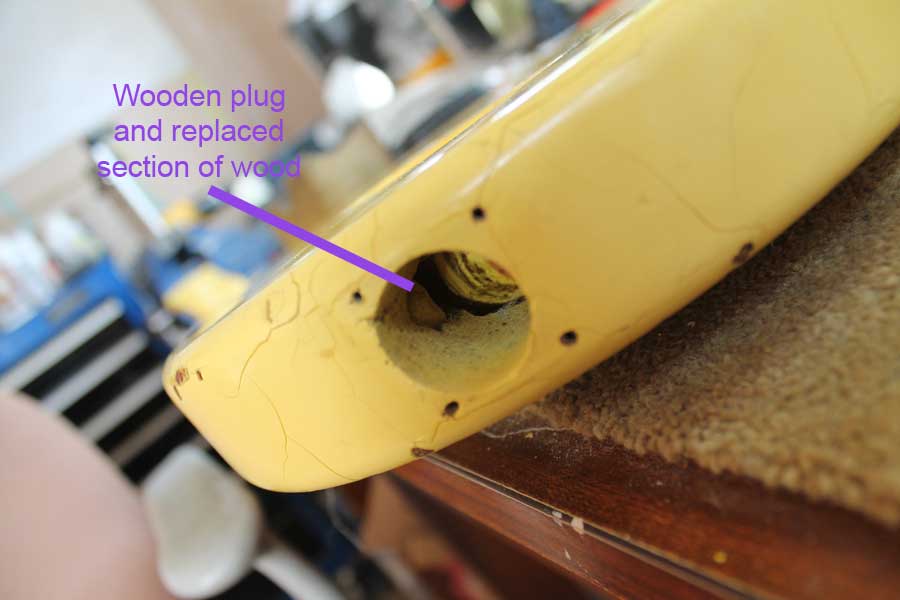
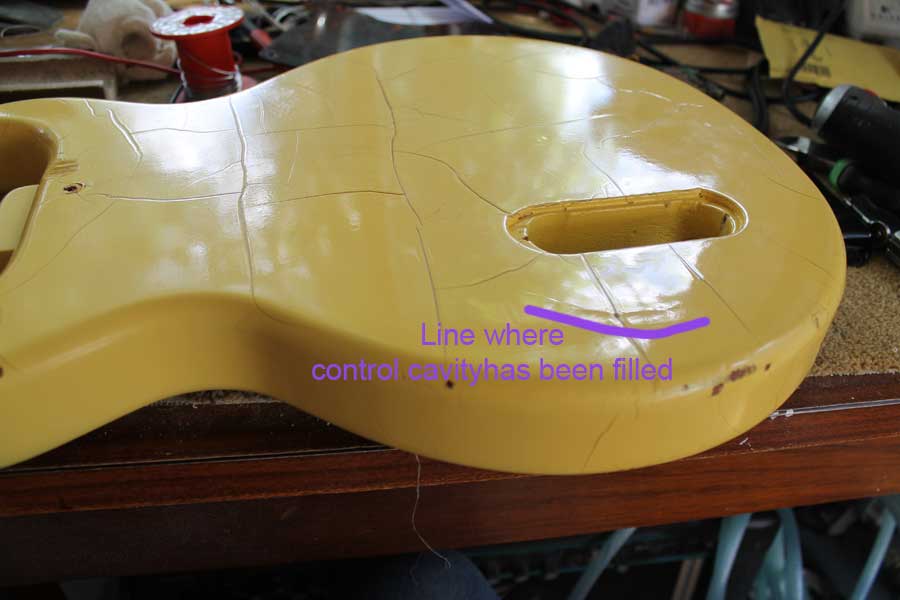
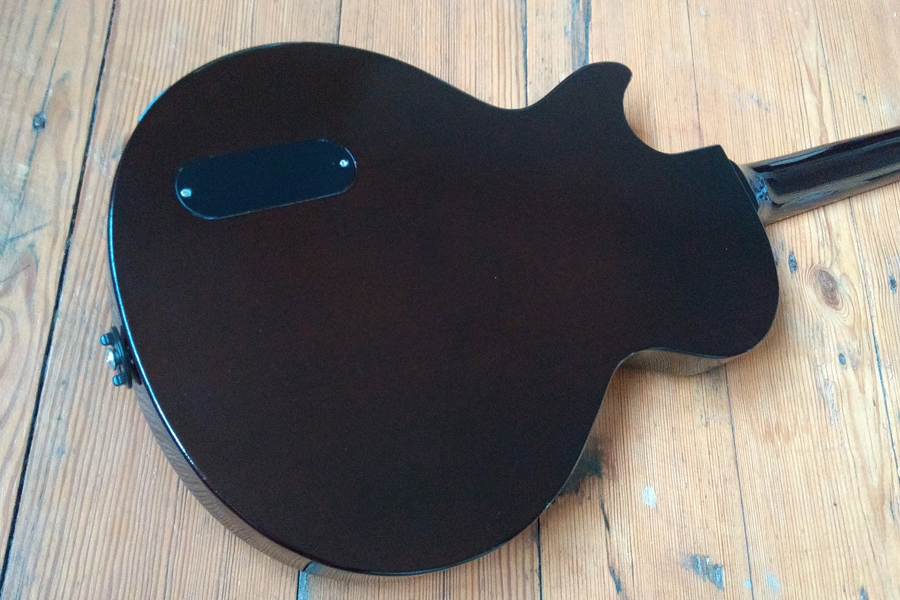
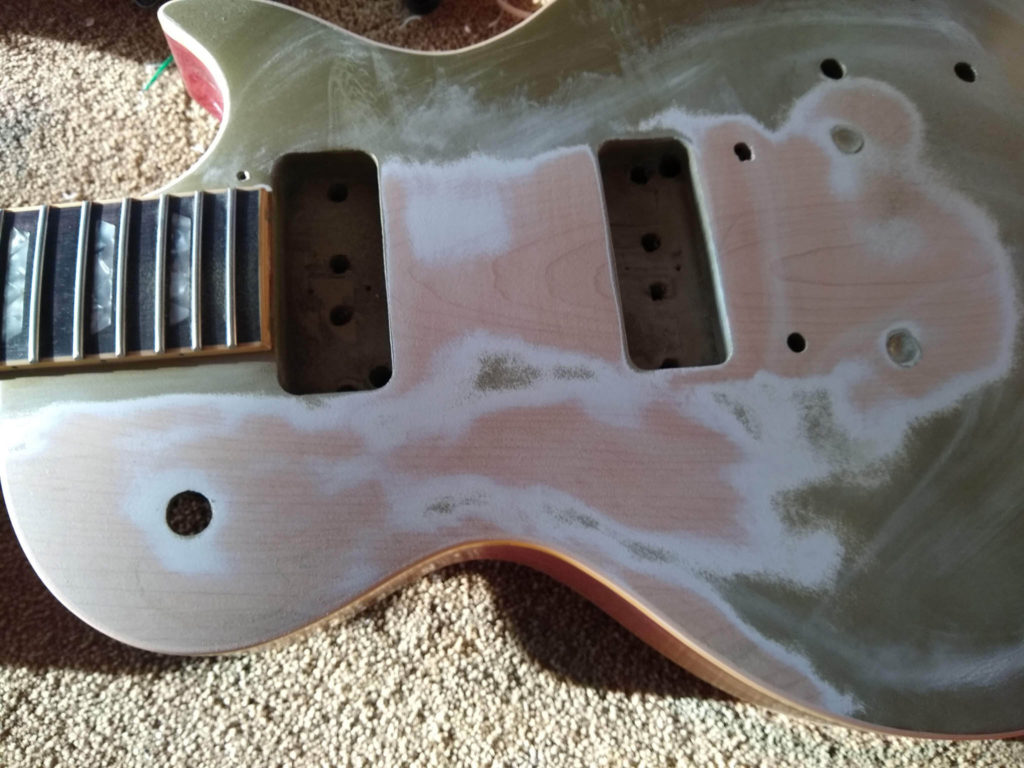
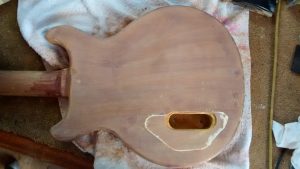
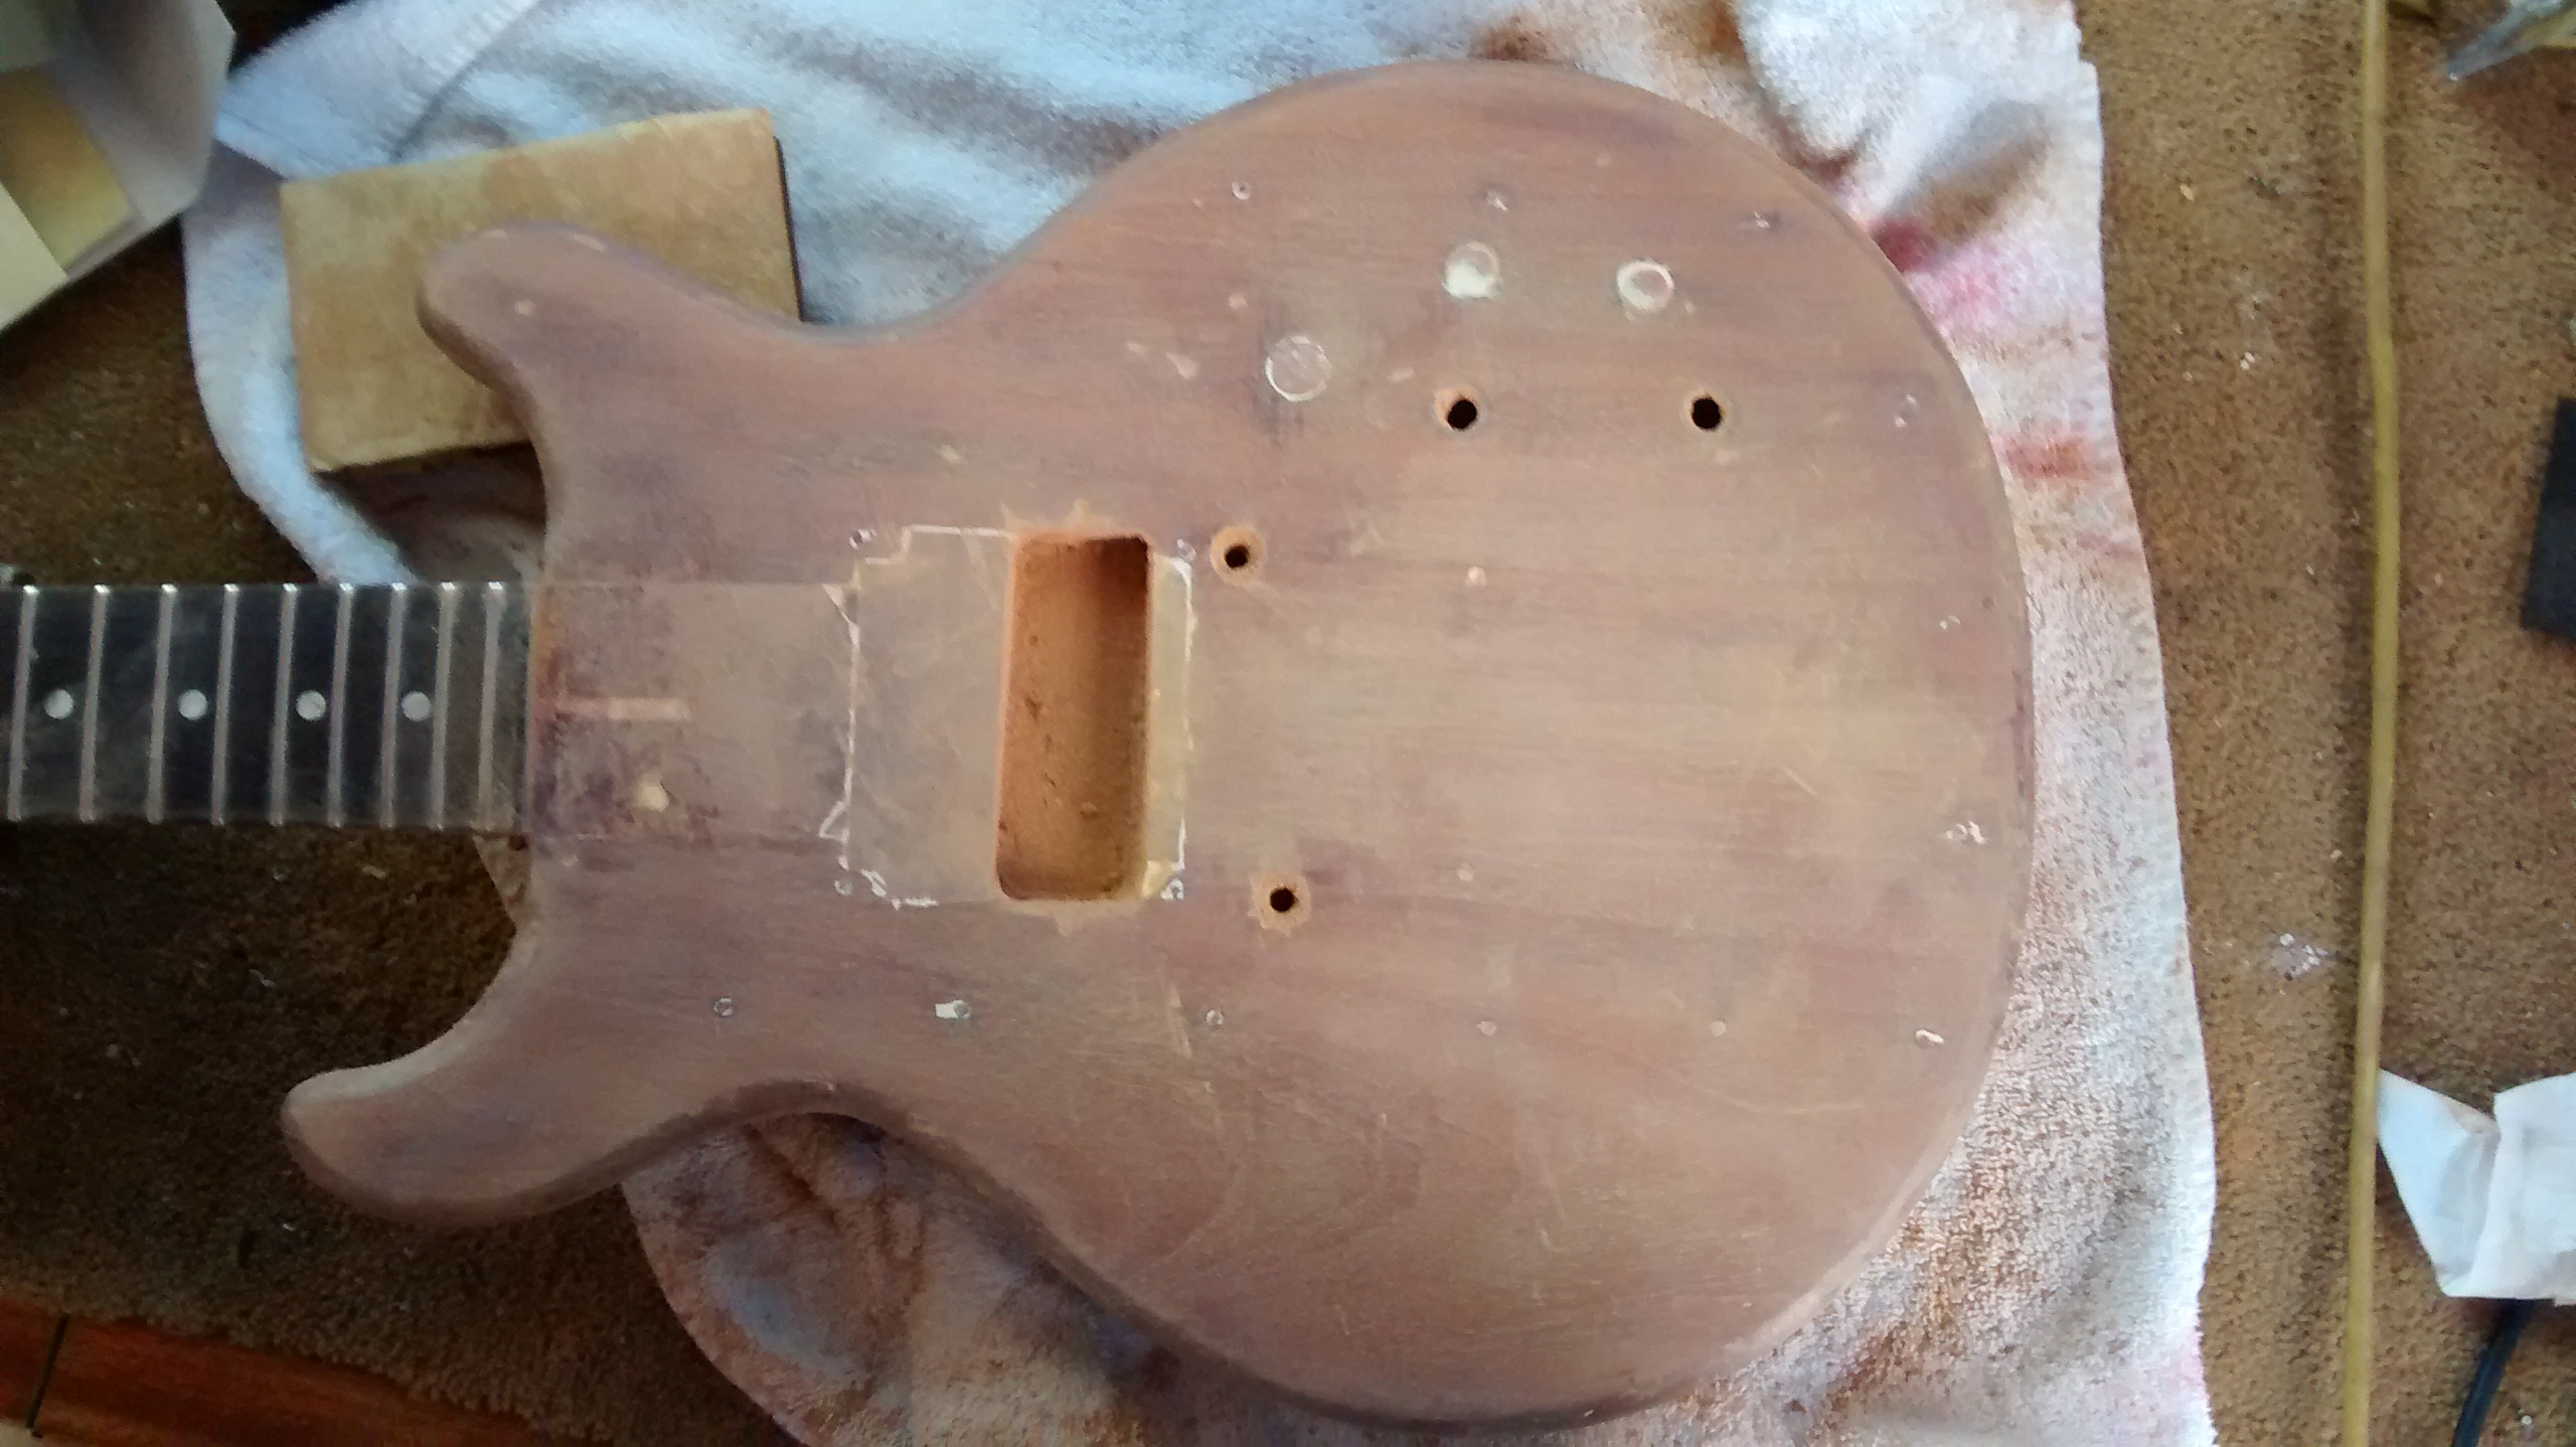
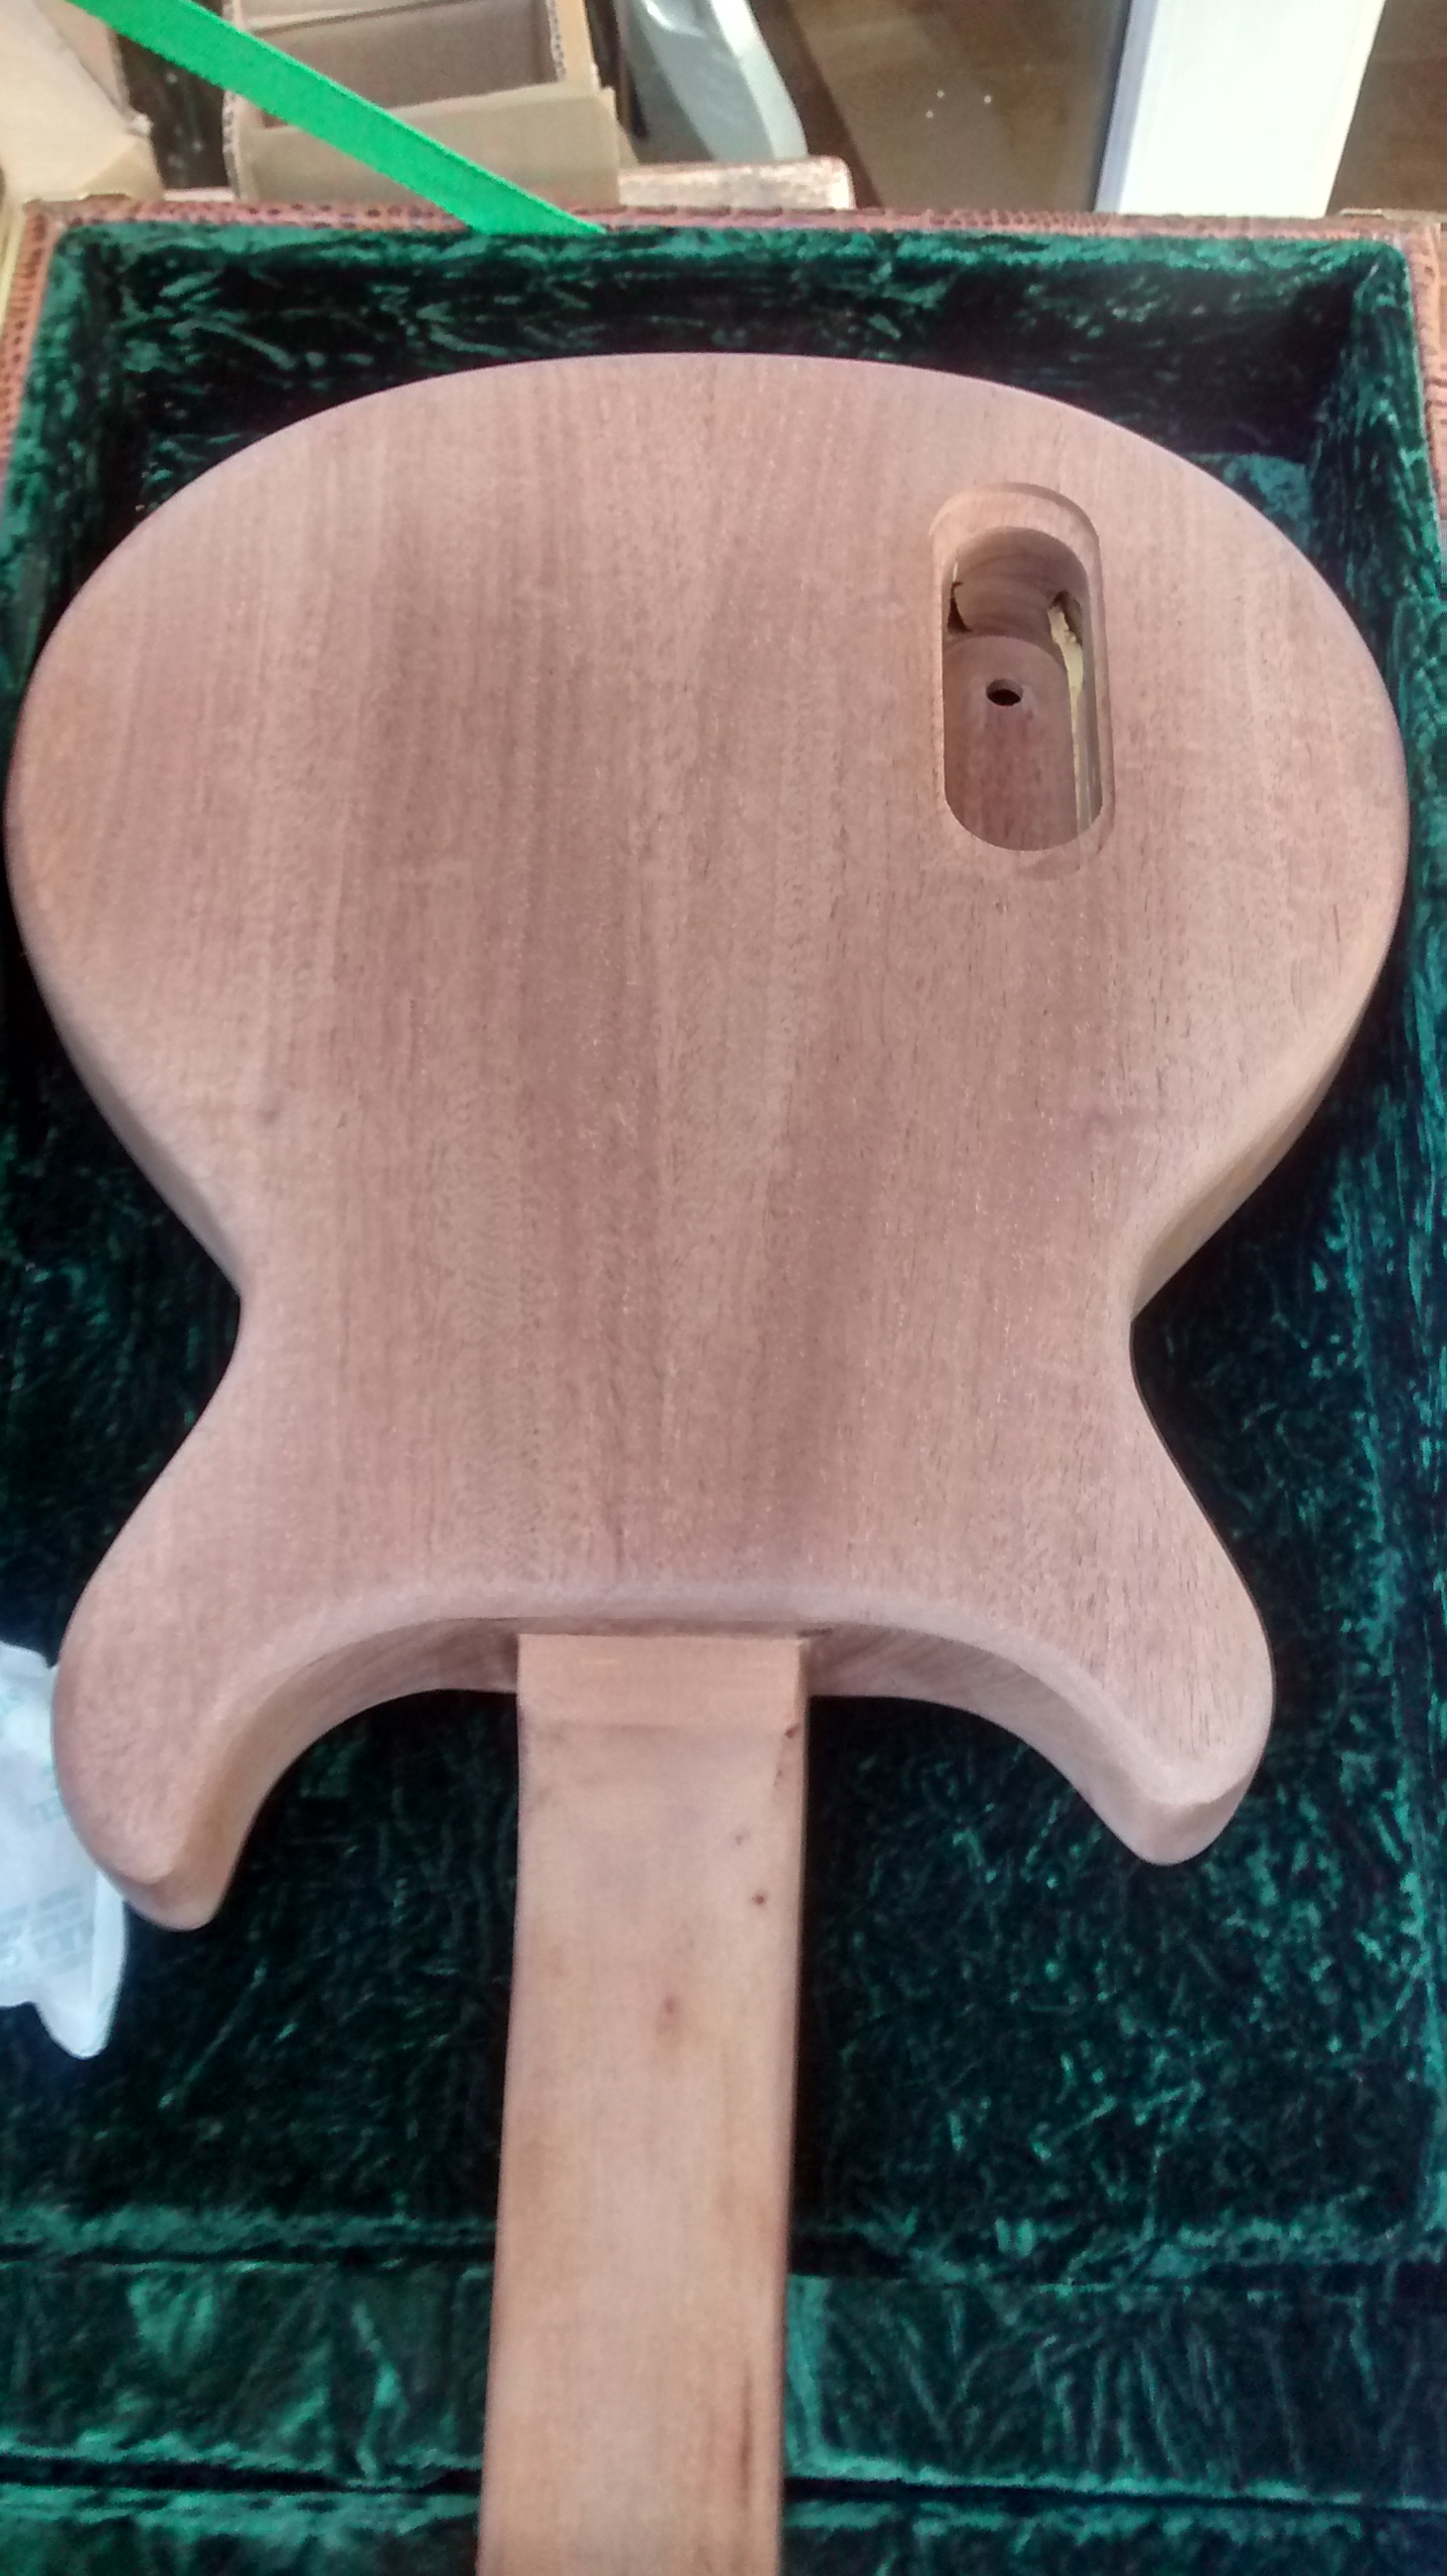
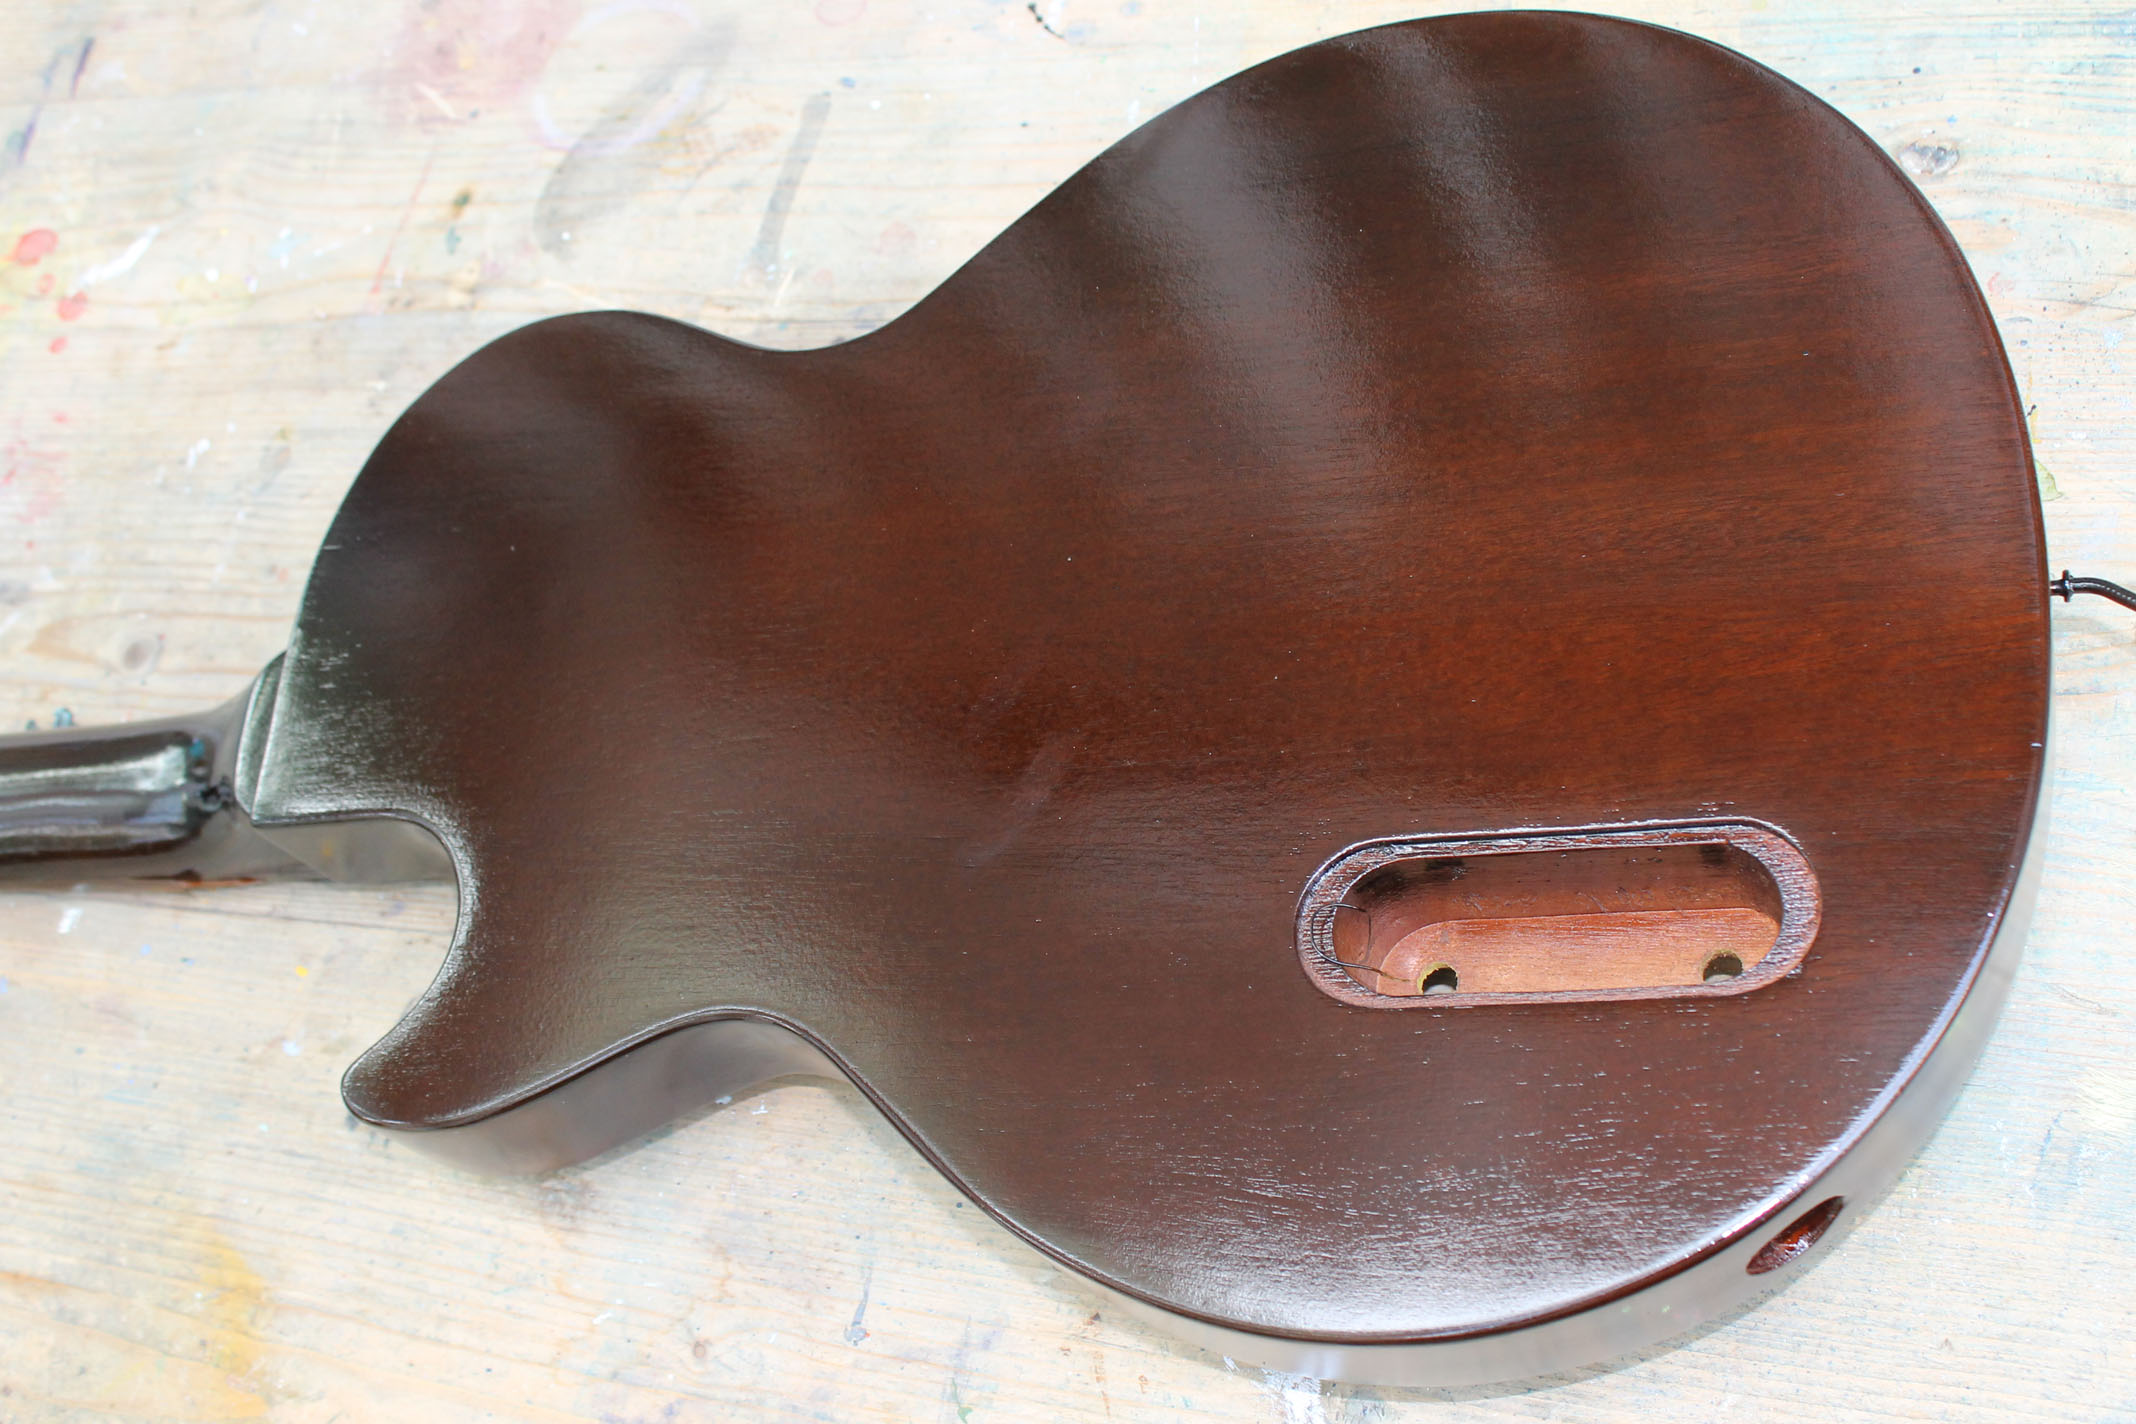
Once the body was stripped, the changes were more apparent.
Well there was no way I could hide that under a thin coat of nitrocellulose!
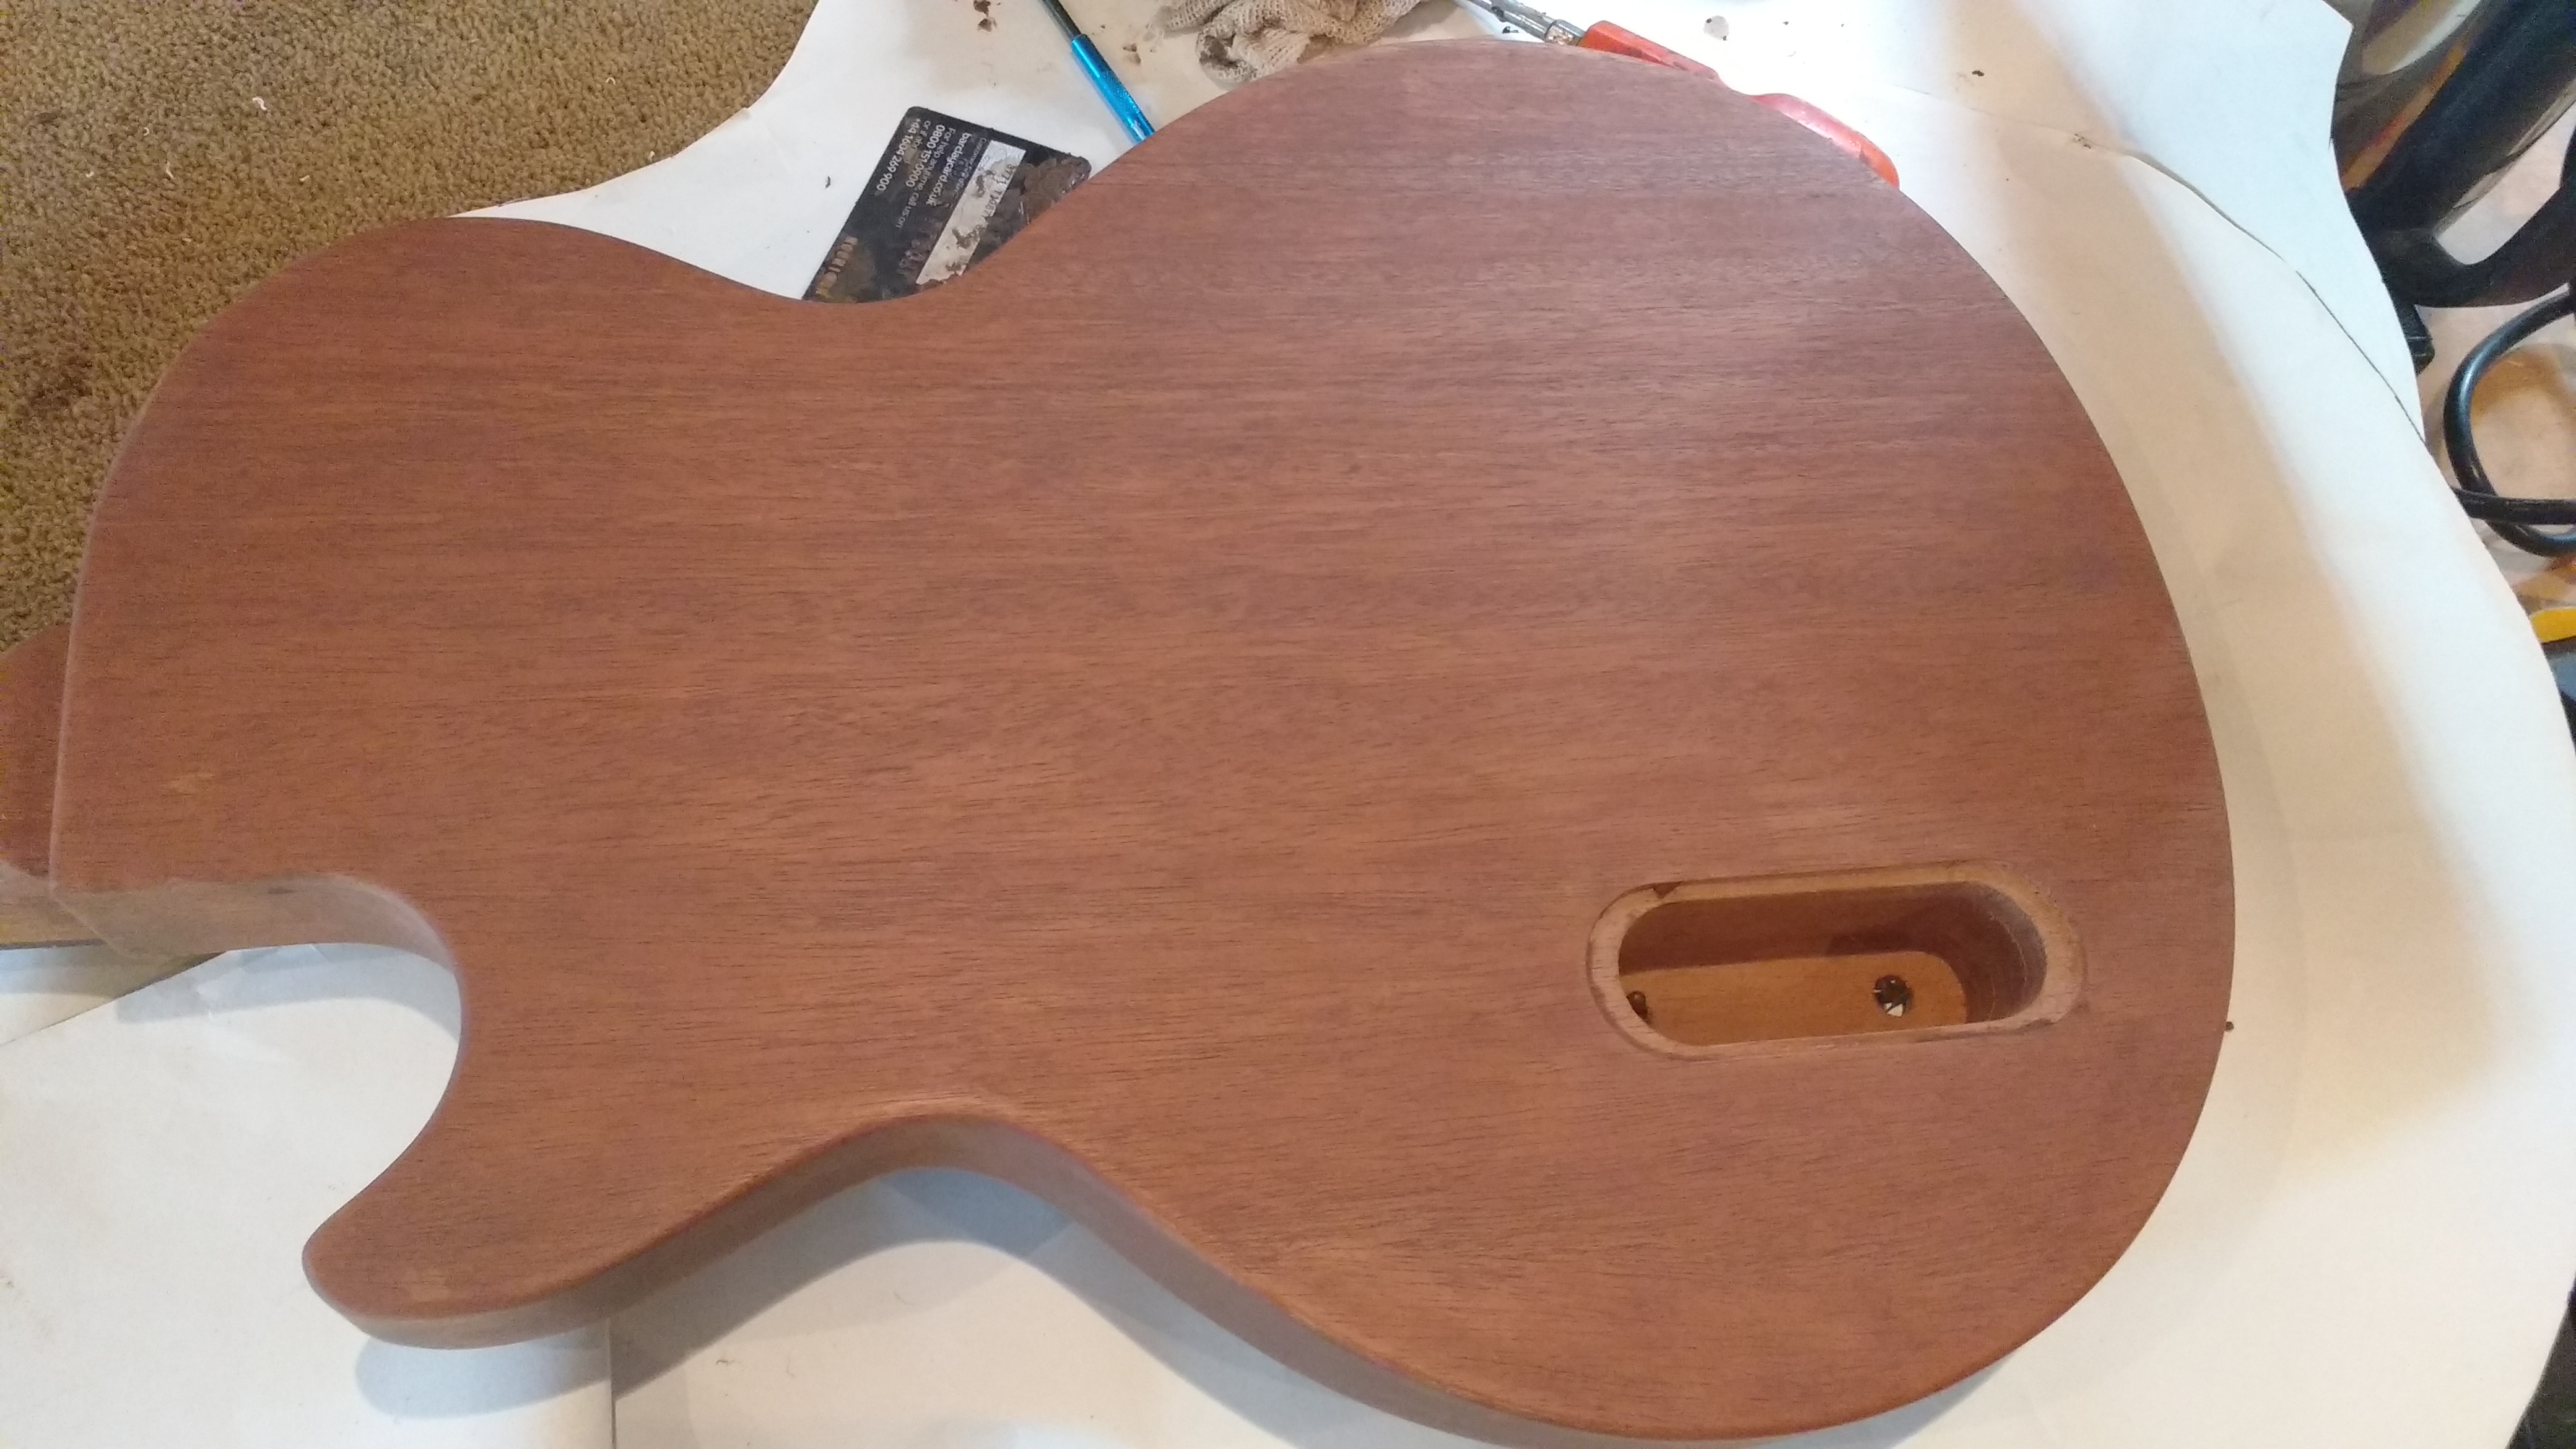
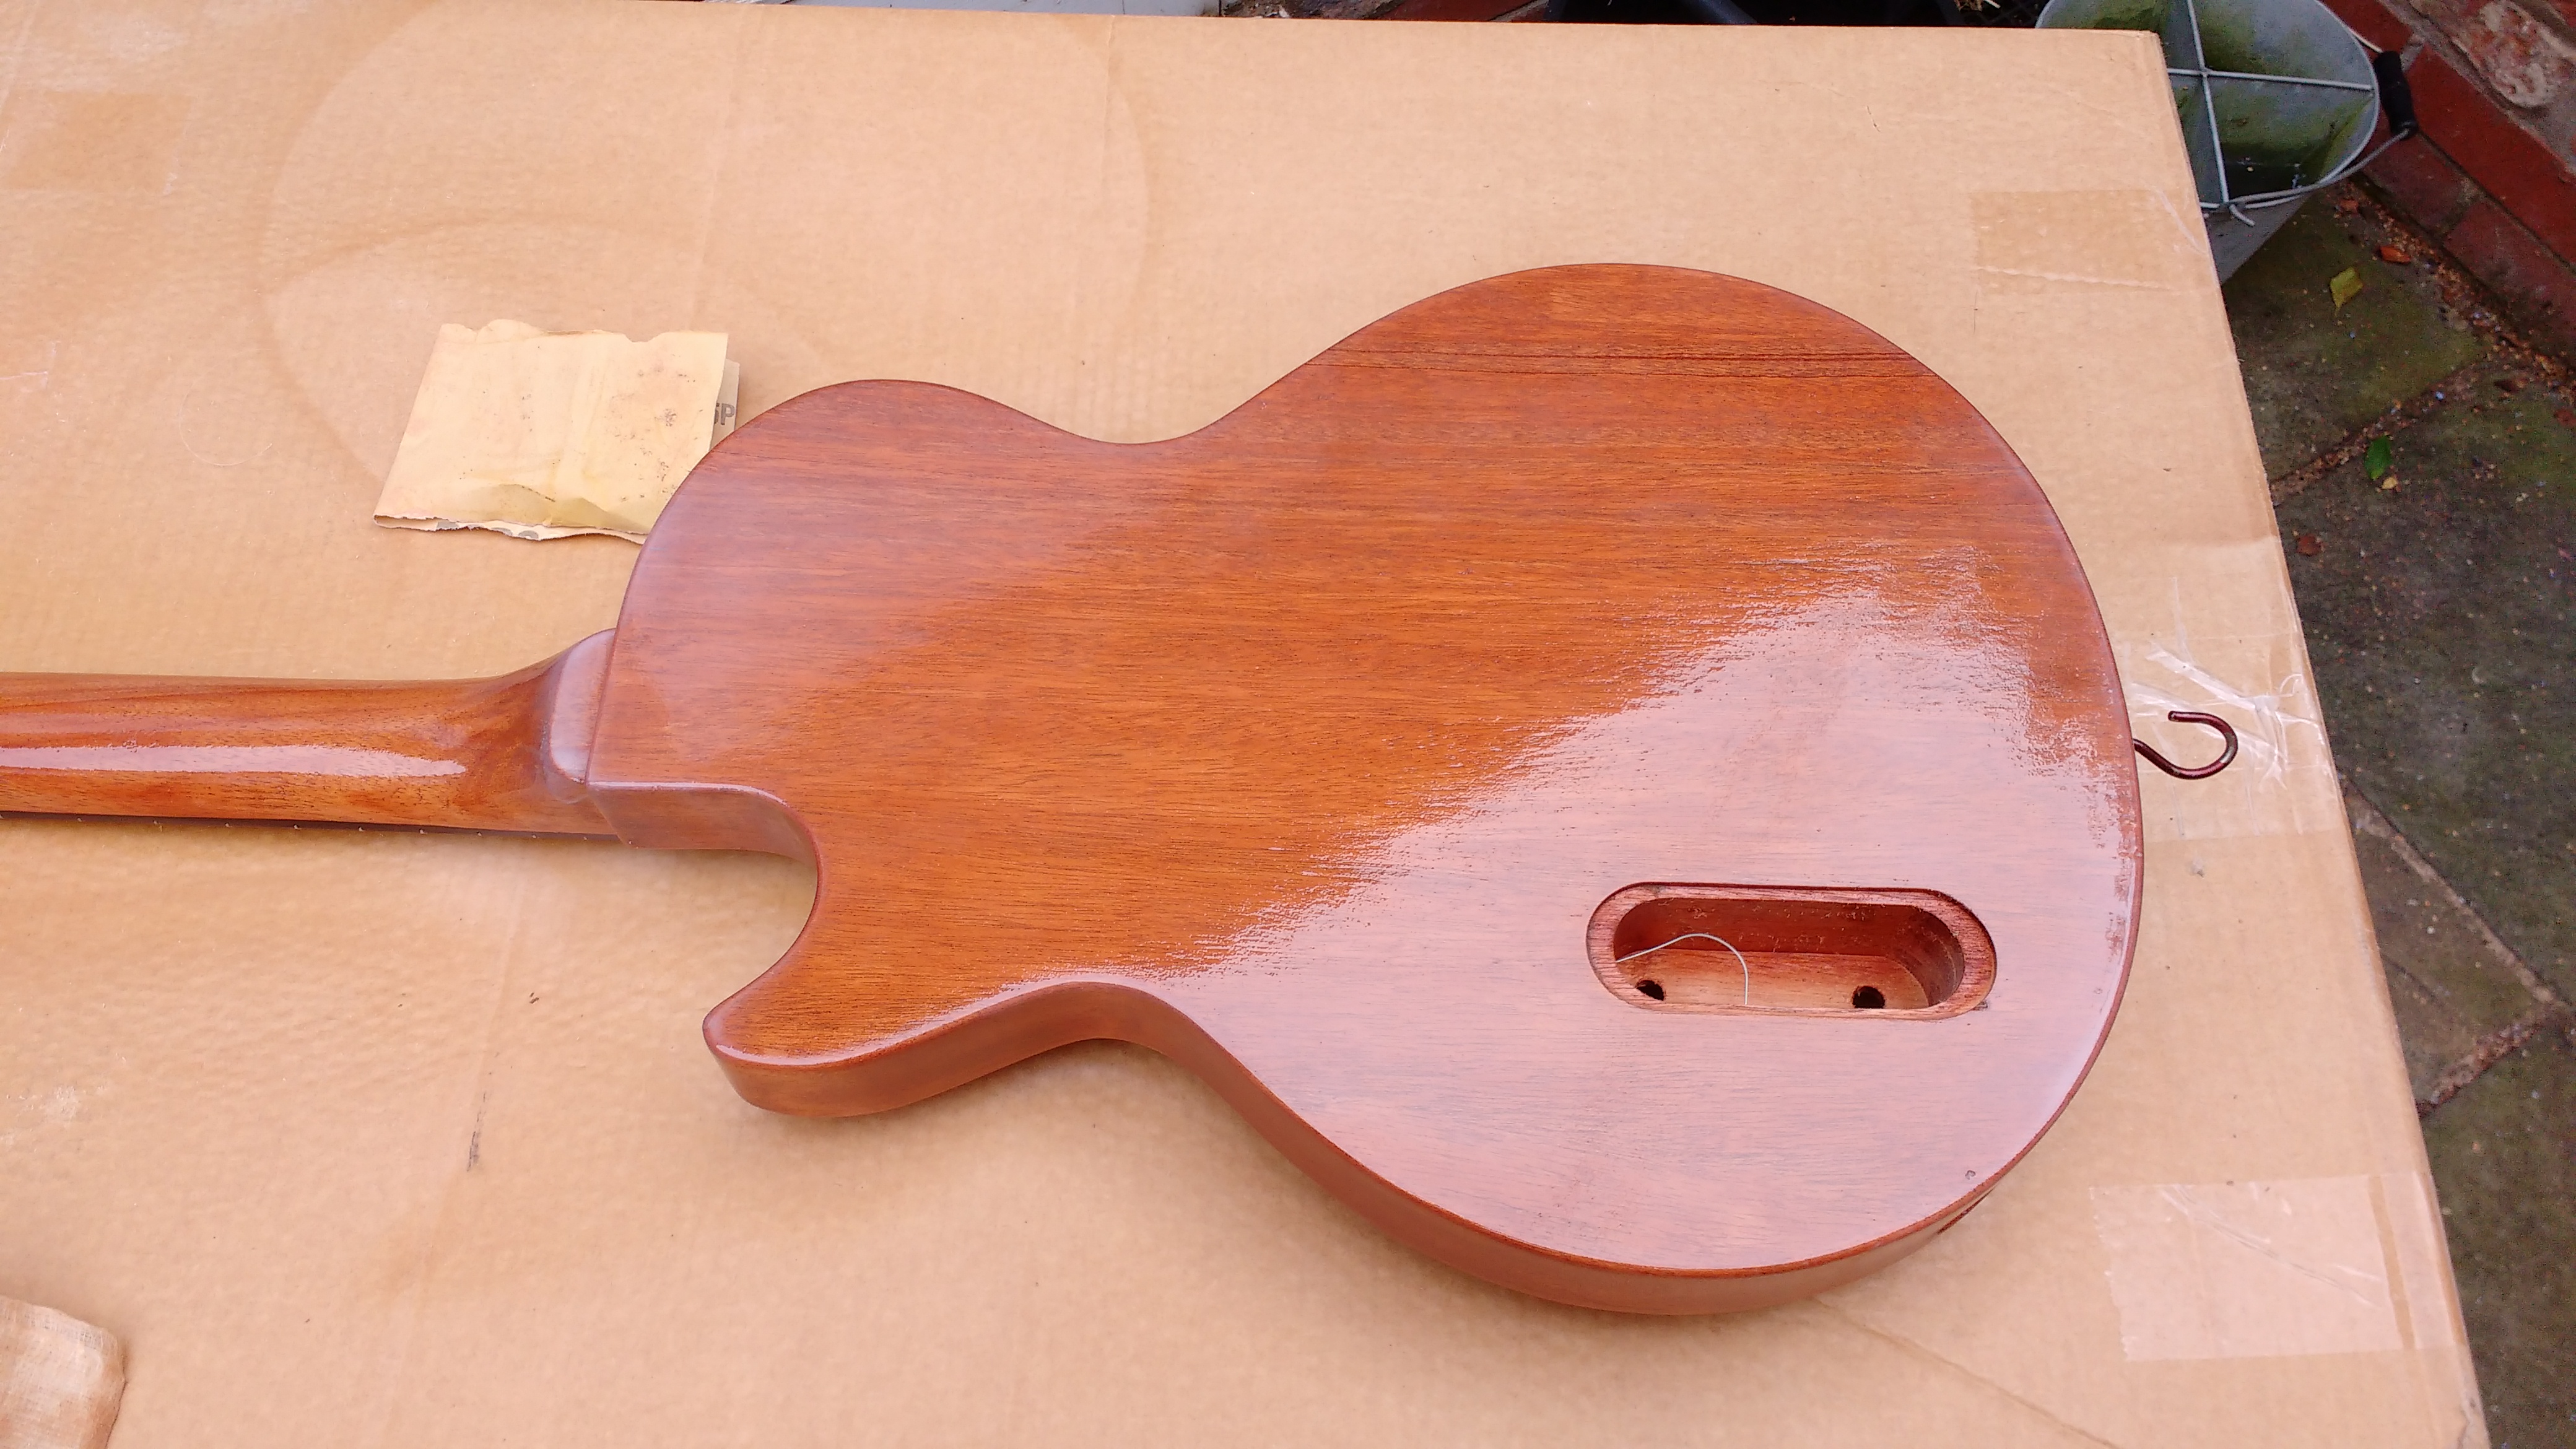
The solution was to fill the cavities, plane 5mm off each face and then fit mahogany caps front and back. Much tidier!
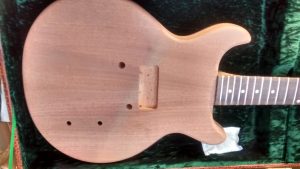
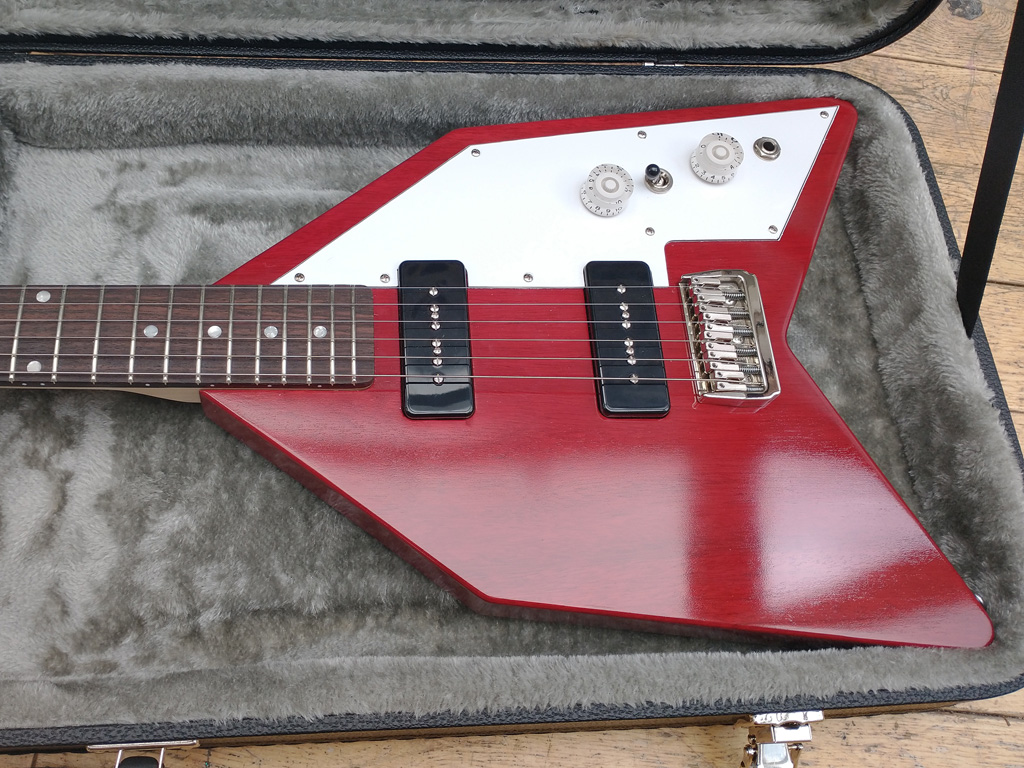
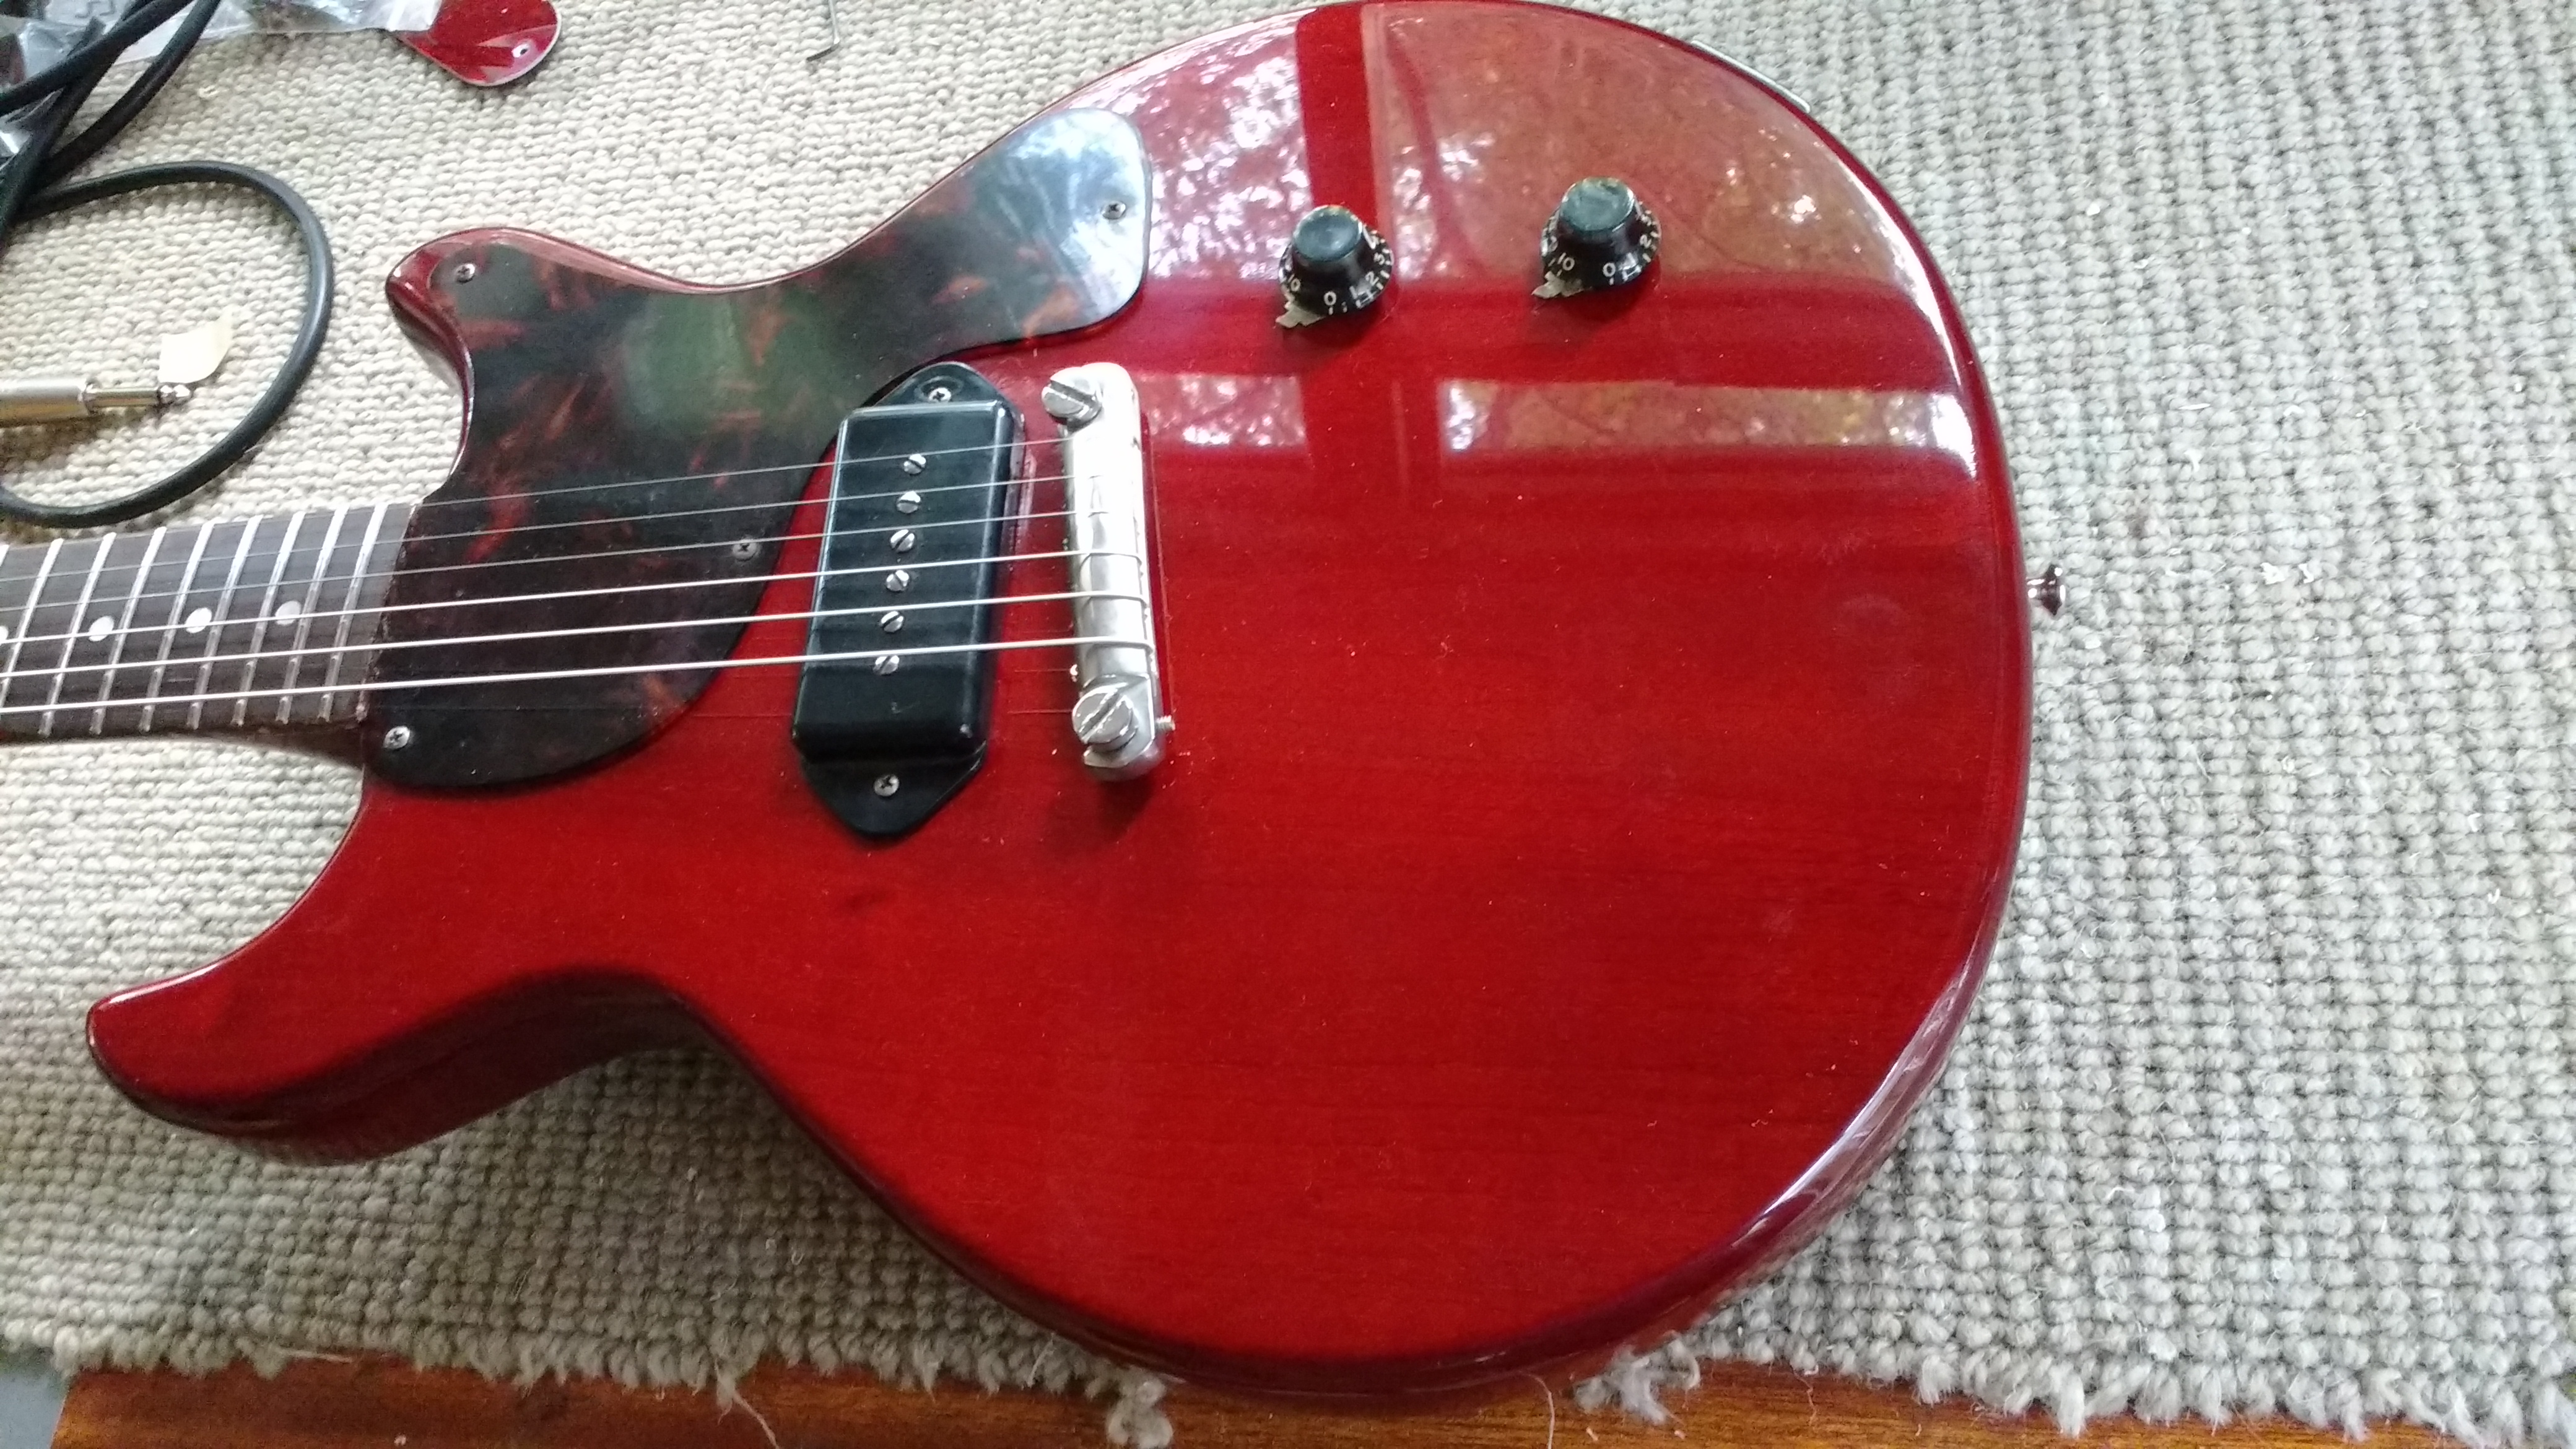
The guitar had originally been cherry red and Gibson achieved the colour by using a stain on the wood. Some of this stain remained in the wood pores so an attempt to spray TV yellow would just cause the red stain to bleed into the finish. That means that the guitar was going to be cherry again.
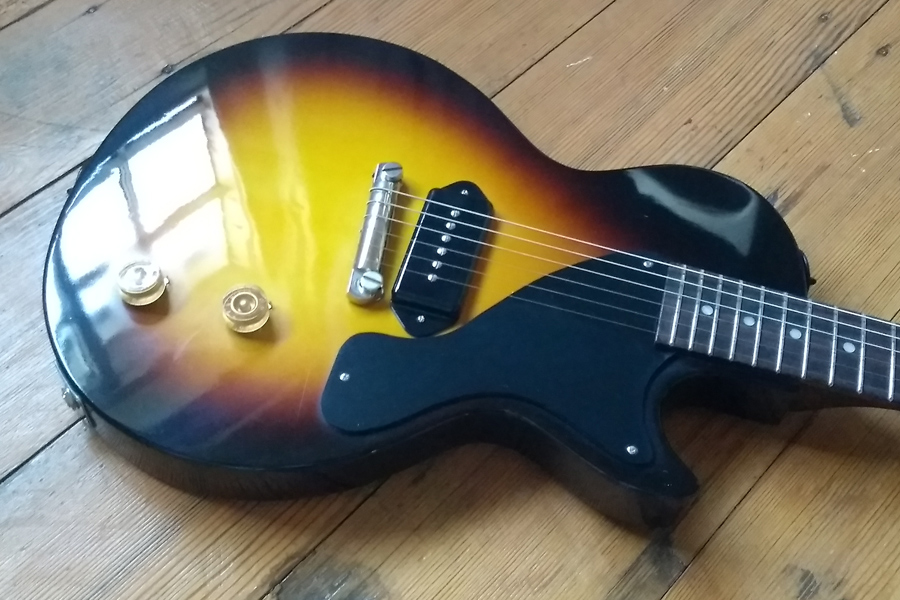
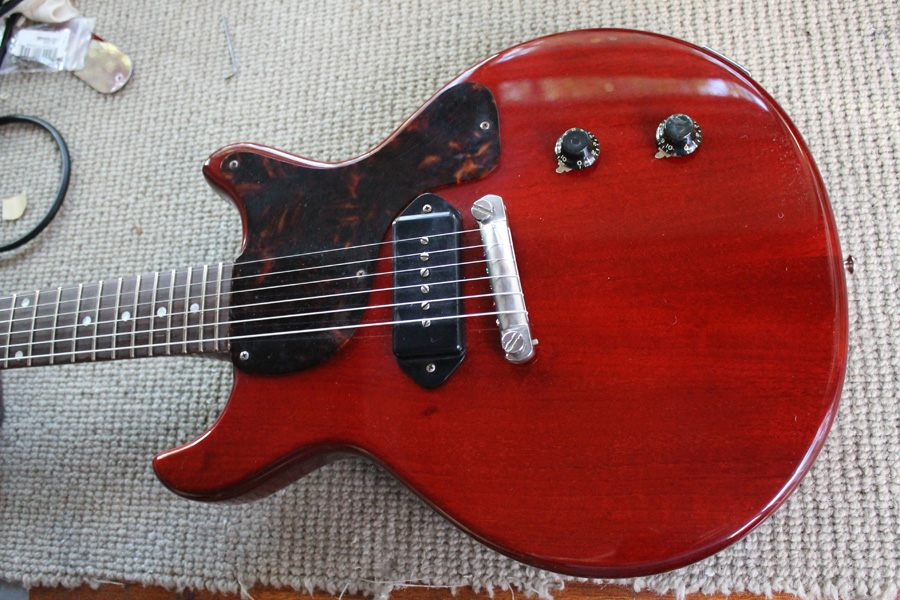
Staining again was out of the question as it would emphasise the repairs so I mixed up an aged cherry colour and sprayed that.

I think it turned out okay.
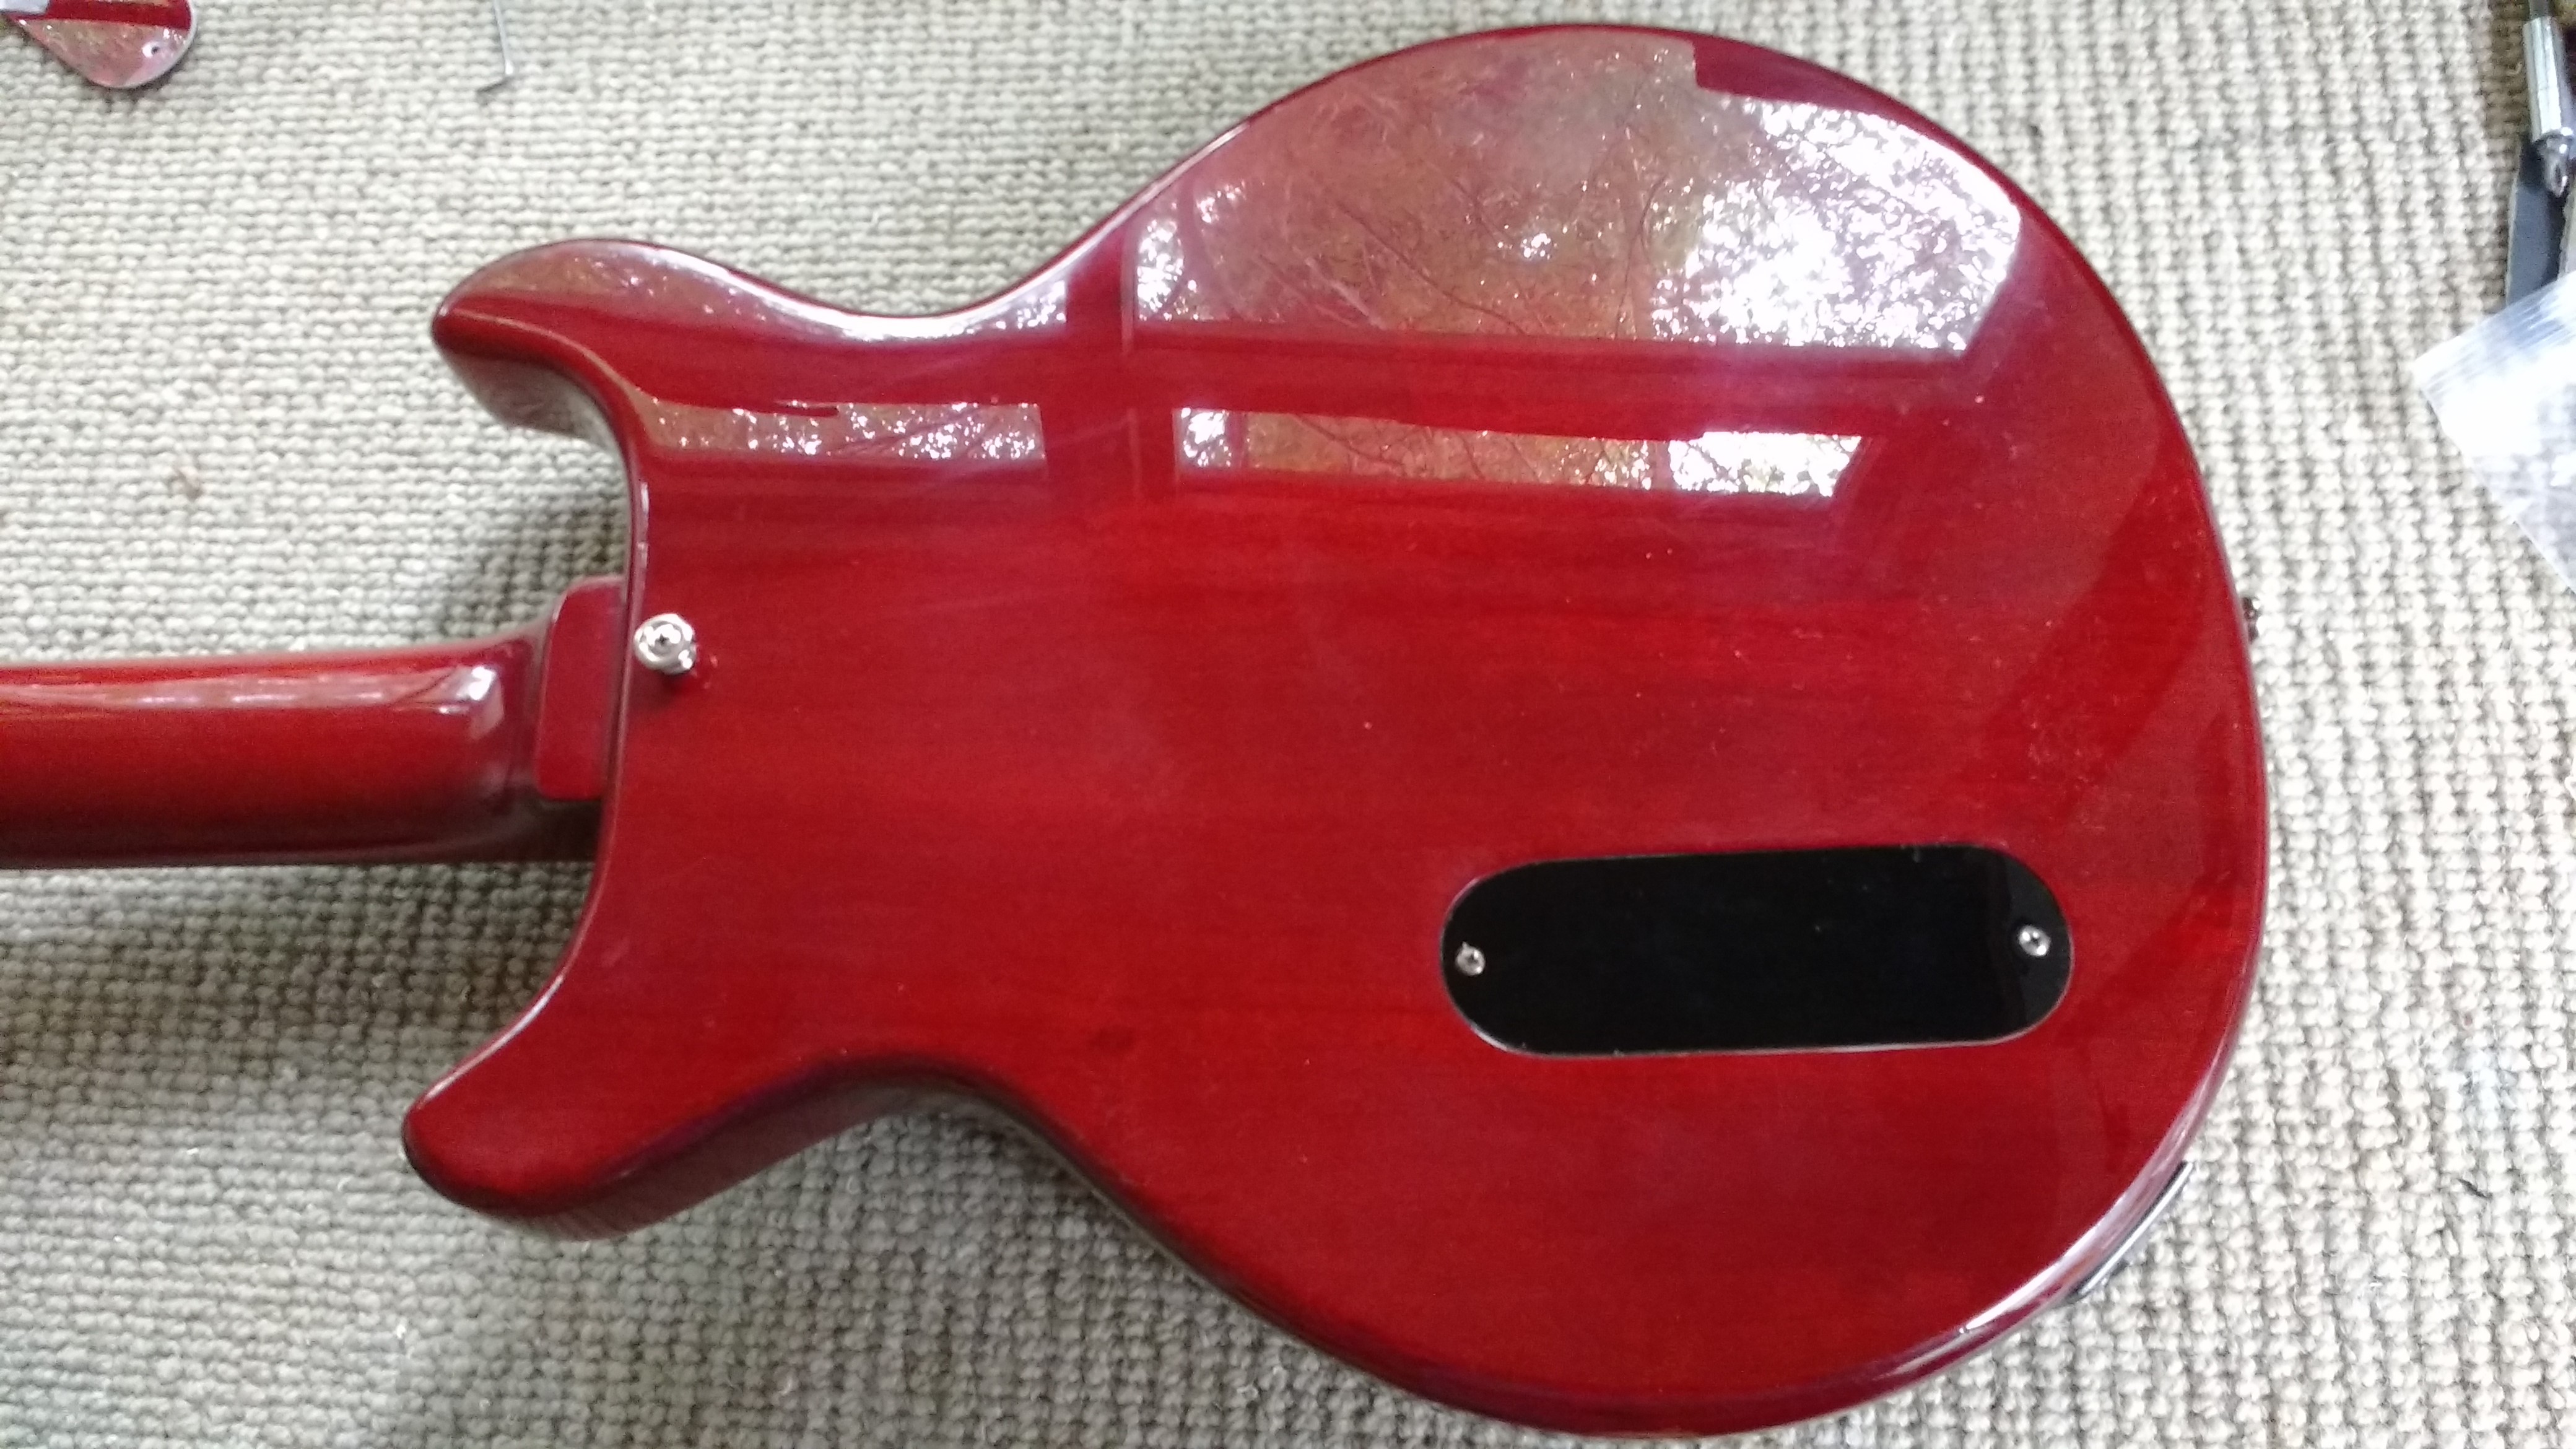
Oh and this really is a 1961 guitar, the stamped serial number shows it to be early that year, even though the SG had already been introduced and superceded this model.
The reason for doing this job was that I have not been able to find any other information about recreating this particular finish.
I’ve been fortunate to be able to examine a number of mid/late fifties Gibson guitars to see how they were painted and here I’ve attempted to re-create that using aerosols (of course!)
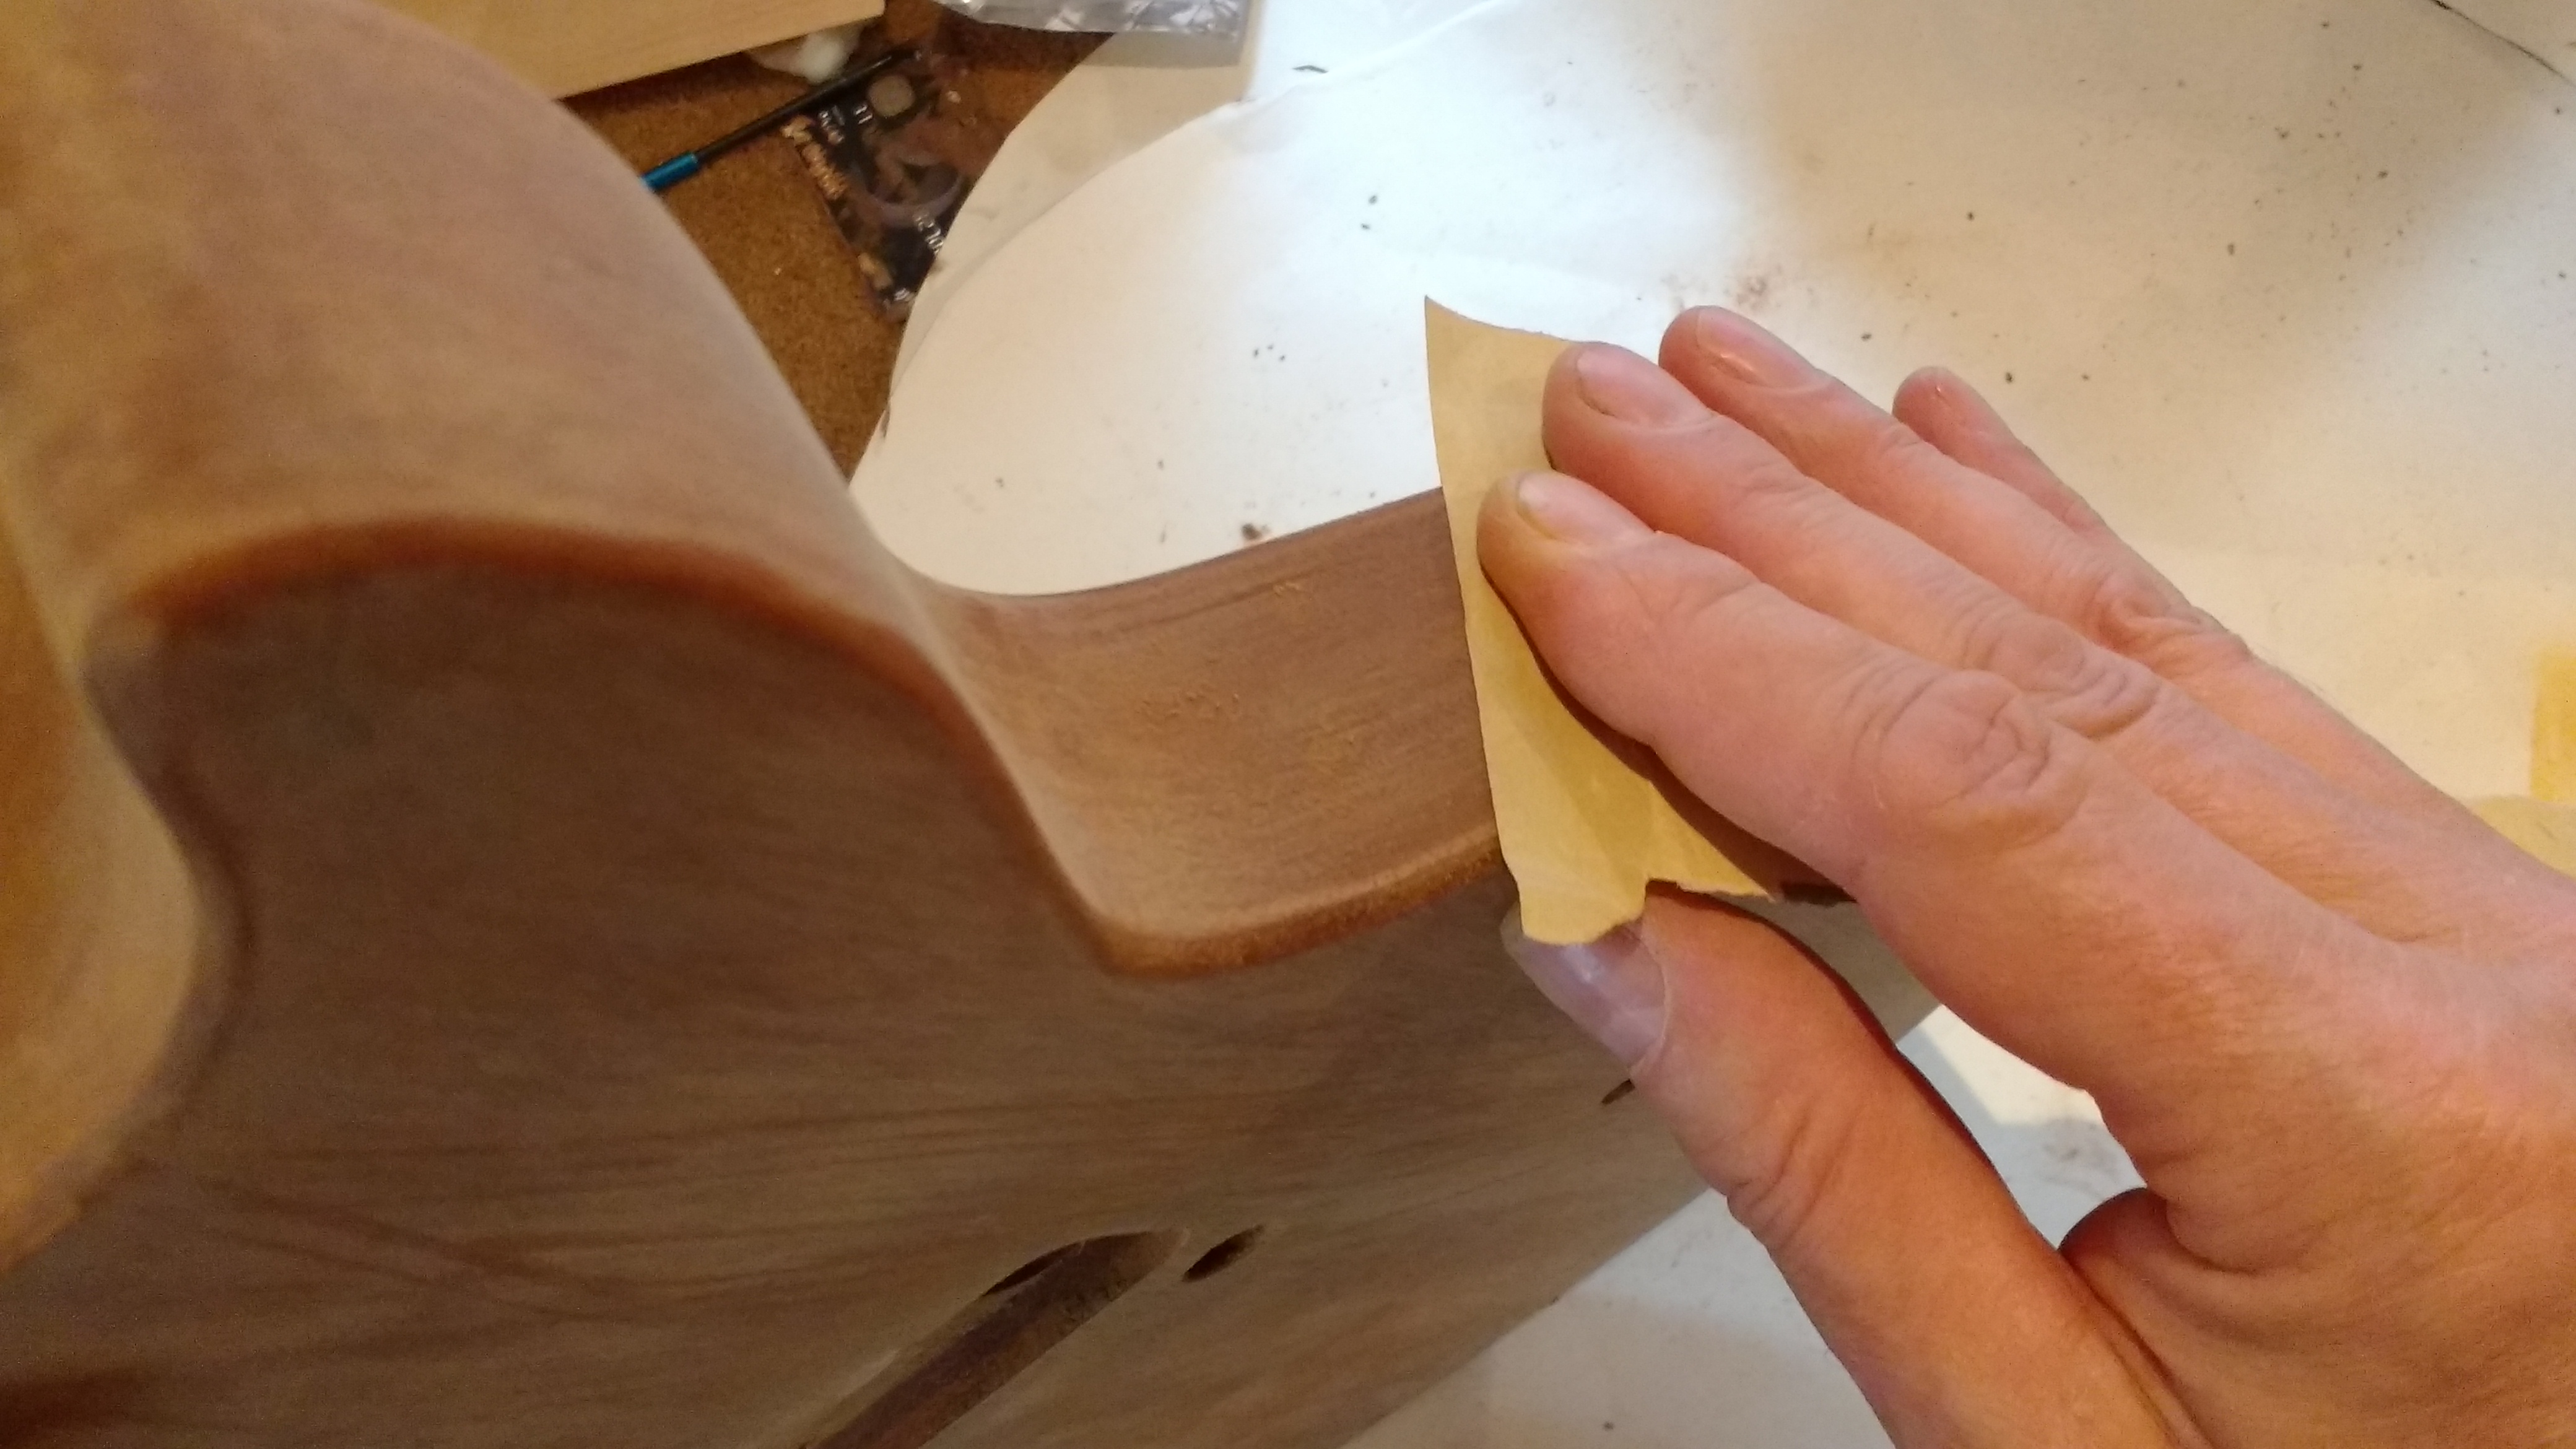
The first step in any finish is to sand the wood well, then fill the grain. I’m using Rustins grain filler but have darkened it by adding some burnt umber pigment to replicate the dark filler found on these guitars.
The trick to grain filling is to pack it well into the pores by applying with the grain then remove as much as possible from the surface by scraping across the grain. Hardened filler is very difficult to sand off, so it’s best to remove as much as possible from the surface.
Once the grain filler has been sanded smooth, the next step is sealing the wood. I like to quite a lot of sanding sealer on, then once dried overnight (or longer) sand it back good and smooth.
Once the sealer coat is good then the fun begins.
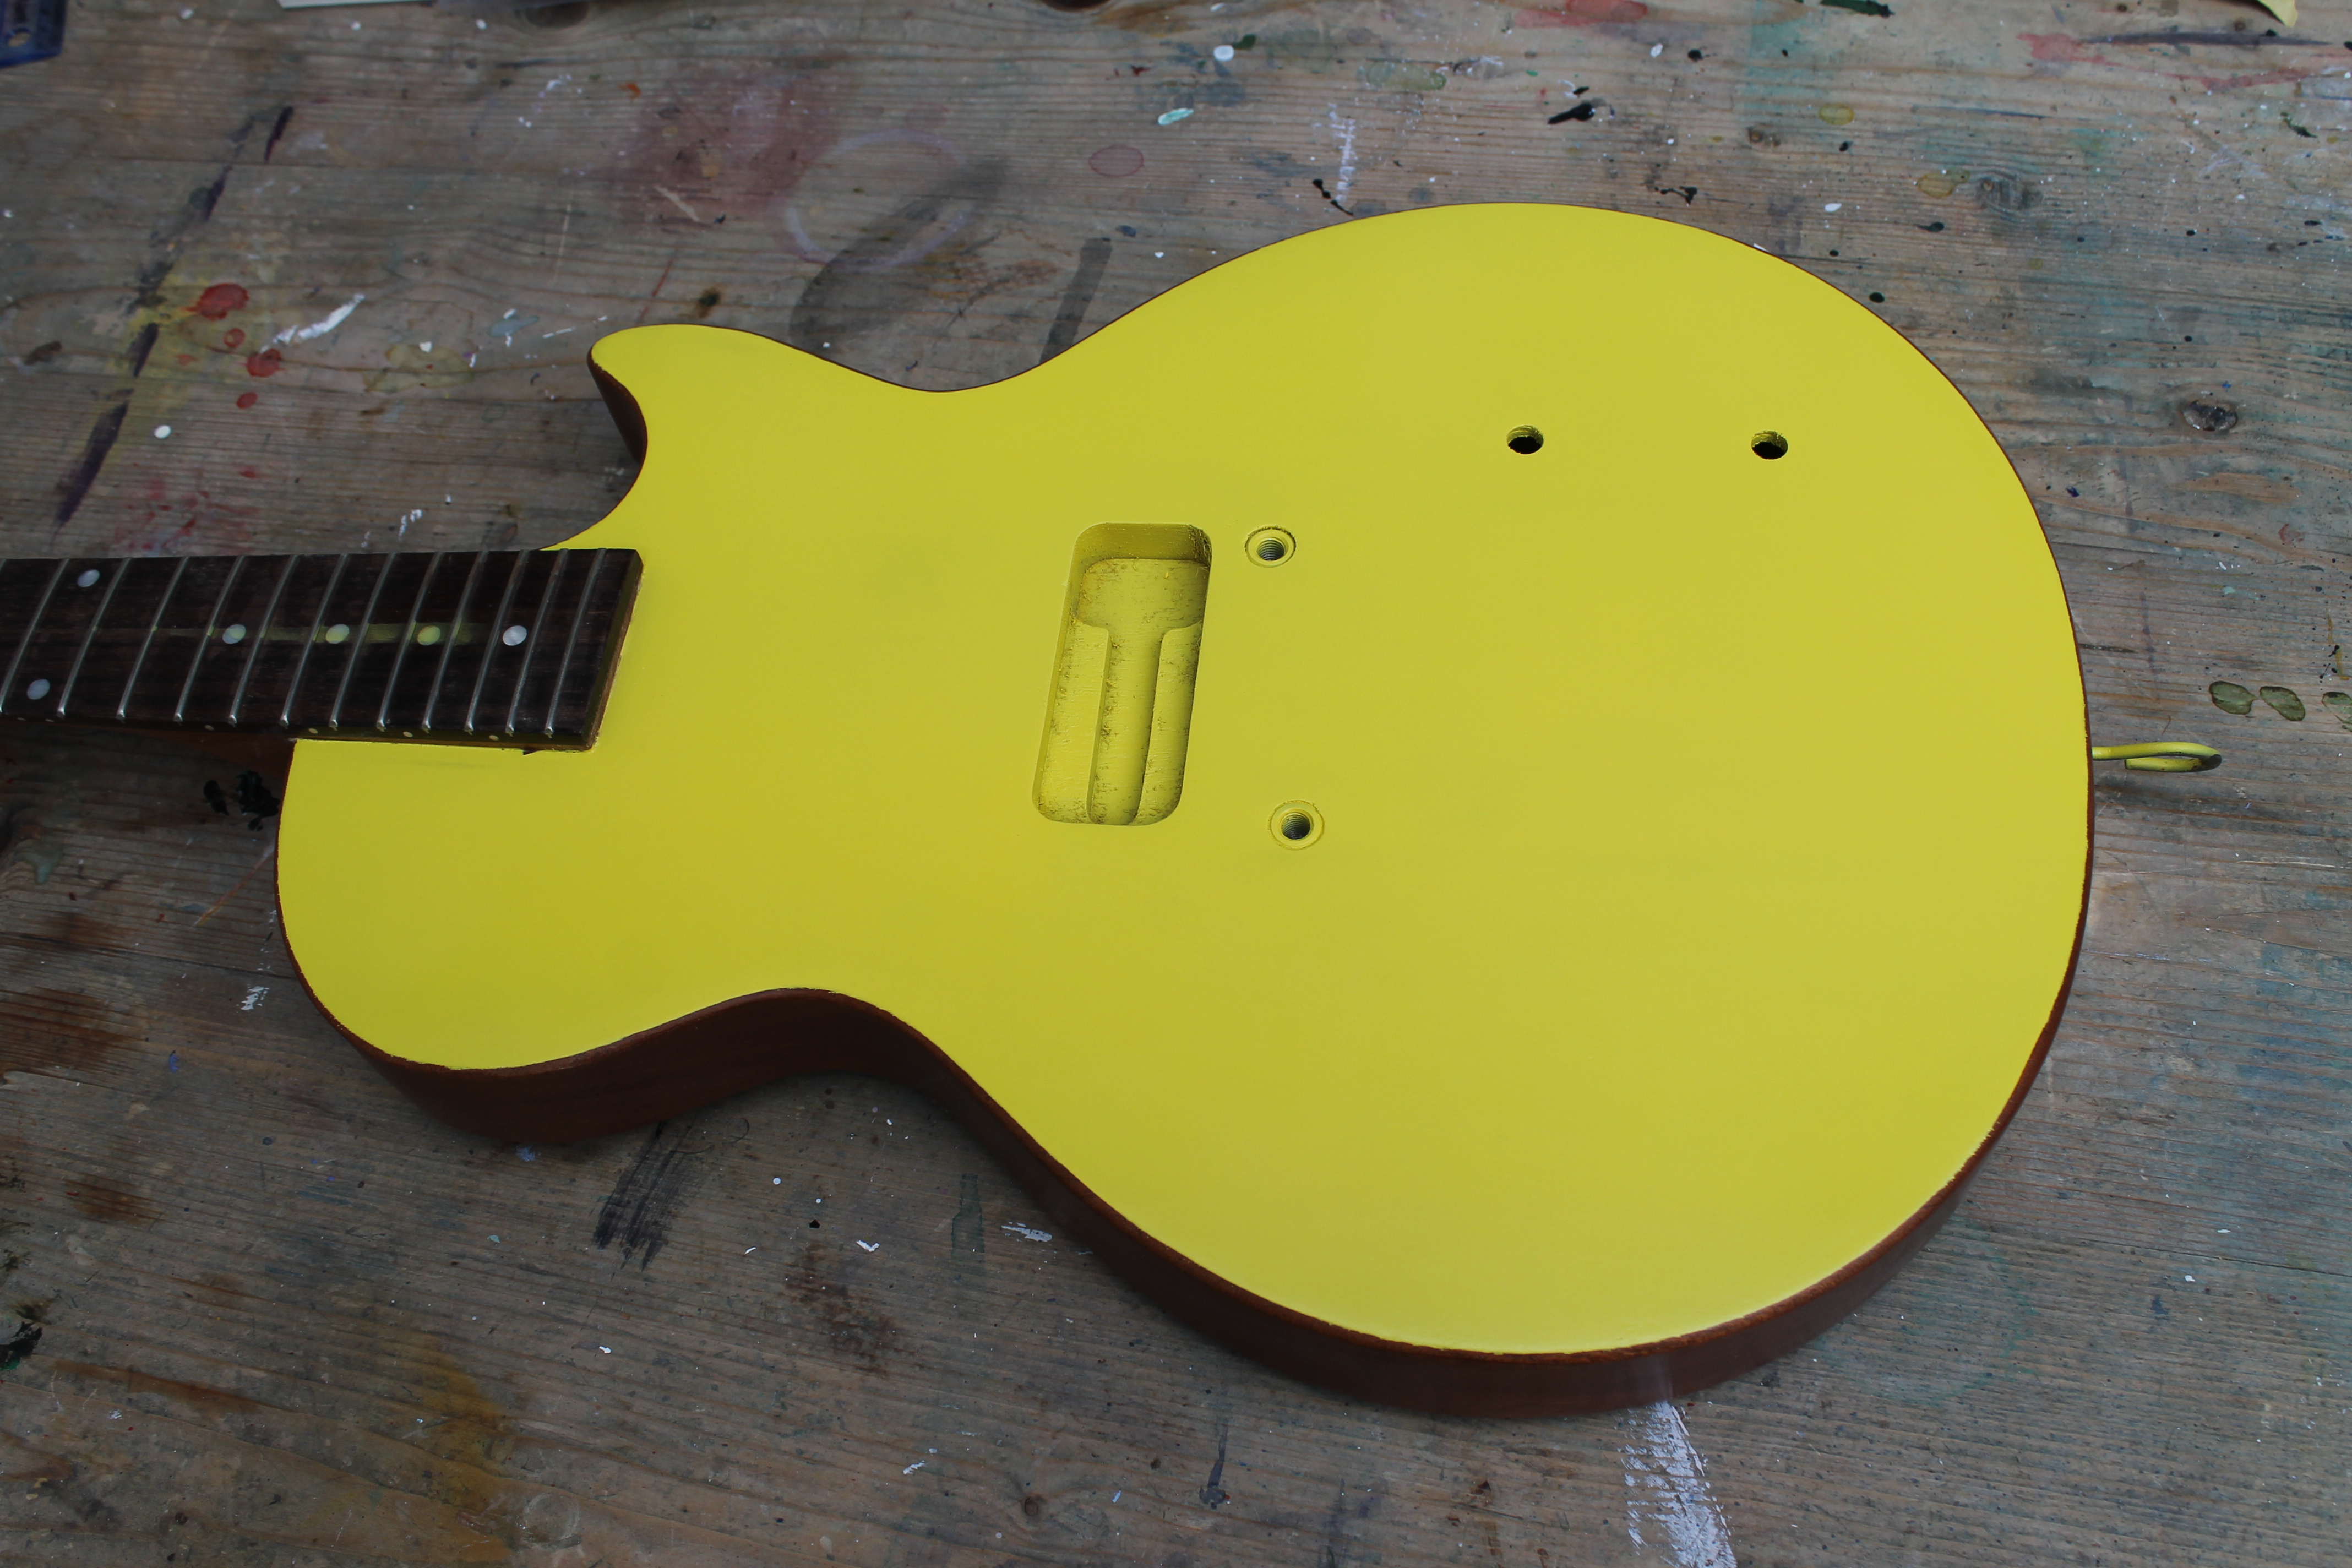
The base layer of the burst on the front is a bright yellow. I’ve used, appropriately enough, my Bright Yellow lacquer for this job. I masked everything but the face of the guitar and got a good few coats on there. Once dried, i feathered the edges at the edge radius, to give a nice smooth transition. Where I sanded through the sealer coat I applied more sealer. Once dry I masked the fretboard edges and face ready to spray the burst.

For the edge of the sunburst, I’ve used my Nut Brown which is a colour I developed espacially for this. It contains some red to replicate the transition of the burst found on some fifties juniors. The burst on fifties Juniors seems to vary from this to practically black so if you want less red in the mix, use my Tobacco Brown.
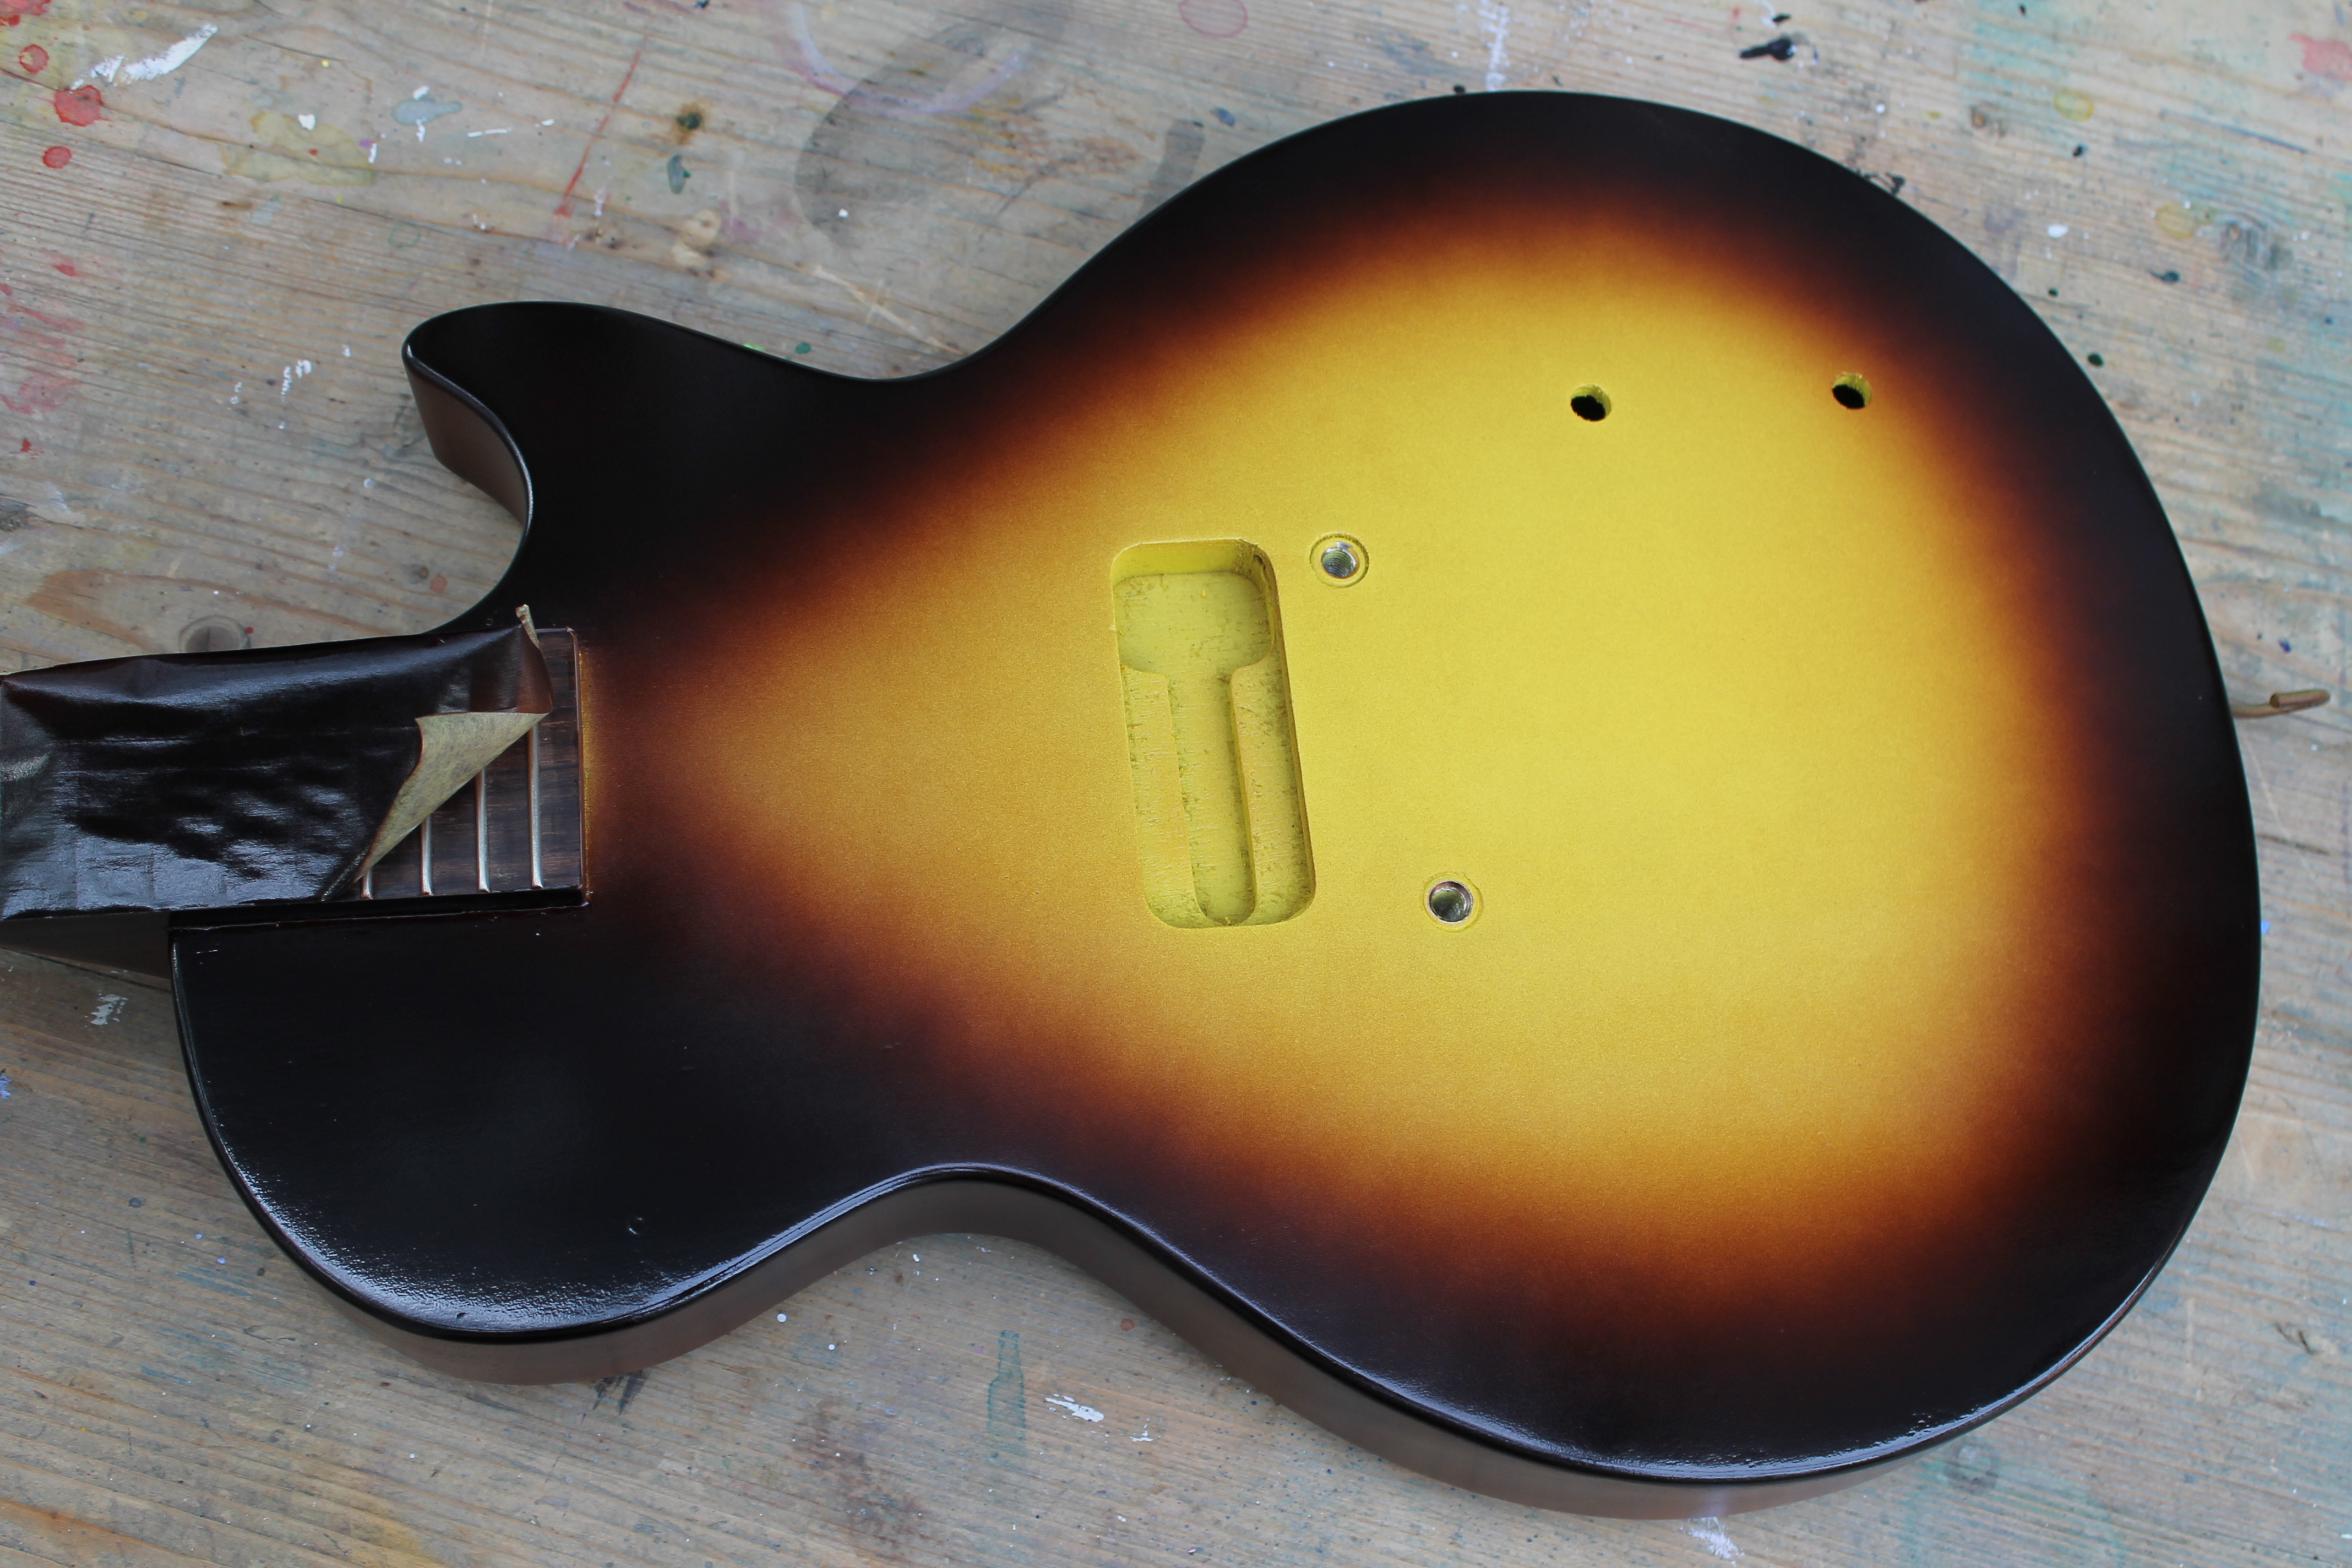
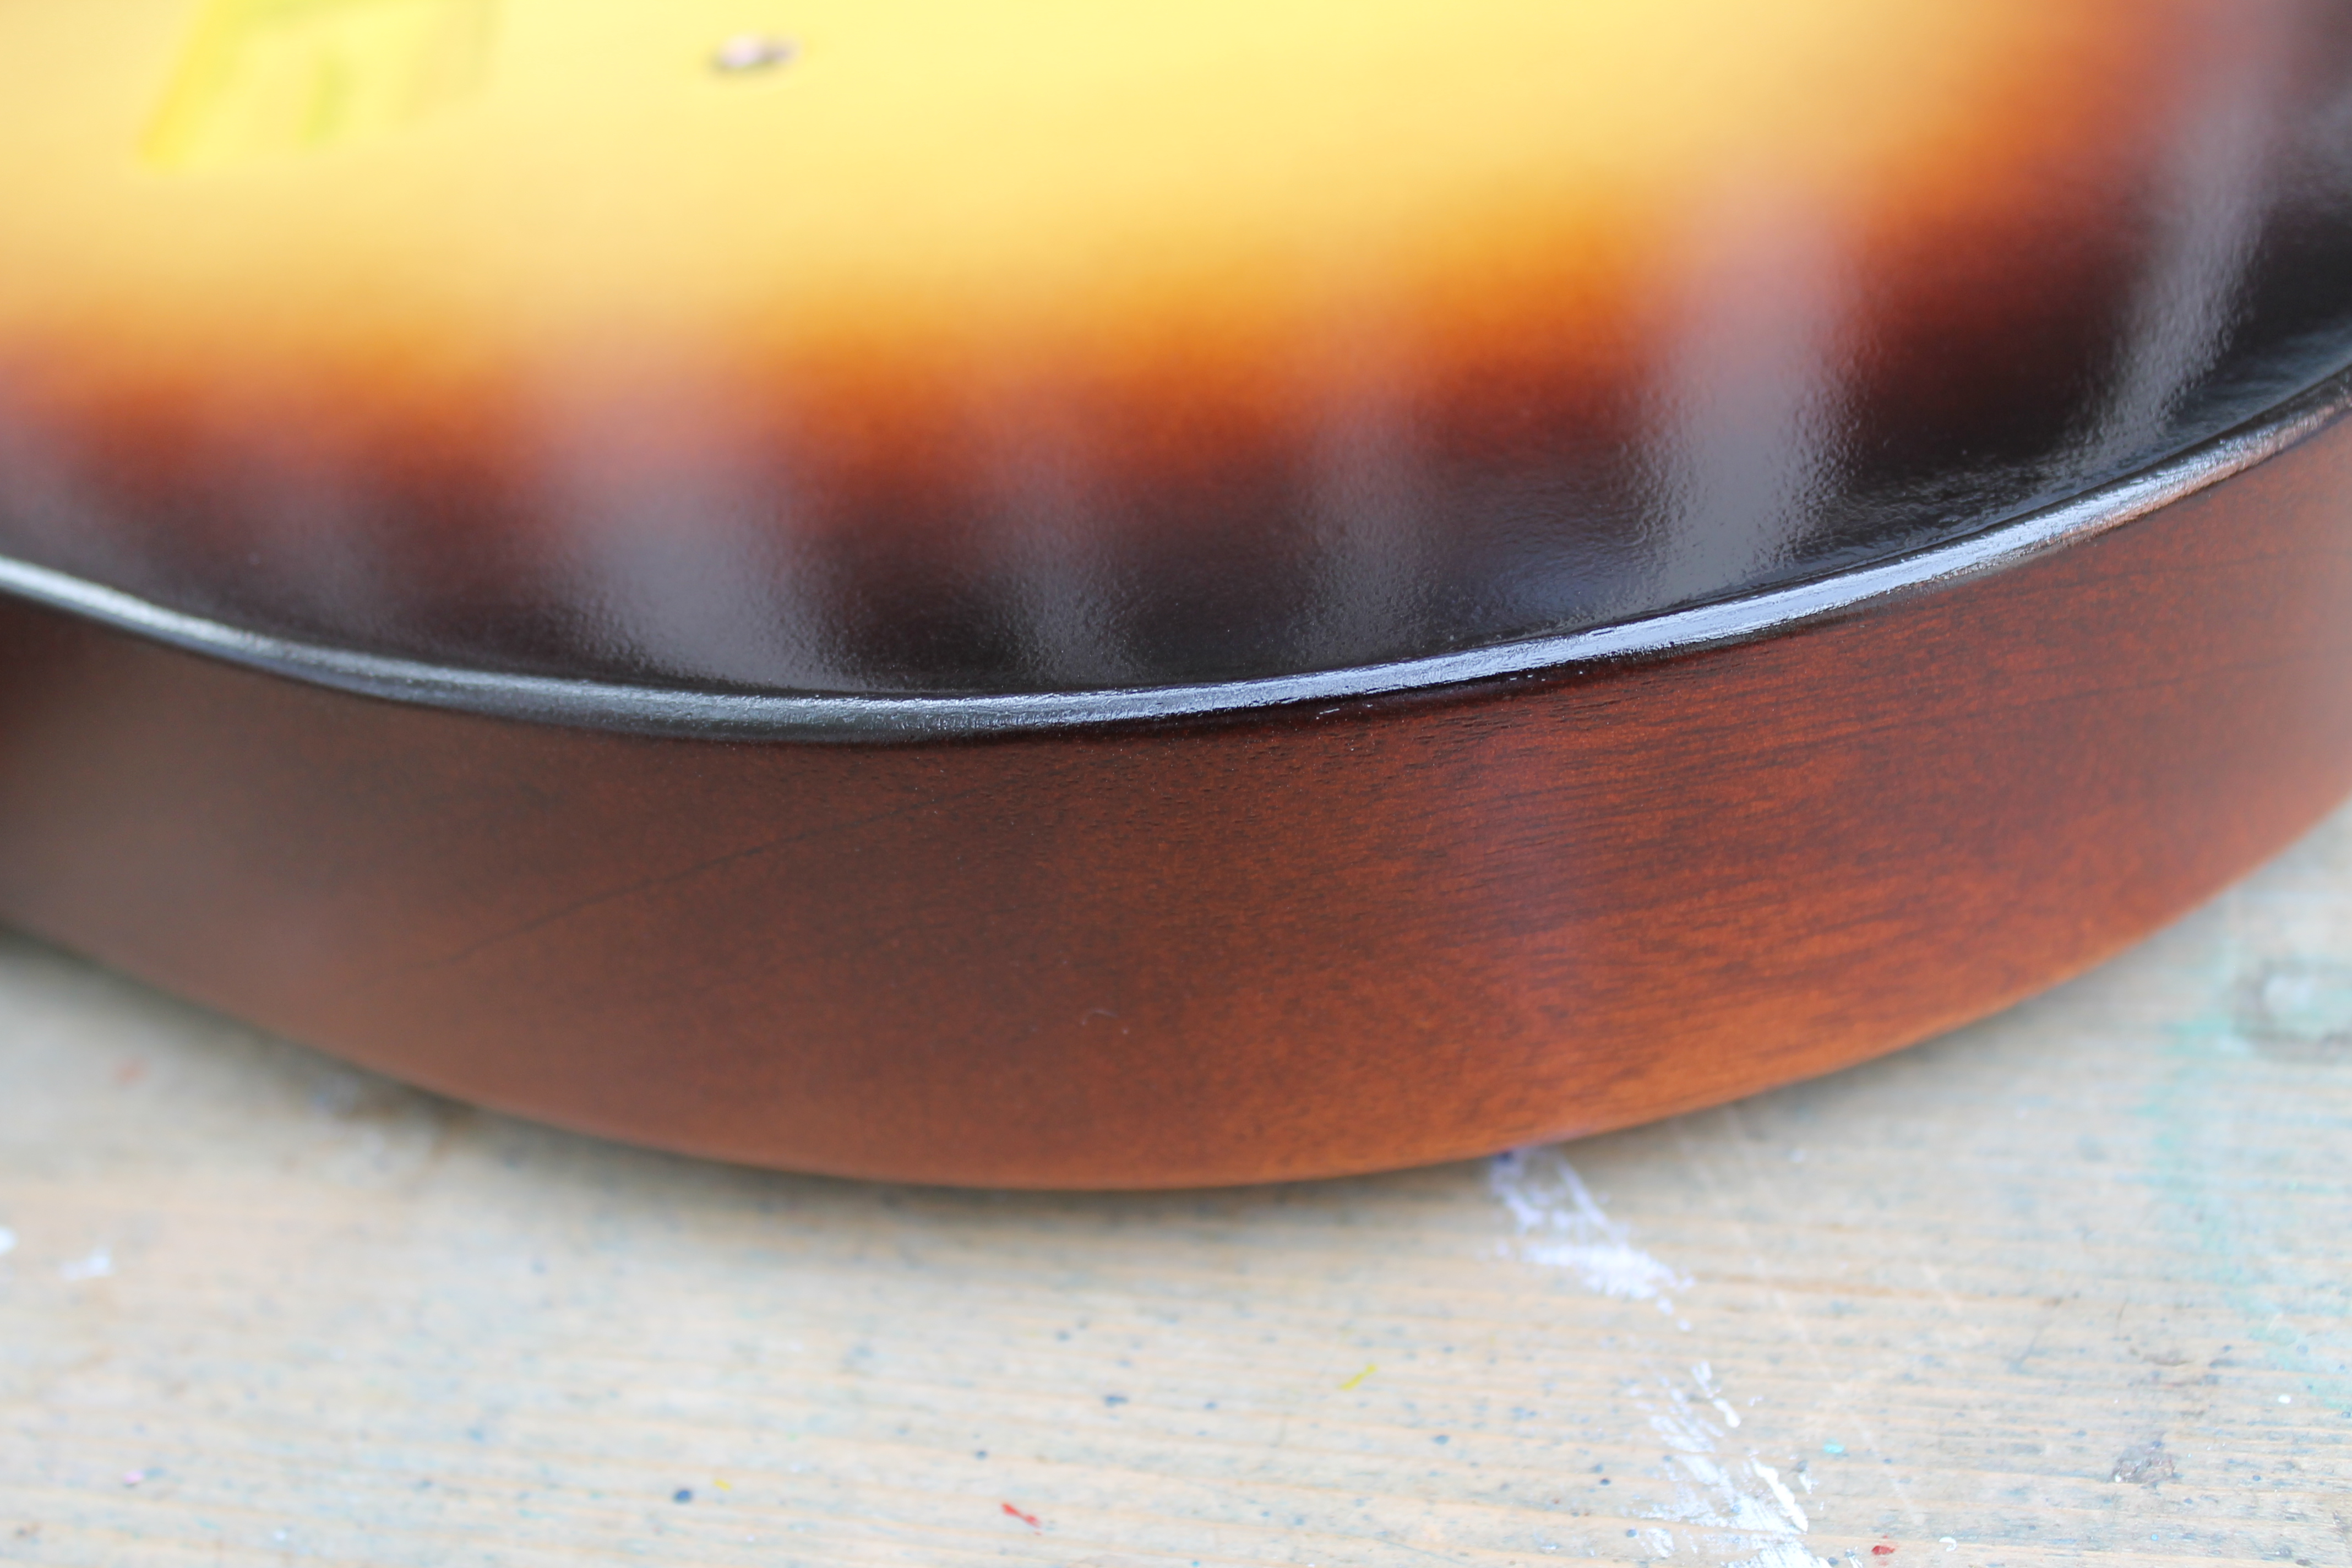
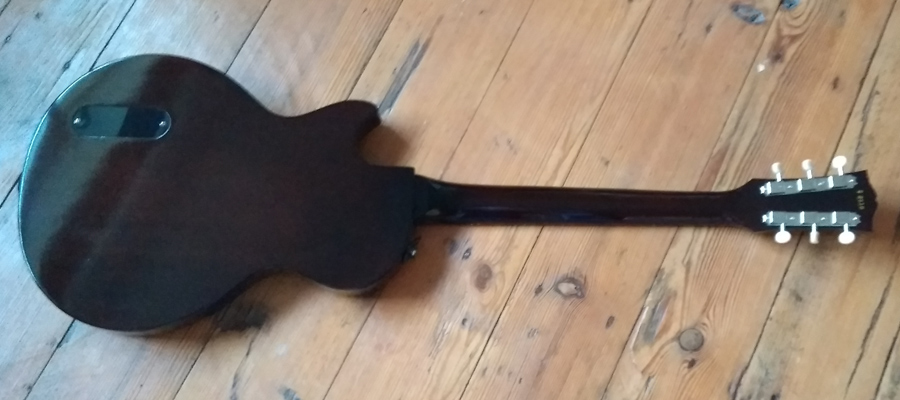
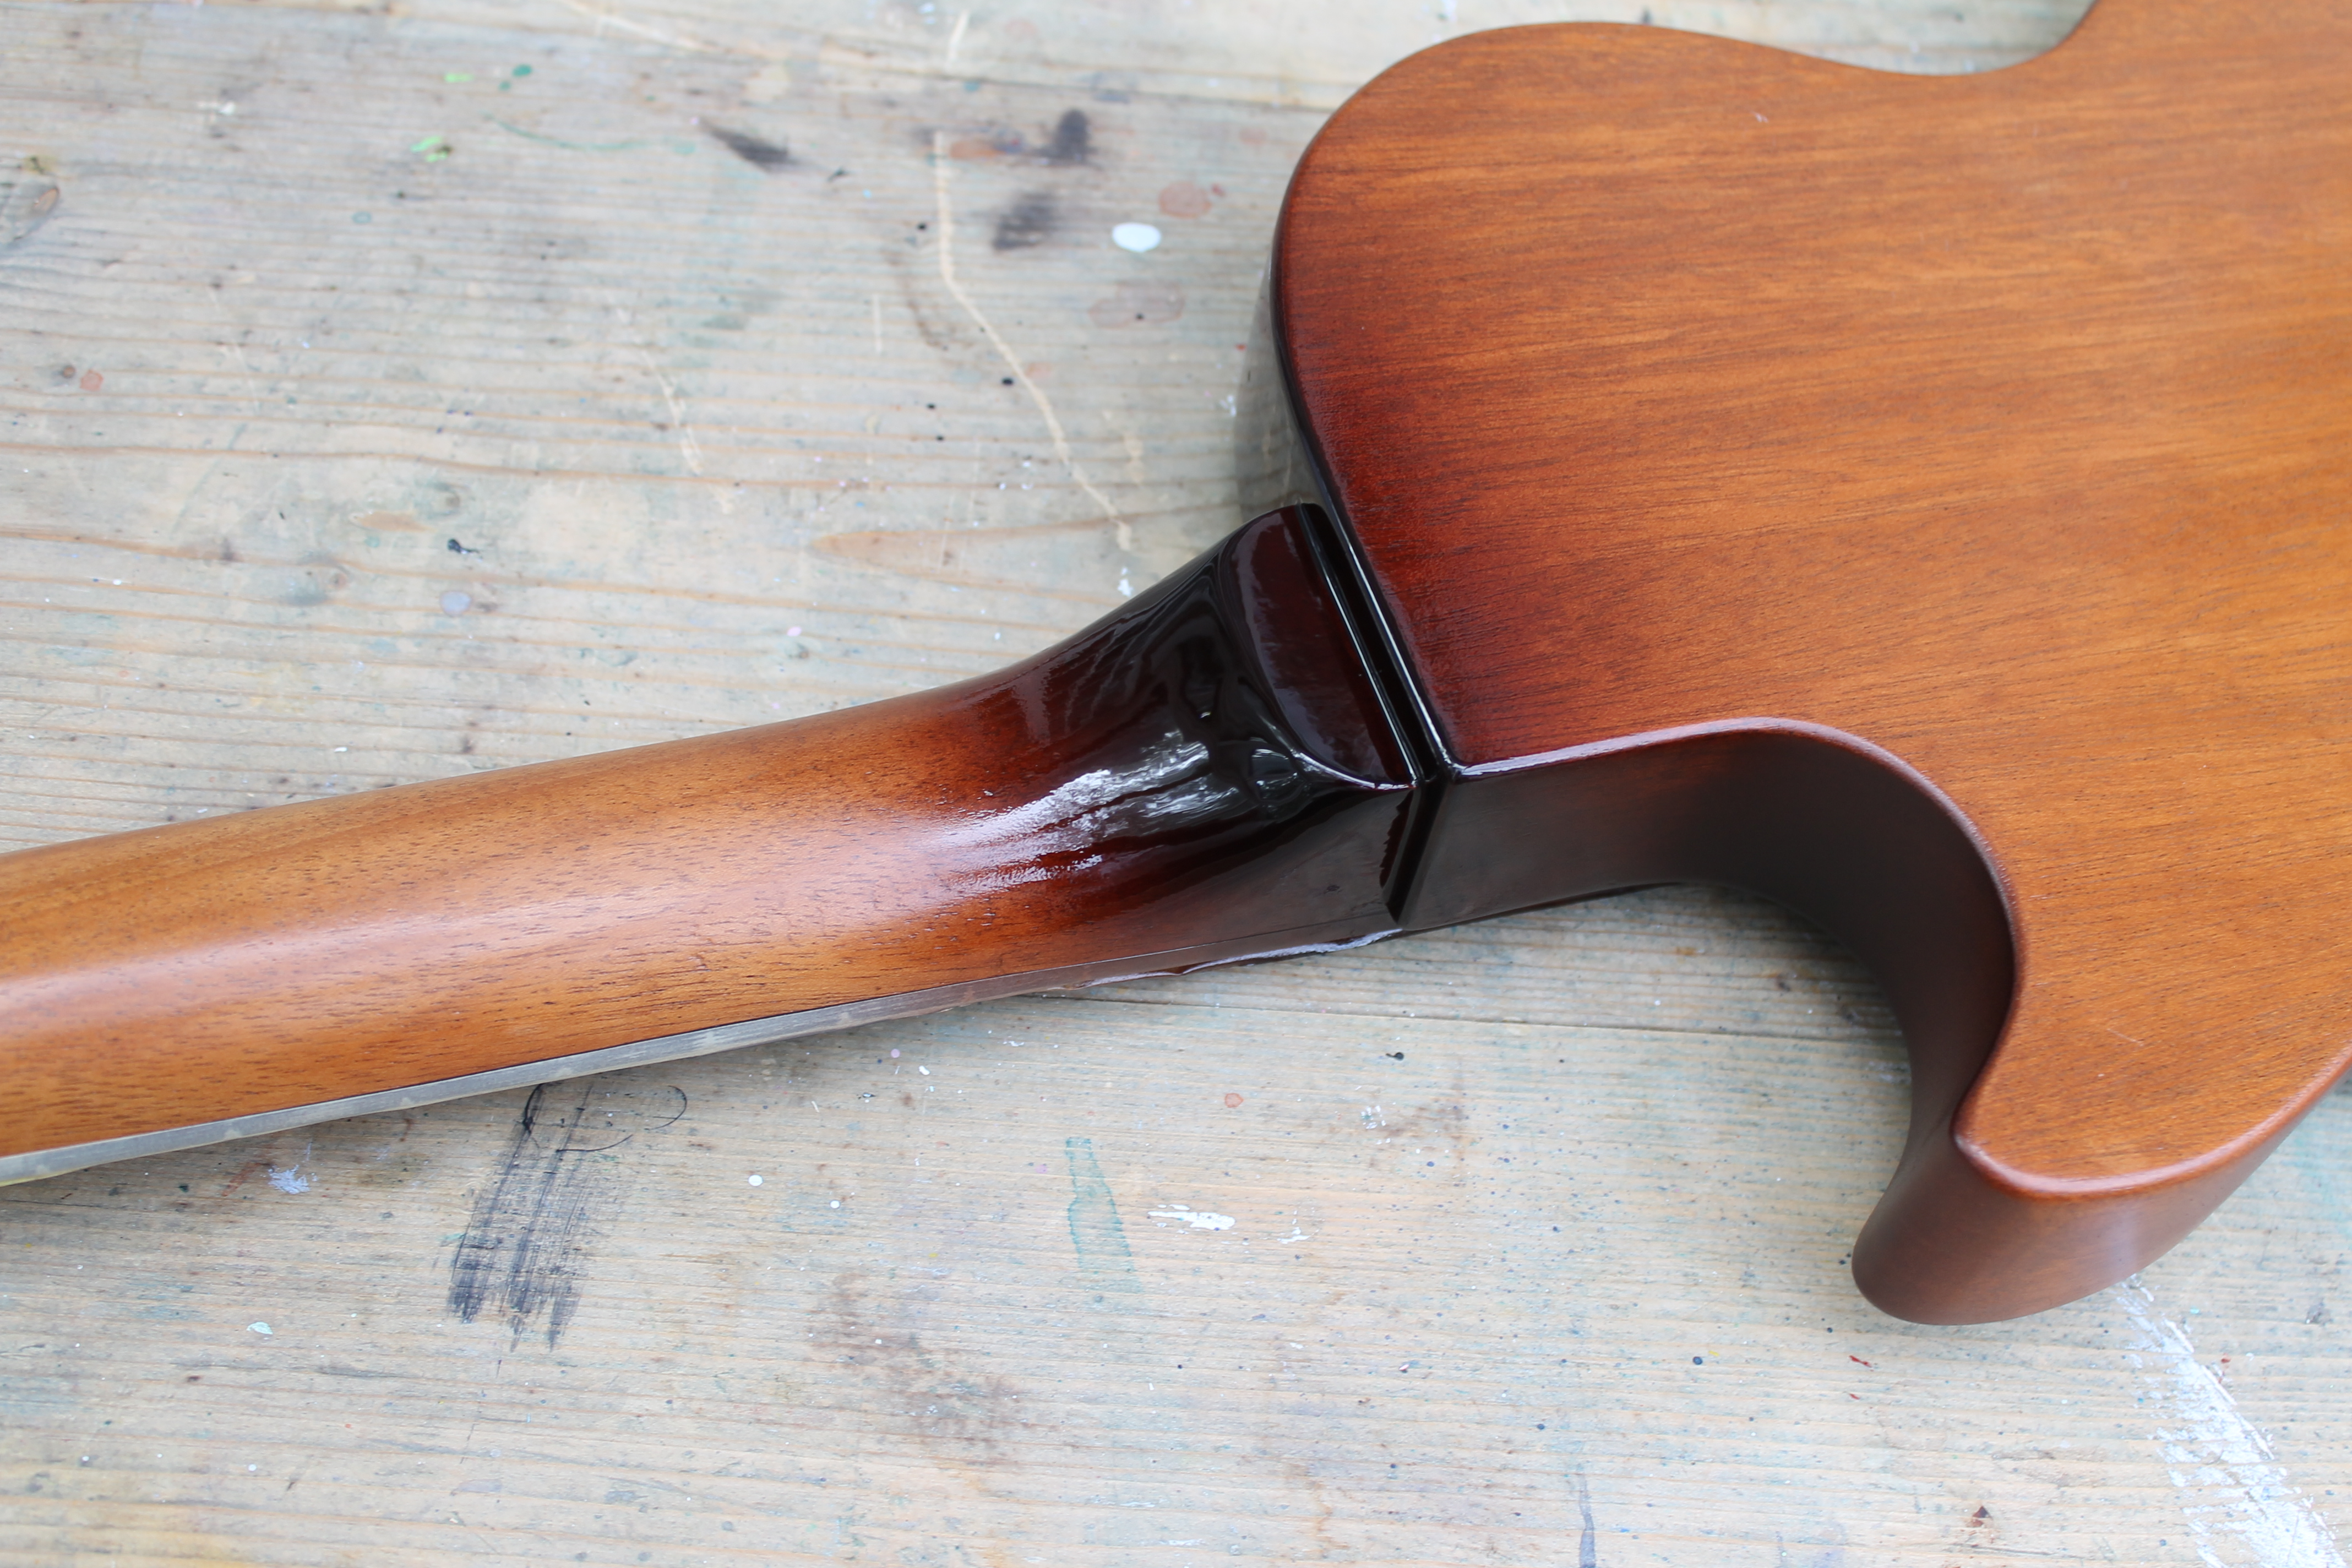
Spraying vertically (or maybe outwards a little) leaves the sides almost untouched. The bass side of the neck heel gets a bit of brown and maybe this is why the heel of these guitars is almost always sprayed with this opaque brown. Or maybe it’s to hide a less than perfect neck joint. Either way, I did the same.
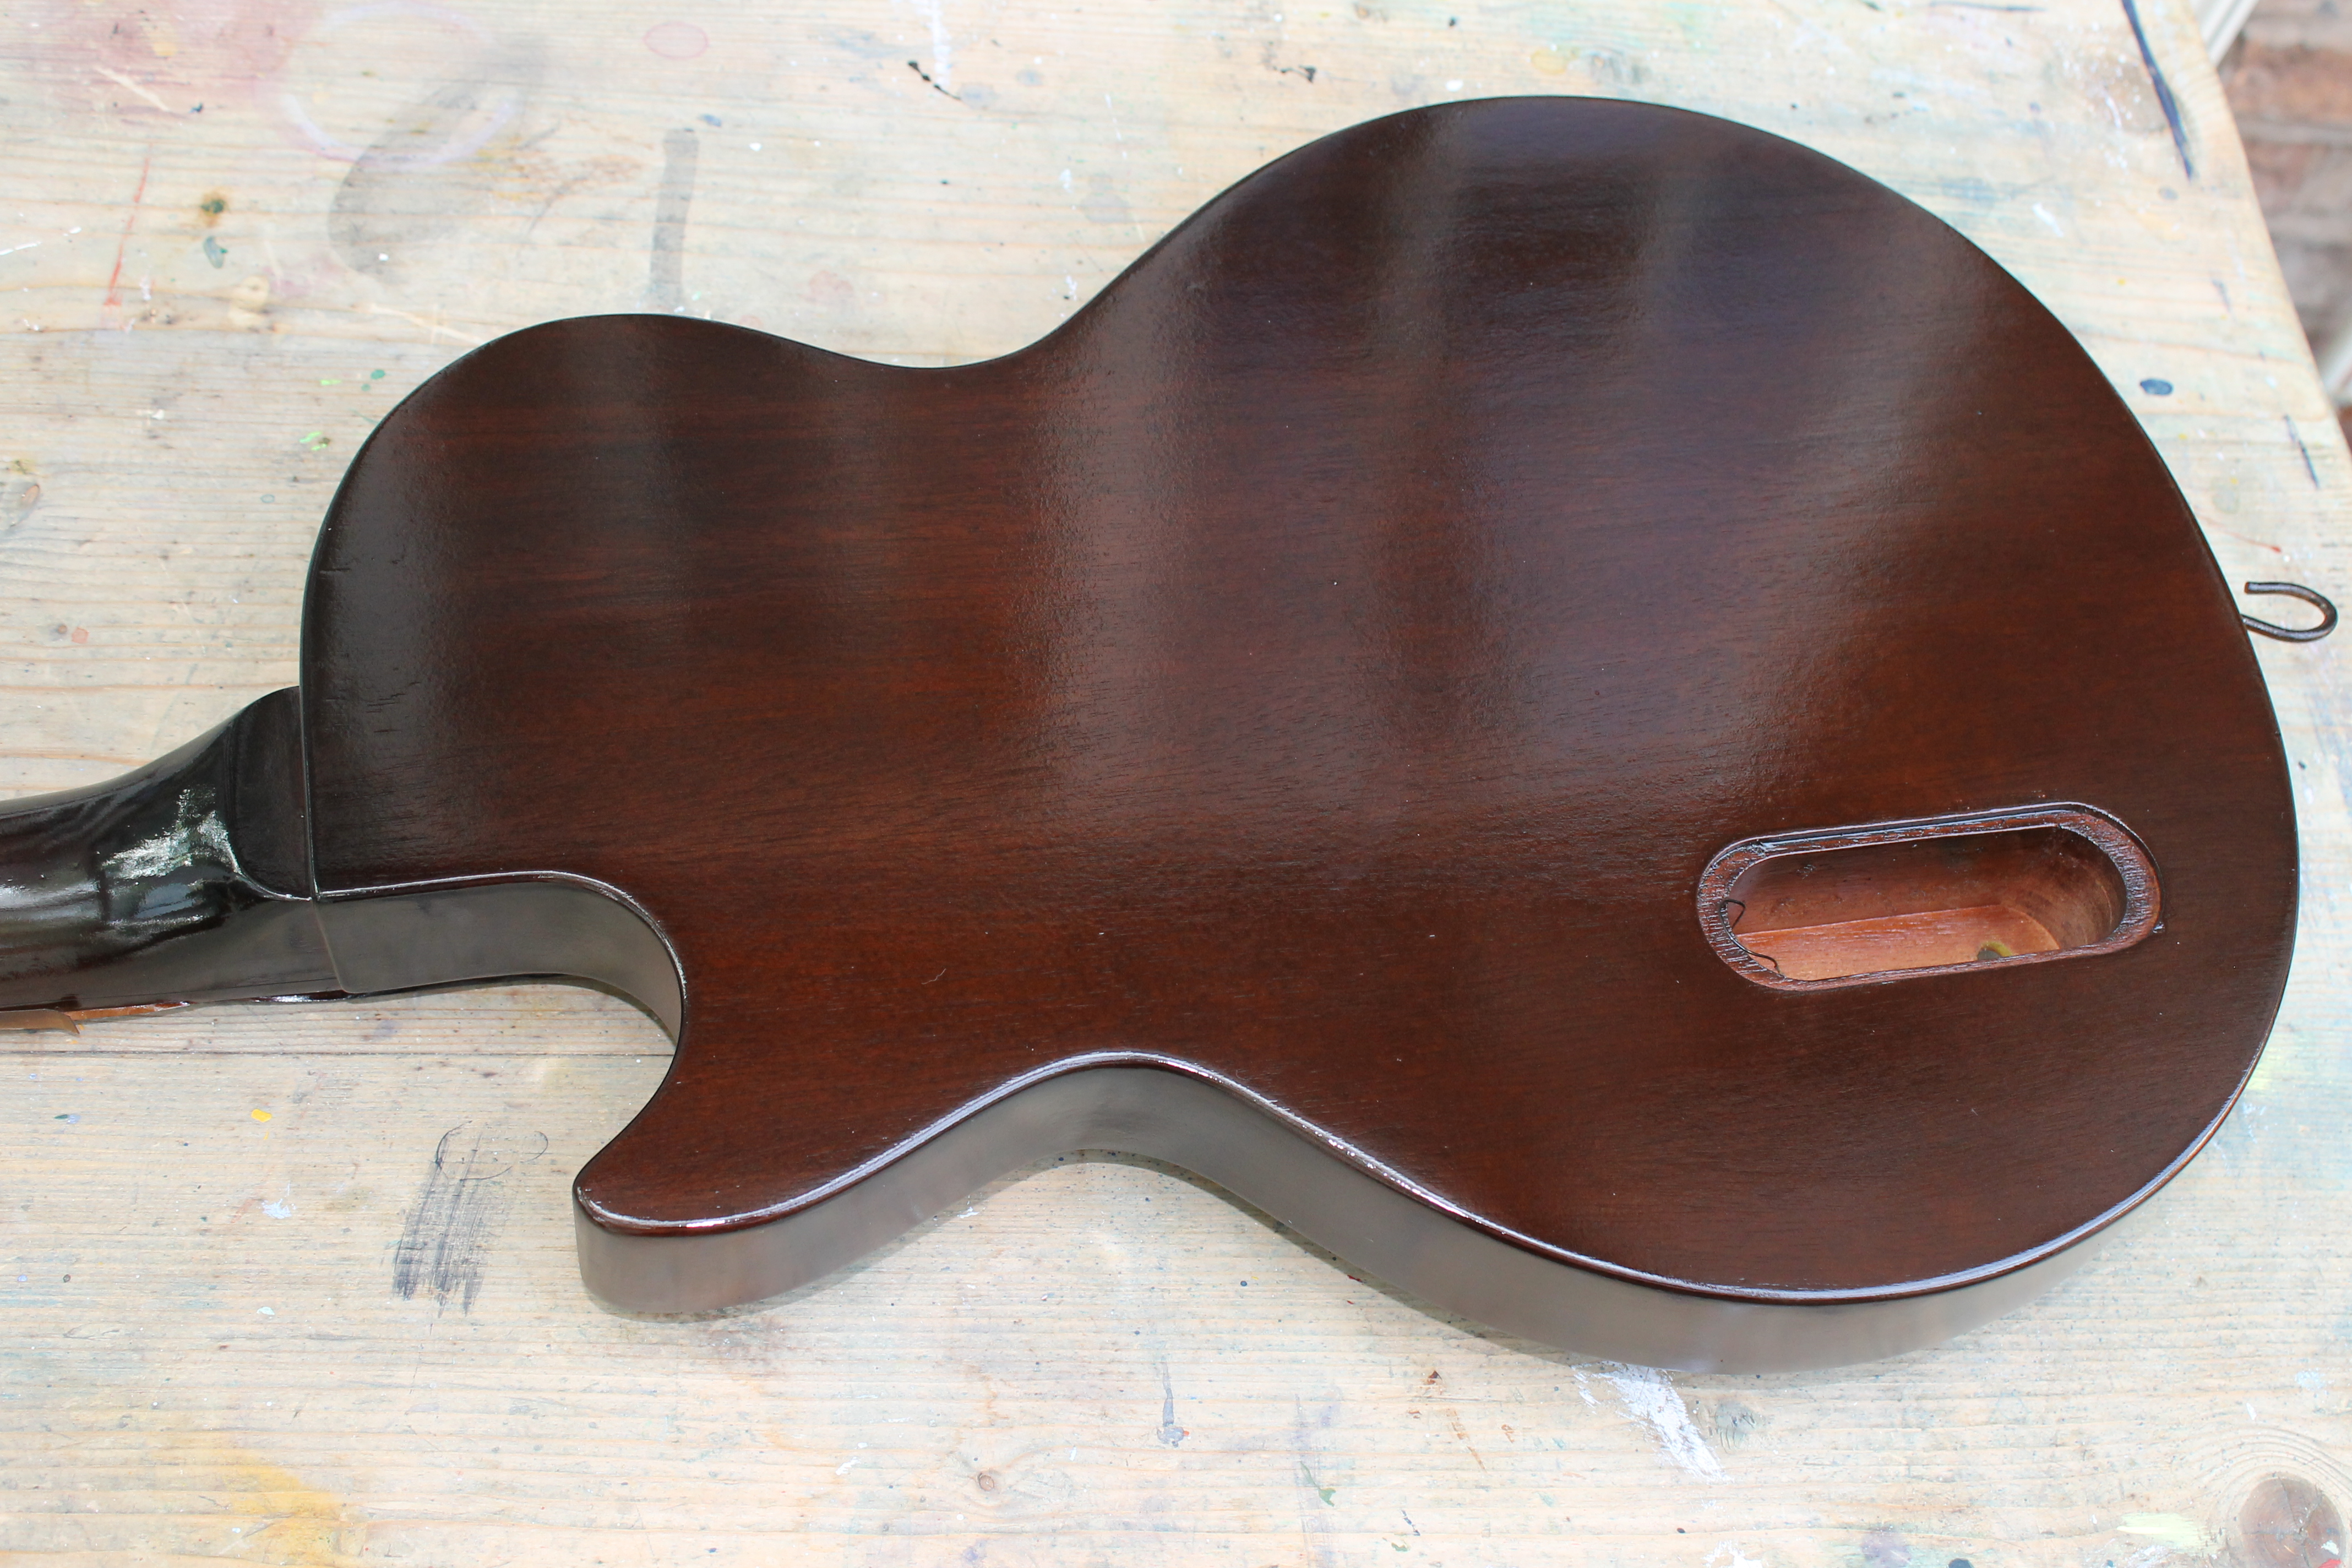
The back and sides of the body and the back of the neck are sprayed in a transparent brown. My Walnut Brown has been mixed to give a good match to the back of fifties Gibson guitars.
![]()
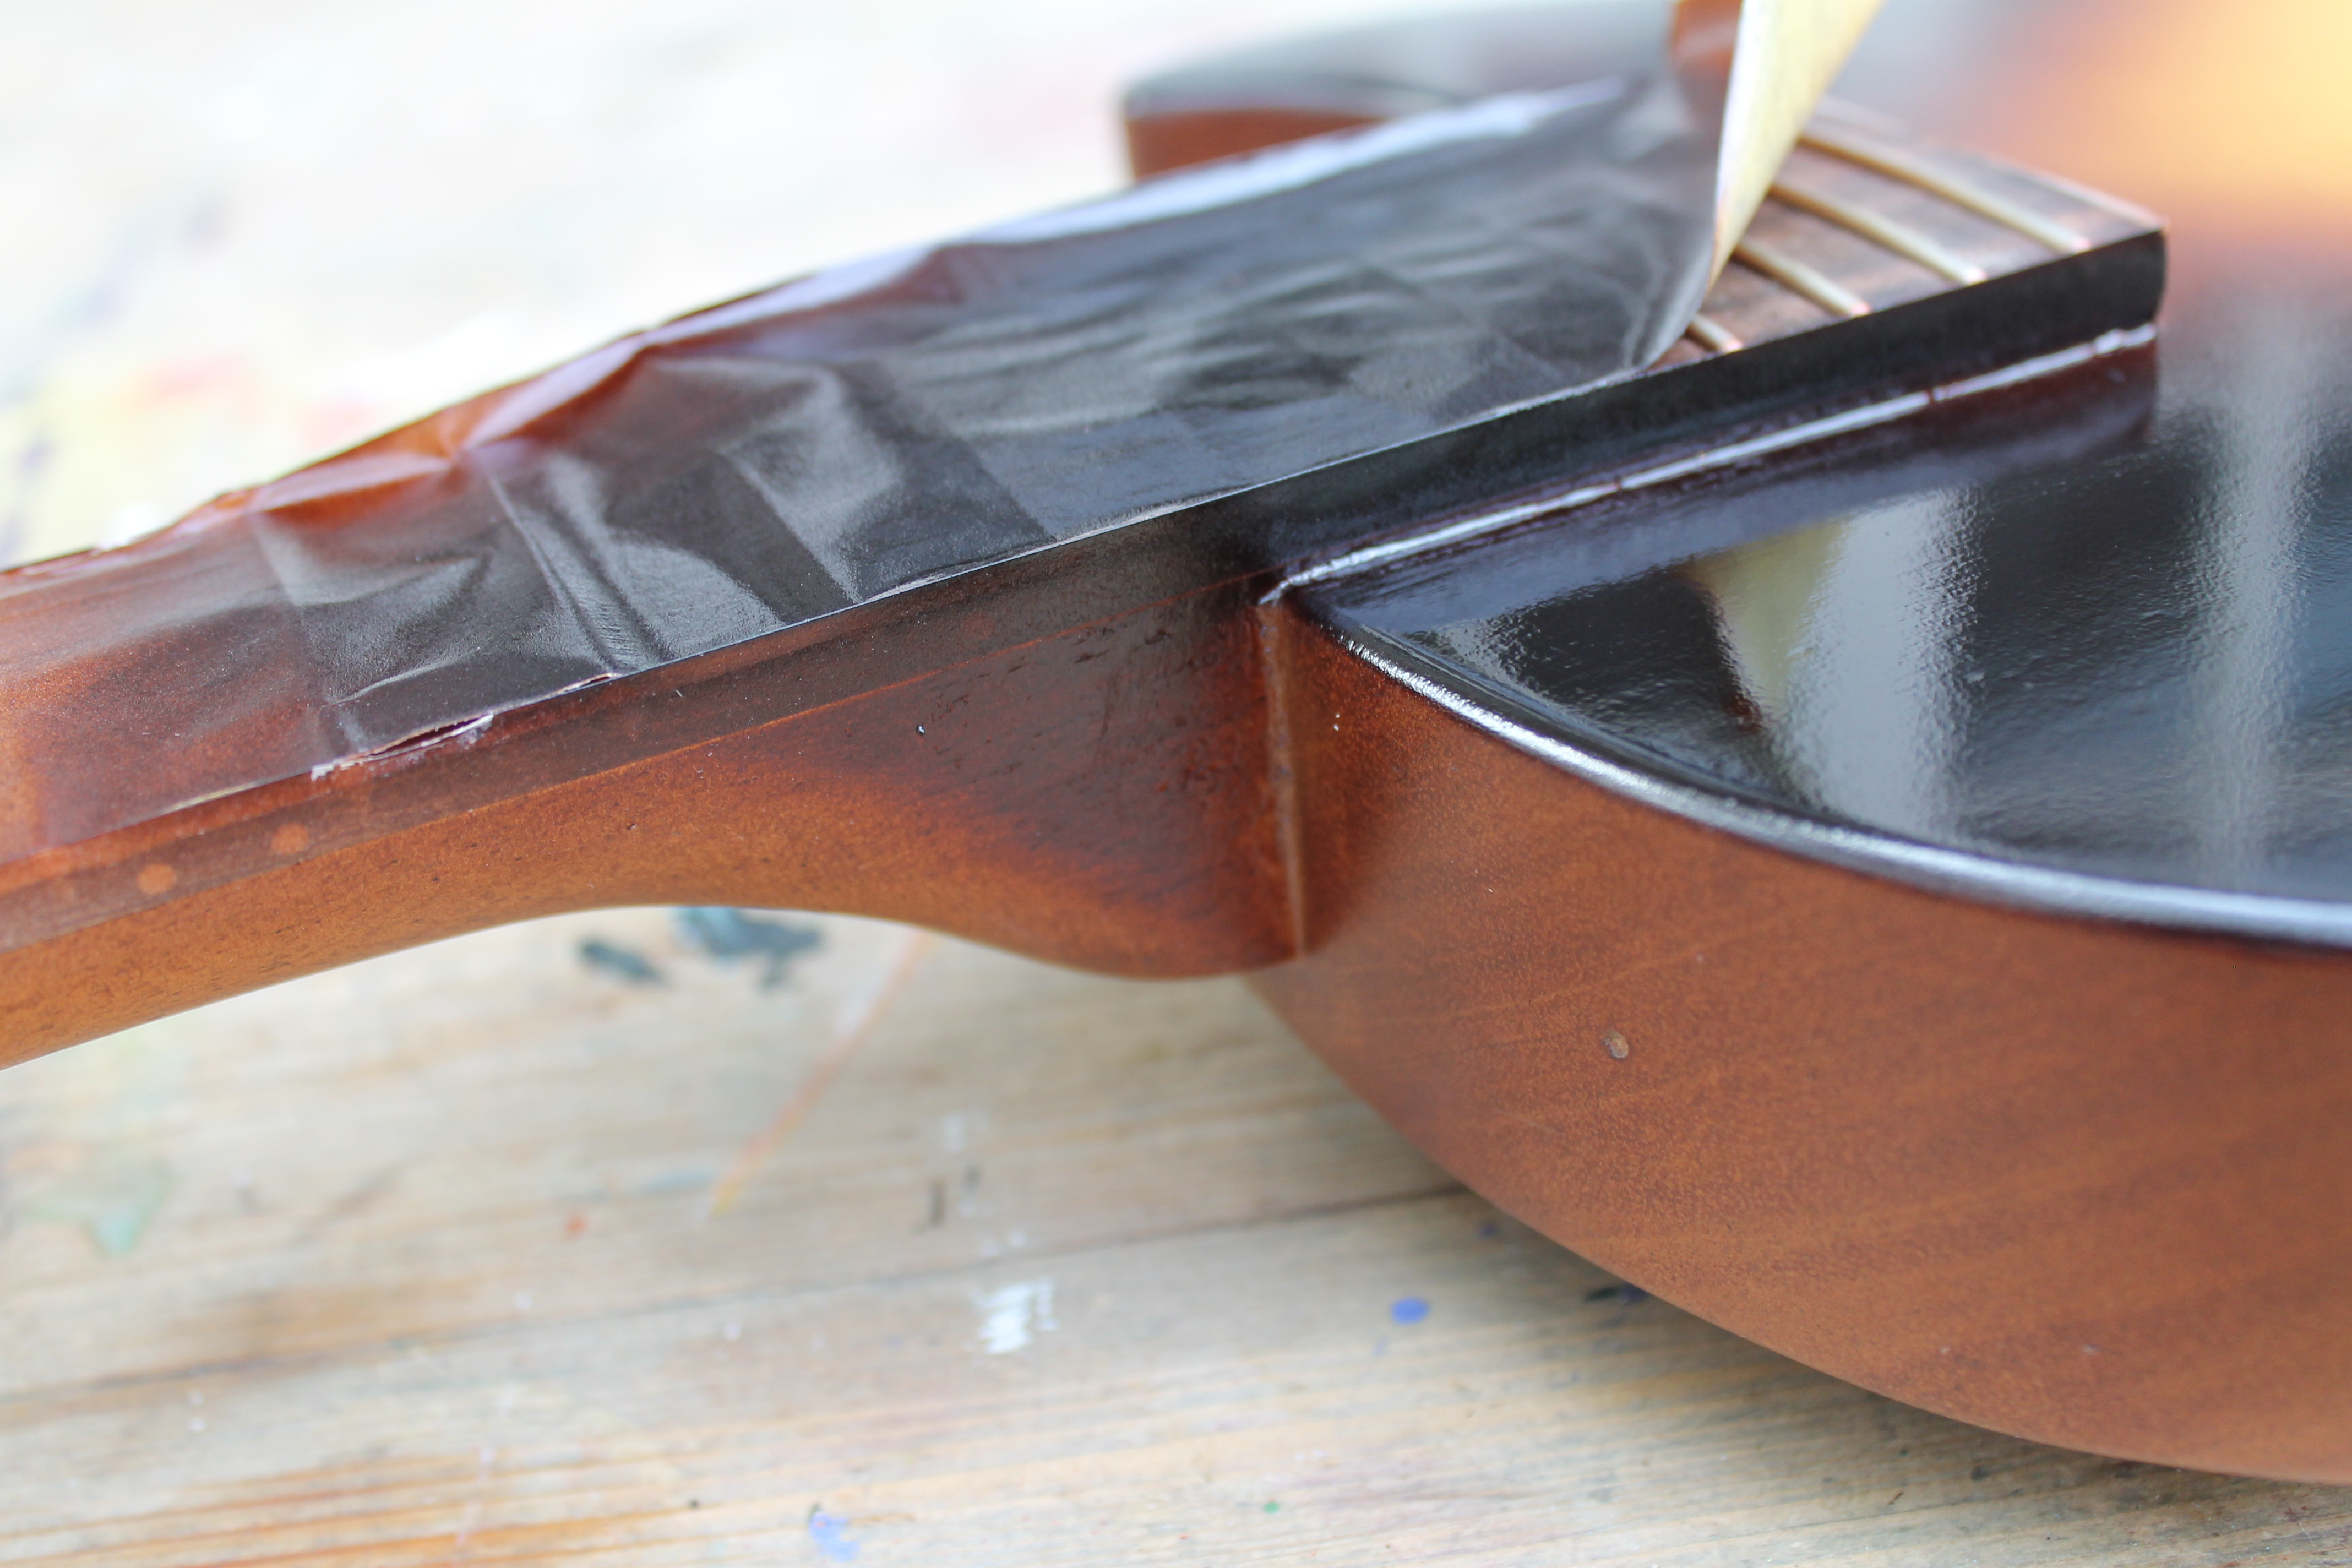
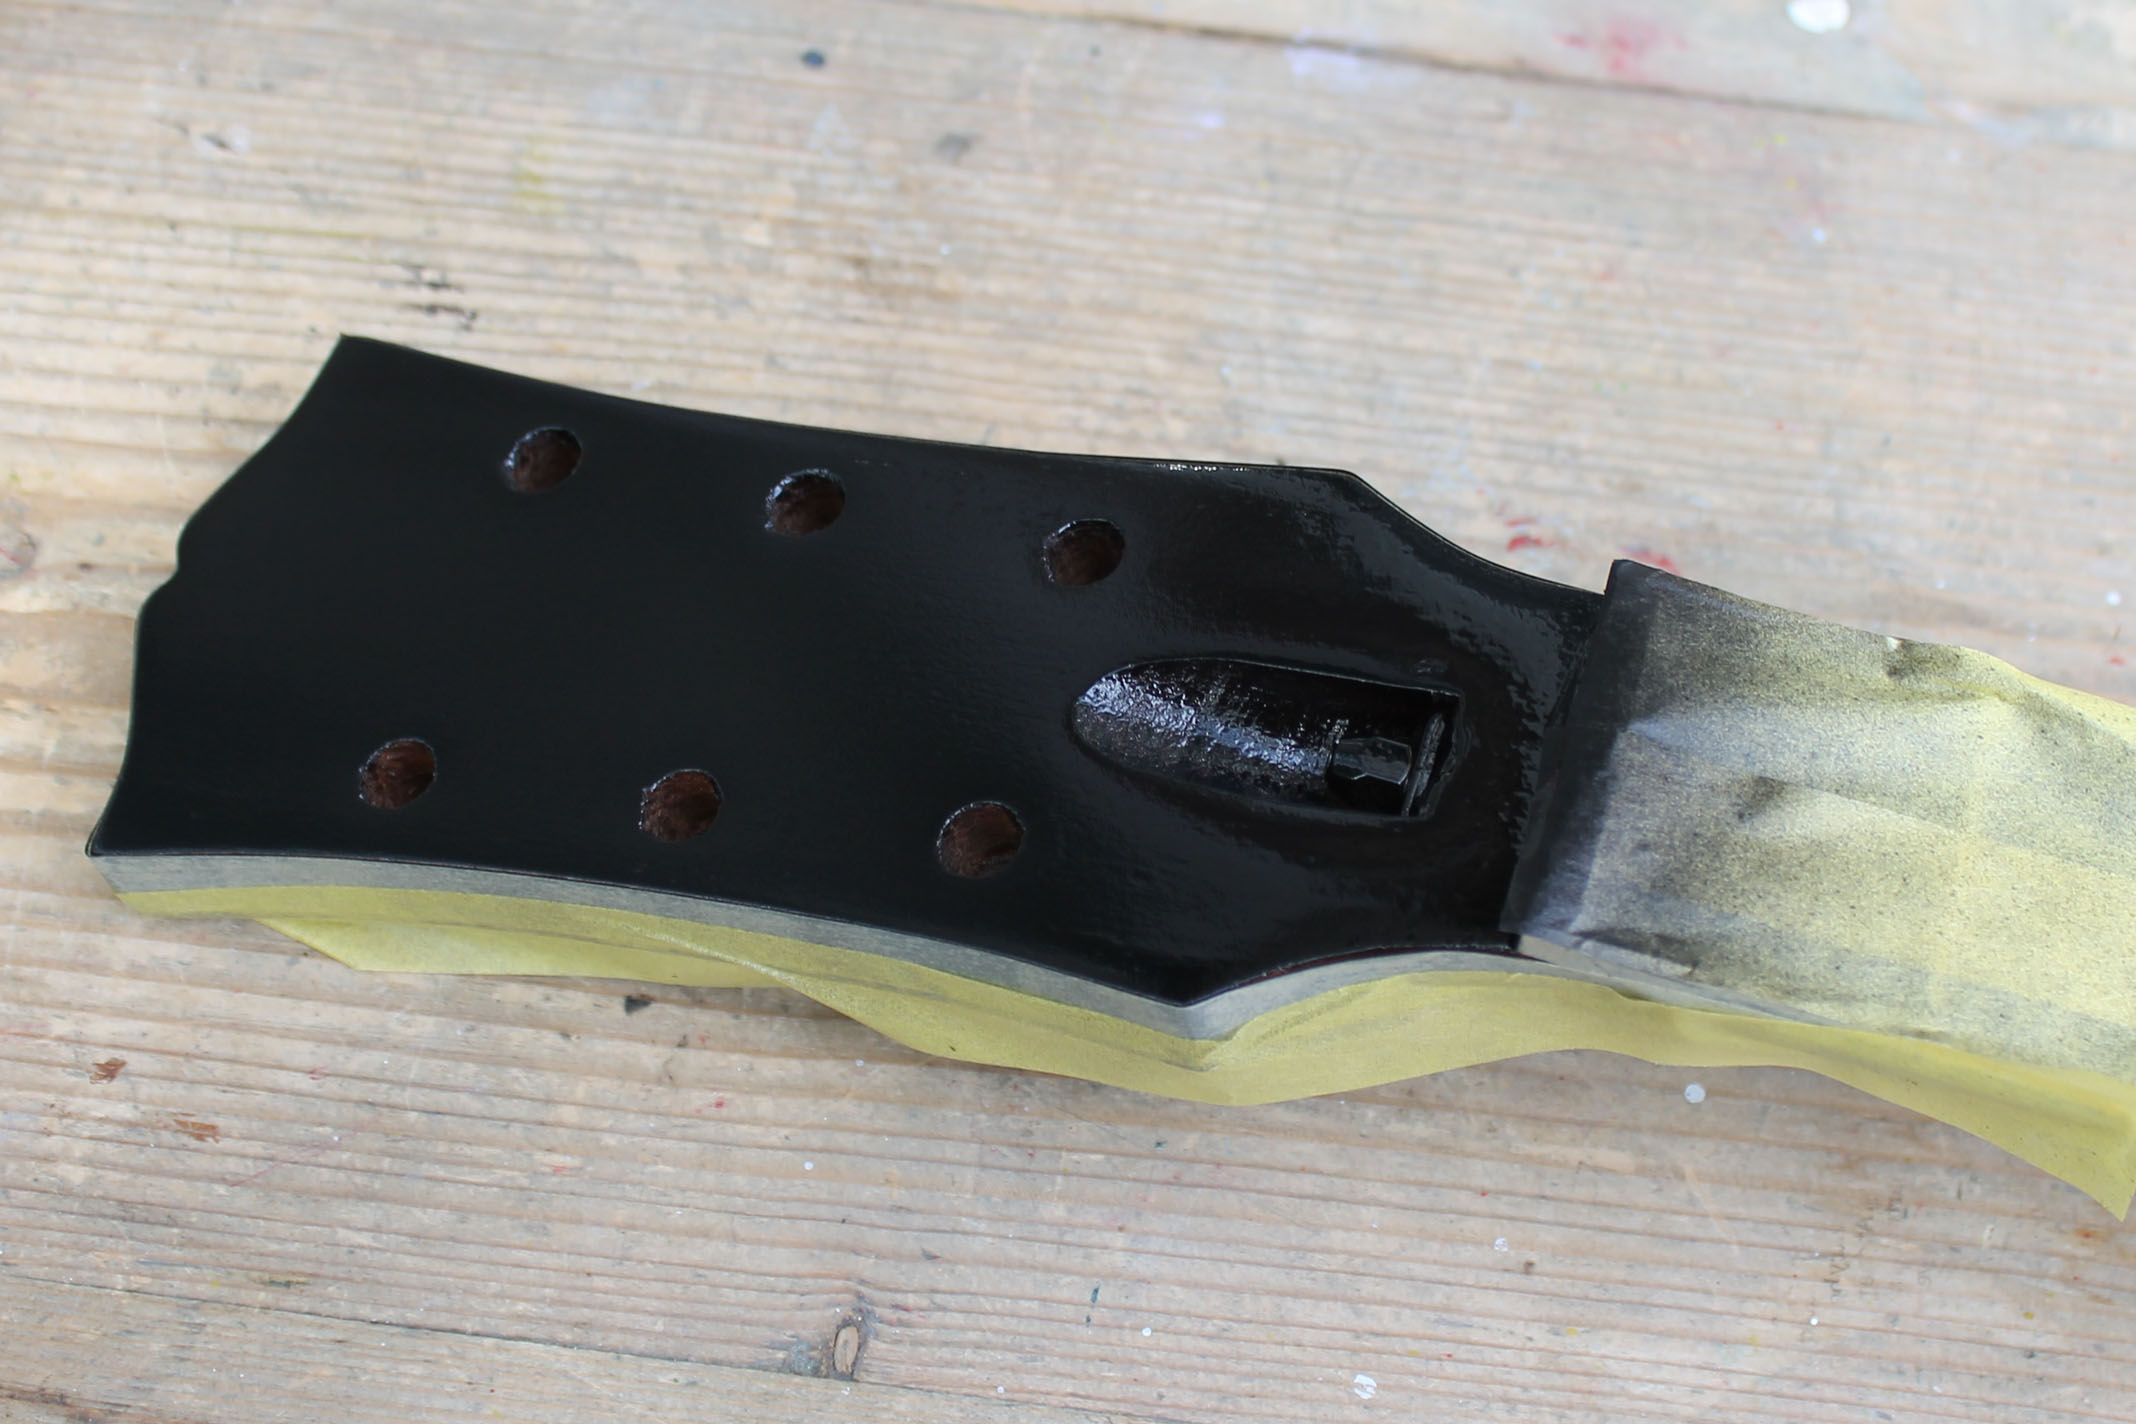
The next step is to blacken the peghead face. I close masked the edges of the headstock and sprayed a few heavy coats of black. Where the masking tape peeled away slightly I scraped the edge to a nice clean line.
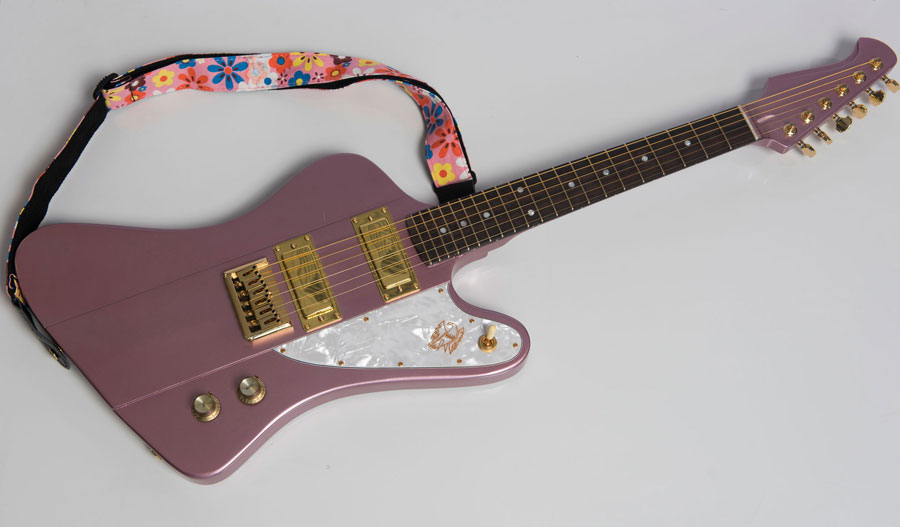
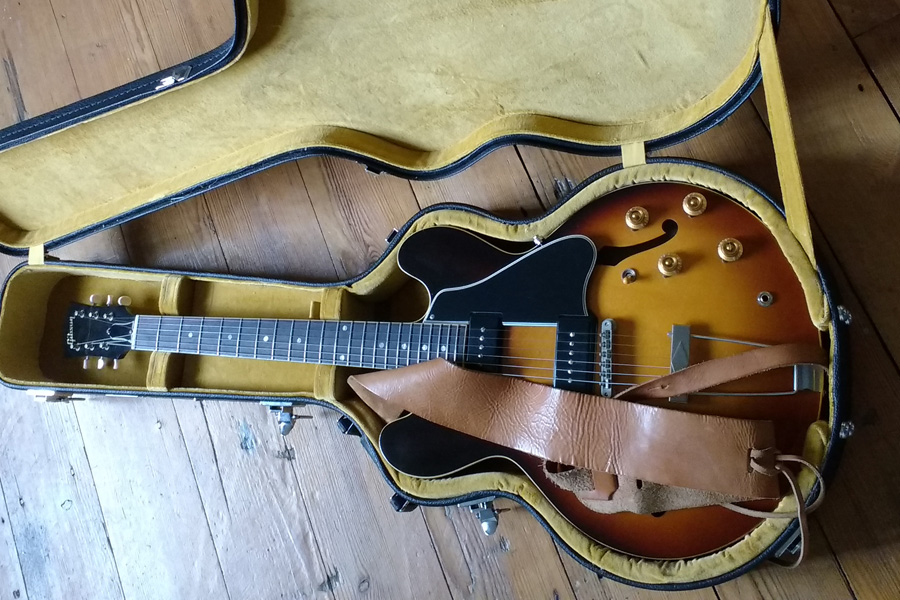
The final step is clear coating. I’m using a Vintage Amber Tinted lacquer to replicate years of aging.
Still undecided whether to distress it or not.