
Manchester Guitar Tech


Ozzy Lister – guitar and bass repair
I’m building myself a “La Cabronita” style guitar in black, with a very nice one-piece alder body from Phil at GuitarBuild.co.uk.
I can’t stress enough the need for thorough preparation for a guitar finish to turn out well. Black lacquer is very reflective and shows every defect, so it is especially important here.
Sanding sealer
 The first step is to sand the body well with fine sandpaper to remove any fuzzy edges from the machining process, then to apply plenty of sanding sealer.
Alder is a very absorbent wood and you’ll see it soaking into the wood, especially on the end grain.
I sprayed several heavy-ish coats until the end grain remained wet-looking, indicating that the wood had stopped soaking up the sealer.
Once I thought that I had plenty of sealer on, I let it dry overnight before block sanding.
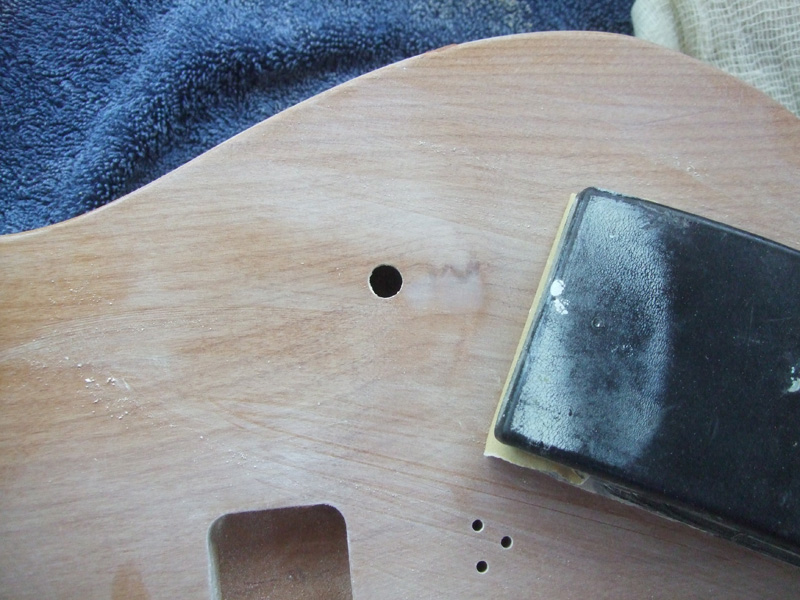
Sanding showed up a few low spots and defects in the wood which I needed to treat.
The worst of them were a small knot between the control holes which could be seen as the sanding dust collected in it

and a depression in the edge of the body which remained shiny and unsanded.

Depression in edge of body
I filled each of these with Ronseal 2-pack brown wood filler

Knot filled with 2-pack filler

Depression in edge of body filled
and sanded smooth.

Knot fill sanded smooth

Edge repair sanded smooth
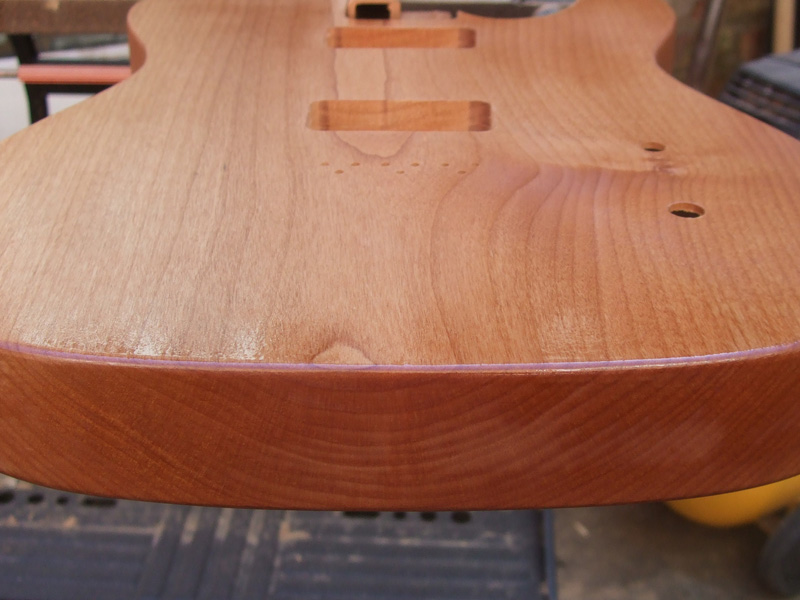
Afterwards, the whole body was given another coat of sanding sealer and allowed to harden overnight.
Index coat
I wanted to be sure that I had sanded out and/or filled every imperfection, so decided to use a technique I learned from my car-spraying days called an index coat.
An index coat is a very fine mist coat of black (or another colour) lacquer which is typically sprayed over a primed surface.

Index coat sprayed
You can even use this on transparent finishes because you sand it off again.
The index coat highlights imperfections because as you block-sand your guitar body, it remains in any low areas such as the very slight depression around our knot

Index coat reveals unevenness
and a few tiny dings which would have gone unnoticed.

Index coat reveals small dings
I continued sanding until no black lacquer remained so I was sure that the faces of the guitar were perfectly flat and free of the tiniest of defects.
I sprayed another coat of sanding sealer and sanded to 320 grit, ready for the colour coat.
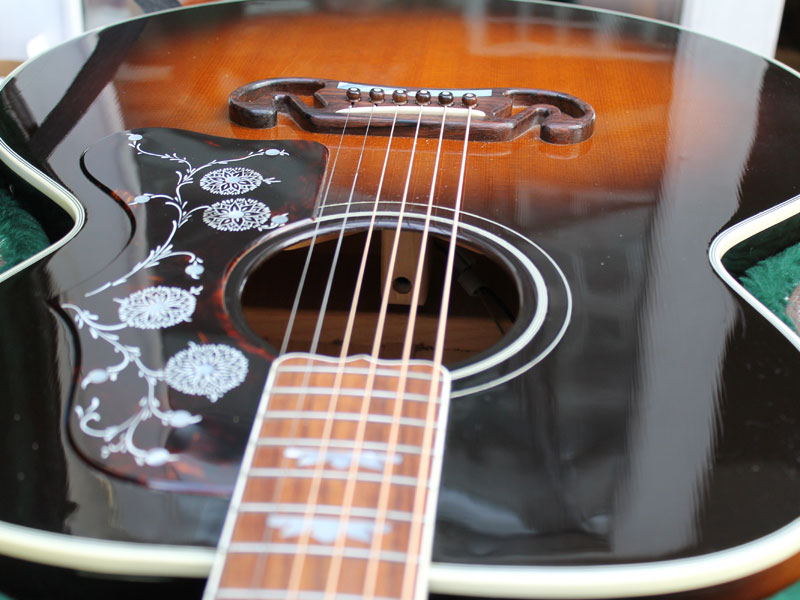

Gibson J-200 lacquer cracks
The top on this Gibson J-200 has bellied a bit, so much so that the lacquer on the top has started to crack.
Consequently, I had trouble getting a low action and thought the guitar might be suitable for the JLD Bridge system, which can correct bowed tops.
Installing the JLD system was straightforward enough. I removed the endpin jack to be able to align the bridge system inside the guitar, with the rod contacting just below the endpin jack.
You should be able to see the body of the Bridge System in the lower photo.
The JLD bridge system won’t fix all guitars but in this case, the installation was a success and not only was the string height reduced but the guitar sounds better with an improved, tighter bass. I’m hoping that as the top responds to the tension of the bridge system, the action will come down even more in the coming weeks.

J-200 with JLD Bridge System installed
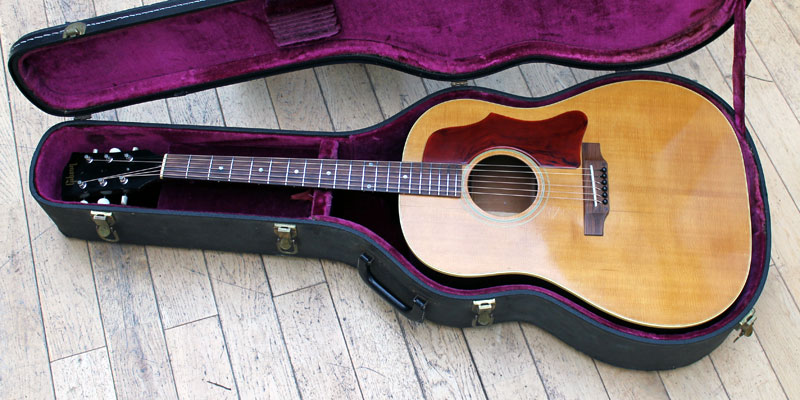

Gibson J-50
This vintage Gibson J-50 played great but the lower frets were getting worn and needed attention. The original frets were wide and low, and if I dressed them, it would have resulted in very little height indeed.
I agreed with the guitar’s owner that a partial refret was the best option.
I replaced the first six frets with Stewart Macdonalds wide-low fretwire which was a great match for the original in height and width. Once installed, the new frets needed only a light dressing and good polish to match the old fret. As always, it’s hard to see the join!

Gibson J-50 partial refret