
Manchester Guitar Tech


Ozzy Lister – guitar and bass repair
… you don’t see one for ages then two come along at once!
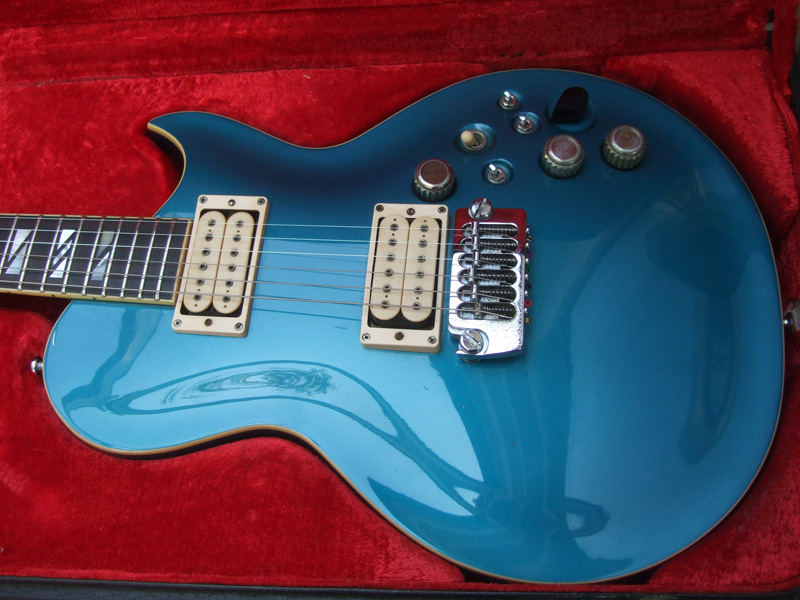
Although I used to own one of the original PE-1000 guitars and wish I’d never parted with it, I can’t ever recall seeing one of the blue Gerry Cott signatures before. In the space of two weeks however, I have worked on two of these great guitars.

PE-1000GC Aria Pro II Gerry Cott Signature

PE-1000GC Aria Pro II Gerry Cott Signature
Both guitars had new nuts fitted and the lower one (which is missing the original fitted case) also got a partial refret.
The active boost switch on these guitars is pretty brutal and will push just about any amp into overdrive!


Gretsch mystery holes for location?
When refretting this 1967 Gretsch Firebird, I noticed two small holes in the 14th fret slot and another two in the 2nd fret slot.
I’ve never seen these before but imagine that they are for locating pins to ensure correct positioning of the fretboard when it’s being glued to the neck?
There is not much as satisfying as a nice shiny refret!

Gretsch Firebird Jet refret done
The owner of the Vintage Lemondrop guitar that I upgraded some time back asked me to refinish the top. Thinking that the finish would be thin and strip easily, I agreed. I discovered however that the finish is thick, tough and difficult to remove.

Stripping this Lemondrop is hard work
I stripped the top over a couple of weeks and probably spent about ten hours on the job altogether! My fingers lost their feeling from the vibration of the mouse sander.
Once I had the finish off, I sanded with the grain using 320 grit sandpaper to give a smooth surface.

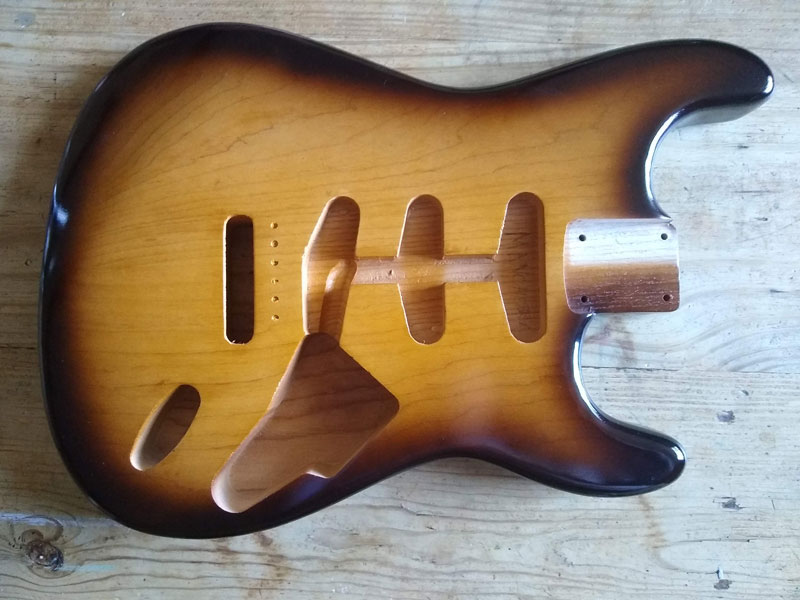
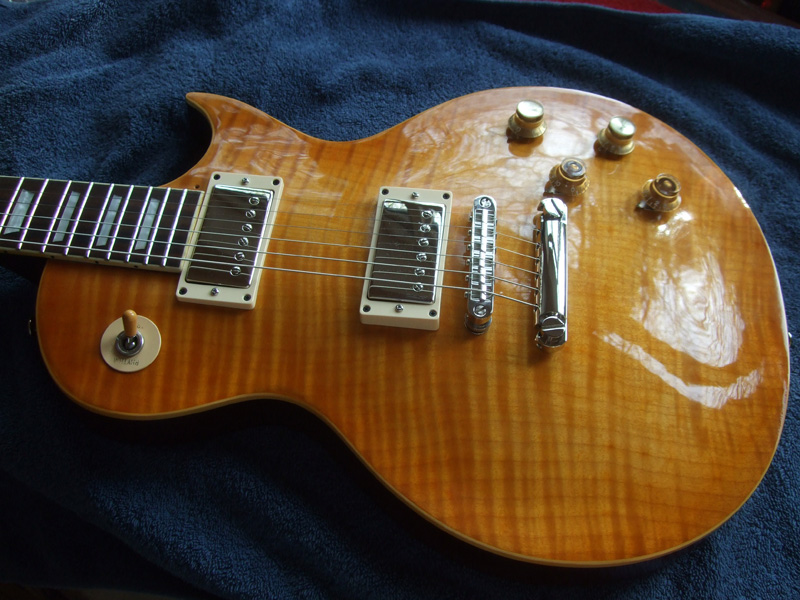
Lemondrop stripped
Stripping the top required a lot of care as the flame maple veneer is quite thin and I didn’t want to damage it. I’m glad to say that I didn’t.

First coat of clear lacquer
I sprayed a few coats of cellulose sanding sealer, and sanded it back to give a smooth surface. You can see that some colour remains from the factory dye.
I then followed with Clear Amber and then used my Tinted Gloss to give a barely perceptible “unburst” edge.

Unburst
Once happy with the colour I sprayed plenty of Clear Gloss nitrocellulose lacquer to seal and then after a few days flatted back and buffed to a shine before reassembling.

Finished lemondrop refinish
Here’s a closeup.

Closeup