
Manchester Guitar Tech
Gibson Les Paul Deluxe Goldtop Refinish
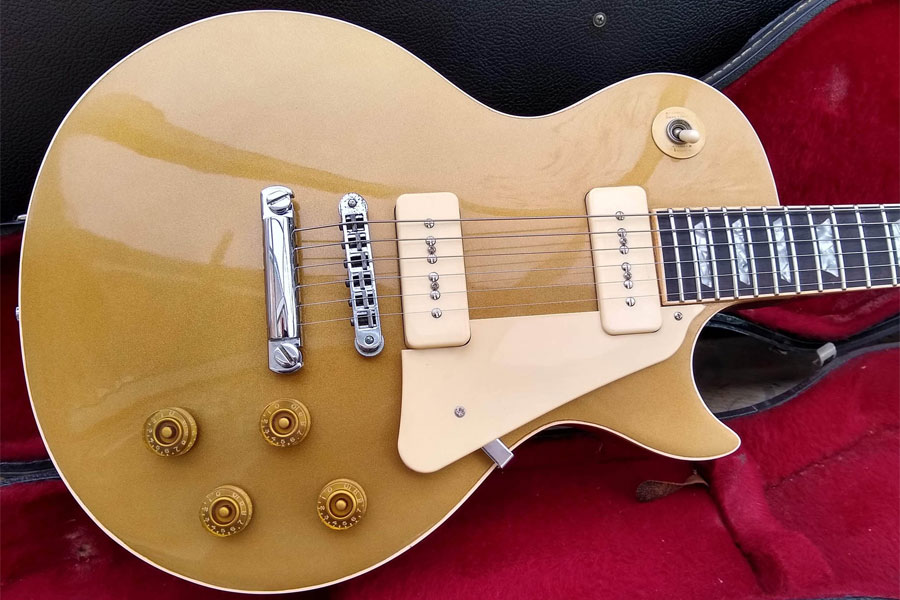
I was asked to refinish the top of this 1981 Gibson Les Paul Deluxe which was originally sunburst but had been “goldtopped” using what looked like car spray. The colour was completely wrong and bizarrely, mini-humbuckers and P-90 pickups (which are the same size of course) would not fit in the cavities!
For this job I used:
- One can of Clear Gloss Lacquer
- One can of Goldtop Lacquer
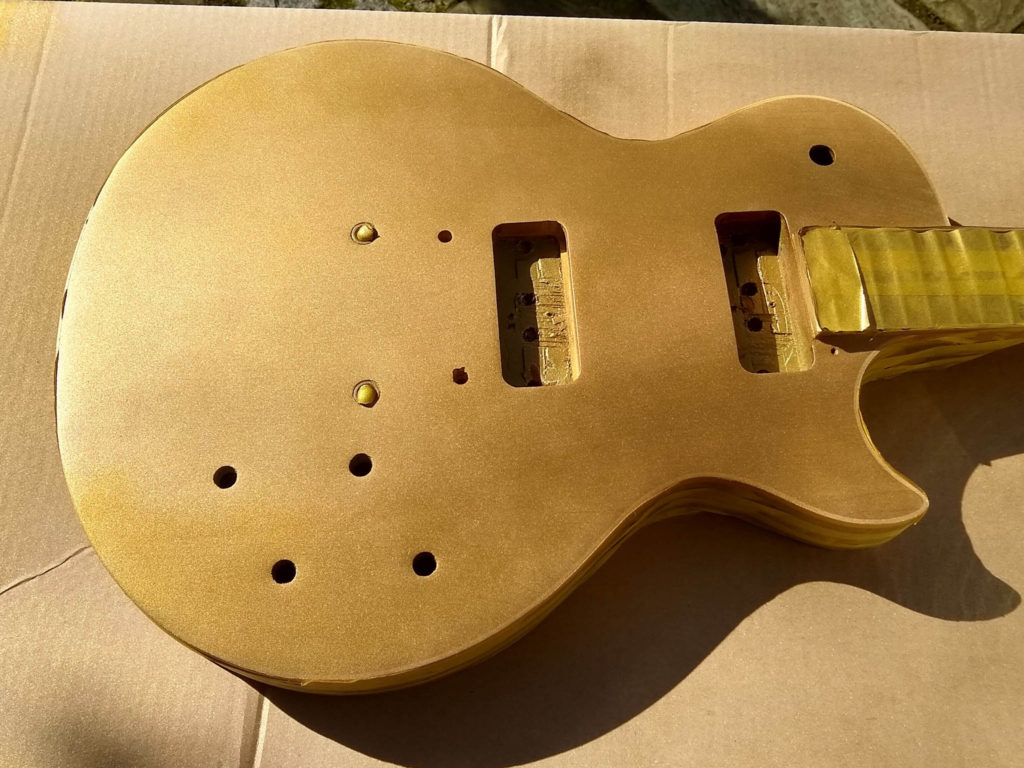
The first step was to strip the top. I did this using a Black & Decket mouse sander to remove most of the paint and primer, then finishing along the grain of course using 320 grit 3M gold sandpaper to remove any scratches left by the sander.
I carefully re-routed the pickup cavities a fraction larger so that I could get the pickups in without fear of chipping the new finish. This was the most nerve-wracking part of the job – nobody wants a router slip on a vintage Les Paul!
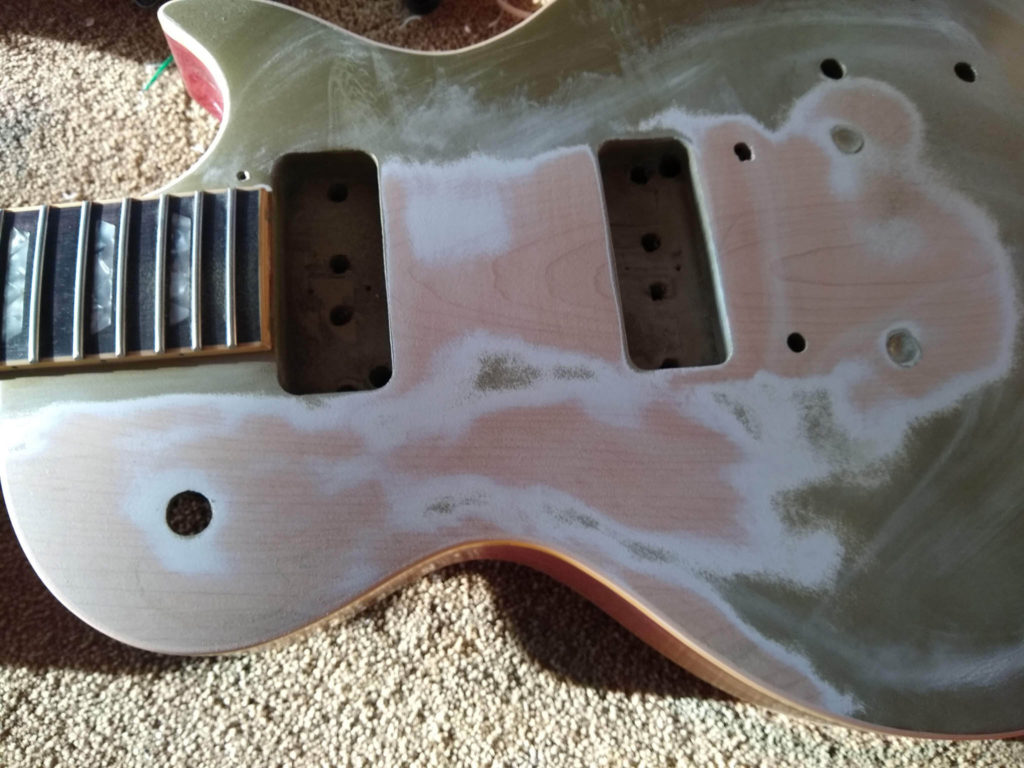
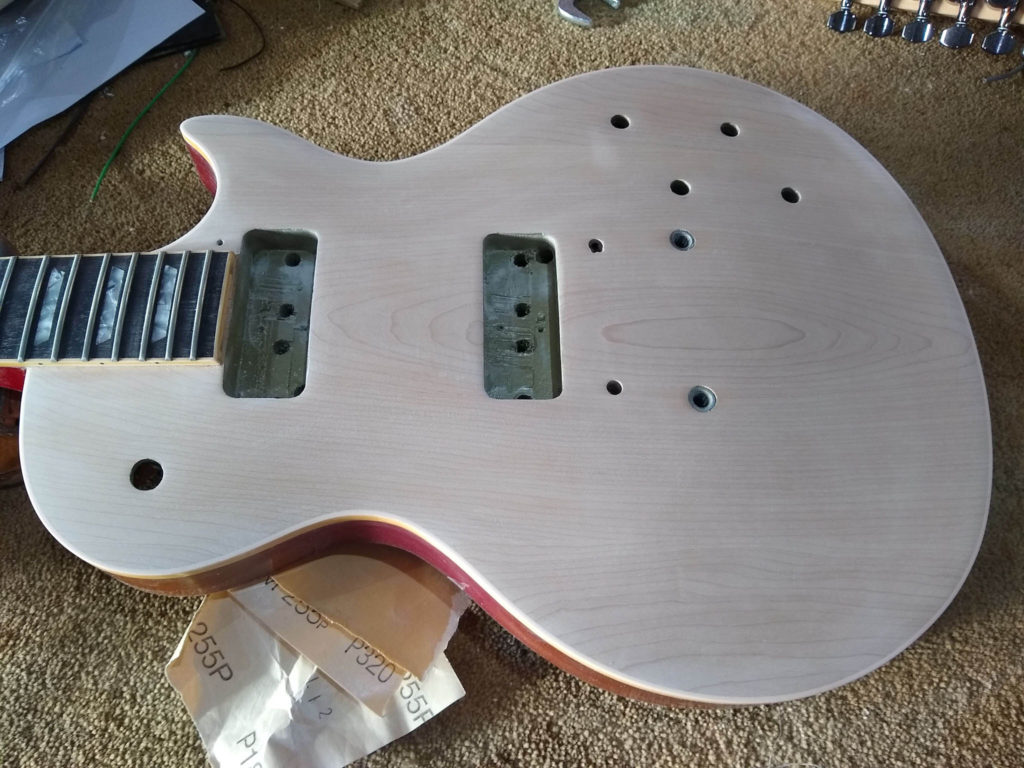
Once the top was sanded it looked really nice and would have been great with a natural or sunburst finish but it had to be a goldtop. I masked off the neck and sides and sealed the maple with a coat of Clear Gloss, denibbed and sanded again. I would not recommend using primer on a bound guitar such as this as when the binding is scraped later it may leave a white line of exposed primer.
The next step was to spray the Gold Top lacquer. This takes a few coats to achieve a nice opaque covering. I was spraying outside on a sunny day and the lacquer really sparkled in the sunlight. The picture below was taken after the first coat and you can still see some of the maple wood grain showing through.
My Goldtop lacquer contains real bronze powder plus other pigments, just like the lacquer used by Gibson in the 1950s.
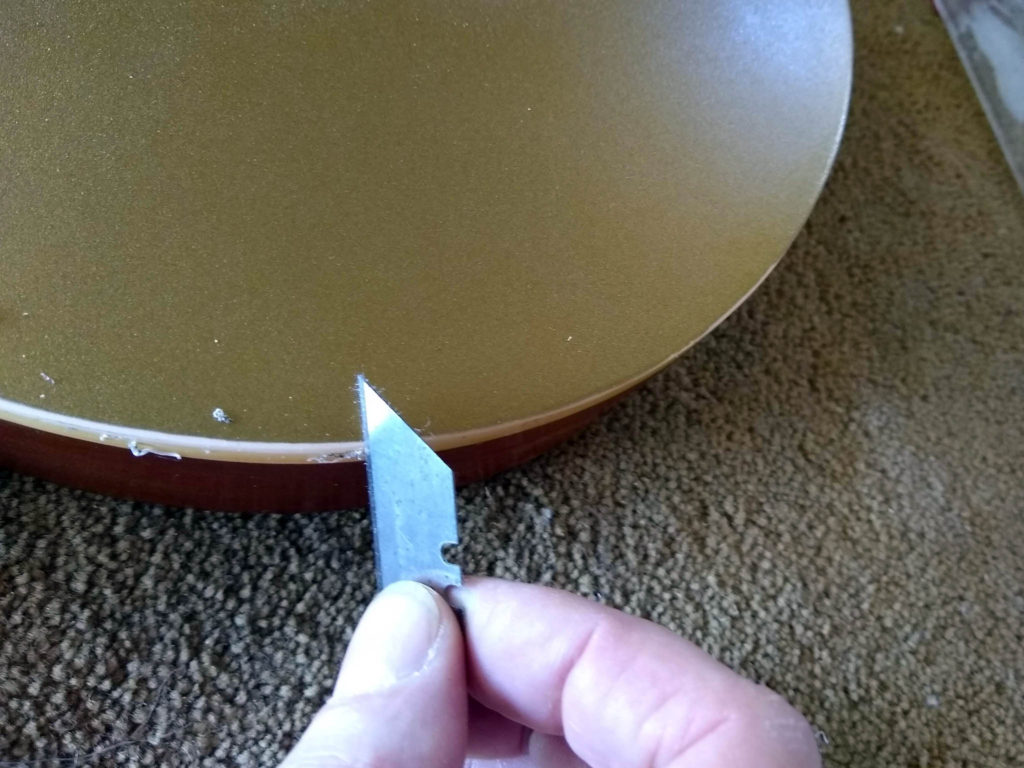
I sprayed a coat of clear to protect the gold whilst handling and took it indoors to scrape the binding. It’s best to leave an hour or two for the lacquer to harden, but before the lacquer has become so brittle that it might chip. Scraping is fairly easy to do with a steady hand using a Stanley blade. It’s best to go slowly, taking off a little at a time until enough binding is exposed.
Once that was done I remasked and sprayed the clear coats. It’s essential to get plenty of clear on so that there is protection from rubbing through when flat sanding. I put most of the rest of the can on.
Once the clear lacquer was on I had to leave it a few days to harden before sanding and polishing.
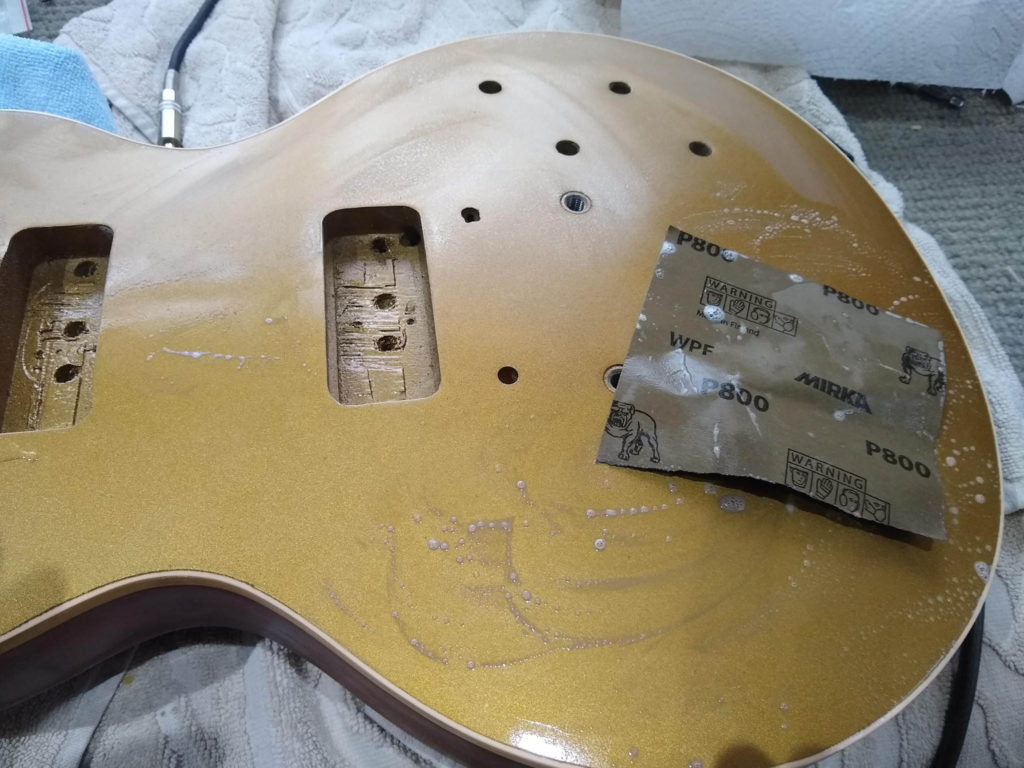
I started the flat sanding using 800 grit wet abrasive. This was coarse enough to remove the small amount of orange peel I had. I sanded until I had no shiny spots that indicated dips then went over again with 1200 grit, again wet. I had kitechen roll on hand and was very careful not to allow any water into holes in the guitar which can swell the wood and crack the lacquer.
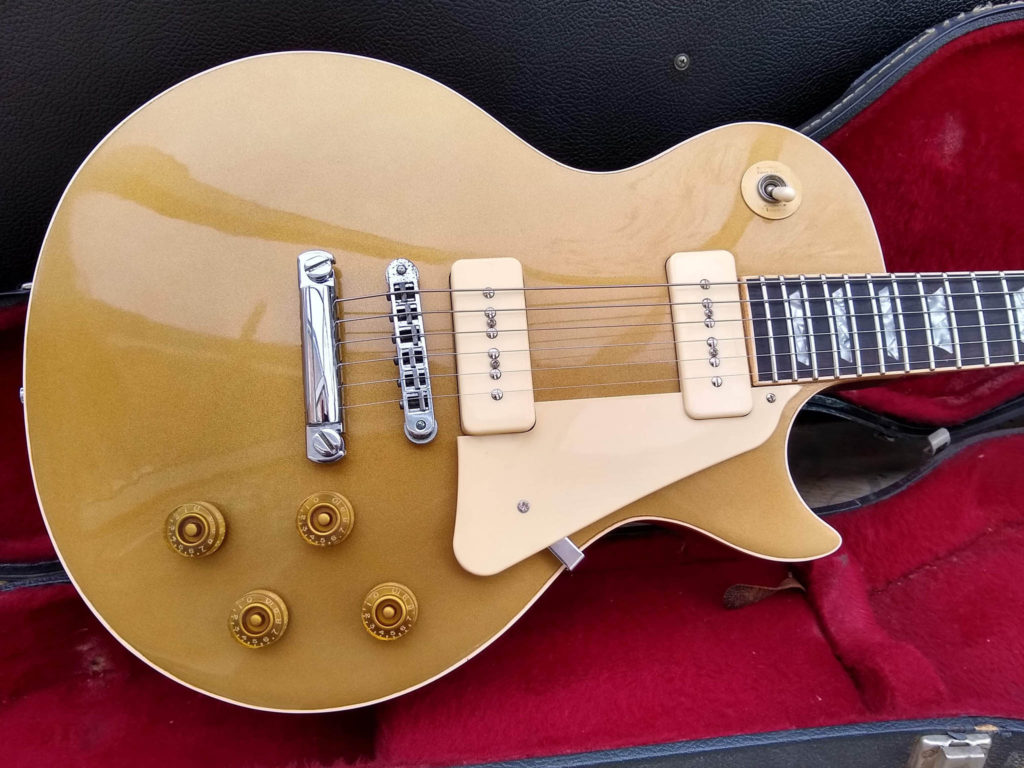
Once I was happy the the top was sanded I buffed using my favourite T-Cut to a shine before reassembling and setting up.
Awesome job! Hoping you can answer a question for me. I’m getting ready to refinish my SG. I want to take the guitar down to the bare wood to stain, so when I’m working on the neck would I want to tape off the binding and only sand the paint off, or sand both the binding and paint so that they match up?
I’d sand the binding too, otherwise when you re-lacquer you’ll have a ridge to deal with. Not to mention the difficulty of sanding to a precise line.
The stain shouldn’t take to the binding but you can mask it using fine-line tape to save scraping it clean.
Hi, I’m taking on my own project which will involve removing the paint from the top of the guitar and was wondering if you could clarify some points in the following paragraph.
“The first step was to strip the top. I did this using a Black & Decker mouse sander to remove most of the paint and primer, then finishing along the grain of course using 320 grit 3M gold sandpaper to remove any scratches left by the orbital sander.”
Did you use both the mouse and an orbital sander? What grit did you use with the mouse sander?
I know it’s been some time since you published this post, your help is much appreciated.
Thanks- I just used a mouse sander, not an orbital sander. I’ve edited accordingly.
The mouse sander still left small circular scratches which I sanded out by hand.
Thanks for the swift reply.
Hi Steve
How much to refinish a 1969 les Paul back to its original gold top finish
Sorry but I do not offer a finishing or refinishing service.
I sometimes paint guitars to demonstrate or learn a technique, or for fun, but this is not something I do on request.
It looks amazing, truly! I am curious how much would it cost to send you my guitar in order to be painted. Could you email me and let me know if this could be a possibility and how much would it cost? Thank you.
Sorry but I do not offer a finishing or refinishing service.
I sometimes paint guitars to demonstrate or learn a technique, or for fun, but this is not something I do on request.
Hi Steve, Just wondering how long did you wait to do the final polish after the last 1200 grit wet sanding?
There’s no need to wait, once you’ve sanded to 1200 grit you can get on with the buffing
Great to see the finished project. You’ve posted some great pointers to help others out on here. I’ve refinished four guitars over lockdown and your advice, along with the high quality nitrocellulouse spray cans I bought from you, have meant perfect results from the off. And I’m a dead particular bastard when it comes to my instruments. It’s all about taking your time and prepping your surfaces. Thanks Steve.
One trick I use for keeping water dust and any crud out of brigde/stop end/trem/truss rod/tuners/hardwear holes – the wax and cotton type earplugs – Quies is one brand.
Warm them up and work them into the holes leaving them just shy of the surface. Then you can strip, sand, prep and final coat and polish. Just always make sure no wax transfers onto the surfaces your about to spray.
Once everthing is absolutuely dry, carefully fish them out, dress the edges and the original hardwear usually slides straight back in place.
Thanks that’s a great tip. You can see that I’ve done just this to keep paint out of the tailpiece anchors.
Hi steve what grit do you stop at and then use t cut
Thanks ian
Generally P1200, sometimes I take it to P1500
Sometimes a local de-nib of any dirt inclusion would suffice. Not all the body may need flattening. The nitro should even out with the polisher going over it to a great extent. Depends on the level of dirt inclusion and orange peel effect?
Sorry, could you clarify what you mean by “denibbed”, I’m about to attempt a gold top finish using your Gold Top aerosol and want to follow the steps above, but am not sure what this means…
Denibbing is a light sanding to remove any imperfections such as raised grain from the first coat of lacquer.
Awesome job, but I agree a natural or sunburst would have been nicer IMHO
Beautiful, Steve.