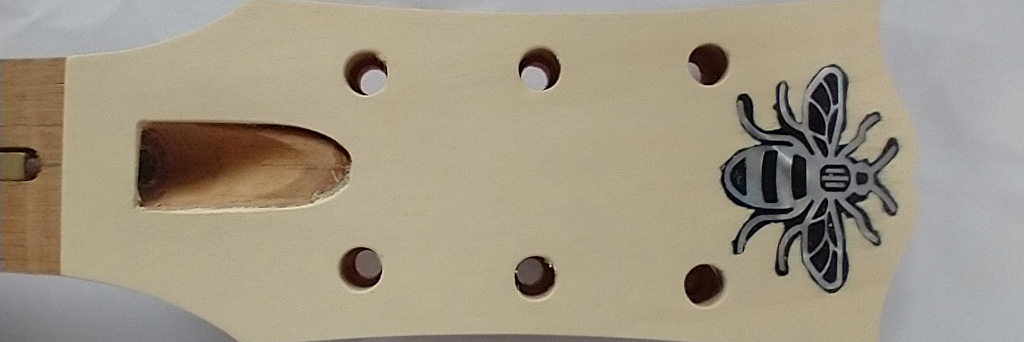
Building a SAGA TC-10 Part 2 – The Neck
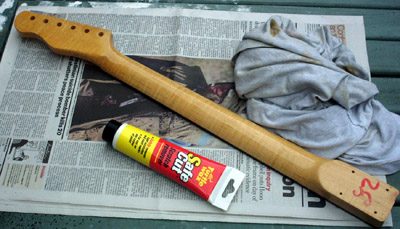
Shaping the headstock
Because the Telecaster headstock shape is a trademark of Fender Musical Instruments Corp. (FMIC) then all modern kits come with a blank or “paddle” headstock from which you can cut your own design. Any similarity to a Fender Telecaster headstock on this page is purely coincidental!
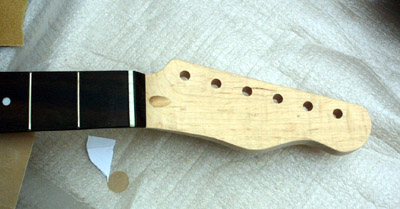
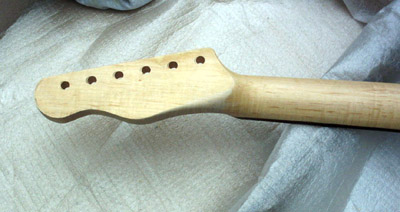
The first job is to decide on your headstock shape. I made a paper template and used this to draw the shape on the back of the headstock. Don’t use black pen as I did – pencil will do. I used a pen to show up in the photograph.
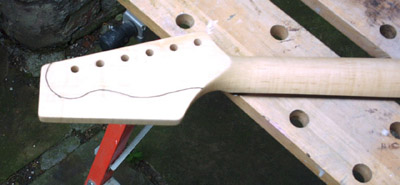
Cut out the shape of the headstock roughly with an electric jigsaw or coping saw. You can use a router if you have one.
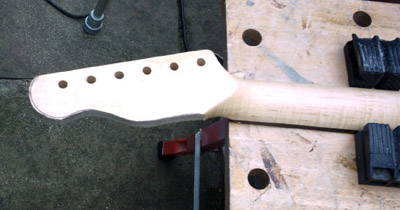
The final shaping of the headstock is done using coarse sandpaper before finishing off with finer sandpaper to give a smooth surface for the lacquer.
Finishing the neck
As our chosen kit has a rosewood fretboard, it is important to mask it off to avoid unwanted overspray. If you have a maple fretboard then don’t mask as you’ll be lacquering that too.
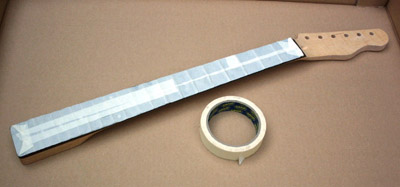
You can buy the nitrocellulose lacquer you need in various colours, including clear coats from me here.
Hold the neck and spray a couple of thin coats of lacquer onto the face of the headstock. You should spray the sides of the headstock too.
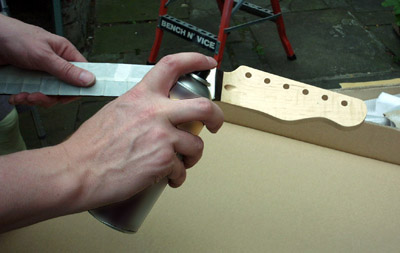
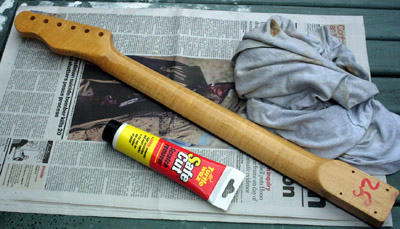
Lay the neck on a flat surface and spray a few thin coats of lacquer. Once the lacquer is touch dry you can spray a few more coats but be very careful not to spray too thickly or the lacquer will run. I have used a slightly tinted lacquer to give a vintage colour to the neck.
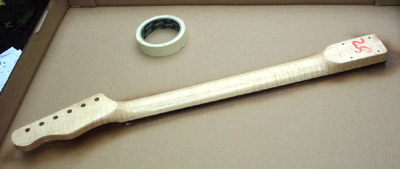
Once the lacquer on the neck has hardened (we left ours 3 days) you can polish using a proprietary rubbing compound before polishing to a shine.

Thanks for the good information. I have few questions. I’m assuming its normal practice to leave the rosewood behind the nut un-taped (and therefore covered in spray) like you’ve shown here? I’ve tried to research how Fender does it, but I haven’t found any good answers. Also, once you pull the tape off the fretboard, I assume that you’ll have a “ledge” where the new laquer has been sprayed. How do you level this transition between the sprayed rosewood and the unsprayed rosewood? Thanks in advance!!
Yes if you look at any Fender guitar with a rosewood fretboard you’ll see that the finish on the headstock goes right up to the nut.
The hard edge on the fretboard can be scraped smooth using a Stanley knife blade. This is best done whilst the lacquer is still soft (but dry obviously) to lessen the risk of chipping.
Hi Steve,
Thanks for the blog, as always it’s really helpful. I have a maple fretboard, trying to figure out a good way to prepare the neck. Will it need sealer before lacquer? Should I just spray the satin lacquer over the frets and nut or should I try to cover them up?
I’ve heard that some people use gloss on the fretboard, but satin elsewhere on the neck. What would be the advantages/disadvantages of doing that?
Thanks for all your help!
Cheers,
You can spray lacquer directly on the maple after sanding. If you are using a tinted lacquer it’s best to seal with some clear first to avoid dye going into the wood.
I always lacquer over the frets and scrape back. See my FAQ here https://www.manchesterguitartech.co.uk/nitrocellulose-lacquer/lacquer-faqs/#fret-scrape
Whether you use gloss or satin is down to personal preference regarding the feel of it. I like a glossy neck myself.
I’m working on a Harley Benson Jazz Bass kit at the moment. I wondered why the only thing that was not finished was the headstock. Now I know!
I produced a headstock template on paper by firstly tracing around the slab head stock outline including the tuner holes, as it comes, on printer paper. I then found a suitable picture of the headstock on the web, and enlarged it to as close to 100% scale that I coud get. I could check the scale was correct by seeing that the tuner holes aligned up. I aligned my template over the tuner holes on the screen and being careful not to damage my PC screen (!) I traced around the actual shape of the on screen headstock with a soft, blunt, pencil. Worked very well.
Cheers.
Hi Steve,
Can you tell me how this would differ if I painted the headstock a solid colour to match the body. Would it be sanding, primer and colour on the headstock then clear all over?
Thanks
Chris
For a matching headstock, I generally finish the neck all over in clear as I would normally.
Then I mask around the headstock face and spray the colour. As soon as the lacquer on the face has dried, I remove the masking tape and scrape the edge to a sharp line using a Stanley knife blade.
I then clear coat the headstock face and edges to blend everything in.
Hope that helps!
Hi, nice job, thinking of building a partscaster meself. You mention the Fender headstock shape is trademarked but then cut out an exact tele headstock shape … can you get in trouble making the headstock look so close to a real tele? Has Fender ever hassled you for this? Thanks, George
Hi Leigh,
I juat scuff sanded it to allow the lacquer to stick, it makes a good undercoat.
Steve
Might seem a silly question, but did you sand back the sealer on the back of the rest of the neck when you finished shaping your headstock with sand paper, or did you simply spray the lacquer straight onto the sealer?
Leigh
Thank you Steve.
If you were looking for a topic for another “how to” I think shielding would be a great one. You have a good clear way of explaining what to do and your pics are very helpful.
Cheers
Leigh
That occurred to me when I was replying to your previous post. I’ll see what I can do.
Hi Steve
Great site. Just what I needed as I am about to start my first ever build with a SAGA TC-10. A couple of questions.
1. What did you do about the rosewood fretboard? Do you just leave it as it is or do you coat it with something?
2. What are your thoughts on shielding the cavities and pick guard? A lot of different info out there about pros and cons of it, shielding tape v shielding paint etc. Would be interested on your take.
Thank you
Leigh
Thanks Leigh
Rosewood boards are normally left unfinished. I did apply some “lemon oil” fretboard conditioner as I do with all rosewood necks from time to time.
Shielding can help reduce buzz and certainly helps earthing. I generally use copper tape except for very tight areas where I use a silver-loaded paint. I find the carbon-based conductive paints very messy!